What to Expect from the Cozy Kitchen Kit
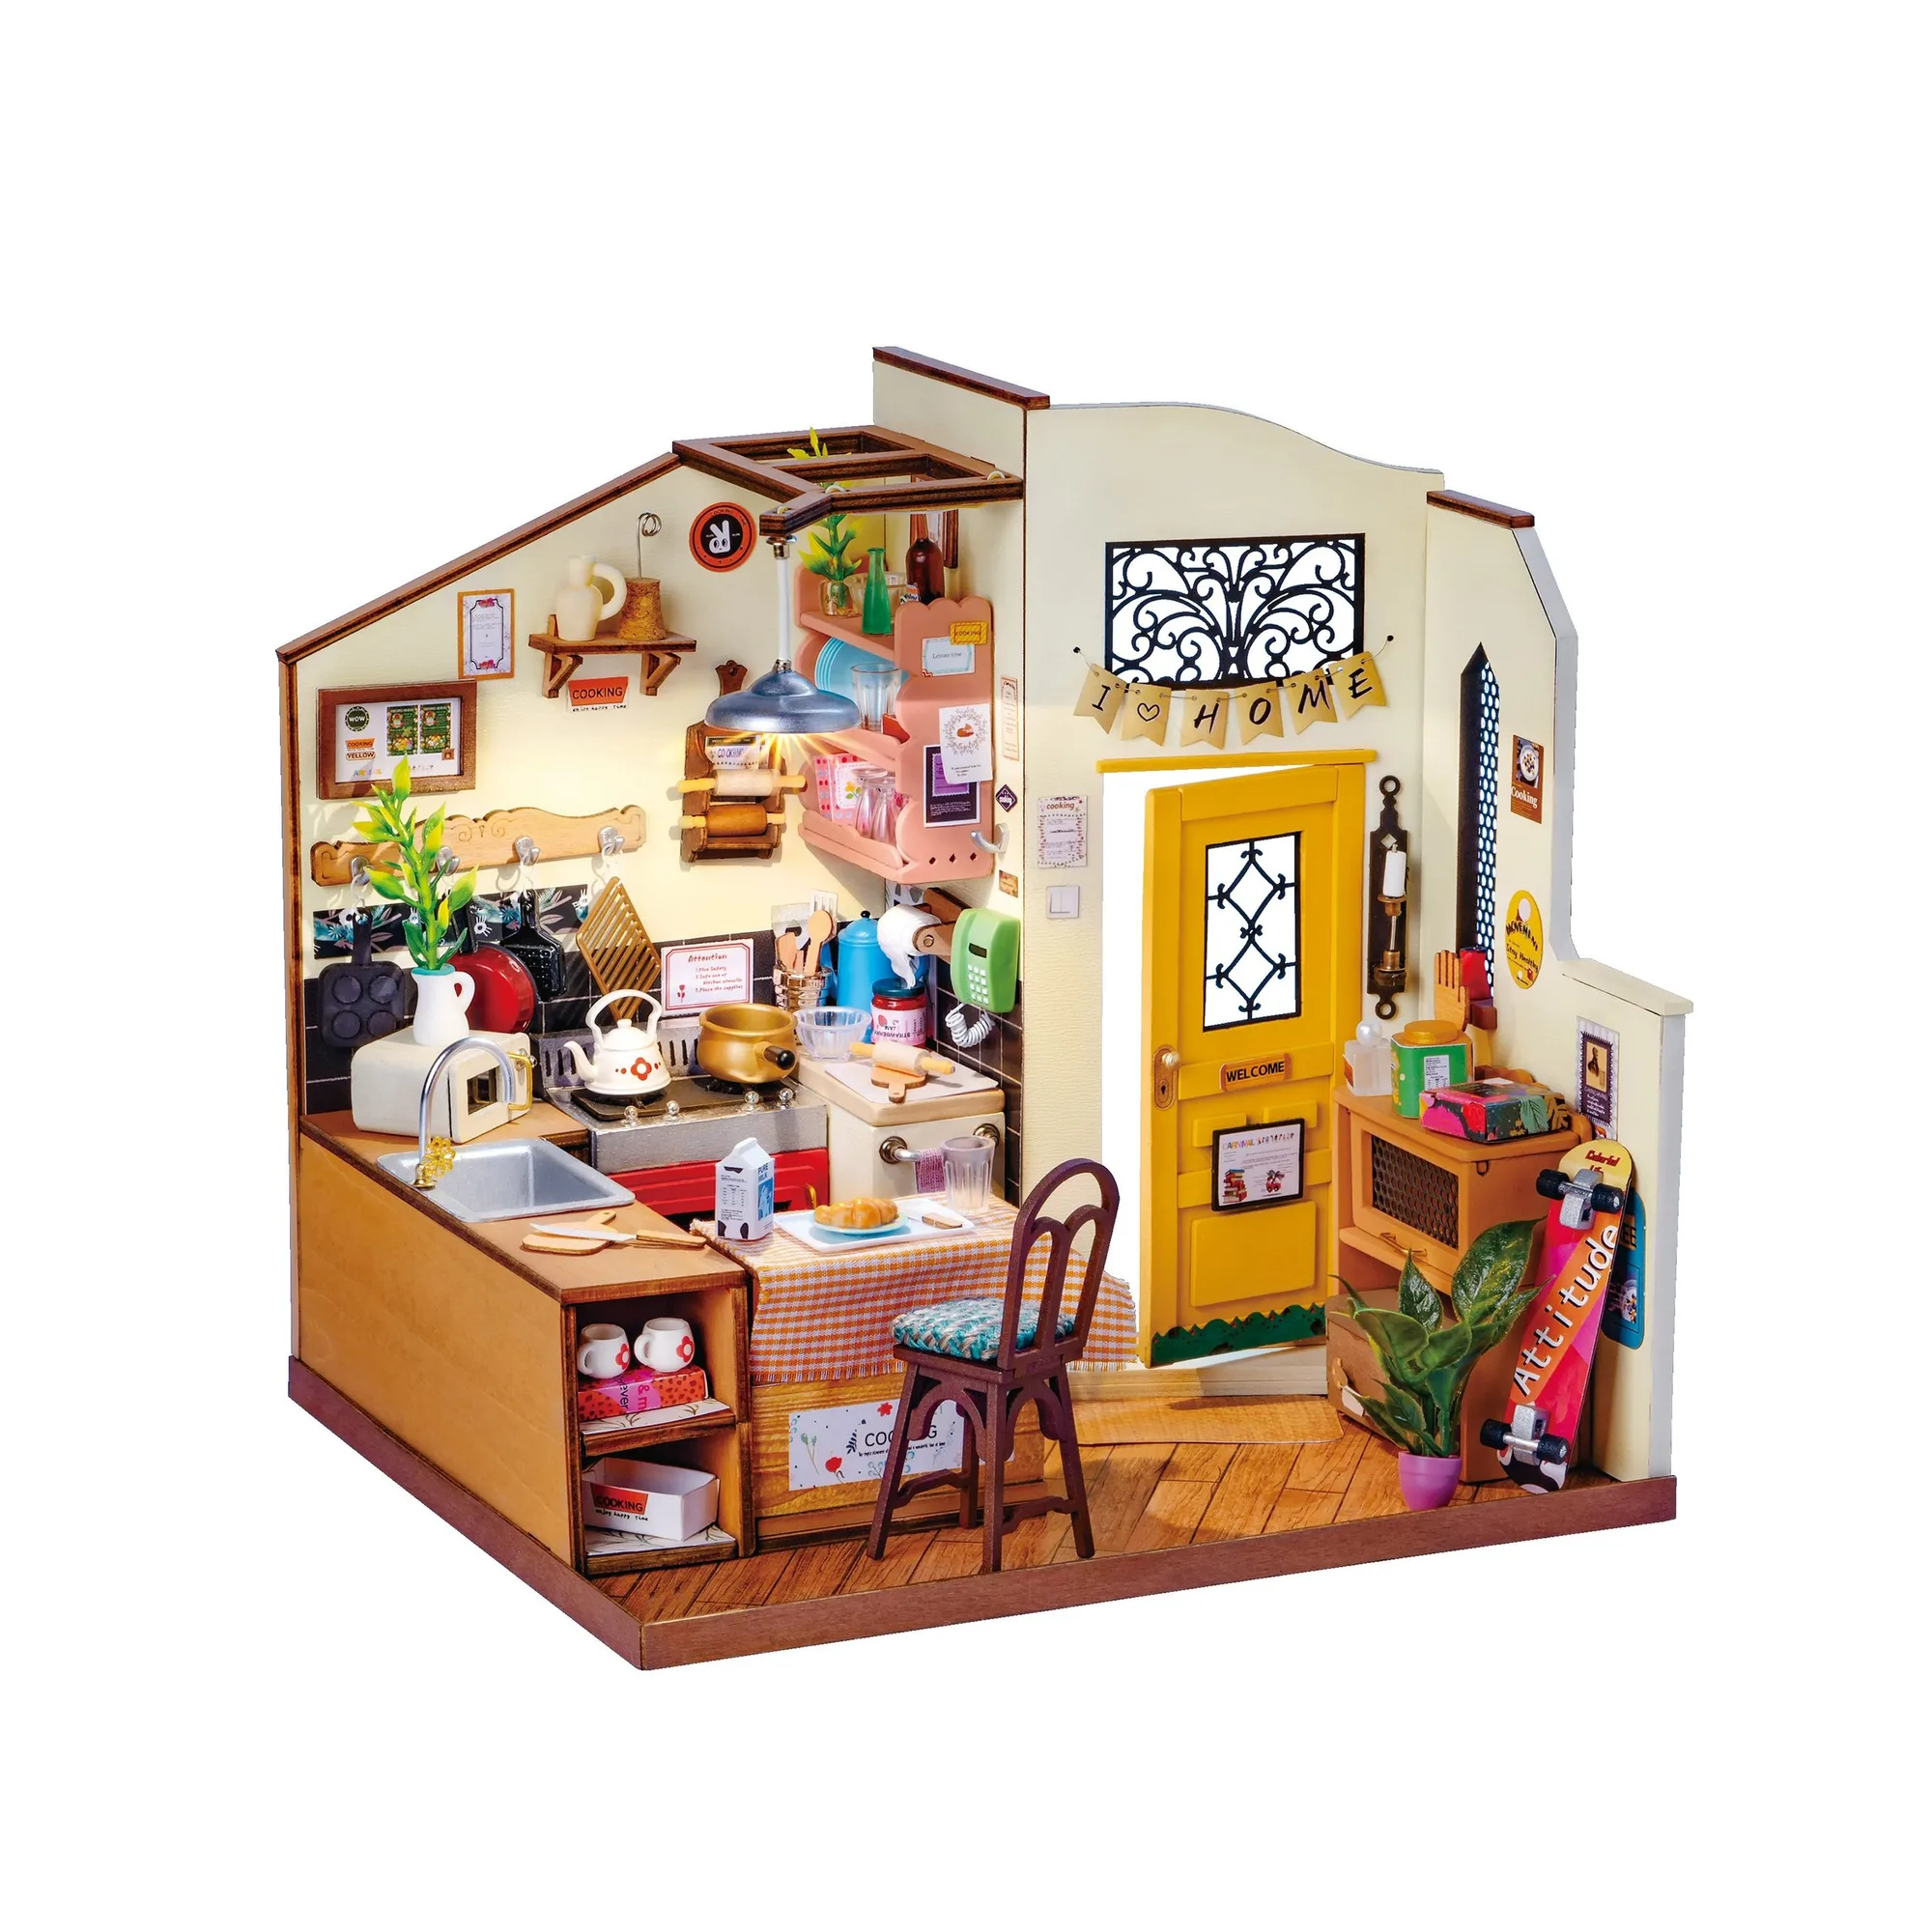
The Hands Craft Cozy Kitchen miniature house kit is designed for both beginners and experienced miniaturists. It includes an instruction book with illustrations to guide you, plus essential materials like an LED light, electrical wires, a battery case, glue, tweezers, paint, and a paintbrush. The kit also has paper pieces that need to be cut out and glued together, so be ready for some detailed work.
Because no two builds are exactly alike, you can personalize your kitchen as you go. The finished model features warm LED lighting that adds a realistic touch to your room, table, or shelf.
Kit Contents and Key Details
-
Hands Craft | Cozy Kitchen: The Cozy Kitchen kit includes an LED light, electrical wires, a battery case, glue, tweezers, paint, and a paintbrush. These items let you start building right away without needing to buy a separate starter set.
Hands Craft | Cozy Kitchen
-
Hands Craft | Cozy Kitchen: 2 AAA batteries are required but not included. Plan ahead and have batteries on hand so you can test the lighting when you finish the build.
-
Hands Craft | Cozy Kitchen: The kit includes an instruction book with illustrations. The visual guide helps you understand each step, especially if you're new to miniature house assembly.
Assembly Steps for a Smooth Build
- Prepare Your Workspace and Tools: Set up a clean, well-lit area. Gather the included tools plus recommended extras: a ruler, scissors, a utility knife, pliers, a pencil, a binder clip, and a screwdriver. Having these on hand will make cutting and assembling easier.
- Review the Instruction Book: Flip through the illustrated guide to get an overview of the build sequence. Pay attention to which pieces are paper and which are wood or plastic, as they require different handling.
- Cut Out and Assemble Paper Pieces: Some parts come as printed paper sheets that need to be cut out and glued onto the structure. Use scissors or a utility knife for clean edges. A binder clip can hold pieces in place while the glue dries.
- Build the Main Structure: Follow the instructions to assemble the walls, floor, and furniture. Use the included glue for most connections. Tweezers help with small parts. Take your time—rushing can lead to misaligned pieces.
- Install the LED Lighting: The kit includes an LED light, wires, and a battery case. Connect them according to the diagram in the instruction book. Insert 2 AAA batteries (not included) to test the light before sealing the wiring inside the build.
- Add Final Details and Paint: Once the structure is complete, use the included paint and brush to add color and detail. This is where you can personalize your kitchen. Let the paint dry fully before handling or displaying.
Tips for a Successful Build
If you're new to miniature house kits, start by sorting all pieces and reading the instructions fully before cutting anything. Patience is key—some parts are tiny and require steady hands. Use the included tweezers for delicate items.
For the lighting, test the LED with batteries before final assembly. This ensures the circuit works and saves you from having to disassemble later. The warm lighting is a highlight of this kit, adding a cozy glow to your finished piece.
Remember that every builder's journey is unique. Don't worry if your kitchen looks slightly different from the box photo—that's part of the charm. Enjoy the process and display your creation with pride.