Quick answer
Build a magnetic tile castle from the ground up: start with a flat, wide base, connect walls in a closed loop, add towers at corners, and finish with a lightweight roof. Keep the footprint broad, align tile edges so magnets snap flush, and avoid unsupported spans. This sequence gives you a sturdy magnetic tile castle that stays up during play.
Why some magnetic tile castles collapse
Most collapses happen for three reasons: a narrow base, walls that don't form a closed loop, and heavy roofs on thin towers. Magnetic tiles hold best when forces travel straight down through connected edges. If a wall bows outward or a tower leans, the magnets are pulling apart instead of holding together. Kids often build tall first and then try to widen the base, which is harder than starting wide. A stable castle starts with a footprint that is at least as wide as the tallest tower.
Choose the right tiles for a castle build
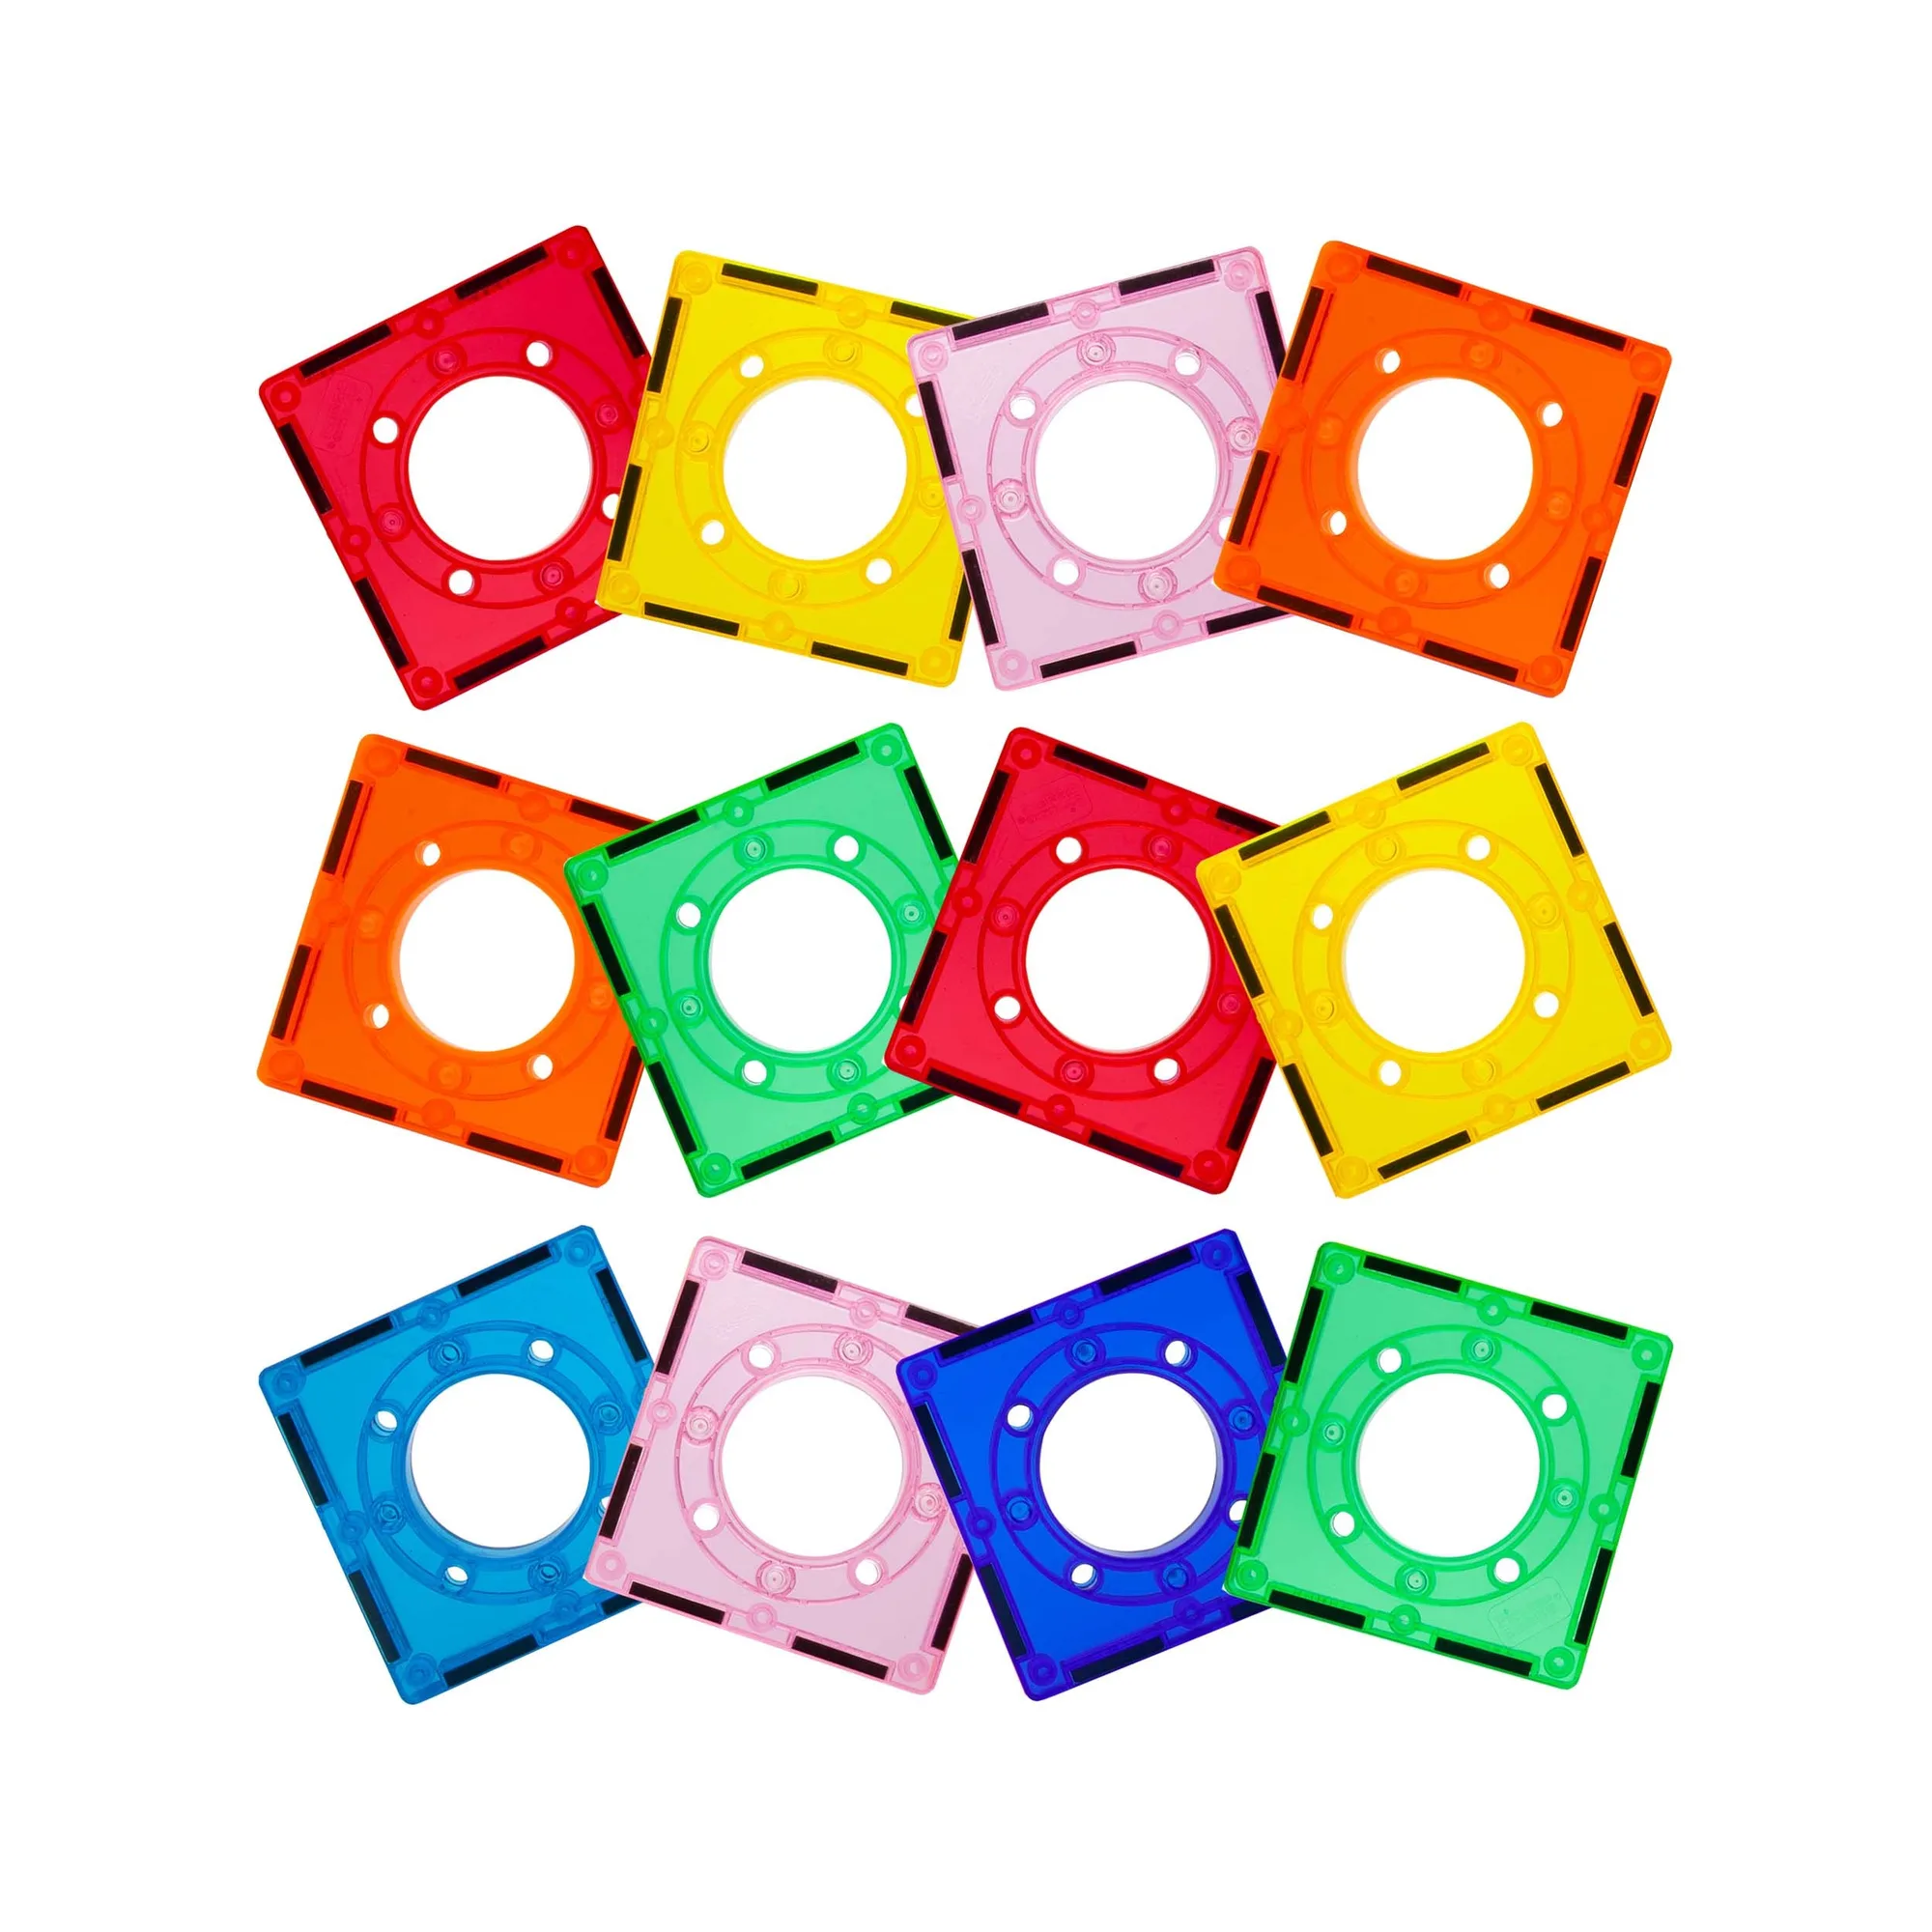
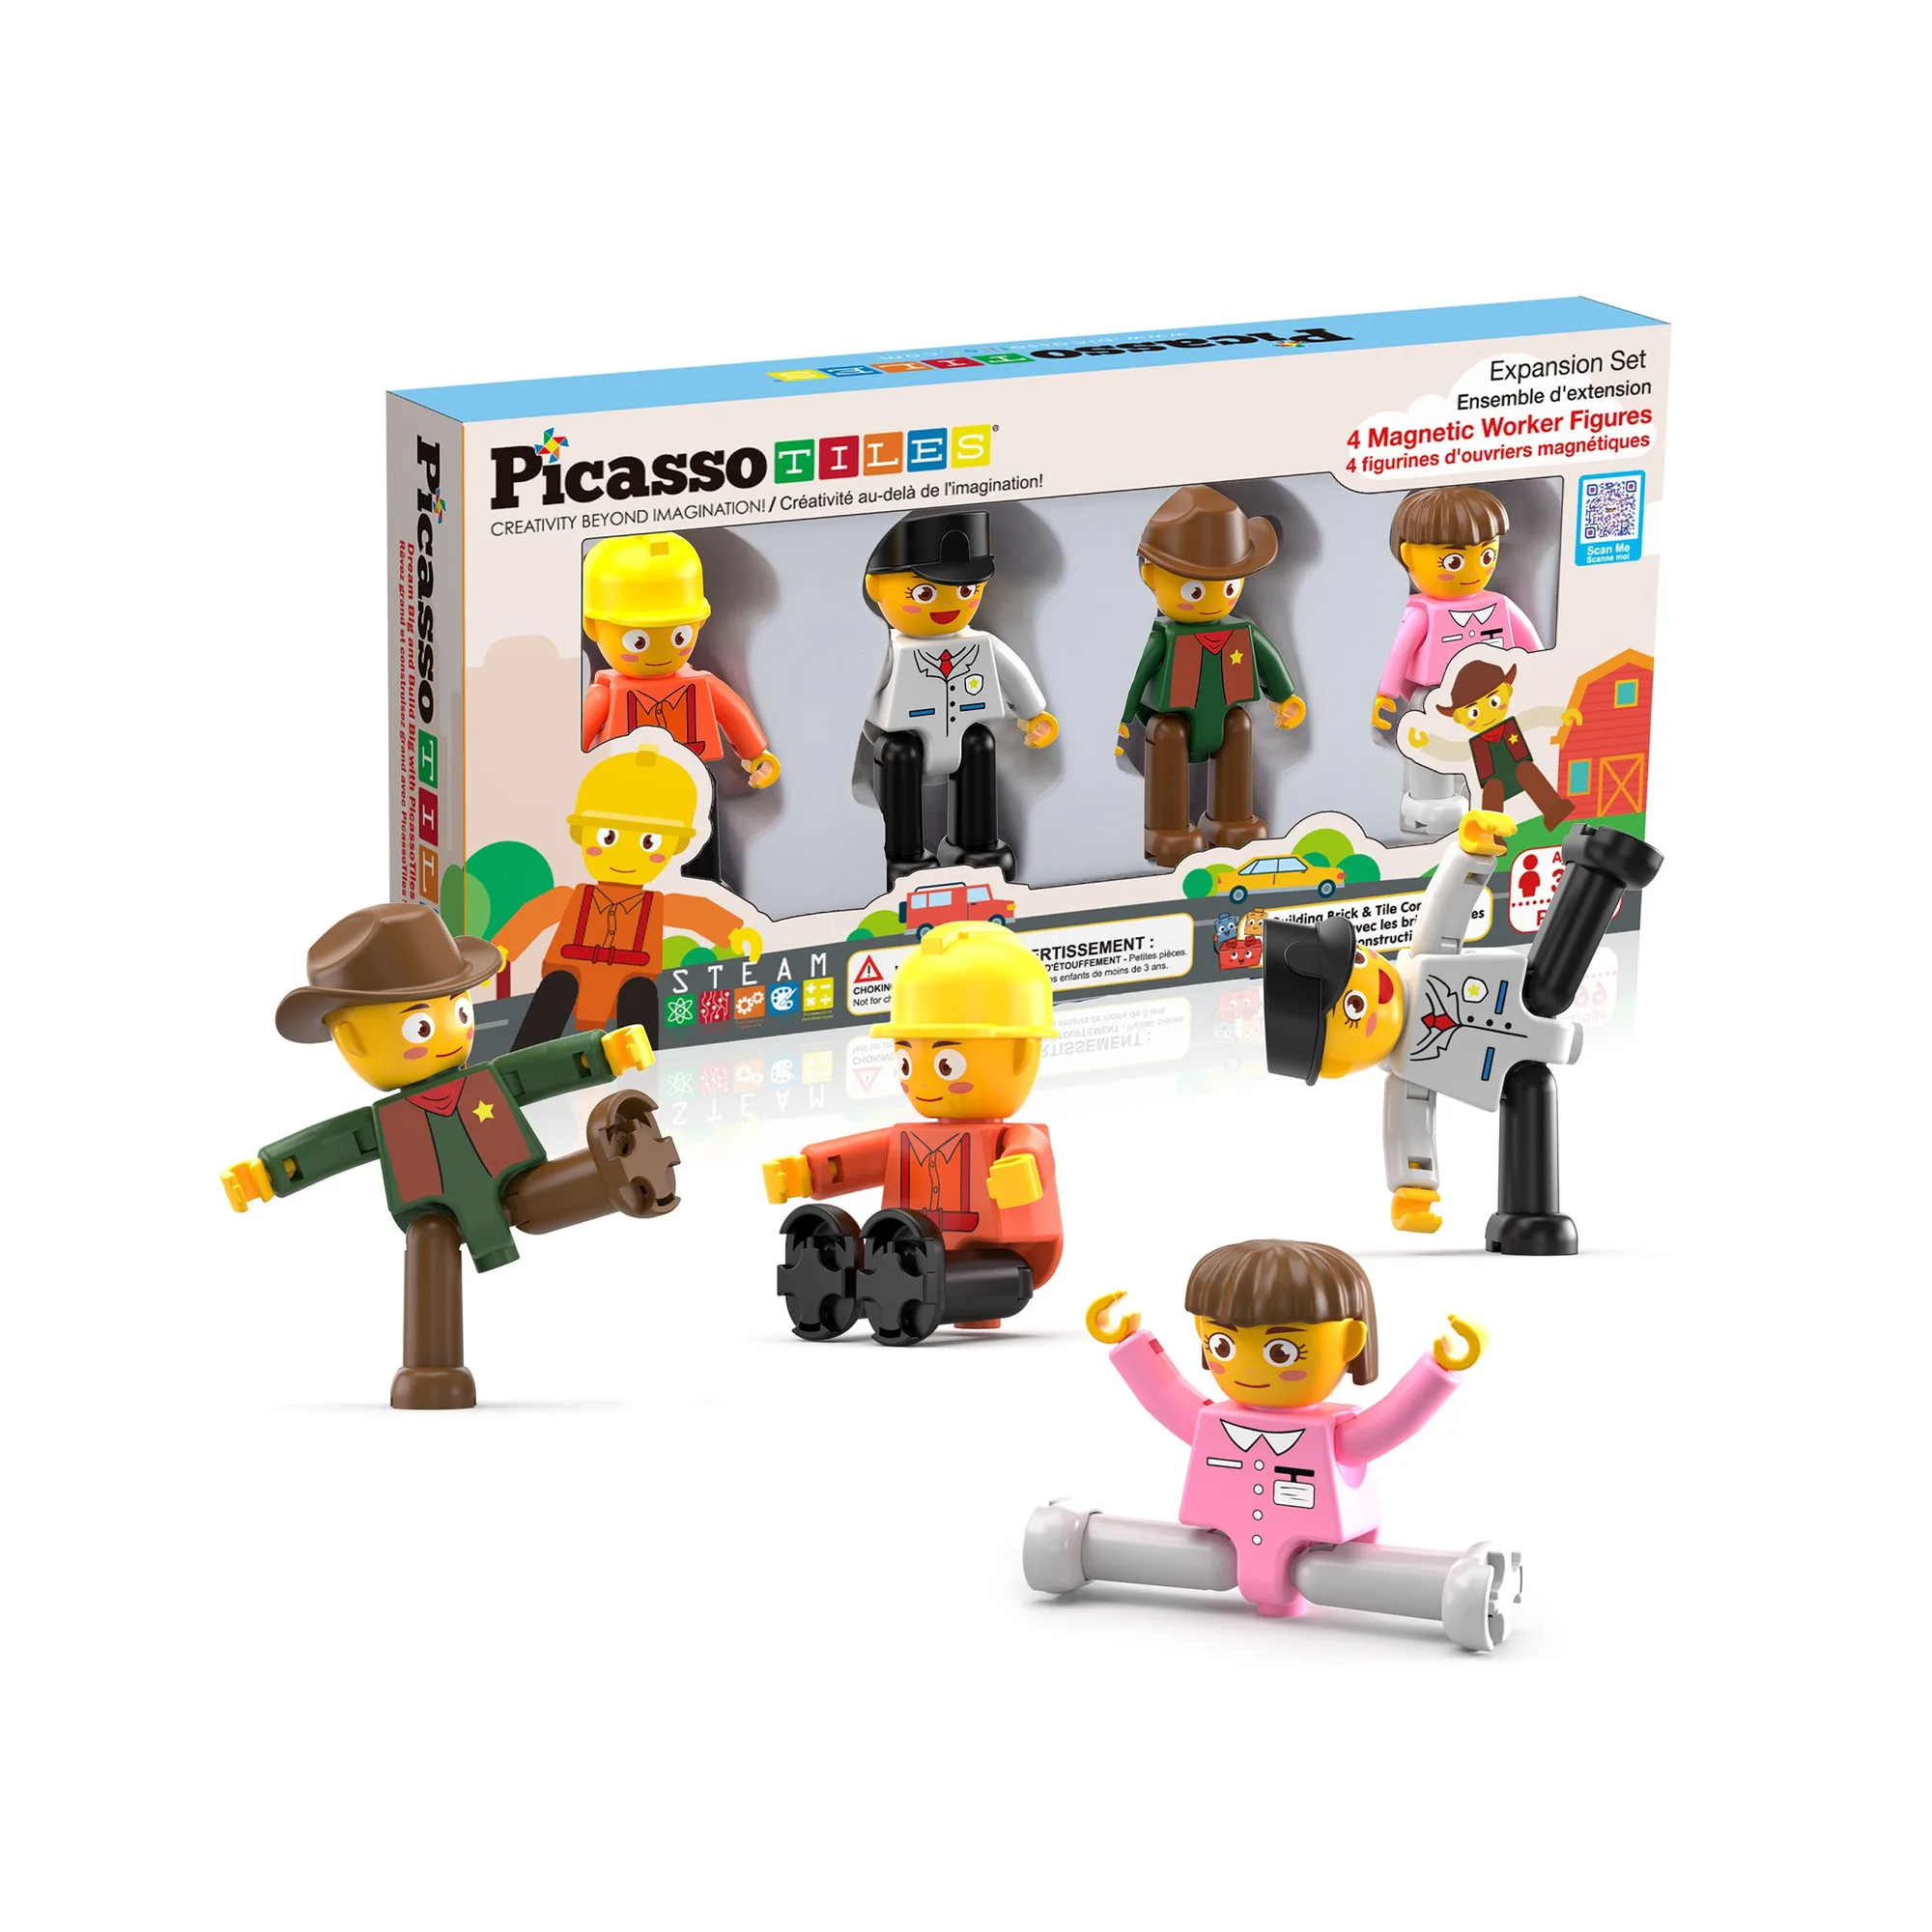
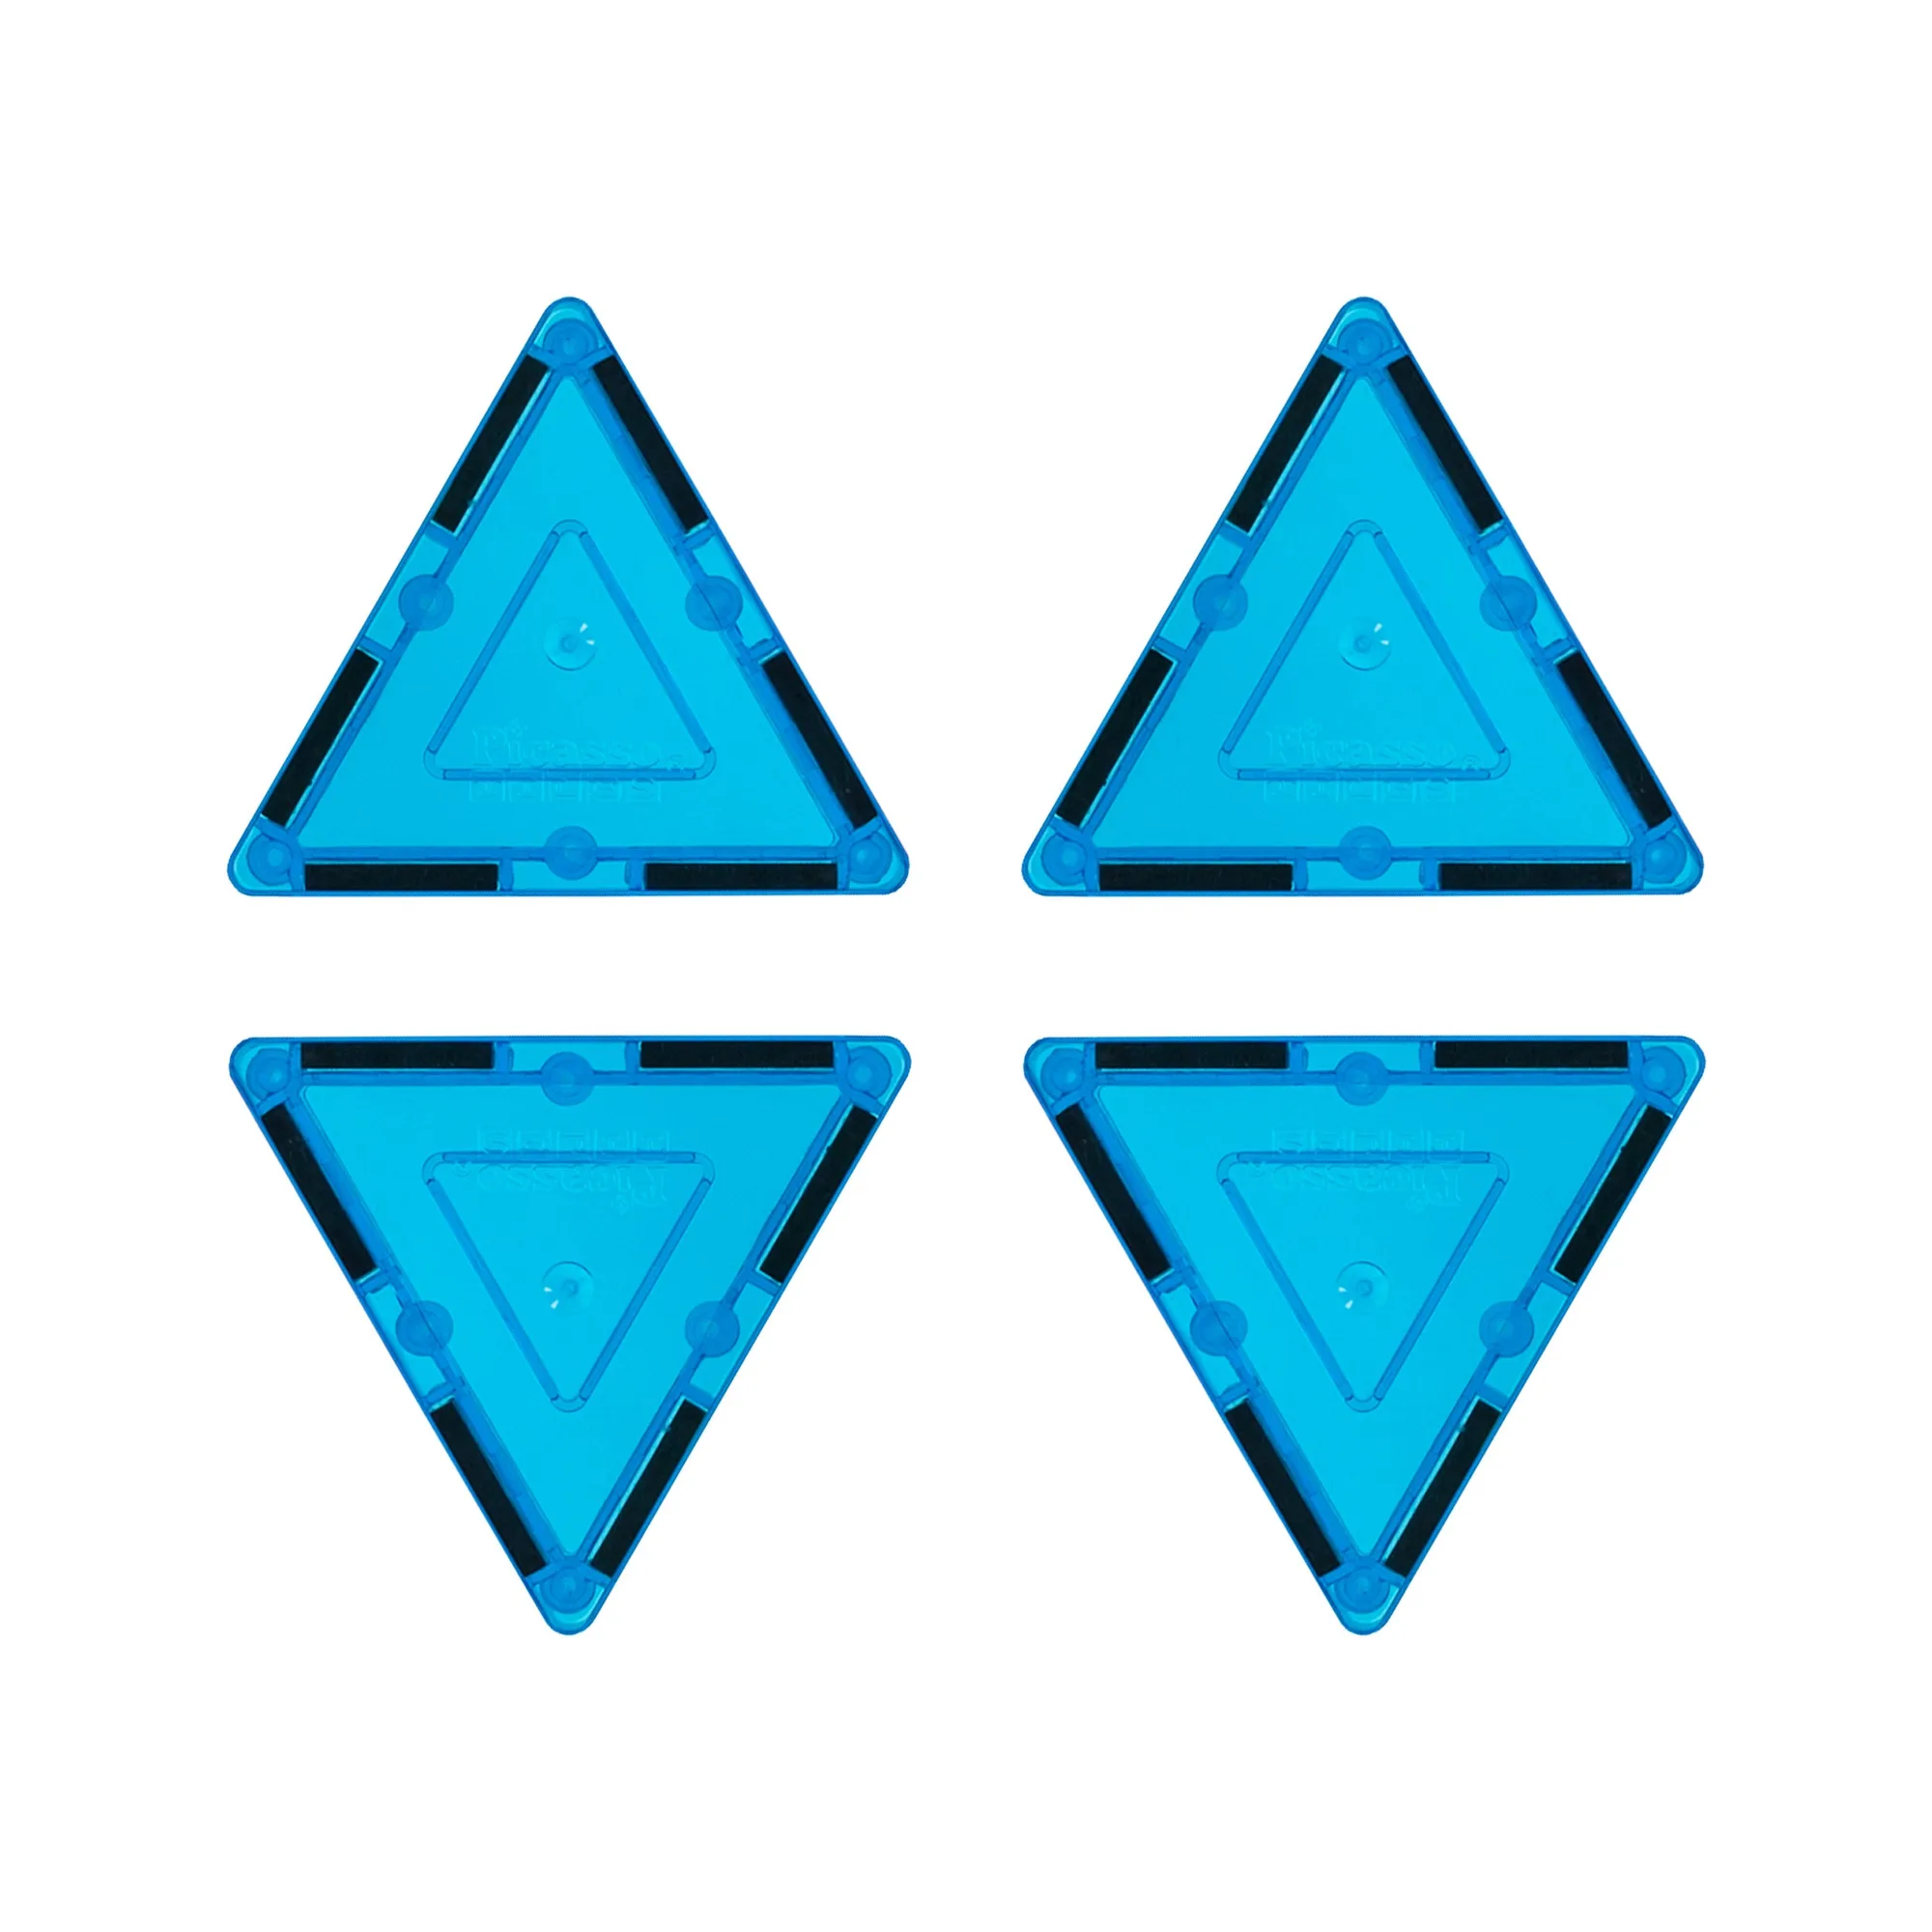
Square tiles make walls, rectangles add height, and triangles let you turn corners or create pointed roofs without gaps. If your set includes stairs, windows, or character figures, save those for after the structure is stable. Themed sets can inspire a specific look, but the same stability rules apply. For a winter ice castle magnetic tiles set, the cool colors and window pieces work well for a frozen palace, but the build still needs a solid frame underneath.
Step-by-step castle build
- 1. Lay a wide, flat base: Connect square tiles into a rectangle or square that is at least four tiles wide. Press every edge until you feel the magnets snap. Place it on a hard, flat surface like a table or wood floor. Checkpoint: the base should not wobble when you press a corner. If it does, add more tiles or move to a flatter surface.
- 2. Build walls in a closed loop: Stand square tiles upright along the outer edge of the base. Connect each wall tile to its neighbors so the walls form a continuous loop. Use triangles at corners to turn 90 degrees without gaps. Common mistake: leaving a gap between wall tiles. A gap breaks the magnetic connection and the wall will fold inward.
- 3. Add height with rectangles: Stack rectangle tiles on top of the square walls, matching edges exactly. Alternate the direction of the rectangles if your set allows, so the seams do not line up in one straight vertical line. Checkpoint: press gently on the top edge. If the wall bows, add a triangle brace inside or reduce height by one row.
- 4. Place towers at corners: Build towers by stacking squares or rectangles at the corners of the wall loop. Connect each tower to two walls so it braces the corner. Keep tower height no more than twice the base width. Common mistake: building a tower in the middle of a wall. Corner towers are more stable because they tie two walls together.
- 5. Cap with a lightweight roof: Use triangles to form a peaked roof or a flat row of squares for a terrace. Rest the roof on the walls and towers without forcing it. If it slides, add a small triangle support underneath. Checkpoint: the roof should sit without holding it. If it pops off, switch to a lighter roof or lower the towers.
- 6. Add details last: Attach windows, stairs, and character figures after the structure is stable. Place heavier pieces near the base or on the ground inside the walls. Common mistake: putting heavy details on top of a tower. That raises the center of gravity and makes the whole castle tip.
Products that fit this build
- PicassoTiles 72pc Magnetic Tiles Winter Ice Castle Set: PicassoTiles 72pc Magnetic Tiles Winter Ice Castle Set (PT72) includes stairs, windows, and character figures for building themed structures. The stairs and windows add detail once the base and walls are stable, and the figures encourage storytelling after the build stands.
- PicassoTiles Magnetic Tiles and Sticks Builder Set (82 Pieces): PicassoTiles Magnetic Tiles and Sticks Builder Set (82 Pieces) includes tiles, rods, sticks, and connector balls for towers, bridges, and domes. The sticks and balls let you reinforce tall towers or add bridge spans that tiles alone cannot support, which helps prevent collapses.