Building a 1/12 scale motorcycle model kit is a rewarding hobby that combines precision, patience, and creativity. Whether you're a beginner or a seasoned modeler, assembling a miniature bike like the iconic Yamaha RZ250 can be both challenging and fulfilling. In this guide, we'll walk you through the essential steps, tools, and techniques to help you achieve a show-quality finish on your next motorcycle model.
From preparing your workspace to adding final decals, every phase of the build requires attention to detail. We'll also share pro tips on painting, assembly, and troubleshooting common issues. By the end, you'll have the confidence to tackle any 1/12 scale motorcycle kit, including detailed models like the 1/12 Yamaha RZ250 (4L3) w/Cowl (1982) Model Kit.
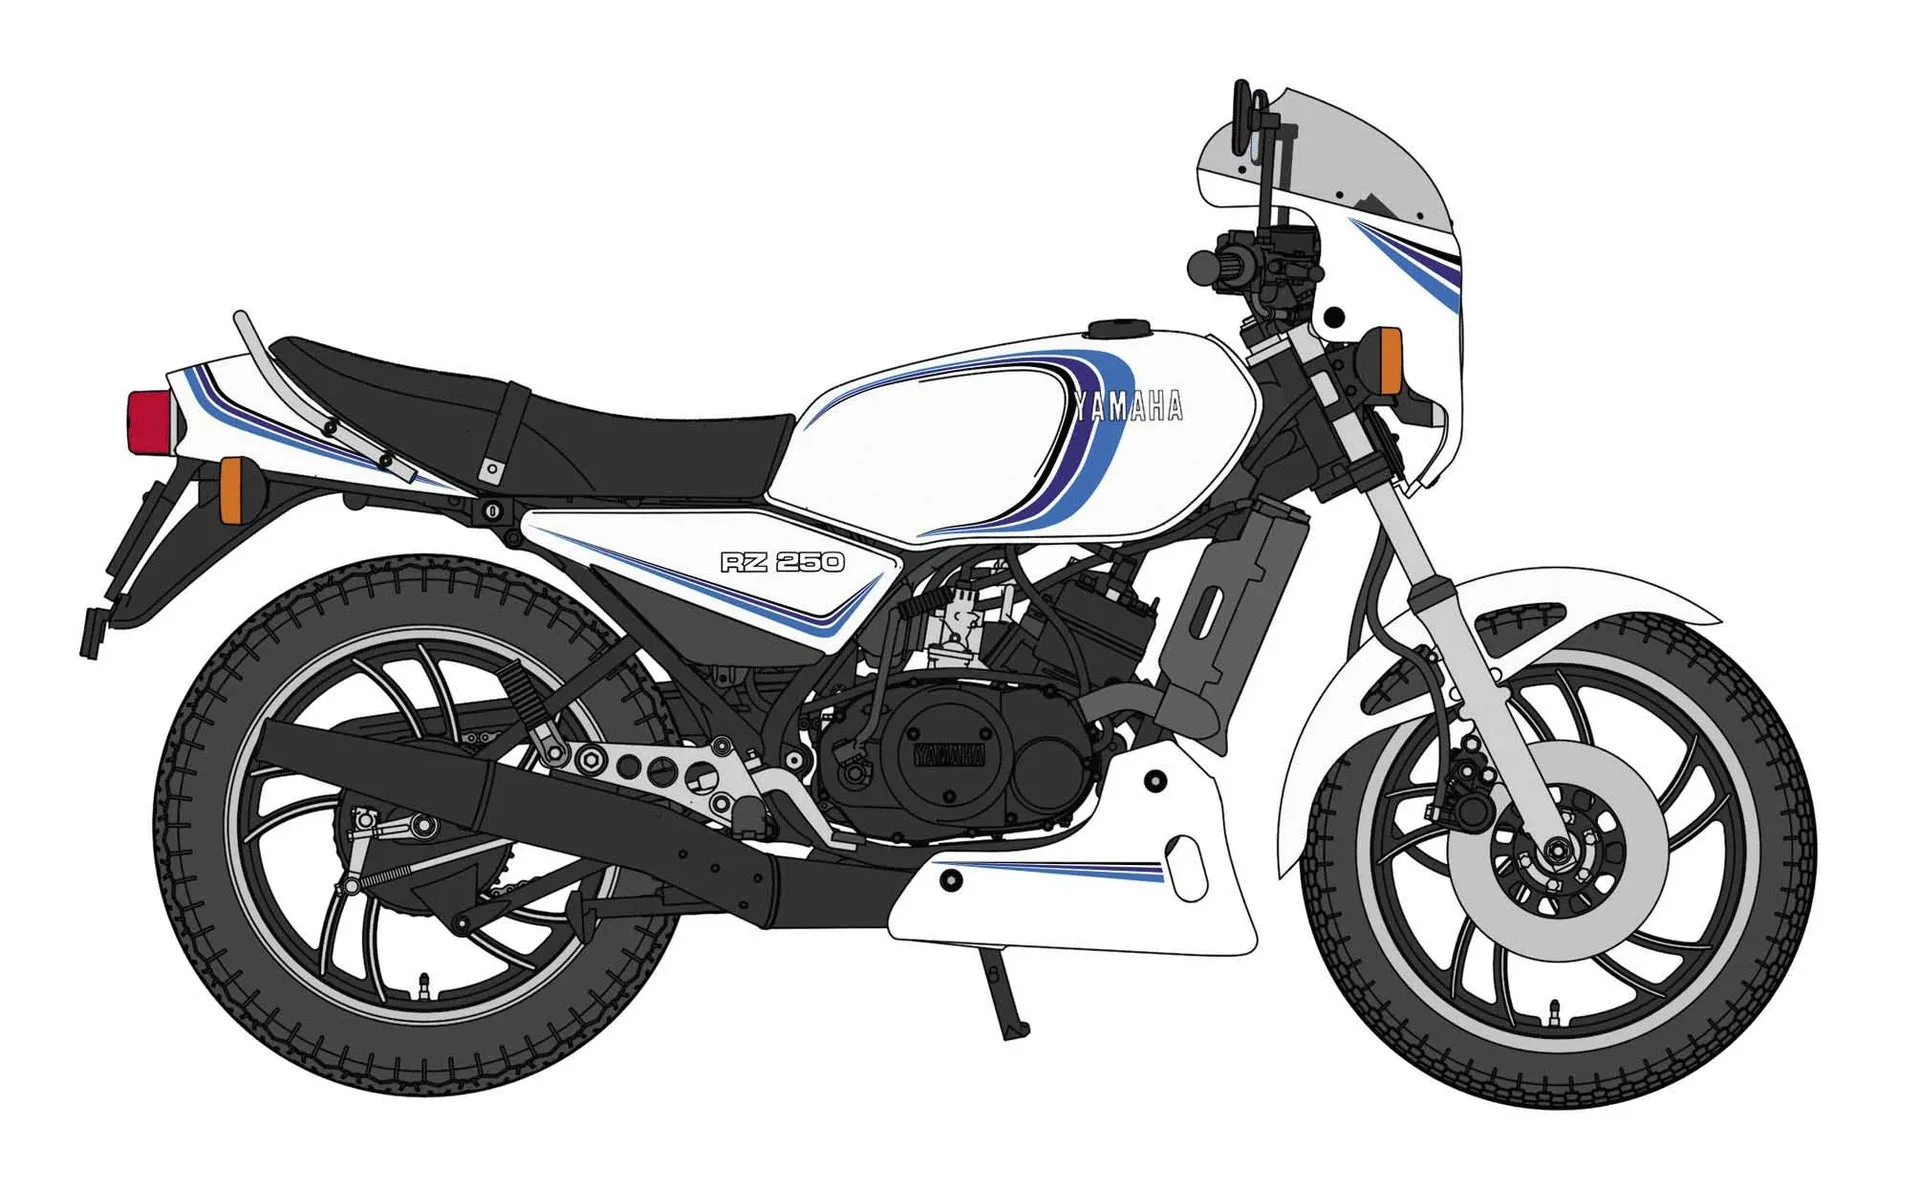
1/12 Yamaha RZ250 (4L3) w/Cowl (1982)
Essential Tools and Materials for Motorcycle Model Kits
Before you start, gather the right tools. A quality side cutter (nipper) is crucial for removing parts from sprues without damaging them. Invest in a hobby knife with sharp blades for trimming flash and cleaning nubs. Sanding sticks or fine-grit sandpaper (400-1200 grit) are essential for smoothing surfaces and removing mold lines.
For assembly, use plastic cement or extra-thin glue for a strong bond, and super glue (CA glue) for metal or photo-etched parts. A set of tweezers is indispensable for handling small parts, and a pin vise with tiny drill bits helps create precise holes for added detail. Also, have a cutting mat and a well-lit workspace to keep your parts organized.
- Use a side cutter designed for plastic models to avoid stress marks.
- Keep a variety of sanding tools, from coarse to fine, to shape and polish.
- Organize parts in labeled containers or use a parts tree organizer.
Preparing and Cleaning Your Motorcycle Parts
Once your kit is open, carefully cut each part from the sprue, leaving a small nub. Trim the nub with a hobby knife, then sand the area smooth. Pay special attention to mold lines, which often appear along the center of parts; scrape them off with the back of your knife or sand them away.
After cleaning, wash all parts in warm soapy water to remove mold release agents. Rinse thoroughly and let them dry completely. This step ensures paint adheres properly and prevents fingerprints from leaving permanent marks. For kits like the 1/12 Yamaha RZ250, proper cleaning is vital for a flawless paint job.
Painting Techniques for Realistic Motorcycle Models
Painting is where your model comes to life. Start with a primer to create a smooth base and reveal any imperfections. Use spray cans or an airbrush for even coverage. For metallic finishes, apply a gloss black base before spraying metallic paint to enhance depth.
When painting small parts like the engine or exhaust, use a brush with thinned paint and apply multiple thin coats. Masking tape is essential for creating crisp color separations. For a realistic look, consider using panel line accent colors to highlight details and a clear coat to protect the paint and prepare for decals.
- Always prime parts before painting to ensure adhesion.
- Use multiple thin coats rather than one thick coat to avoid runs.
- Test your paint on a spare sprue to check consistency and color.
Assembling the Frame, Engine, and Bodywork
Start with the engine and frame, as they form the core of the motorcycle. Dry-fit parts before applying glue to ensure proper alignment. Use plastic cement for a strong bond, and hold parts together with clamps or rubber bands while drying. For the engine, paint and detail it before final assembly to avoid hard-to-reach areas.
When attaching the bodywork, use masking tape to hold panels in place while the glue sets. This prevents misalignment and ensures gaps are even. For a model like the 1/12 Yamaha RZ250, the cowl and fairings require careful alignment to achieve that sleek look. Patience here pays off in the final result.
Adding Details: Decals and Finishing Touches
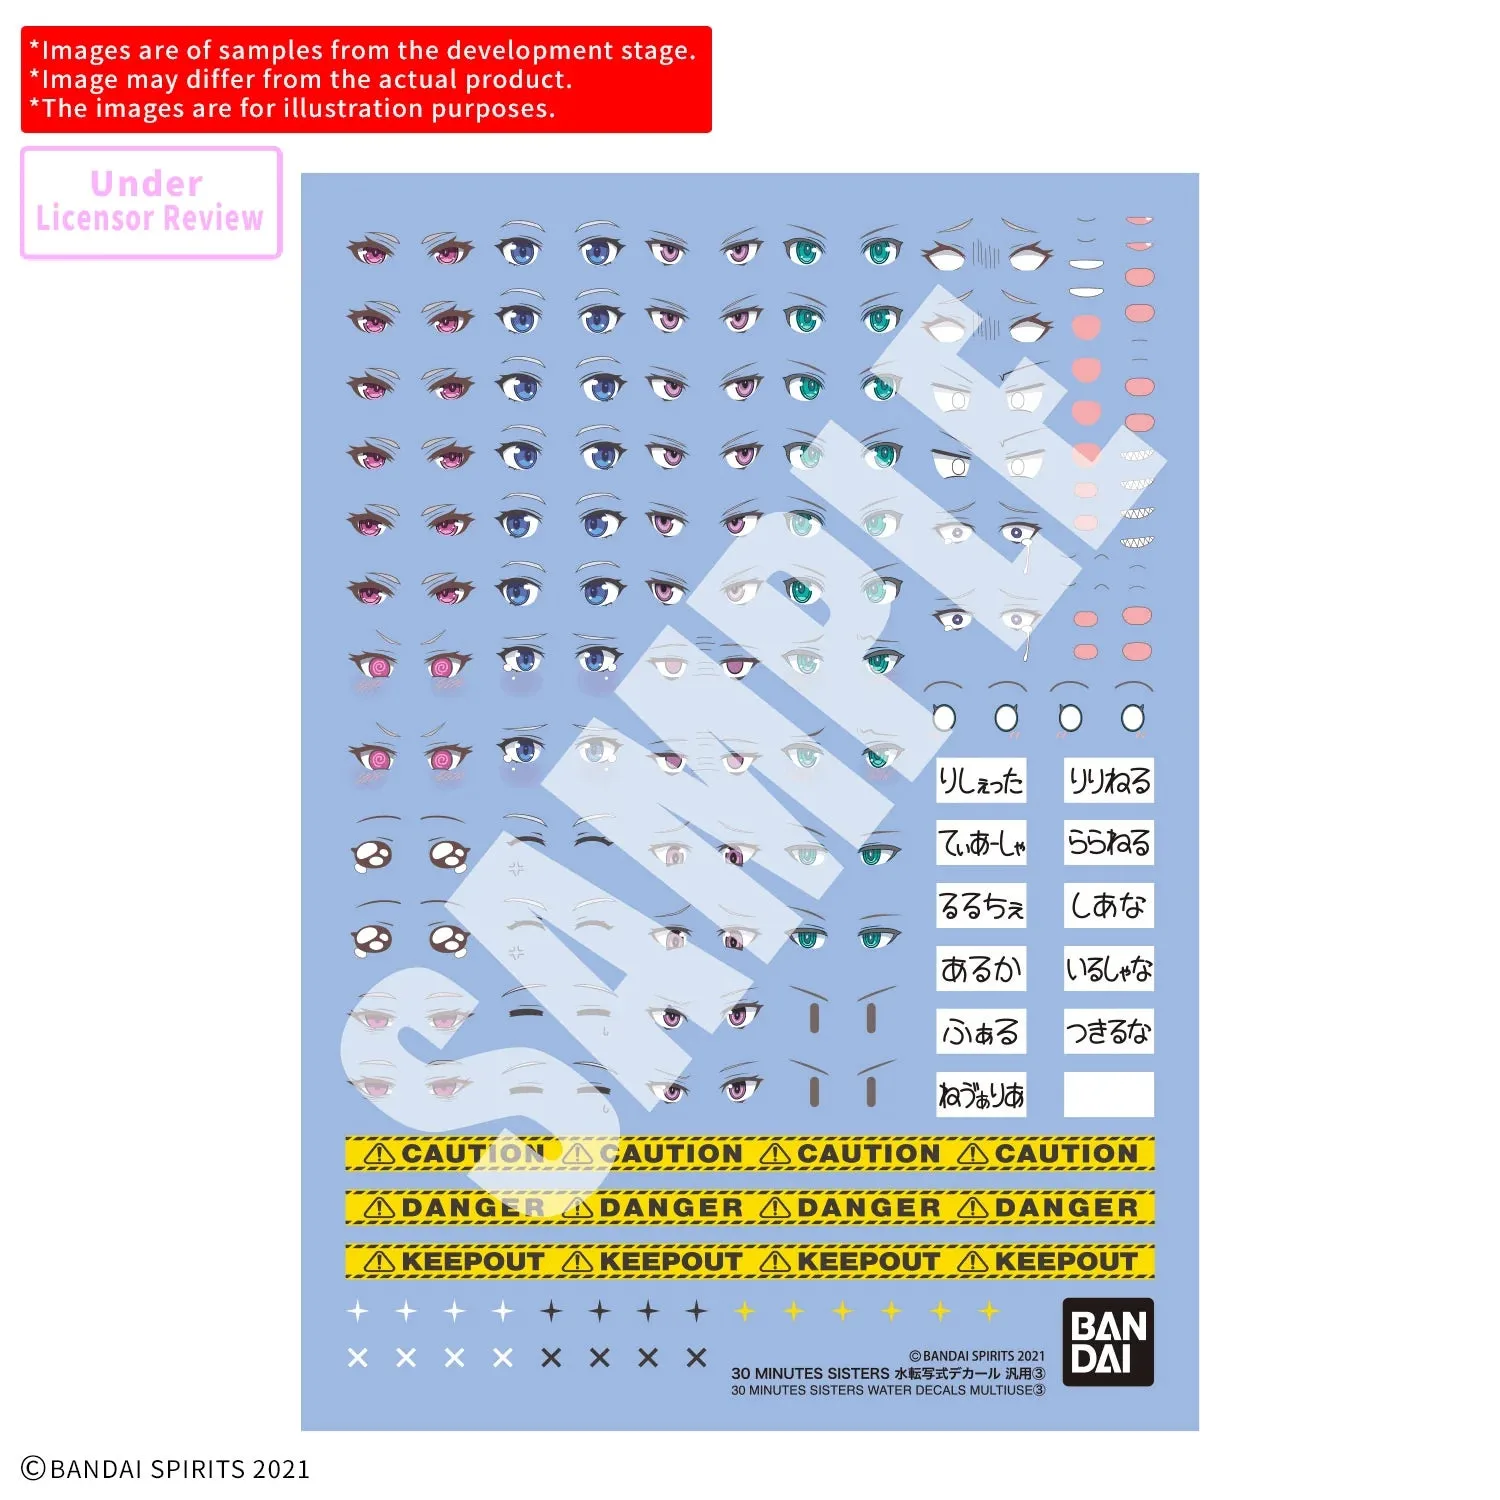
Decals bring your motorcycle model to life. Apply them after the clear coat is dry. Cut out each decal, soak it in warm water, and slide it into place. Use a cotton swab to remove air bubbles and position it precisely. Once the decal is set, apply another clear coat to seal it and blend the edges.
For extra realism, consider adding photo-etched parts, such as brake discs or chain links. These can be found in detail-up sets. Finally, use a flat or semi-gloss clear coat to achieve the desired finish—gloss for the bodywork and flat for the engine and tires. Your 1/12 scale motorcycle will look like a miniature showpiece.
- Use a decal setting solution to help decals conform to curved surfaces.
- Apply a final clear coat to protect decals and unify the finish.
- Add subtle weathering to tires and exhaust for realism.
Building a 1/12 scale motorcycle model kit is a journey of skill and patience, but the reward is a stunning replica you can be proud of. Whether you're starting with a classic like the Yamaha RZ250 or exploring other kits, these tips will help you achieve professional results. For your next project, consider the 1/12 Yamaha RZ250 (4L3) w/Cowl (1982) Model Kit and enjoy the thrill of building a two-stroke legend.