What the KiwiCo Ballista Kit Includes
The KiwiCo Ballista kit gives you everything you need to build a working model of a classic siege weapon. It's a hands-on STEM project that teaches tension and projectile motion through assembly and play. The kit is designed for curious kids who enjoy building, tinkering, and exploring how things work. It works well as a solo project or for collaborative family fun.
Step-by-Step Ballista Assembly
Follow the step-by-step instructions included in the kit to assemble your ballista. The process is designed to encourage problem-solving and fine motor skills.
- 1. Organize the parts: Lay out all pieces from the kit. Identify the frame, axle, trigger mechanism, and rubber bands. Having everything visible helps avoid confusion during assembly.
- 2. Build the base and frame: Assemble the main frame using the provided wooden pieces. Ensure all connections are snug but not forced. The frame needs to be square so the arm swings evenly.
- 3. Attach the tension bands: Loop the rubber bands over the hooks on the frame and the throwing arm. The number and tension of bands affect launch distance — start with the recommended setup from the instructions.
- 4. Install the trigger mechanism: Fit the trigger piece so it holds the arm in the cocked position. Test that it releases cleanly without sticking.
- 5. Final check: Make sure all parts move freely. The arm should swing forward when released. If it binds, check alignment of the axle and trigger.
How Tension and Projectile Motion Work
The ballista stores energy in the stretched rubber bands when you pull back the arm. When you release the trigger, that stored energy transfers to the projectile — a craft stick — and launches it forward. The farther you pull back, the more tension, and the farther the stick flies. This is a great way to see physics in action: tension, elastic potential energy, and projectile motion. Experiment with different pull-back distances and observe how the launch angle changes the trajectory.
Play Ideas for the Ballista
Once your ballista is built, the fun really starts. Try these play ideas to extend the learning and keep kids engaged:
• Target practice: Set up cups, paper targets, or soft blocks at varying distances. Adjust the tension and angle to hit different targets.
• Distance challenge: Use a measuring tape to see how far you can launch a craft stick. Record results and try to beat your own record.
• Angle experiment: Change the launch angle by propping up the front of the ballista. See how angle affects distance and height.
• Collaborative play: Take turns launching and measuring with siblings or friends. This encourages teamwork and friendly competition.
Product Facts
-
Ballista: Build and launch your own Ballista with this hands-on STEM kit from KiwiCo. This is the core activity — the kit is designed for both building and launching, not just display.
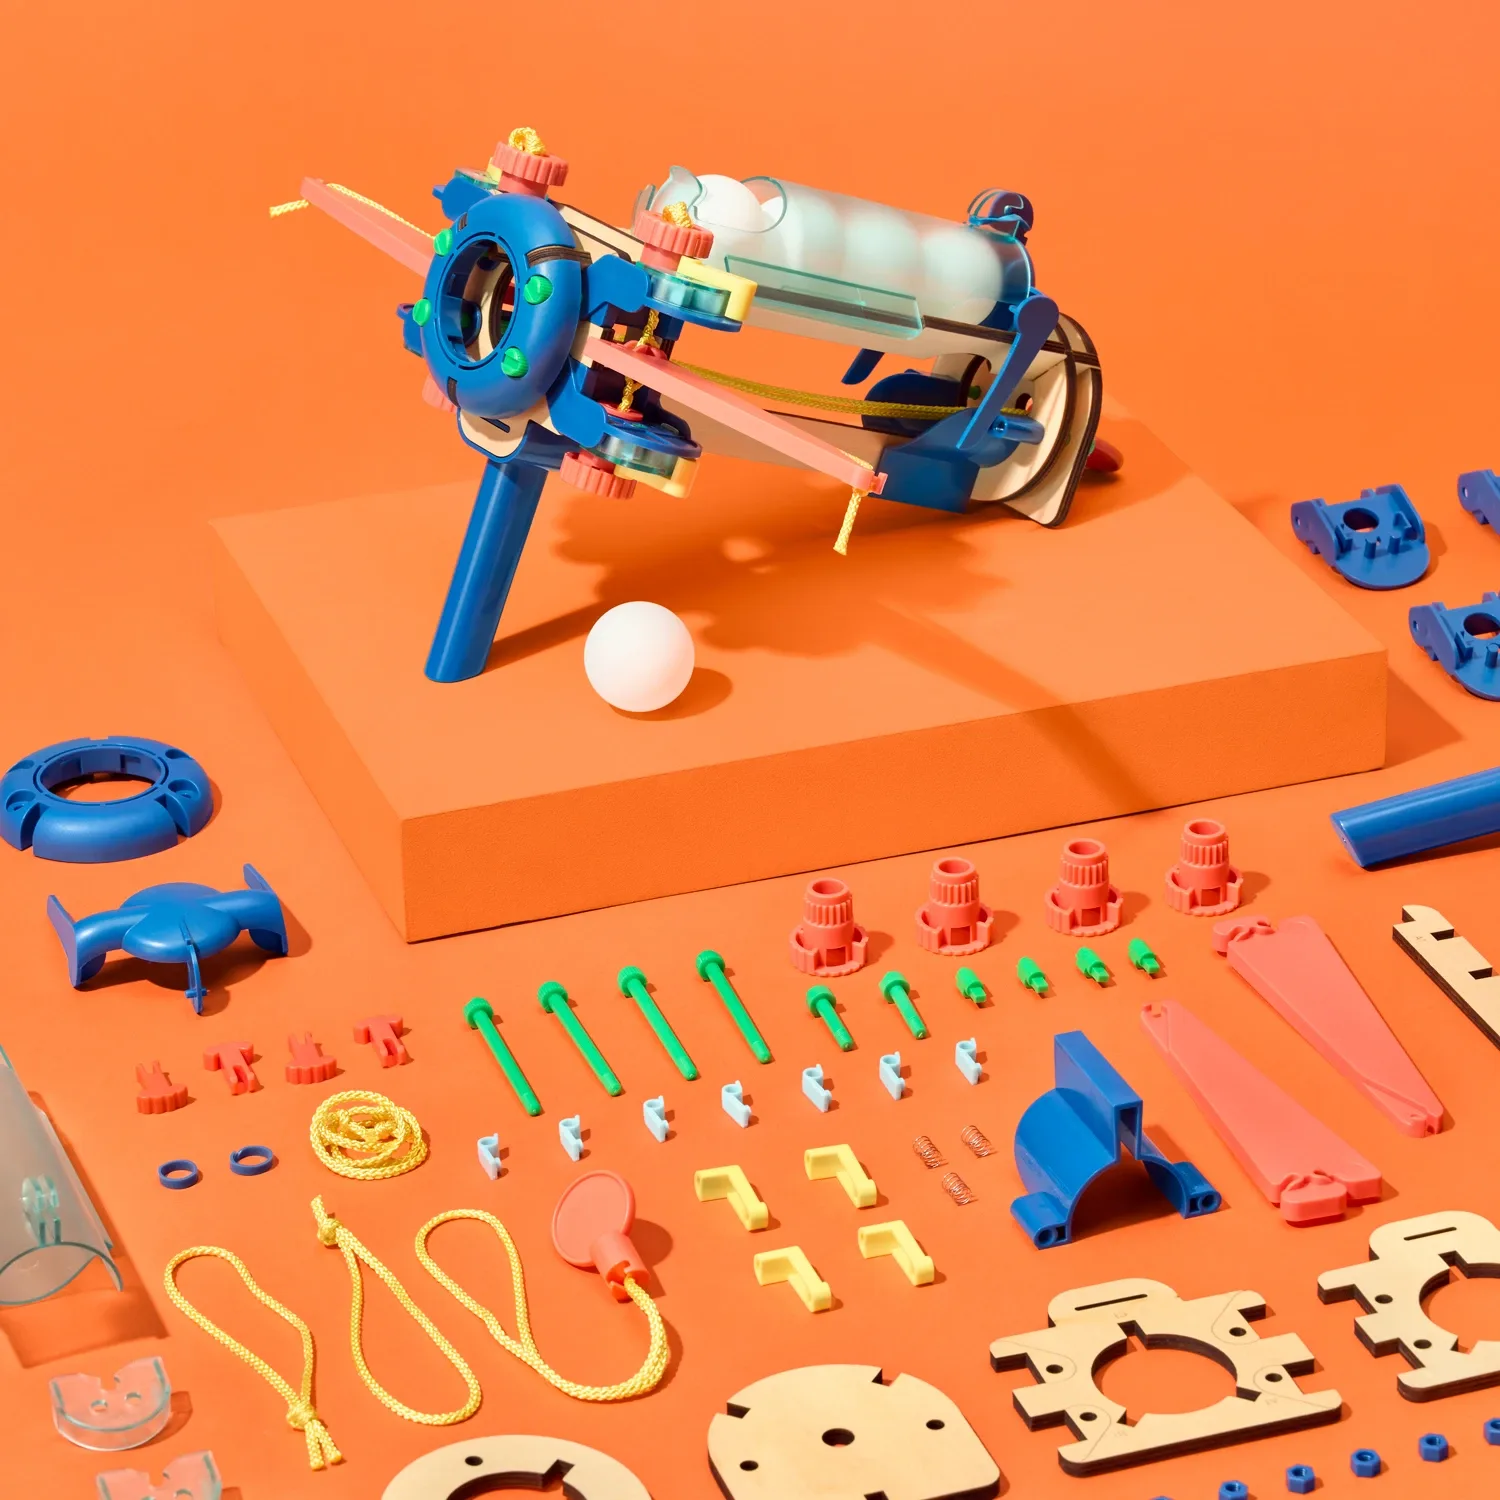
Ballista
-
Ballista: Construct a functional ballista and learn about tension and projectile motion. The project teaches real physics concepts through hands-on play, making it educational as well as fun.
-
Ballista: Encourages problem-solving and fine motor skills through step-by-step assembly. The build process itself develops important skills, not just the launching play.
-
Ballista: Ideal for kids who love building, tinkering, and exploring how things work. This helps you decide if the kit matches your child's interests — it's best for kids who enjoy mechanical projects.
What to Keep in Mind
The ballista launches small craft sticks, so it's best used in a clear area away from breakables. Supervise younger children during assembly, especially with small parts. The kit does not include extra craft sticks, so you may want to have a supply on hand for repeated play. The rubber bands may wear out over time; replacements are easy to find. The supplied instructions guide you through the build, but if you misplace them, the steps are straightforward enough to figure out from the parts.