Quick Answer
To build a solar windmill or watermill, start with the eitech 8000 kit, organize your parts, and follow the manual step-by-step. Pay special attention to the solar module wiring and gear alignment to ensure smooth operation.
Why Choose the eitech 8000 Kit?
The eitech 8000 kit offers two builds in one: a multi-story windmill and a large watermill with a waterwheel. Both are powered by a solar module, so you can explore renewable energy in a hands-on way.
With 380 pieces and an expert difficulty level, this kit is designed for builders aged 8 and up who want a satisfying challenge. The finished model stands 340mm tall, making it an impressive display piece.
Understanding the Solar Module
The solar module powers the windmill or watermill directly from sunlight. It works best in bright, direct light, so place your model near a sunny window or outdoors when testing.
If the model doesn't move, check that the solar panel is clean and the wiring connections are secure. Remember, the solar module won't store energy, so the model only runs when light is available.
Common Mistakes to Avoid
Skipping the parts inventory can lead to frustration mid-build. Take time to sort all 380 pieces before you start.
Another common error is misaligning the gears, which can cause the mechanism to jam. Follow the manual closely and test the movement as you go.
Step-by-Step Building Guide
- Inventory and Sort Parts: Lay out all 380 pieces and group them by type and size as shown in the manual. This prevents mid-build delays and helps you spot missing parts early. Check that you have all pieces before starting; contact support if any are missing.
- Build the Base Structure: Assemble the foundation and lower frame exactly as illustrated. Ensure all connections are tight, as a wobbly base will affect the entire model. Press each joint firmly; a loose base is a common cause of instability.
- Assemble the Gear Mechanism: Install the gears and axles, aligning them carefully with the manual. Test the rotation by hand before adding the solar module. If gears feel stuck, disassemble and realign; don't force them.
- Mount the Solar Module: Attach the solar module to the designated bracket and connect the wires to the motor. Ensure the panel faces upward for maximum light exposure. Check that the panel is clean and unobstructed for best performance.
- Test and Adjust: Place the model in direct sunlight and observe the movement. If it doesn't run, check all connections and gear alignment. A quick troubleshooting pass now saves time later.
- Finalize Your Model: Once everything works, add the decorative elements like the waterwheel or windmill blades. Make sure they don't interfere with the mechanism. Your solar-powered model is ready to display and enjoy.
Product Facts
-
Windmill and watermill - solar powered: This solar brick building kit lets you build a multi-story windmill or a large watermill with a waterwheel, both powered by a solar module. You get two engaging models from one kit, demonstrating renewable energy in action.
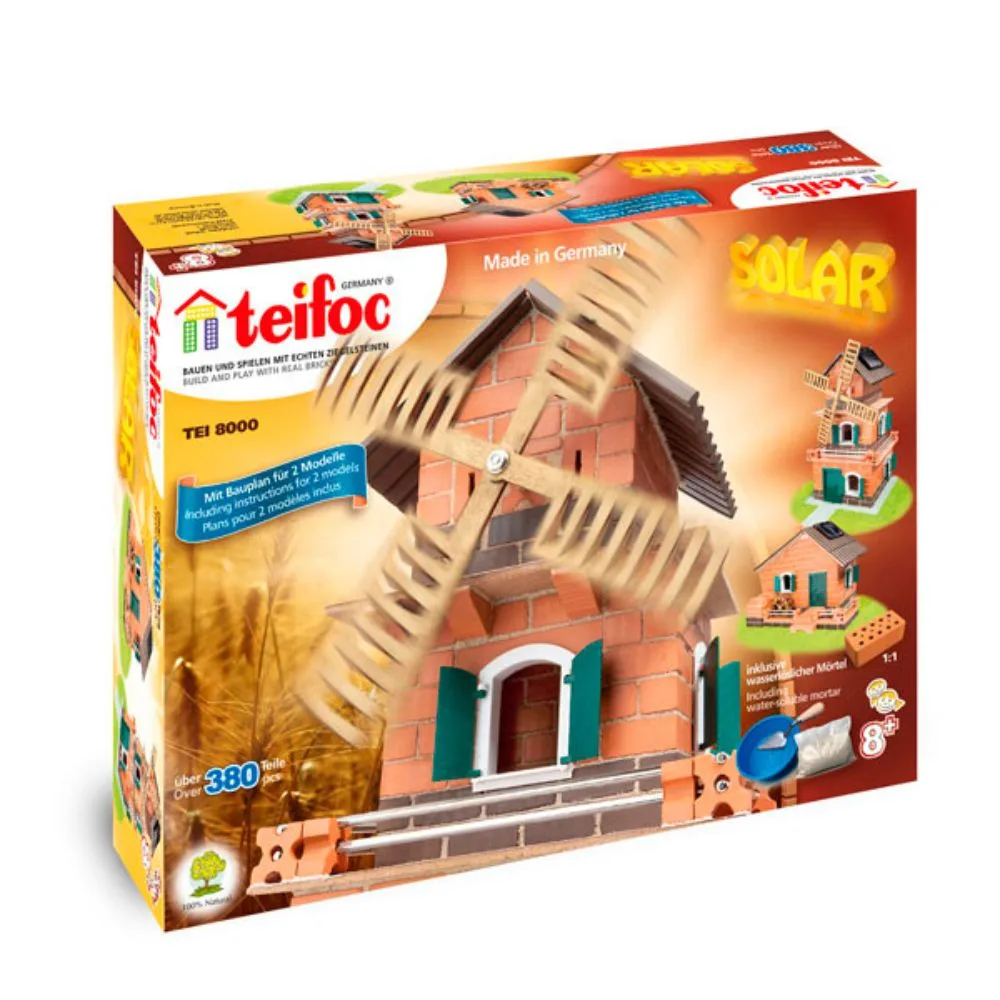
Windmill and watermill - solar powered