What the Green Science Rover Robot Kit Includes
The Green Science Rover Robot kit gives children the parts to build a rolling robot that moves on solar power when sunlight is available. When there is no sun, the robot can also run on battery power, so play is not limited to sunny days. The kit is designed for ages 5 and up, making it suitable for a slightly younger age group than many other engineering or construction toys.
Kids enjoy building the robot and assembling the solar kit, then watching the two systems work together. The hands-on process introduces basic principles of physics and mechanics using everyday materials included in the box. No additional tools or components are required beyond what is supplied.
Key Facts at a Glance
-
Green Science Rover Robot: This clever Rover Robot rolls along on solar power when the sun is shining. It can be powered by battery when there is no sunlight! The dual power source means the robot works both indoors and outdoors, giving kids more opportunities to play and learn regardless of weather.
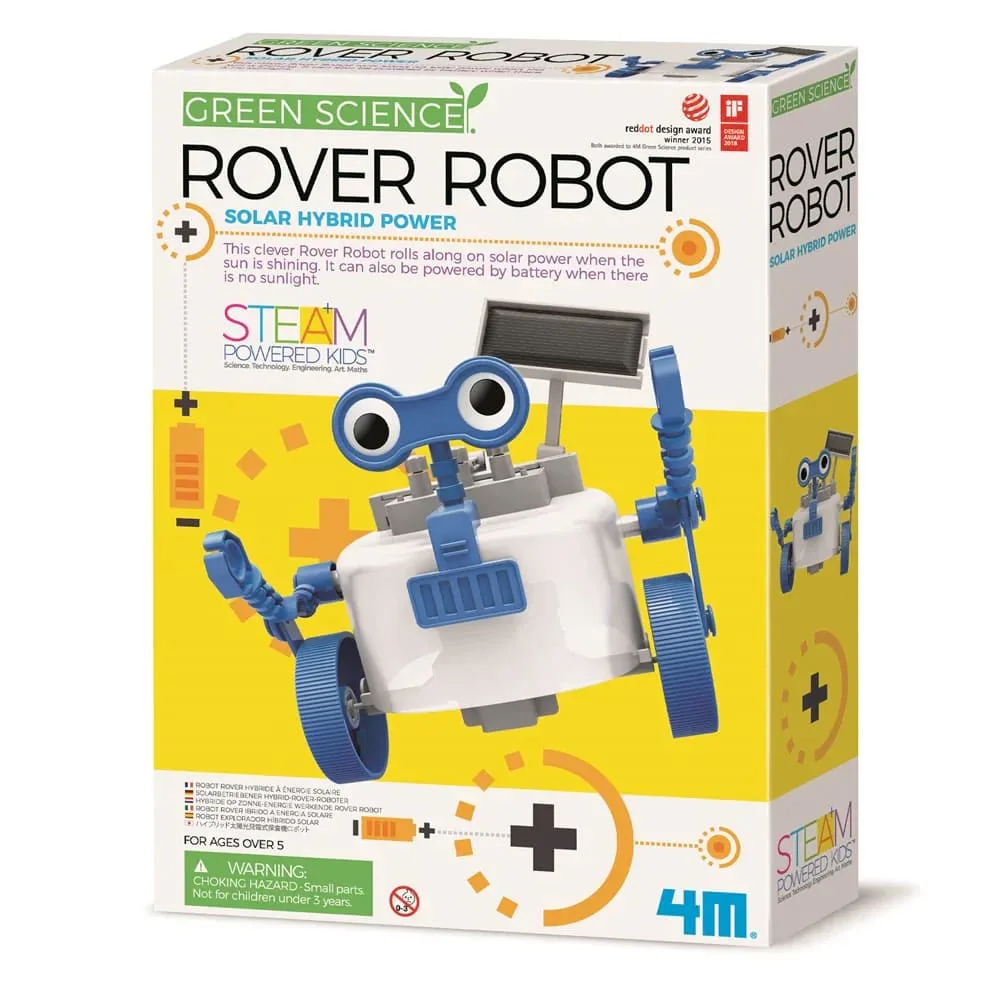
Green Science Rover Robot
-
Green Science Rover Robot: For Ages 5yrs+ This age range is younger than typical engineering kits, so it is a good entry-level STEM project for early elementary children.
-
Green Science Rover Robot: Enhances children’s development in hand-eye coordination, creative thinking skills, engineering skills, construction skills, logical thinking and many more. Building the robot supports multiple developmental areas, making it a valuable educational activity beyond just assembling a toy.
Building the Green Science Rover Robot Step by Step
The following general steps are based on the typical assembly process for a solar rover robot. Always refer to the specific instruction sheet included in your kit for exact part placement and wiring details.
Work on a clean, flat surface with good lighting. Sort the small parts before starting to avoid losing any pieces.
- 1. Prepare the chassis and wheels: Attach the wheel axles to the main body frame. Make sure the wheels spin freely before moving on.
- 2. Install the motor and gearbox: Mount the small motor into the gearbox housing. Align the gears so they mesh smoothly. This step is critical for the robot to move.
- 3. Connect the solar panel: Fix the solar panel to the top of the robot using the provided brackets. Route the wires to the motor terminals, ensuring a secure connection.
- 4. Add the battery backup (optional): If you want the robot to run indoors or on cloudy days, insert the required batteries into the battery compartment. Connect the battery wires to the motor alongside the solar panel wires.
- 5. Test the robot: Take the robot outside into direct sunlight to see it roll forward on solar power. Alternatively, switch to battery mode for indoor testing. If the robot does not move, check all wire connections and gear alignment.
What to Expect from the Finished Robot
Once assembled, the Green Science Rover Robot rolls along on its wheels when exposed to sunlight or powered by battery. Children feel a real sense of achievement after building it and seeing it work. The kit is designed for interactive indoor and outdoor play, and it teaches valuable lessons about solar power in a fun, hands-on way.
The robot is not intended for rough outdoor terrain or water play. Keep it on smooth, dry surfaces for best performance. If the robot slows down, check that the solar panel is clean and receiving direct light, or replace the batteries if using battery mode.
Who This Kit Suits Best
The Green Science Rover Robot is a good match for children ages 5 and older who are curious about how things work. It is an introductory STEM project that does not require advanced building skills. Adult supervision may be helpful for younger builders during the wiring steps.
Because the kit focuses on assembly and basic electrical connections, it works well as a first robot-building experience before moving on to more complex engineering kits. The solar aspect also makes it a nice conversation starter about renewable energy.