Quick answer
Set up your weekly planner spread on the same day each week, usually Sunday evening or Friday afternoon. Draw one column for each day, add a small top box for your three weekly priorities, and leave a side strip for tasks that do not have a fixed day. Fill it in with a pen, not a pencil, so you commit to the plan. A 4 x 6 inch sticker sheet is enough to decorate and label one week without covering the writing space.
Choose a layout that matches how you actually plan
Most weekly spreads fail because the layout fights your habits. If you plan by day, use a horizontal or vertical column for each day. If you plan by project, use a grid with one row per project and write the day in the margin. If you plan by time, leave a narrow left column for hours and block the rest of the page. Pick one structure and keep it for at least four weeks before changing it. A planner for beginners often works best with a simple seven-column layout and one notes strip.
Set a weekly planning routine you can repeat
Pick a fixed 20-minute slot and treat it like an appointment. Start by reviewing last week: cross out what did not happen and move anything still important. Then check your calendar for fixed events, appointments, and deadlines. Write those in first. Next, add your three weekly priorities in the top box. Finally, fill the remaining space with tasks. The routine matters more than the layout, because a weekly planning routine you repeat is what keeps the spread current. Do not skip the review step, even if last week went badly.
Use time blocking without overfilling the page
Time blocking planner tips work best when you block only the hours you control. Mark fixed events first, then add two or three focus blocks of 60 to 90 minutes. Leave at least one empty block per day for overflow. Write the task name inside the block, not just a color, so you know what the block is for. If a block moves, draw an arrow to its new slot instead of erasing it. That small trail shows you where your week actually goes and helps you plan a more realistic next week.
Decorate after the plan, not before
Stickers and washi tape are useful for labeling, color-coding, and marking special days, but they should not hide the writing area. Add them after you have written your tasks. Use small stickers for habit tracking or mood, and keep the center of each day column clear. If you like a themed look, pick one sticker sheet per week so the spread stays consistent. Personal use only means these sheets are for your own planner, journal, or bujo, not for resale or redistribution.
Seven steps to build your weekly spread
- 1. Pick your planning day: Choose a fixed day and time, such as Sunday at 7 p.m. or Friday at 4 p.m. Put it in your calendar as a recurring event. Checkpoint: if you miss the slot twice in a row, move it to a time you are more likely to keep.
- 2. Draw the layout: Rule seven day columns, a top priority box, and a narrow notes strip. Keep the same layout for four weeks before you change it. Mistake to avoid: redrawing the layout every week wastes planning time and stops you from comparing weeks.
- 3. Review last week first: Cross out completed items, move unfinished tasks forward, and note one thing that worked and one that did not. Checkpoint: if more than half your tasks roll over, you are overplanning, not underworking.
- 4. Add fixed events: Write appointments, classes, meetings, and deadlines in their day columns before anything else. Mistake to avoid: planning tasks first and then squeezing events in, which creates conflicts you will not notice until the day arrives.
- 5. Set three weekly priorities: Write three outcomes in the top box. These are the items that make the week feel successful even if nothing else gets done. Checkpoint: if you cannot name three, you have too many small tasks and not enough direction.
- 6. Time block two or three focus sessions: Block 60 to 90 minutes for deep work on your most important tasks. Leave one empty block per day for overflow. Mistake to avoid: filling every hour, which leaves no room for the interruptions that always happen.
- 7. Decorate and close the spread: Add stickers, labels, or color coding after the plan is written. Keep the center of each day column clear for notes. Next step: put the planner where you will see it each morning, and review it for two minutes before you start your day.
Sticker sheets that fit a weekly spread
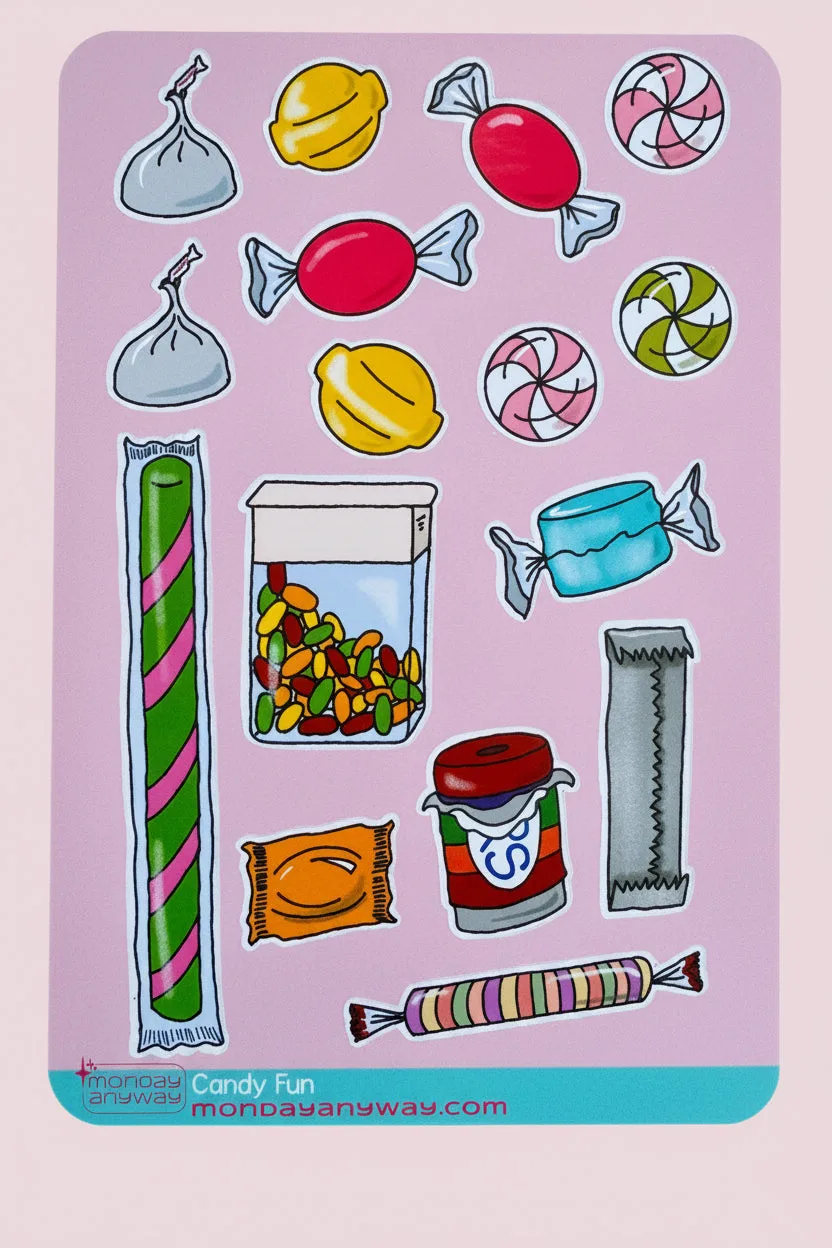
- Candy Sticker Sheet: Candy Sticker Sheet, 4 x 6 inches, glossy sticker paper, USD 3.25. The 4 x 6 inch size covers a weekly spread without overwhelming it, and the glossy paper holds up to light handling in a planner.
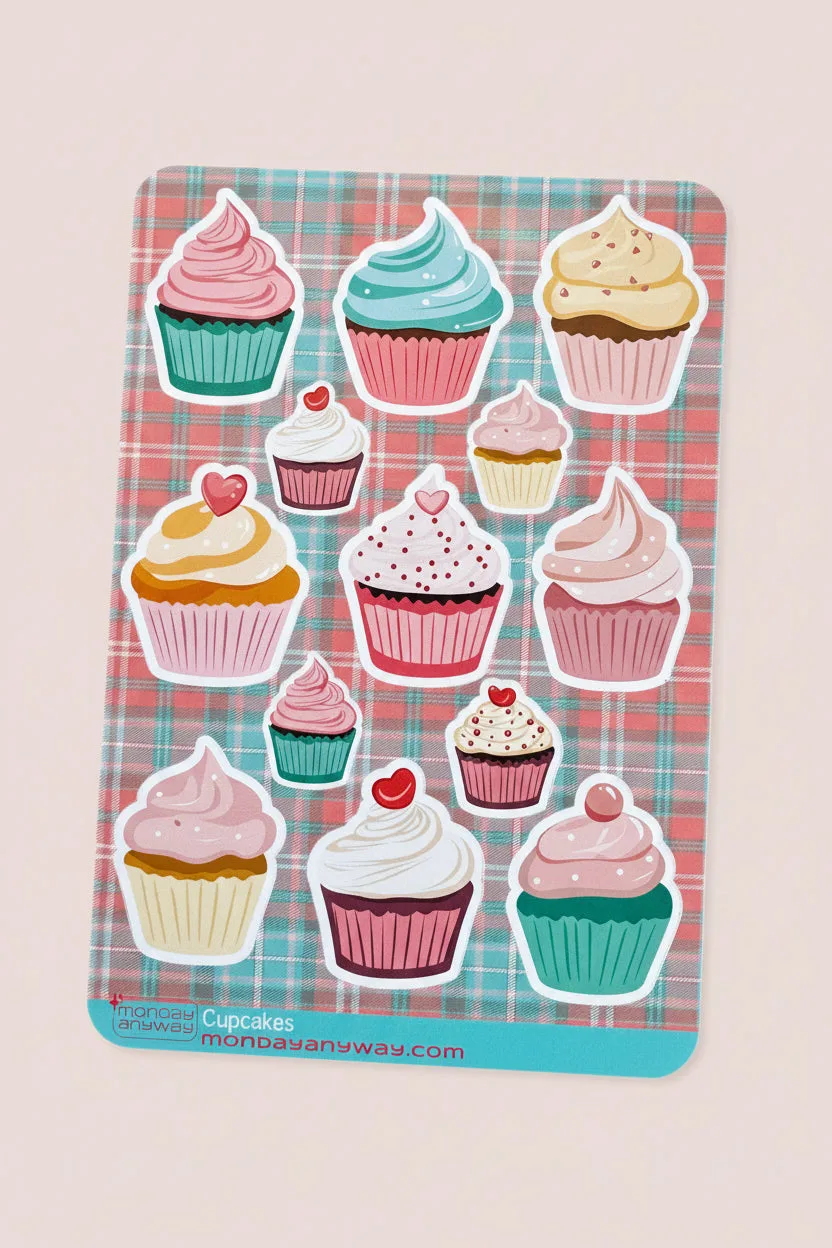
- Cupcake Sticker Sheet: Cupcake Sticker Sheet, 4 x 6 inches, glossy sticker paper, USD 3.25. A second themed sheet lets you color-code weeks or alternate designs without buying a full sticker book.
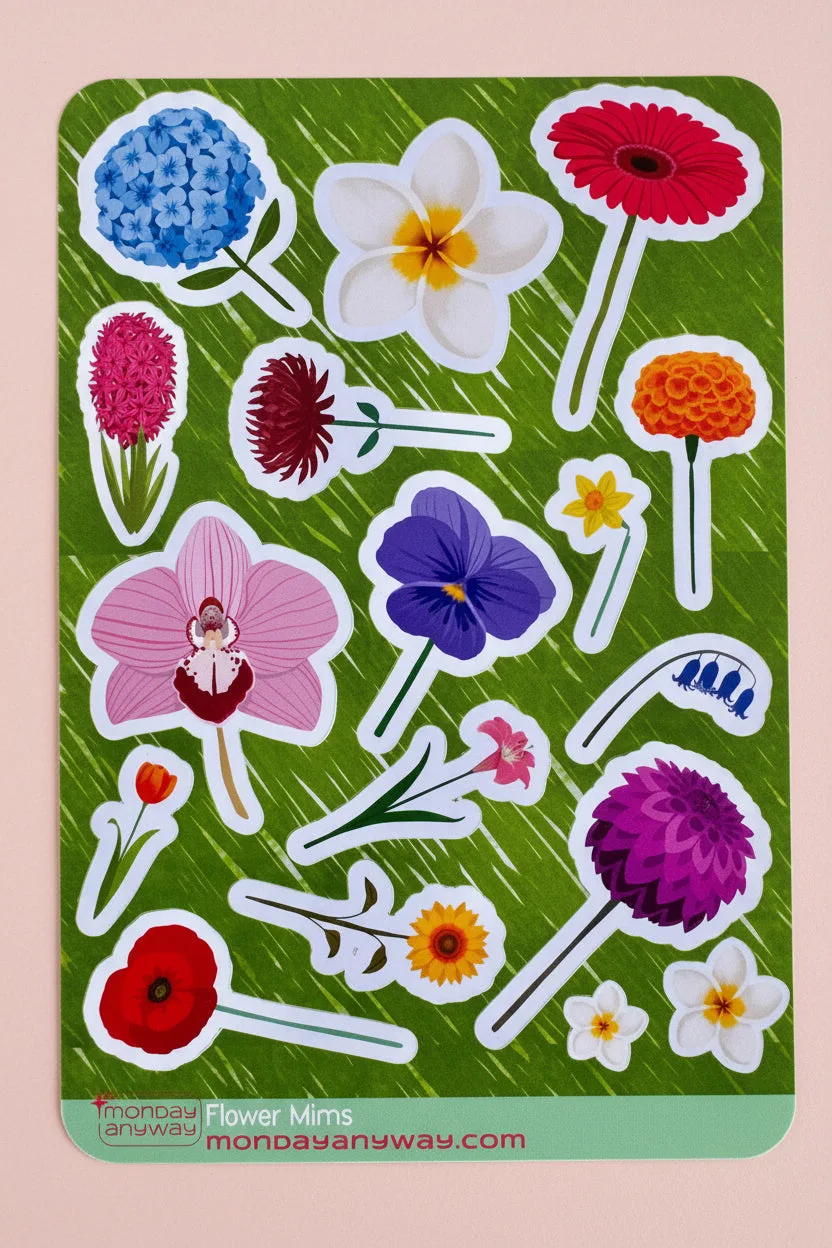
- Flower Mims Sticker Sheet: Flower Mims Sticker Sheet, 4 x 6 inches, glossy sticker paper, USD 3.60. Bright flower variations work well for marking seasons, habits, or special days on a functional planner setup.