Quick answer
Clean enamel pins with a soft, slightly damp microfibre cloth and mild soap, dry them immediately, and store them so metal never rubs against metal. For everyday shine, a dry microfibre buff is enough; for storage, a felt-backed board or a divided box beats a loose jar. Skip abrasive polishes and ultrasonic cleaners — they dull enamel and strip plating.
Enamel pins are built to be worn, but they are not indestructible. The enamel surface can haze, the metal plating can tarnish, and the pin post can bend if it is stored loose in a drawer. A simple routine — gentle cleaning, sensible storage, and careful handling — keeps a collection looking new.
This guide walks through the exact steps for enamel pin maintenance, from the first wipe to long-term storage. It also covers the mistakes that cause most damage, and how to protect enamel pins when you travel or swap them.
Gather the right supplies before you start
You do not need a specialist kit. A microfibre cloth, a soft-bristled brush (a clean makeup brush or soft toothbrush), mild dish soap, and a bowl of lukewarm water will handle almost every cleaning job. For drying, use a second dry microfibre cloth or a lint-free paper towel. If a pin has a stubborn smudge, a tiny amount of isopropyl alcohol on a cotton swab can help, but test it on the back first.
Avoid paper towels with rough texture, abrasive creams, metal polishes, and ultrasonic cleaners. These can scratch enamel or remove the thin protective plating on the metal. If a pin has glued-on elements such as a small charm or a glitter insert, do not soak it — spot-clean only and keep water away from the adhesive.
- Microfibre cloth: two, one damp and one dry
- Soft brush: clean makeup brush or soft toothbrush
- Mild soap: one drop in a bowl of lukewarm water
- Cotton swabs: for edges and recessed areas
Clean the enamel face without dulling it
Dip the soft brush or a corner of the damp microfibre cloth into the soapy water, then wipe the enamel face in gentle circles. Do not scrub hard; the goal is to lift fingerprints, dust, and skin oils, not to polish the surface. For textured or recessed enamel, use a dry soft brush to lift dust from the grooves, then a barely damp cloth to wipe the flat areas.
Rinse the cloth in clean water and wipe again to remove soap residue. Soap left on the surface can attract dust and leave a film that makes the pin look dull. Dry immediately with the second microfibre cloth. Never let a pin air-dry, especially if the metal is brass or copper-toned — water spots and tarnish can start within minutes.
- Work in circles, not back and forth, to avoid swirl marks
- Keep water away from the pin post and clutch to prevent rust
- Dry the back and the post as carefully as the front
Handle the metal and post with care
The post and clutch are the most vulnerable parts. When removing a pin from clothing, support the pinhead with one hand and pull the clutch straight off with the other. Twisting or pulling at an angle bends the post and loosens the clutch over time. If a clutch feels stiff, do not force it — a small amount of graphite from a pencil lead rubbed on the post can help it slide.
For pins with a rubber clutch, replace it if it cracks or loses grip. Metal clutches are more durable but can scratch other pins if stored loose. If a pin has a deluxe locking clutch, check that the locking mechanism still engages; a worn clutch is the most common reason a pin falls off and gets lost.
- Pull clutches straight off, never twist
- Replace cracked rubber clutches before they fail
- Keep spare clutches in your storage kit
Store pins so they do not scratch each other
Enamel pin storage is where most collections get damaged. A loose jar lets pins tumble and chip each other's enamel. A felt-backed pin board, a divided craft box, or a binder with felt pages keeps each pin separate. If you use a board, push the post through the felt and secure the clutch behind; the felt cushions the enamel and stops the pin from rotating.
For pins you are not displaying, place each one in a small acid-free paper envelope or a soft pouch. Avoid plastic zip bags for long-term storage — trapped moisture can encourage tarnish on the metal. Keep the storage box out of direct sunlight and away from humid rooms such as bathrooms. A stable, dry drawer is better than a sunny shelf.
- Felt boards and divided boxes prevent metal-on-metal contact
- Acid-free envelopes are better than plastic bags for long storage
- Keep pins away from humid air and direct sun
Protect pins when you wear and travel with them
On clothing, attach pins to a fabric that can take the weight — denim, canvas, or a thick jacket. Thin silk or loosely woven fabric can tear, and the pin can drop. If you wear multiple pins on one garment, space them so the backs do not clink together. Check the clutch before you leave the house; a loose clutch is the main cause of lost pins.
When travelling, use a hard-shell pin case or a small felt roll. Do not toss pins into a toiletry bag or a pocket with keys and coins. If you are taking a pin to a swap meet, carry it in a soft pouch and keep it separate from other pins until you are ready to trade. A little padding prevents the scratches that are almost impossible to remove later.
- Attach to sturdy fabric, not delicate weaves
- Use a hard case or felt roll for travel
- Keep pins away from keys, coins, and loose metal
Your enamel pin care routine in seven steps
- Step 1: Set up a soft work surface: Place a clean microfibre cloth or a silicone mat on your table before you handle any pins. This stops enamel from scratching on a hard surface and catches any clutch you drop. Checkpoint: if your surface is bare wood or glass, add a cloth first.
- Step 2: Dust the pin dry: Use a dry soft brush to lift dust from the enamel face and around the metal edges. Do this before any water touches the pin, so you are not grinding grit into the surface. Mistake to avoid: wiping a dusty pin with a damp cloth, which can drag particles across the enamel.
- Step 3: Wipe with mild soapy water: Dip a corner of a microfibre cloth in lukewarm water with one drop of mild dish soap. Wipe the enamel in gentle circles, then wipe again with a clean damp cloth to remove residue. Checkpoint: no soap film should remain when the pin dries.
- Step 4: Dry immediately and completely: Use a dry microfibre cloth to dry the front, the back, and around the post. Do not let the pin air-dry, and do not use a hairdryer — heat can loosen glued elements. Mistake to avoid: leaving water in the recessed areas of the metal, where tarnish starts.
- Step 5: Check and tighten the clutch: Press the clutch onto the post and feel for grip. If it slides easily or feels loose, replace it. A worn clutch is the most common reason pins fall off and get lost. Checkpoint: if the clutch does not hold firmly, swap it before wearing the pin.
- Step 6: Store pins separately: Place each pin on a felt board, in a divided box, or in an acid-free envelope. Keep metal away from metal and avoid plastic bags for long-term storage, as trapped moisture can cause tarnish. Mistake to avoid: tossing pins into a loose jar or drawer where they can chip each other.
- Step 7: Do a seasonal shine check: Every few months, take out your collection and give each pin a dry microfibre buff. Look for dull patches, tarnish on the metal, or loose clutches, and clean or replace as needed. Next step: note any problem pins in a notebook so you can track whether the issue returns.
Products that help with pin care and display
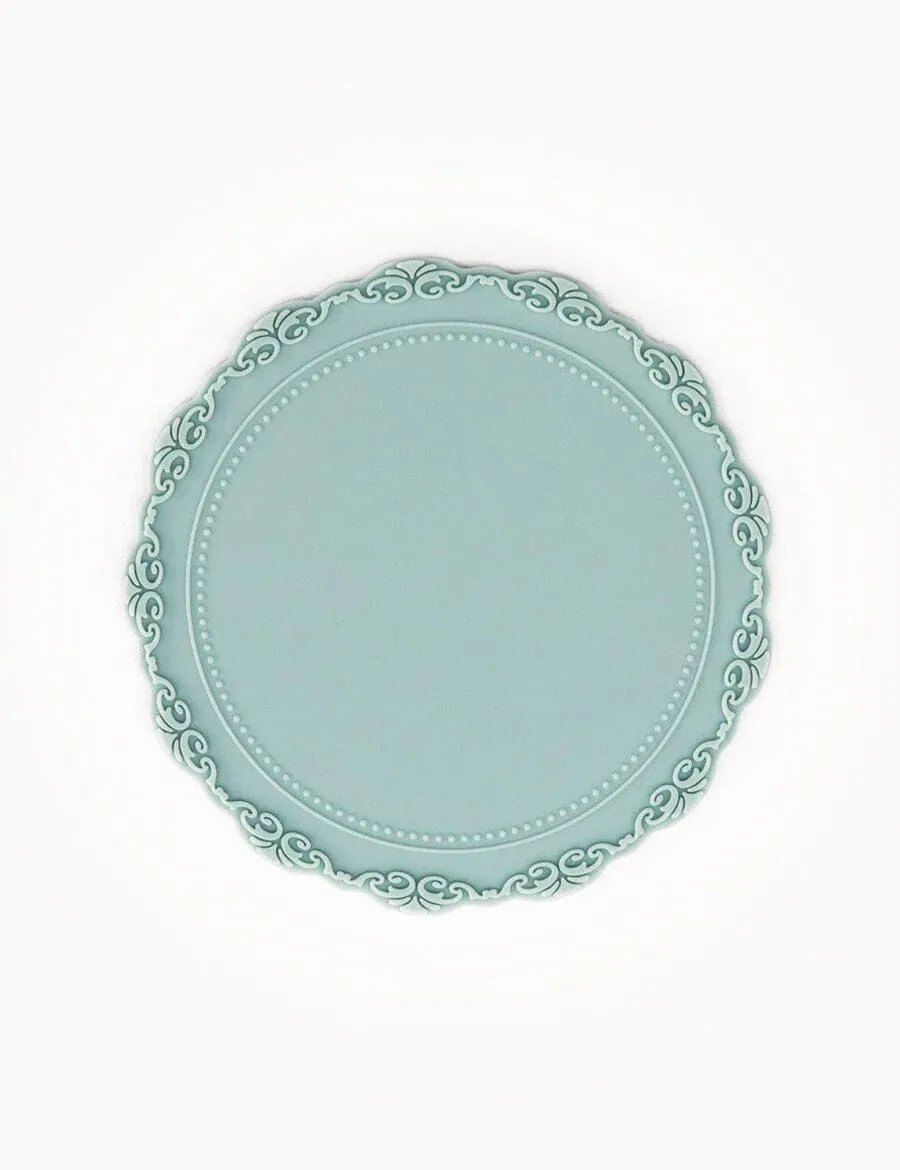
- Wax Silicone Mat - Duck Egg Blue: Wax Silicone Mat, in Duck Egg Blue. Specification: Wax Silicone Mat creates allows you to create beautiful wax seals. Use with our Bespoke Letterpress Wax Accessories Collection including our Wax Seals, Wax Seal Beads, Wax Burner, Wax Bead Spoon, Wax Seal Template, Wax Foil and Wax Glitter. Material: Silicone Mat. Size: 100mm x 100mm x 5mm. A soft silicone mat gives you a non-slip, scratch-free surface to lay pins on while you clean or sort them, so they do not slide around or pick up grit from a hard table.
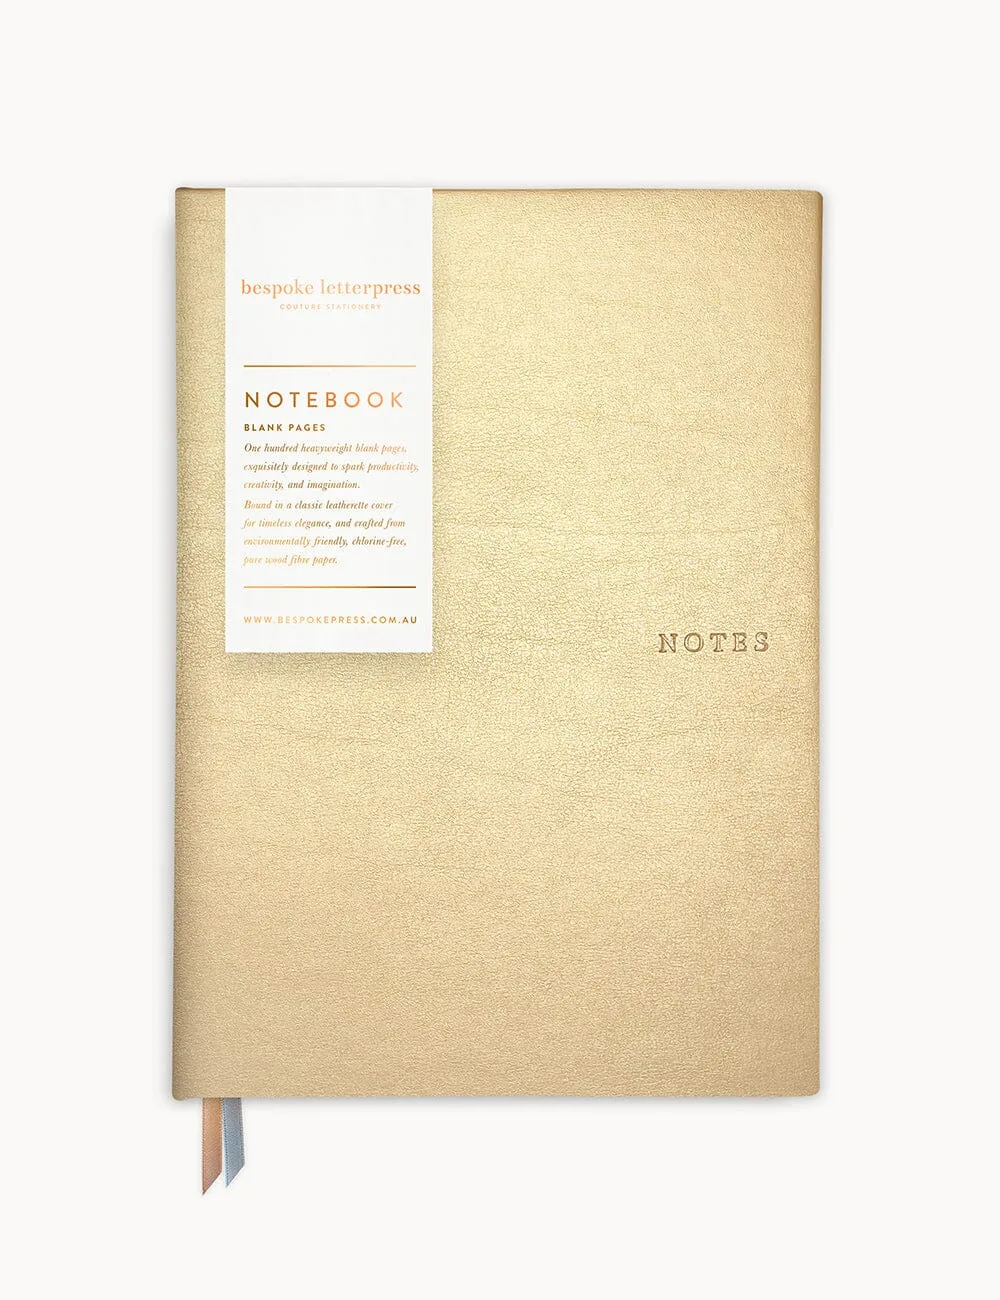
- Classic Notebook - Pearl (Blank): Classic Pearl Vegan Leather Notebook, with one hundred blank pages and gold gilded edges and satin page markers. Designed in Australia. Specification: Internal cover Illustrated by Bespoke Library. Featuring 100 heavyweight blank pages, with gilded edges. Section sewn binding. Removable Gold Foil printed. Use the blank pages to log your pin collection — when you acquired each pin, its condition, and any cleaning notes. A written record makes it easier to spot tarnish early and decide when a pin needs attention.
Enamel pin care comes down to three habits: clean gently with mild soap and a soft cloth, dry immediately, and store pins so they never rub against each other. Do that, and your collection will keep its colour and shine far longer than pins left loose in a drawer.