Quick answer
Keep quilting scissors sharp by dedicating them to fabric only, wiping the blades after every project, storing them dry and closed, and sharpening them as soon as they start chewing fabric instead of slicing it. A simple routine of clean, dry, store, and sharpen prevents most dulling and alignment problems.
Quilting scissors work harder than most tools in your sewing room. They cut through cotton, batting, thread, and the occasional stray pin, and they lose their edge gradually enough that you may not notice until a cut goes wrong.
The good news is that scissor care is mostly routine. You do not need special equipment for daily maintenance, and you do not need to sharpen after every project. What matters is keeping fabric scissors away from paper and other abrasive materials, cleaning them properly, and recognizing the moment they need attention.
Start with a fabric-only rule
The single biggest cause of dull quilting scissors is cutting things they were not made for. Paper, cardboard, fusible interfacing, and adhesive-backed materials contain abrasive fibers and coatings that round over a fine edge quickly. Once you use fabric scissors on paper, they rarely return to their original sharpness without professional sharpening.
Set up a clear separation in your workspace: one pair for fabric, one pair for paper patterns and templates, and a small snip for thread. Label them if you share a studio. This one habit keeps scissors sharp longer than any other step in a care routine.
- Never cut paper, tape, wire, or floral stems with fabric scissors.
- Keep a separate pair for templates, fusibles, and trimming paper patterns.
Clean the blades after every project
Lint, thread tails, and fabric dust collect around the pivot screw and between the blades. That buildup creates friction, which makes the scissors feel stiff and can push the blades slightly out of alignment. Cleaning fabric scissors takes less than a minute and prevents most of that wear.
Wipe the blades with a dry or barely damp cloth, then dry them immediately. If there is sticky residue from fusible web or tape, use a small amount of rubbing alcohol on a cloth, not directly on the pivot. Never soak scissors in water, and never put them in a dishwasher, because moisture inside the pivot is what causes rust and stiffness.
- Wipe from the pivot toward the tip, not back and forth across the edge.
- Dry the pivot area completely before closing the scissors.
Store scissors so the edges are protected
Scissors that rattle around in a drawer will bump against pins, rulers, and other tools. Those small collisions nick the edge over time. Store quilting scissors closed, in a sheath, a case, or a dedicated slot, and keep them away from moisture and extreme temperature changes.
If your scissors have a tension screw, check it occasionally. It should be snug enough that the blades meet along their full length but loose enough that the handles open smoothly. A loose screw lets the blades separate, which folds fabric instead of cutting it and feels like dullness even when the edge is fine.
- Use a sheath or case rather than a loose drawer.
- Keep scissors out of humid areas and away from damp batting or fabric.
Know when to sharpen and when to adjust
A sharp scissor slices cleanly through fabric with light pressure. A dull one chews, pushes the fabric ahead of the blades, or leaves a frayed edge. Before you sharpen, check the tension screw and clean the pivot. Sometimes a stiff or skipping cut is a tension problem, not a sharpness problem, and adjusting it saves the edge.
If cleaning and tension do not help, it is time to sharpen. For most quilters, professional sharpening is the safest route because it preserves the blade angle. If you sharpen at home, use a sharpener designed for sewing scissors and follow its instructions exactly. Do not use a kitchen knife sharpener or a grinding wheel, which remove too much metal and can ruin the set of the blades.
- Test on a scrap of cotton: a sharp blade cuts without pulling the fabric.
- Sharpen scissors as a pair so the blades stay matched.
Use the right tool for the cut
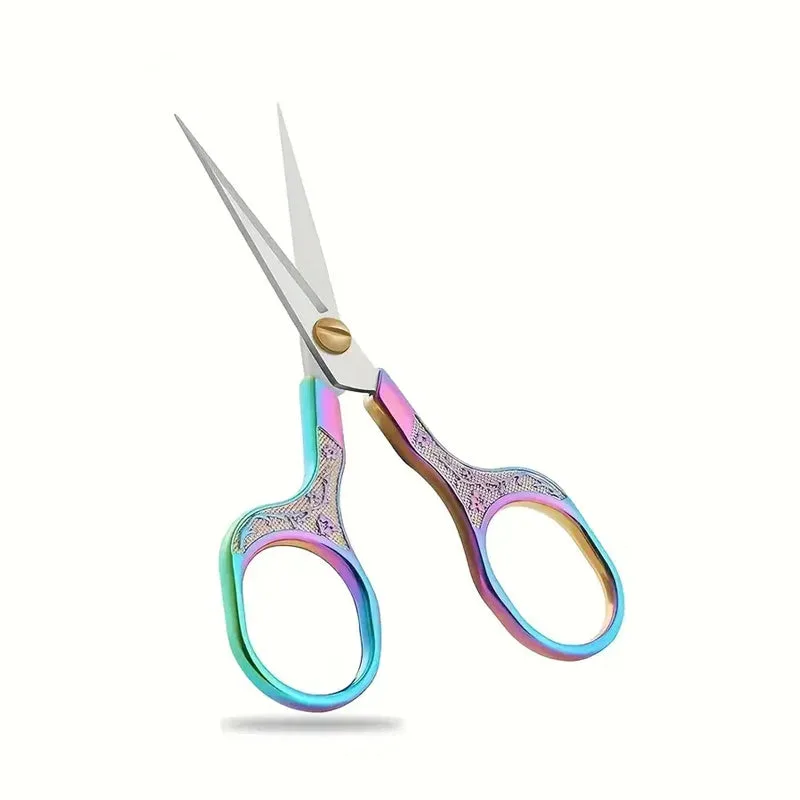
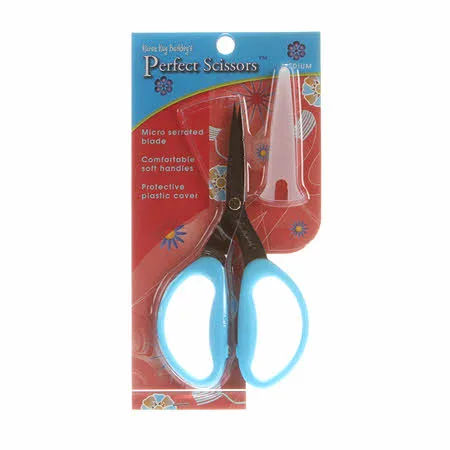
Scissor maintenance also means matching the tool to the task. Small curved snips are useful for clipping threads, while heavier shears handle multiple layers and batting. Using lightweight scissors to cut through thick seams stresses the pivot and can spring the blades apart.
For rotary cutting, a sharp blade and a clean mat do more for accuracy than any scissor technique. If you are trimming quilt blocks or squaring up fabric, a rotary cutter with a fresh blade is often the better choice, and it keeps your fabric scissors reserved for the cuts they do best.
- Reserve lightweight scissors for thread and fine trimming.
- Use a rotary cutter for long straight cuts and multiple layers.
Your five-step scissor care routine
- Separate fabric scissors from paper scissors: Designate one pair for fabric only and store a second pair with your patterns and templates. This prevents abrasive paper fibers from dulling the fine edge. Checkpoint: if you cannot remember which pair is which, label the handles now.
- Wipe blades and pivot after each project: Use a dry or barely damp cloth, dry immediately, and use a little rubbing alcohol on a cloth for sticky residue. Never soak scissors or put them in water. Mistake to avoid: leaving lint packed around the pivot screw, which adds friction and misaligns the blades.
- Check and adjust the tension screw: The screw should be snug enough that the blades meet along their full length but loose enough for smooth opening. A loose screw makes sharp scissors feel dull. Checkpoint: test on scrap cotton after adjusting; the cut should be clean, not folded.
- Store closed in a sheath or case: Keep scissors away from loose pins, rulers, and moisture. A dedicated slot or case prevents nicks and rust inside the pivot. Mistake to avoid: tossing scissors into a crowded drawer where they knock against metal tools.
- Sharpen when cleaning and tension no longer help: Choose professional sharpening or a sharpener made for sewing scissors, and sharpen the pair together so the blades stay matched. Avoid kitchen knife sharpeners and grinding wheels. Next step: test on a fabric scrap after sharpening. If it still chews, have a professional service check the blade set.
Tools that support good scissor care
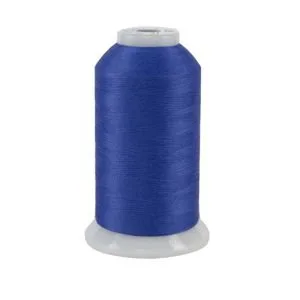
- So Fine! Thread #478 Delphinium: So Fine! #50 is a 50 wt. 3-ply lint-free polyester thread, sold on 3,280-yard cones, and is recommended for quilting and sewing and may also be used as bobbin thread. Lint-free thread produces less fuzz around the pivot and blades, so your scissors stay cleaner between projects.
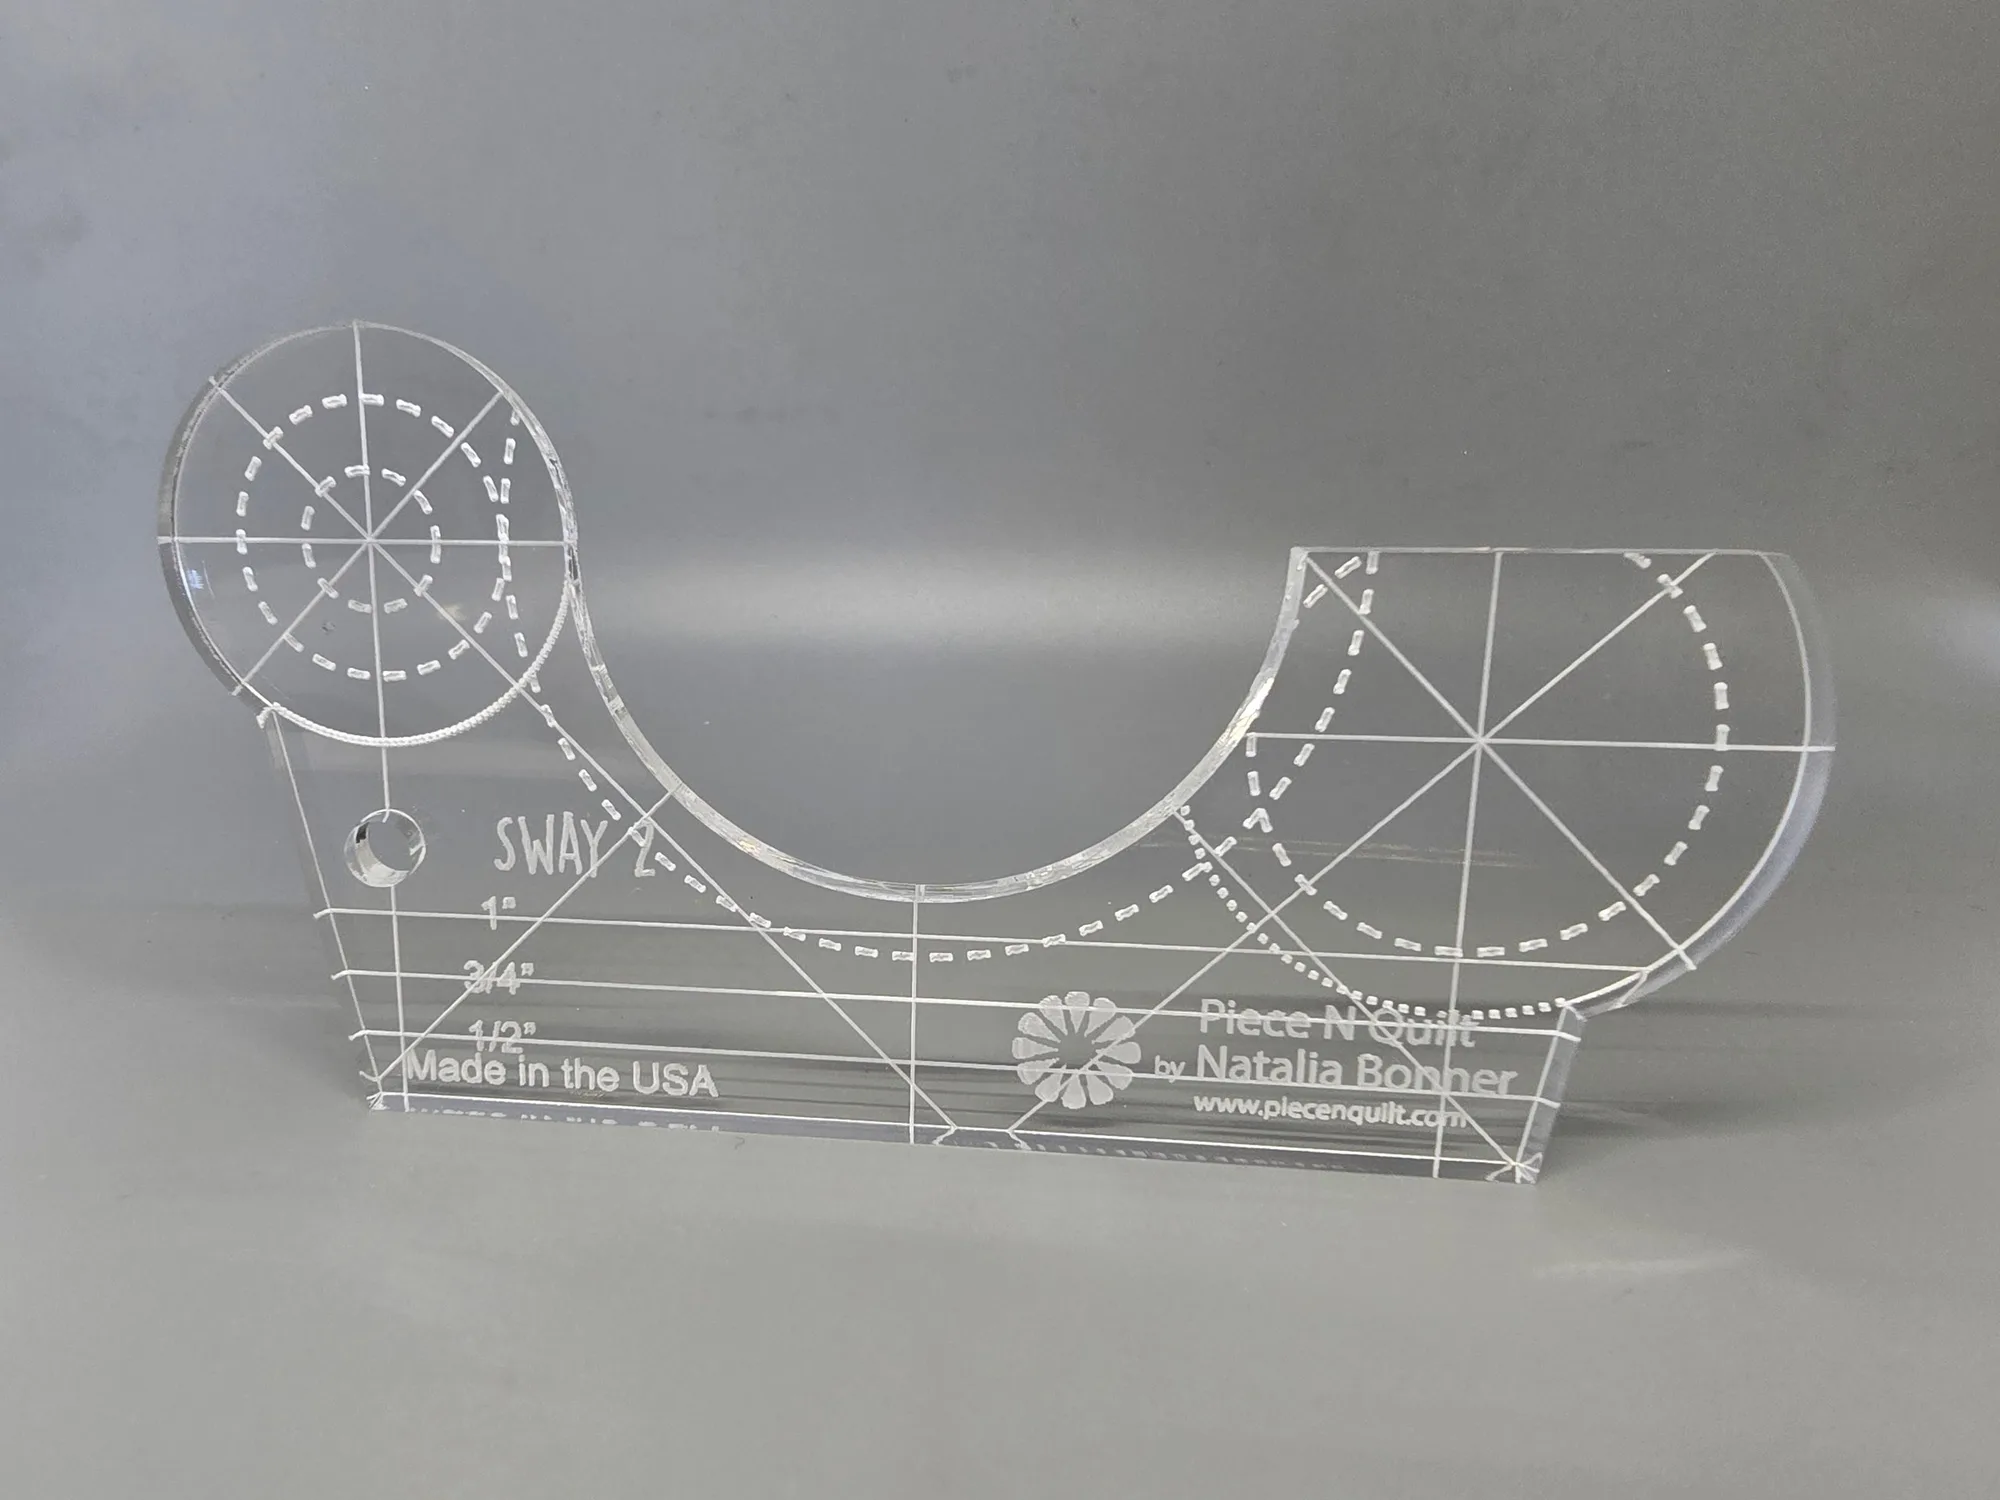
- Sway 2 Machine Quilting Ruler: The Sway 2 machine quilting ruler is designed for machine quilting and marking 2-inch circles and coordinating quilting designs, and it is part of the Sway Machine Quilting Ruler family created by professional machine quilter Natalia Bonner. When you mark and quilt with a dedicated ruler instead of freehand trimming, you rely less on scissor cuts for curved designs, which reduces wear on your fabric scissors.
Quilting scissors reward a little attention. Keep them for fabric only, wipe and dry them after each project, store them protected, and sharpen as soon as a clean cut becomes a struggle. That routine keeps your scissors sharp and your cutting accurate project after project.