Quick answer
Wash handmade items with sewn-in labels inside out in cold water on a gentle cycle, skip bleach and fabric softener, and air-dry or tumble on low. If you iron, press the label from the back or use a pressing cloth on low heat. These habits prevent the fading, fraying, and curling that make labels look worn out long before the quilt or garment does.
A sewn-in label is often the smallest part of a handmade project, but it's the part that carries your name, your message, or your brand. It deserves the same care you gave the quilt, bag, or garment it's attached to. The good news: label care is mostly about avoiding a few common mistakes, not adding a complicated laundry routine.
This guide walks through the full process, from pre-washing your label before you sew it in to storing finished pieces. Each step includes the mistake that causes the most damage and a checkpoint so you know you're doing it right. You'll also see how specific labels from Kati Cupcake fit into the routine.
Why sewn-in labels fade, fray, and curl
Most fabric labels are printed or woven, and both methods are sensitive to three things: heat, harsh chemicals, and abrasion. Hot water and high dryer heat can break down the inks or threads that make the text readable. Bleach and fabric softener leave residues that dull colors and weaken fibers. Tumbling against zippers, buttons, or heavy seams rubs the label surface until edges fray and corners curl.
That doesn't mean labels are fragile. It means they behave like any other fine fabric. Treat them the way you'd treat a favorite quilt: cool water, mild detergent, low heat. The steps below put that into practice.
One honest limitation: label manufacturers don't always publish a wash-temperature rating. If your label came with specific care instructions, those override anything here. If it didn't, use the conservative settings in this guide.
- Heat, bleach, and abrasion are the three main enemies of label longevity.
- When in doubt, choose the gentler setting—cold water and low heat.
Step 1: Pre-wash and test before you sew
Before a label goes into a quilt or garment, give it a trial run. Wash one label by hand in cool water with a drop of mild detergent, rinse, and let it air-dry. This shows you how the label responds to water and whether the ink or weave changes. It also pre-shrinks the label so it won't pucker later when the finished piece is washed.
The common mistake here is skipping the test because you're eager to finish the project. A label that bleeds, stiffens, or curls in the test would have done the same thing on a finished quilt—except then it's much harder to fix. The checkpoint: after drying, the label should look and feel essentially the same as before, just slightly softer. If it changed dramatically, use it on a decorative project instead of a washable one.
- Test one label from every new pack; print batches can vary.
- Let the test label dry completely before judging the result.
Step 2: Sew labels in with wash-friendly placement
Where and how you attach a label affects how it survives laundry. Place labels on the inside back of a quilt, the inside back neck of a garment, or the interior of a bag—areas that see less friction. Stitch around the label's perimeter with a small, tight stitch so edges can't lift and catch during washing.
The mistake to avoid is sewing a label onto an outside surface that rubs against other laundry, like the front of a tote or the sleeve of a jacket. If a label must be visible, choose a spot that won't grind against zippers or hardware in the wash. Checkpoint: run your finger around the sewn edge—if any corner lifts, add a few more stitches before the first wash.
- Inside placements last longer than exposed, high-friction placements.
- Secure all four edges; loose corners are where fraying starts.
Step 3: Wash inside out in cold water
Turn the item inside out so the label faces inward, away from other fabrics and hardware. Use cold water and a gentle or delicate cycle with a mild detergent. Cold water is the single biggest factor in preventing fade, and the gentle cycle reduces the mechanical rubbing that frays label edges.
Skip bleach, oxygen boosters, and fabric softener. Bleach attacks dyes and fibers; softener coats fabric and can make labels look dingy over time. The common mistake is treating a labeled quilt like heavy bedding and running a hot, vigorous cycle. Checkpoint: after washing, the label should still be flat against the fabric with no lifted edges.
- Cold water, mild detergent, gentle cycle—remember those three.
- Wash labeled items with similar colors and soft fabrics, not towels or jeans.
Step 4: Dry low or air-dry
Heat is the fastest way to fade a label, so keep the dryer on low or skip it entirely. Air-drying is safest: lay the item flat or hang it, and smooth the label with your fingers while it's damp so it dries flat. If you use a dryer, remove the item while it's still slightly damp to reduce wrinkling and heat exposure.
The mistake here is cranking the dryer to high because the quilt is thick. High heat for one cycle can dull a label that would otherwise have stayed crisp for years. Checkpoint: check the label when the item comes out. If it feels stiff or the text looks lighter, switch to air-drying for that piece going forward.
- Air-drying is the safest option for any labeled handmade.
- If you must use a dryer, choose low heat and take the item out early.
Step 5: Press carefully and store smart
When pressing a labeled item, iron from the back of the label or place a pressing cloth over it and use low heat with no steam. Direct, high-heat contact with an iron can scorch or melt printed surfaces. For storage, fold quilts so the label isn't creased sharply, and keep items out of direct sunlight, which fades fabric over time.
The common mistake is pressing a label face-up on a hot setting to flatten a curl. That usually makes the curl permanent and can damage the print. Checkpoint: after pressing, the label should lie flat and read clearly. If a corner still curls, a few extra stitches will hold it better than more heat.
- Press from the back or through a cloth; never iron the label face directly.
- Store folded so the label isn't crushed along a sharp crease.
Your label care checklist
- Test one label first: Hand-wash a single label in cool water with mild detergent, then air-dry it before sewing the rest into projects. If it stays flat and readable, the batch is ready for washable items.
- Sew edges down completely: Stitch around the full perimeter with a small stitch, placing the label inside the garment, quilt, or bag where friction is lowest. Run a finger around the edge; no corner should lift.
- Wash cold and gentle, inside out: Turn the item inside out, use cold water and mild detergent on a delicate cycle, and never add bleach or fabric softener. Check after washing that the label is still flat against the fabric.
- Air-dry or tumble low: Lay flat or hang to dry, smoothing the label while damp; if using a dryer, choose low heat and remove the item slightly damp. If the label feels stiff or looks lighter, air-dry that piece from now on.
- Press from the back only: Use low heat, no steam, and either iron the back of the label or cover it with a pressing cloth. Never iron the label face directly—heat is what fades prints.
Labels built for real laundry routines
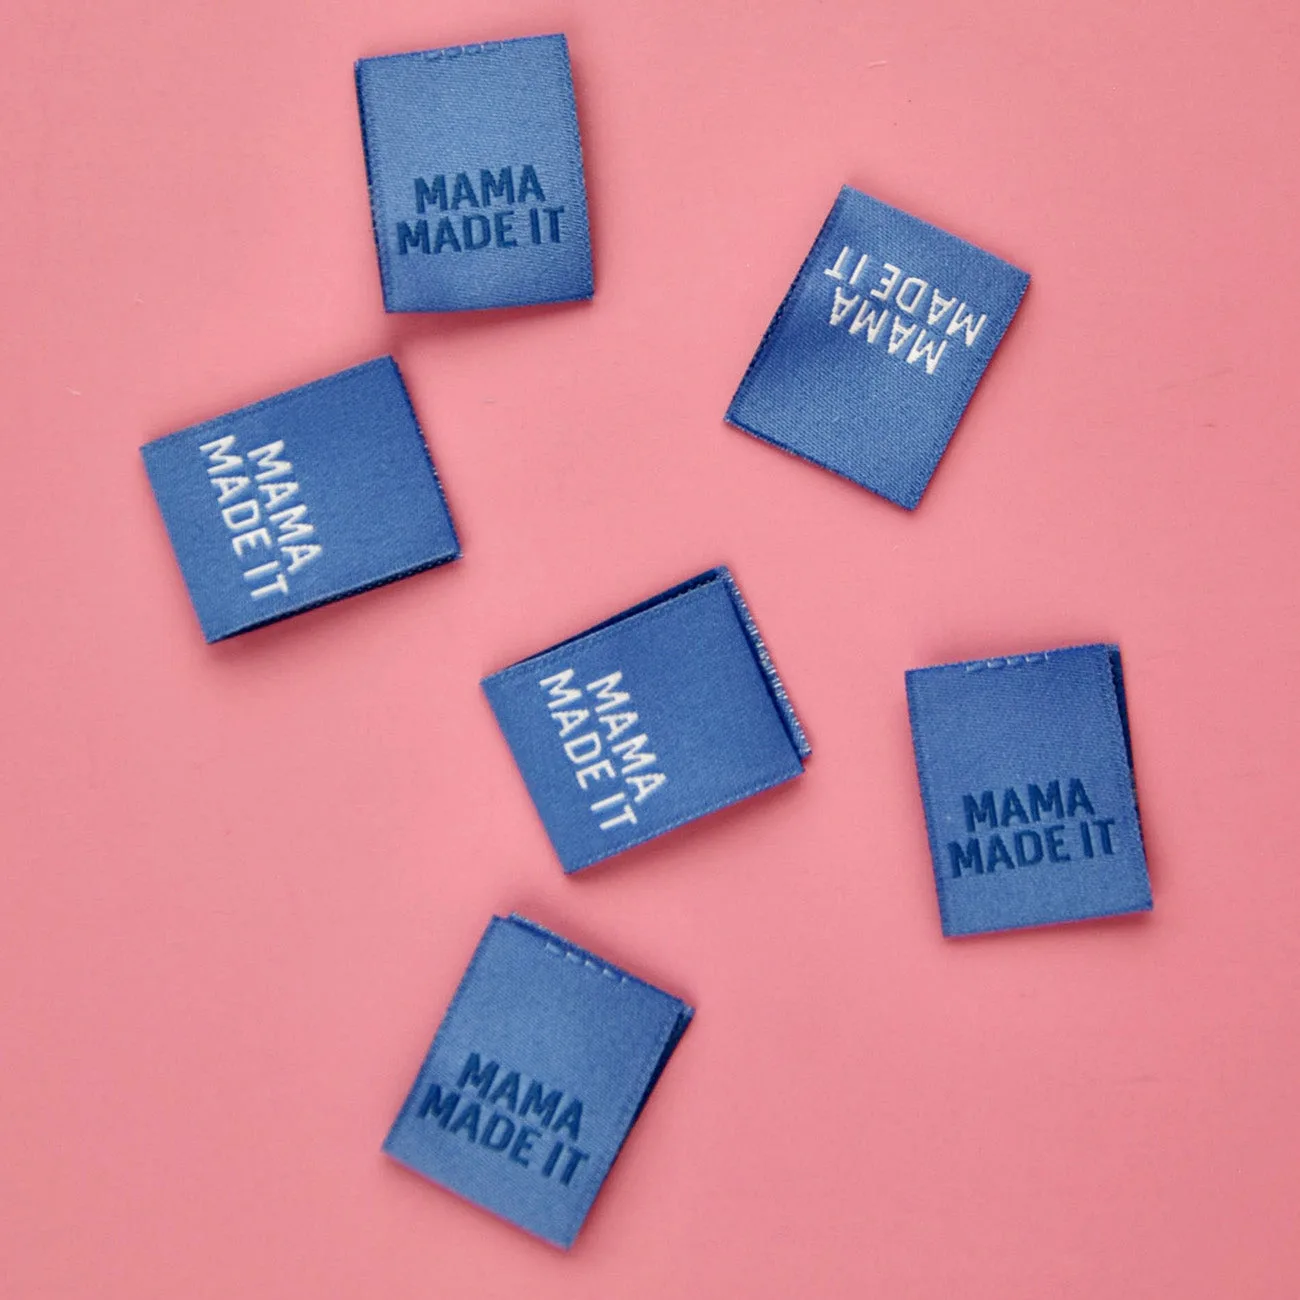
- Mama Made It - Sew in Labels: Premium designer sew-in fabric labels made for quilters, sewists, and makers, suitable for handmade garments, quilts, bags, and accessories. Because they're designed for washable projects, the cold-water, low-heat routine in this guide keeps them looking crisp instead of faded.
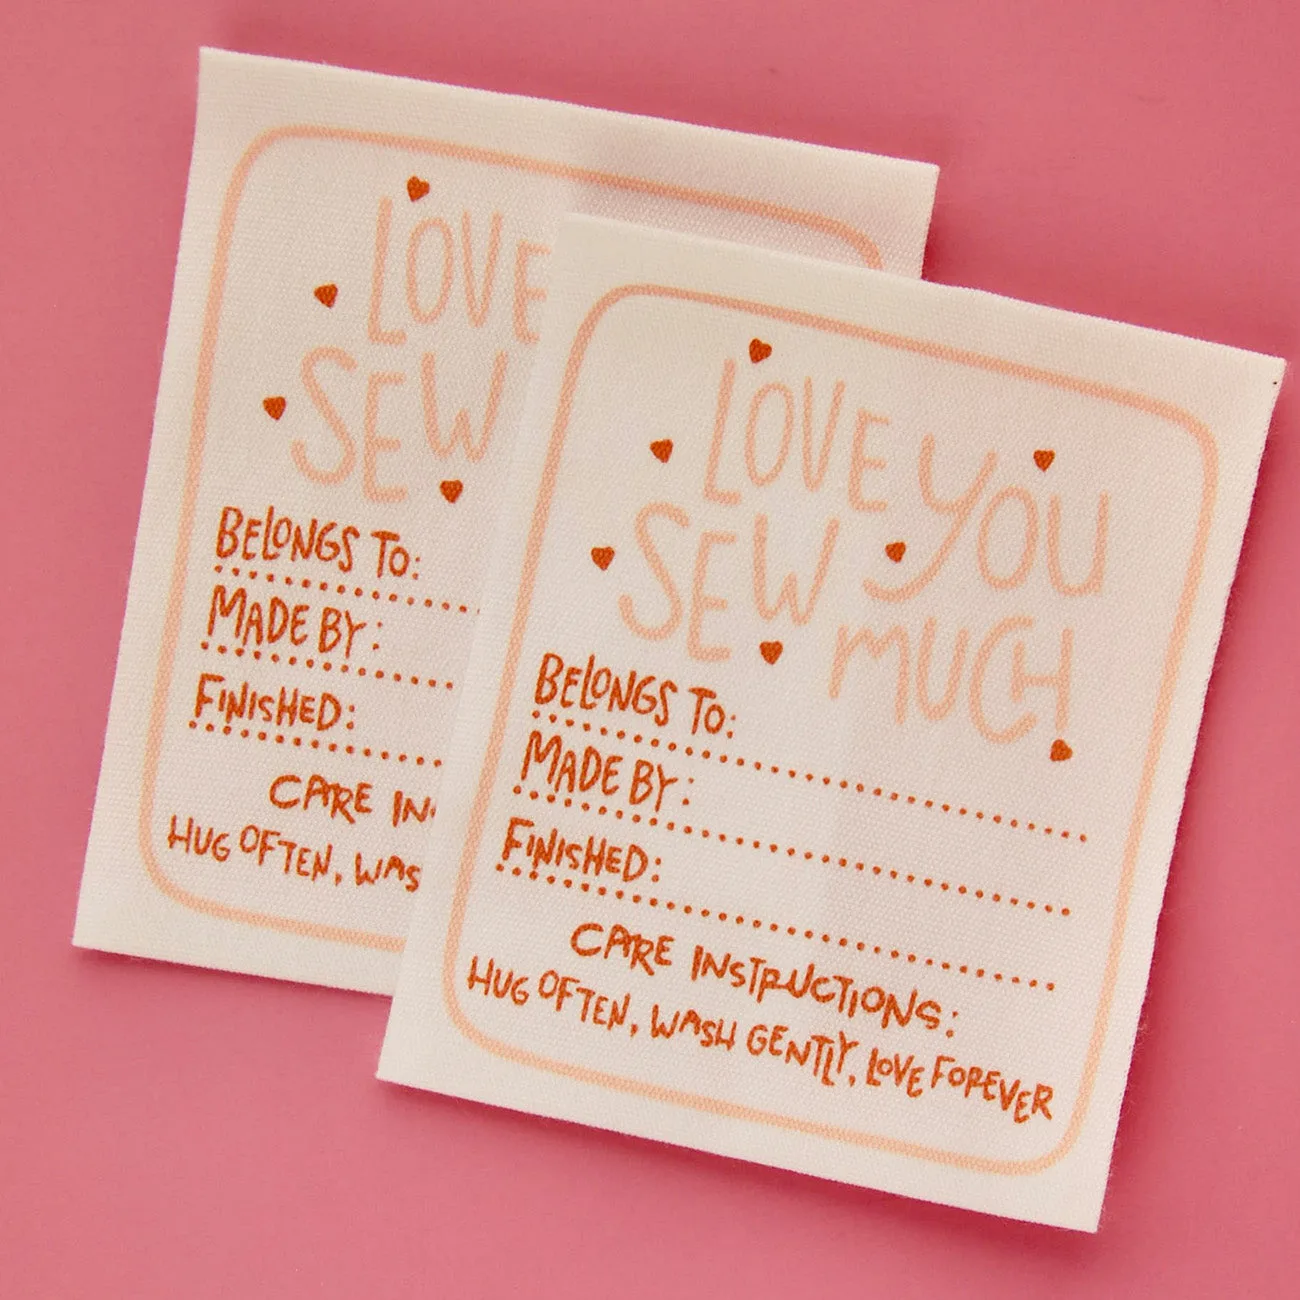
- Love You Sew Much - Sewing Labels: Sew-in fabric labels with a heartfelt message, intended to add a personal touch to gifts, quilts, and handmade goods. A message label is often the emotional center of a gift, so protecting it from heat and bleach preserves the sentiment as long as the quilt itself.
Sewn-in labels don't ask for much: cold water, gentle cycles, low heat, and a little attention when pressing. Follow these steps and the label you stitched with care will stay readable and flat through every wash the quilt or garment sees.