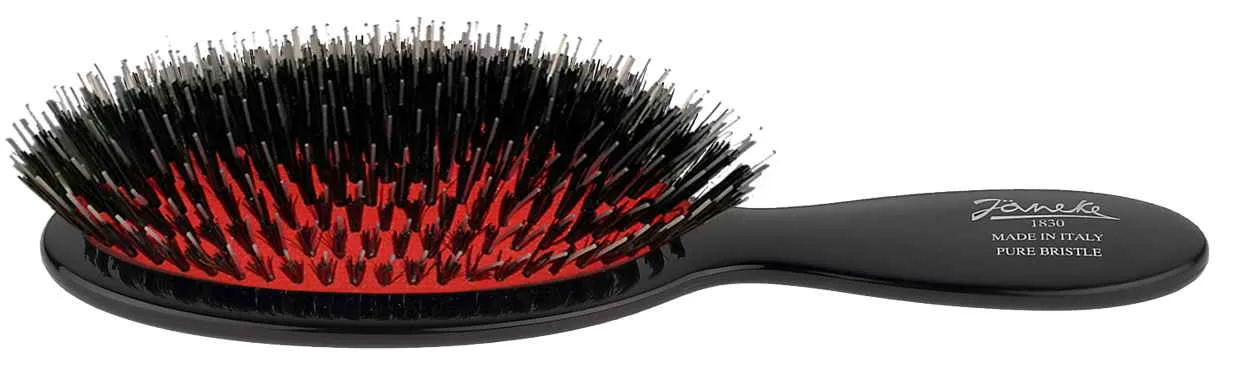
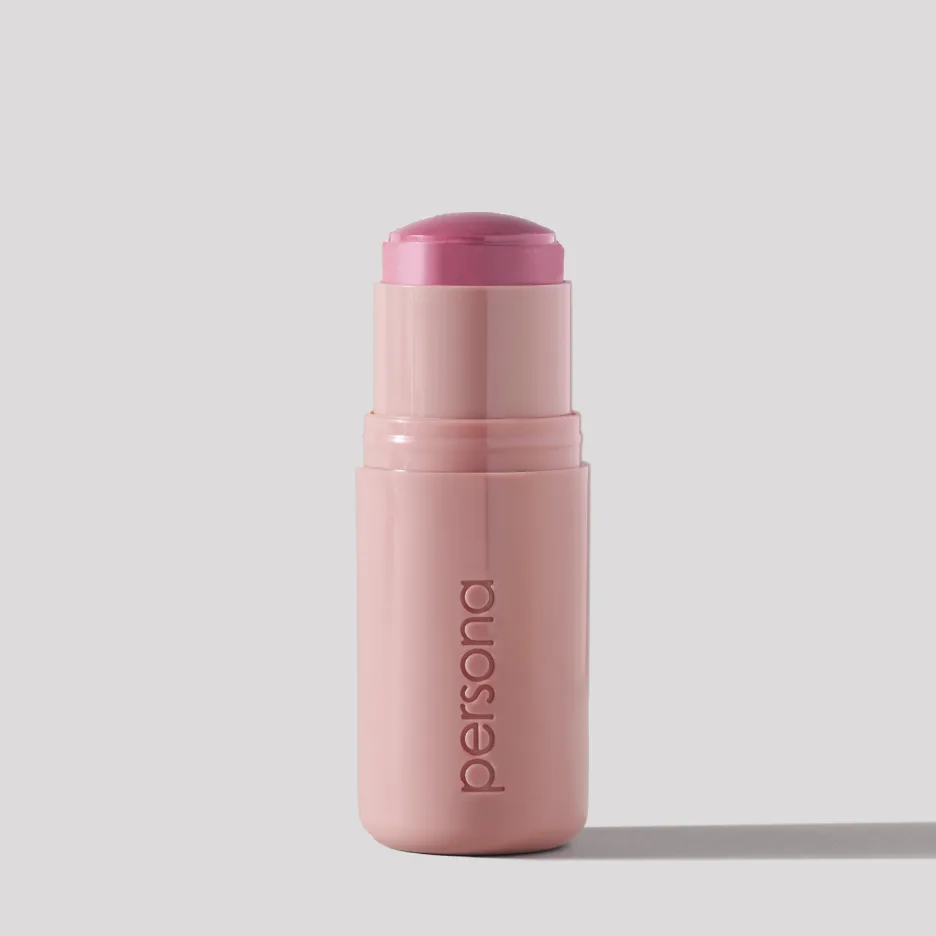
Your makeup brushes are an investment in your beauty routine, but they only perform their best when they're clean. Dirty brushes can harbor bacteria, oil, and product buildup that not only compromises your makeup application but also contributes to breakouts and skin irritation. Learning how to properly clean, dry, and store your brushes is essential for both your skin's health and the longevity of your tools.
In this guide, we'll walk you through the step-by-step process of washing your brushes, the best methods for drying them, and practical tips to extend their life. Whether you're a makeup novice or a seasoned pro, these brush care tips will keep your brushes in top condition and your skin glowing.
Why Cleaning Your Makeup Brushes Matters
Your brushes touch your face every day, picking up natural oils, dead skin cells, and leftover makeup. Over time, this buildup becomes a breeding ground for bacteria, which can lead to clogged pores, acne, and even infections. Regular cleaning not only prevents these issues but also ensures your makeup applies smoothly and blends evenly, giving you that flawless finish you love.
Moreover, clean brushes last longer. Product residue can break down the glue that holds the bristles in place, causing shedding and misshaping. By investing a little time in brush hygiene, you're protecting your investment and saving money in the long run.
- Clean brushes prevent breakouts and skin irritation.
- Well-maintained brushes apply makeup more evenly.
- Proper care extends the life of your brushes.
Step-by-Step Guide to Cleaning Your Brushes
Cleaning your brushes doesn't have to be a chore. With the right technique, you can have them looking and feeling like new in just a few minutes. Start by wetting the bristles with lukewarm water—avoid hot water, which can damage the bristles and the ferrule (the metal part).
Apply a gentle cleanser, such as a mild shampoo or a specialized brush cleaner, to your palm or a silicone brush mat. Swirl the brush in the cleanser, working up a lather. Be careful not to submerge the ferrule, as water can loosen the glue over time.
Rinse the brush under running water, pointing the bristles downward to prevent water from seeping into the handle. Continue until the water runs clear, then gently squeeze out excess moisture with a clean towel. Reshape the bristles with your fingers and lay the brush flat on a towel to dry.
- Use lukewarm water and a gentle cleanser.
- Avoid soaking the ferrule to prevent glue damage.
- Rinse until water runs clear and reshape bristles.
How to Dry Your Brushes Properly
Drying your brushes correctly is just as important as cleaning them. Never stand brushes upright in a cup while they're wet, as water can run down into the ferrule and loosen the bristles over time. Instead, lay them flat on a clean, dry towel with the bristles hanging slightly off the edge. This allows air to circulate and water to drip away.
If you're in a hurry, you can use a brush drying rack or a towel rolled up to create an angled surface. Just ensure the brushes are not in direct sunlight or near a heat source, as this can dry out the bristles and make them brittle. Allow them to dry completely before using them again—this can take anywhere from a few hours to overnight.
For those who use multiple brushes regularly, consider investing in a quality brush cleaner and a drying rack. These tools not only make the process easier but also help maintain the shape and integrity of your brushes.
- Dry brushes flat to prevent water damage.
- Avoid heat and direct sunlight.
- Allow full drying time before next use.
Extending the Life of Your Brushes
With proper care, your brushes can last for years. One of the best ways to extend their life is to clean them regularly—ideally once a week for brushes used with liquid or cream products, and every two to four weeks for powder brushes. This prevents buildup and keeps the bristles soft and pliable.
Additionally, be mindful of how you store your brushes. Keep them in a clean, dry container or a brush roll, and protect them from dust and dirt. Avoid tossing them into a makeup bag where they can get bent or crushed.
Another tip is to use a makeup brush cleanser spray for quick cleanings between deep washes. This helps maintain hygiene and keeps your brushes fresh. For your foundation and BB cream brushes, which tend to accumulate the most product, consider using a gentle daily cleanser to remove excess makeup.
- Clean weekly for liquid products, biweekly for powders.
- Store brushes upright in a clean container.
- Use a daily brush spray for quick refresh.
Tools and Products to Simplify Brush Care
While you can clean brushes with everyday household items, investing in quality brush care tools can make the process more effective and enjoyable. A silicone brush mat with different textures helps deep-clean bristles, while a gentle brush shampoo ensures a thorough cleanse without damaging fibers.
For your skincare tools, like the Facial Cleanser & Mask Brush, regular cleaning is just as important. This versatile brush is perfect for applying cleansers and masks, and keeping it clean ensures your skincare products work effectively.
When it comes to makeup application, using a clean brush can make a world of difference. For instance, the Radiance Mineral Primer applies best with a clean, dry brush, ensuring an even, radiant base. By maintaining your brushes, you're not only protecting your skin but also maximizing the performance of your favorite products.

Radiance Mineral Primer
- Use a silicone mat for deep cleaning.
- Clean tools like the Facial Cleanser & Mask Brush regularly.
- Apply primers like Radiance Mineral Primer with clean brushes.
Caring for your makeup brushes is a simple yet essential part of any beauty routine. By incorporating regular cleaning, proper drying, and mindful storage into your regimen, you'll not only extend the life of your brushes but also ensure your skin stays healthy and your makeup looks flawless. Remember, a little effort goes a long way in preserving your tools and enhancing your beauty results.