Quick answer
Torque beadlock ring bolts in a star or crisscross pattern, in stages, to the spec published for your exact wheel and hardware. Recheck torque after the first heat cycle, before every off-road trip, and any time you break a bead or swap a ring. Never guess a number: beadlock torque specs vary by wheel model, bolt size, and ring design, so use the manufacturer's figure for your wheel.
A beadlock wheel only does its job when the ring clamps the tire bead evenly. That clamp comes from bolt torque, and torque changes with heat cycles, trail vibration, and tire changes. Checking beadlock bolts is less about a single number and more about a repeatable routine.
The steps below cover the sequence, the staging technique, and the checkpoints that separate a wheel that stays sealed from one that slowly loosens. You will also see where specific wheel construction affects what you should inspect.
What you need before you start
Gather a calibrated torque wrench, the correct socket for your beadlock hardware, a wire brush, and a torque spec for your exact wheel. If you do not have the spec, contact the wheel maker before touching a bolt. Do not borrow a number from a different wheel or a forum post.
Clean the bolt heads and ring surface first. Dirt, dried mud, or bead sealant in the bolt holes changes how a bolt seats, which changes the torque reading. A dirty thread can make the wrench click early while the ring is still loose.
- Use a torque wrench rated for the middle of its range, not the extreme top or bottom.
- Replace any bolt with stretched threads, rounded heads, or corrosion pitting.
Torque in a star pattern, in stages
Start every bolt by hand, then snug them in a star or crisscross pattern. Do not run one bolt down tight before moving to the next. That pulls the ring down on one side and can distort it or pinch the bead unevenly.
Bring the bolts up in stages, such as a light pass, a middle pass, and a final pass to full spec. Each pass follows the same star sequence. Staged tightening lets the ring settle gradually, which is the single biggest factor in even bead clamp load.
- Common mistake: tightening in a circle around the ring instead of across it.
- Checkpoint: after the first pass, the ring should sit flat with no visible gap at any bolt.
Recheck after the first heat cycle
New or freshly mounted beadlock hardware settles after the first drive. Heat expands the wheel and tire, and the clamped bead compresses slightly. Recheck beadlock bolt torque after that first heat cycle, once the wheel has cooled.
This is the most skipped step in beadlock bolt maintenance. A wheel that was perfect in the garage can show a loose bolt after 20 minutes of driving. Rechecking costs a few minutes and prevents a ring from working loose on the trail.
- Recheck when the wheel is cool to the touch, not right after a hard run.
- If any bolt moves, re-torque the full ring in the star pattern, not just that bolt.
Build a recheck schedule that matches your use
For a daily-driven truck that sees occasional dirt, checking beadlock bolts before each off-road trip and once a month is reasonable. For rock crawling, desert pre-running, or heavy trail use, check before every outing and after any hard impact.
Any time you break a bead, change a tire, or replace a ring, treat the wheel as newly mounted and restart the full sequence. Beadlock ring torque is not a set-and-forget value.
- Keep a small torque wrench in your trail kit so a check does not wait for the garage.
- Log the date and result of each check if you run multiple sets of wheels.
Inspect the ring and hardware while you are there
Torque checks are the right moment to look at the ring itself. Look for bent edges, cracks around bolt holes, or a ring that no longer sits flat. A damaged ring will not hold torque no matter how carefully you tighten it.
On wheels with replaceable rings, a fresh ring is a normal wear item. The V.5 Beadlock Ring | Matte Black is a replacement ring for the 108 beadlock wheel, offered in a 17-inch size option. If your ring is bent or the bolt holes are deformed, replacing it is safer than chasing torque on a compromised part.
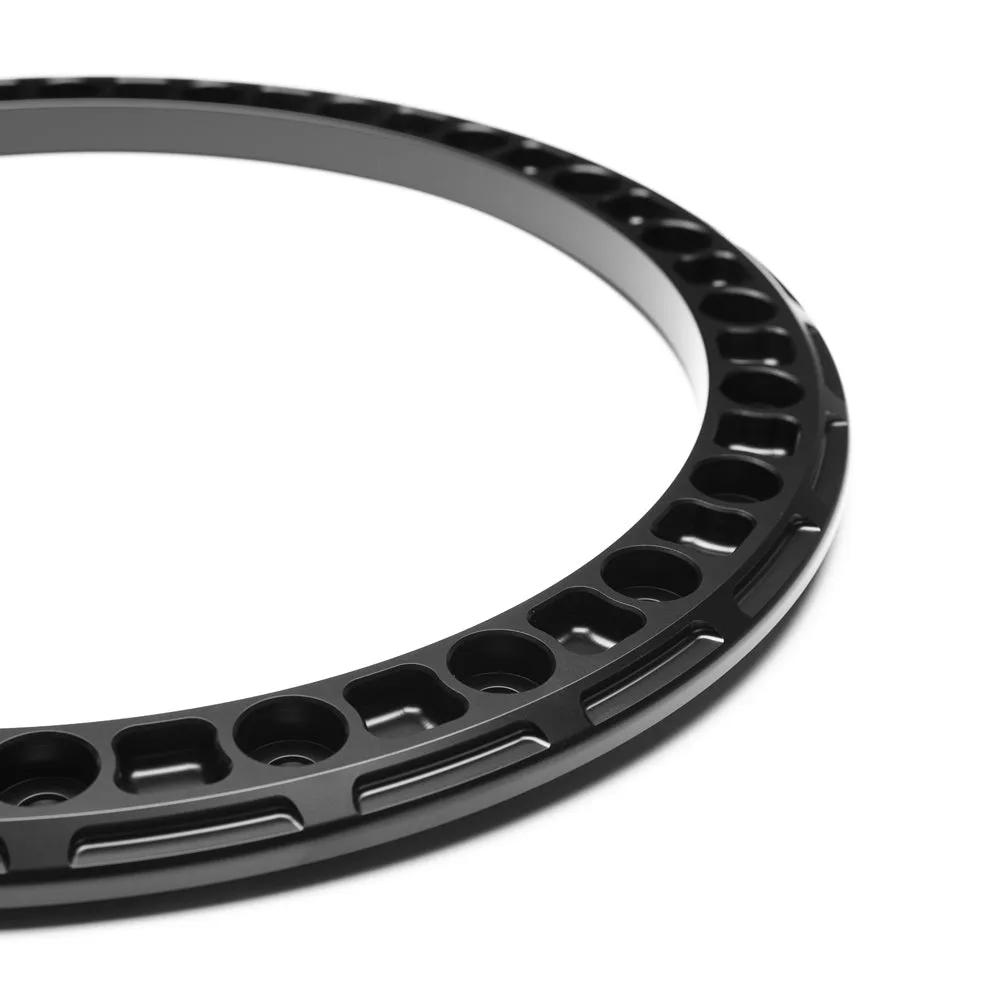
V.5 Beadlock Ring | Matte Black
- Inspect bolt threads and the ring's bolt holes for elongation.
- Check the inner bead seat area for pinched or torn tire bead.
How wheel design affects your torque routine
Not every off-road wheel uses the same bead system, and that changes what you maintain. A true beadlock clamps the outer bead with a ring and bolts. Bead Grip technology uses an added bead seat on the inner lip to create tire security without a bolted ring.
The 108 | Beadlock | Gloss Titanium is a 9-spoke wheel that features both Beadlock and patented Bead Grip technology, with an added bead seat on the inner lip. It uses 3/8-inch beadlock hardware and carries a 4,000 lbs. load rating. On a wheel like this, the beadlock ring bolts still need the full torque routine, while the inner bead seat is inspected for damage rather than torqued.
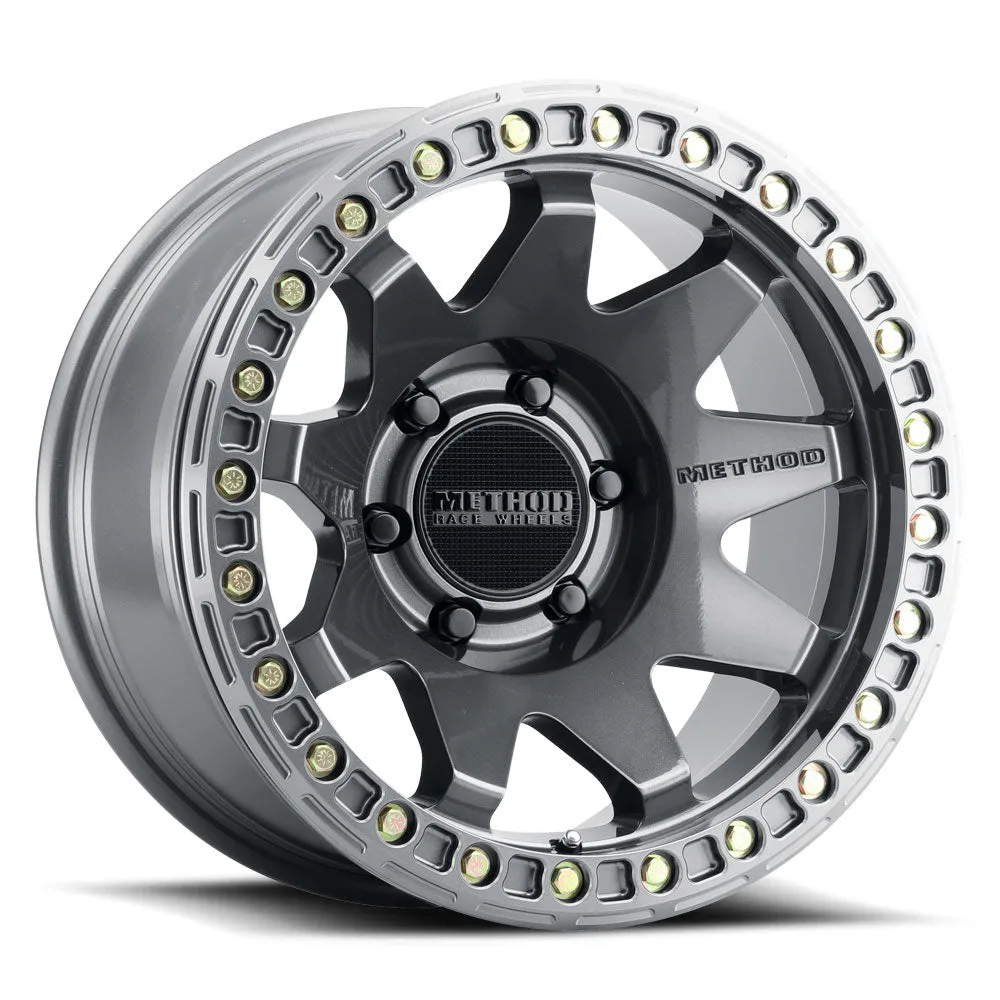
108 | Beadlock | Gloss Titanium
- Know which bead system your wheel uses before you touch hardware.
- Do not apply beadlock ring torque values to a wheel that has no ring.
Beadlock bolt torque check: step-by-step
- 1. Confirm the spec for your exact wheel: Find the torque value published for your wheel model and bolt size. Do not use a generic number from another wheel. Checkpoint: no spec means no torque wrench until you have one.
- 2. Clean the ring and bolt holes: Brush off dirt, mud, and old sealant so bolts seat fully and the wrench reads true. Common mistake: torquing over grit, which gives a false click.
- 3. Snug all bolts by hand in a star pattern: Thread every bolt in finger-tight, working across the ring rather than around it. Checkpoint: the ring should sit flat with no gap before final torque.
- 4. Torque in stages to full spec: Make a light pass, a middle pass, and a final pass to the published value, always in the same star sequence. Common mistake: tightening one bolt to full spec before moving on.
- 5. Recheck after the first heat cycle: Drive, let the wheel cool, then re-torque the full ring in the star pattern. This is the step that catches settling hardware.
- 6. Set a recurring check interval: Check before every off-road trip, after hard impacts, and any time you break a bead or change a tire. Checkpoint: restart the full sequence after any tire or ring change.
- 7. Inspect the ring and hardware each time: Look for bent edges, cracked or elongated bolt holes, and damaged bead seats. Replace a compromised ring instead of chasing torque on it.
Wheel details that affect torque and maintenance
- 108 | Beadlock | Gloss Titanium: Rugged 9-spoke design with a debossed Method logo, featuring both Beadlock and patented Bead Grip technology, 3/8-inch beadlock hardware, and a 4,000 lbs. load rating. The 3/8-inch hardware and dual bead system mean the ring bolts carry real clamp load, so staged star-pattern torque and regular rechecks matter more, not less.
- V.5 Beadlock Ring | Matte Black: A replacement ring for the 108 beadlock wheel, offered in a 17-inch size option with a Matte Black finish. If your ring is bent or its bolt holes are deformed, a replacement ring restores a flat clamping surface so torque holds evenly.
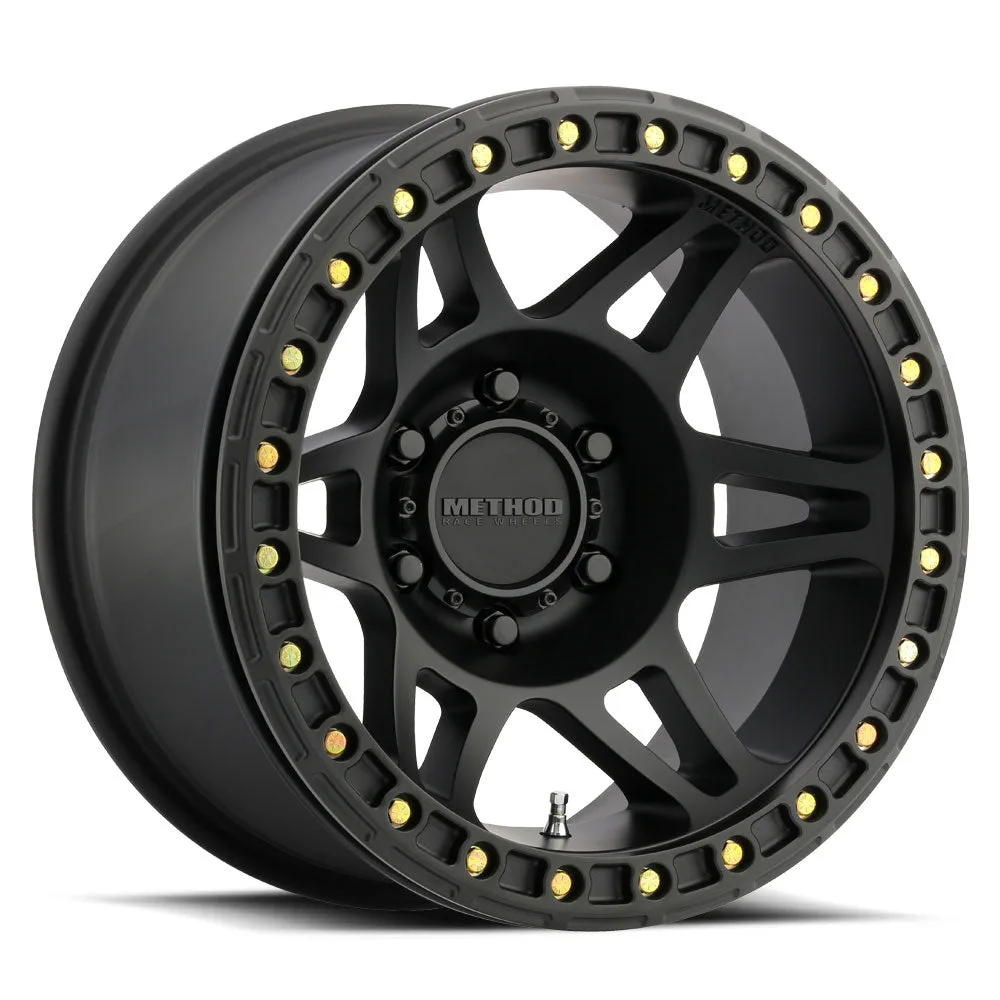
- 106 | Beadlock | Matte Black: Beadlock wheels intended for rock crawling, desert pre-running, or anywhere your off-road vehicle can go. Hard-use environments add vibration and impact, so checking beadlock bolts before and after every trip is part of normal ownership.
Beadlock bolt torque is a maintenance habit, not a one-time setting. Torque in a star pattern in stages, recheck after the first heat cycle, and inspect the ring every time you pick up a wrench. That routine keeps the bead clamped evenly and keeps air where it belongs.