Quick answer
For most custom builds, two or three front intake fans and one rear exhaust fan give the best balance of quiet operation and steady airflow. Match fan sizes to your case's supported mounts, keep intake slightly higher than exhaust to reduce dust pull, and set a fan curve that stays near silent at idle. If you cannot confirm your case's fan mounts or included fans, stop and check the manual first; guessing leads to blocked airflow or wasted fan slots.
Start with your case, not the fans
Before buying fans, confirm which mount positions your chassis actually supports. Case manuals list front, top, rear, and bottom fan slots with their sizes, and many cases use removable brackets or filters that change what fits. If your case came with fans, note their size, connector type, and whether they are PWM or DC. PWM fans let you set precise speed curves; DC fans respond to voltage changes with a narrower usable range. A case with filtered front intakes will collect dust on the filter rather than inside the chassis, which is easier to maintain.
Choose fan sizes that match your mounts
Larger fans move the same air at lower RPM, which usually means less noise. A 140mm fan at 800 RPM can match a 120mm fan at 1,200 RPM in airflow while producing a lower-pitched, less distracting sound. If your case supports 140mm mounts, prefer them for intake and exhaust where space allows. Check clearance for top-mounted radiators or tall CPU coolers before committing, because a thick fan plus a radiator can collide with motherboard heatsinks or RAM. If a specification is not listed for a fan or case, treat that as a decision limitation and measure the physical space yourself.
Balance intake and exhaust
A slight positive pressure setup, where intake airflow exceeds exhaust, pushes air out through unfiltered gaps and reduces dust buildup. Two 140mm front intakes and one 120mm rear exhaust is a common quiet configuration. If you add top exhaust fans, they can fight the natural rise of hot air and pull cool intake air out before it reaches components. Use top mounts for exhaust only when you have a specific heat source, such as a top-mounted radiator, and accept the tradeoff of slightly higher noise from more fans spinning.
Place fans to feed your hottest parts
Front intake fans should aim across the GPU and toward the CPU cooler. Rear exhaust sits close to the CPU socket and removes heat before it recirculates. Bottom intake can feed a vertically mounted GPU, but only if the case has a filter and enough clearance for the fan to breathe. Avoid placing intake fans directly against a solid panel or a tight dust filter with no gap; restricted airflow forces fans to spin faster and louder for the same cooling. If you use an AIO radiator, mount it where its fans can pull cool outside air rather than pre-warmed case air when possible.
Set fan curves for quiet operation
In BIOS or motherboard software, set intake and exhaust fans to a gentle slope: near silent below 50°C, ramping up only when CPU or GPU temperatures rise under load. Avoid step changes that cause audible surging. If your motherboard lacks enough headers, use a PWM fan hub powered by SATA rather than daisy-chaining too many fans on one header. Test with a stress load and adjust the curve until temperatures stabilize without the fans becoming the loudest part of the build.
Check noise sources beyond the fans
Fan noise often comes from turbulence, not the fan motor. Cables routed into a fan's intake path, a mesh front panel with narrow openings, or a fan mounted flush against a grill can all create whooshing sounds. Use rubber mounting grommets or silicone corners if your fans include them. If a fan rattles at low RPM, test it outside the case to separate motor noise from case vibration. Replacing a noisy fan is cheaper than replacing a case, but only after you have confirmed the mount and clearance.
Seven steps to a quiet, balanced fan setup
- List your case's supported fan mounts: Open the case manual or manufacturer page and write down every fan position, its size, and whether it is filtered. Common mistake: assuming all 120mm mounts also fit 140mm fans without checking bracket clearance. Checkpoint: you should have a simple table of front, top, rear, and bottom mounts before buying anything.
- Pick fan sizes that favor lower RPM: Choose the largest fan that fits each mount, because larger fans move more air at lower speed. Common mistake: buying slim fans for standard mounts, which reduce airflow and often run louder for the same cooling. Checkpoint: confirm thickness and clearance against radiators, CPU coolers, and RAM before ordering.
- Decide intake and exhaust counts: Aim for slightly more intake than exhaust, such as two front intakes and one rear exhaust. Common mistake: adding top exhaust fans that pull cool air away before it reaches the GPU or CPU cooler. Checkpoint: if you add top exhaust, plan to test temperatures with and without those fans running.
- Position fans to feed hot components: Point front intakes across the GPU and toward the CPU, and keep rear exhaust near the CPU socket. Common mistake: mounting intake fans flush against a solid panel or a dense filter with no breathing gap. Checkpoint: leave at least a finger's width of clearance in front of any intake fan.
- Connect fans to the right headers: Use PWM headers for speed control, and add a SATA-powered fan hub if you run out of motherboard headers. Common mistake: daisy-chaining four or more fans on one header, which can exceed its current rating. Checkpoint: count your headers and fan connectors before final assembly.
- Set a gentle fan curve: In BIOS or motherboard software, keep fans near silent below 50°C and ramp up gradually under load. Common mistake: using a steep curve that causes audible surging every time the CPU boosts. Checkpoint: run a stress test and confirm temperatures stabilize without the fans becoming the loudest component.
- Hunt down turbulence and vibration: Reroute cables out of fan intake paths, use rubber grommets if included, and test any rattling fan outside the case. Common mistake: replacing a fan before checking whether a cable or grill is causing the noise. Checkpoint: after one adjustment, re-test at idle and under load before changing more parts.
Products that support a themed, quiet build
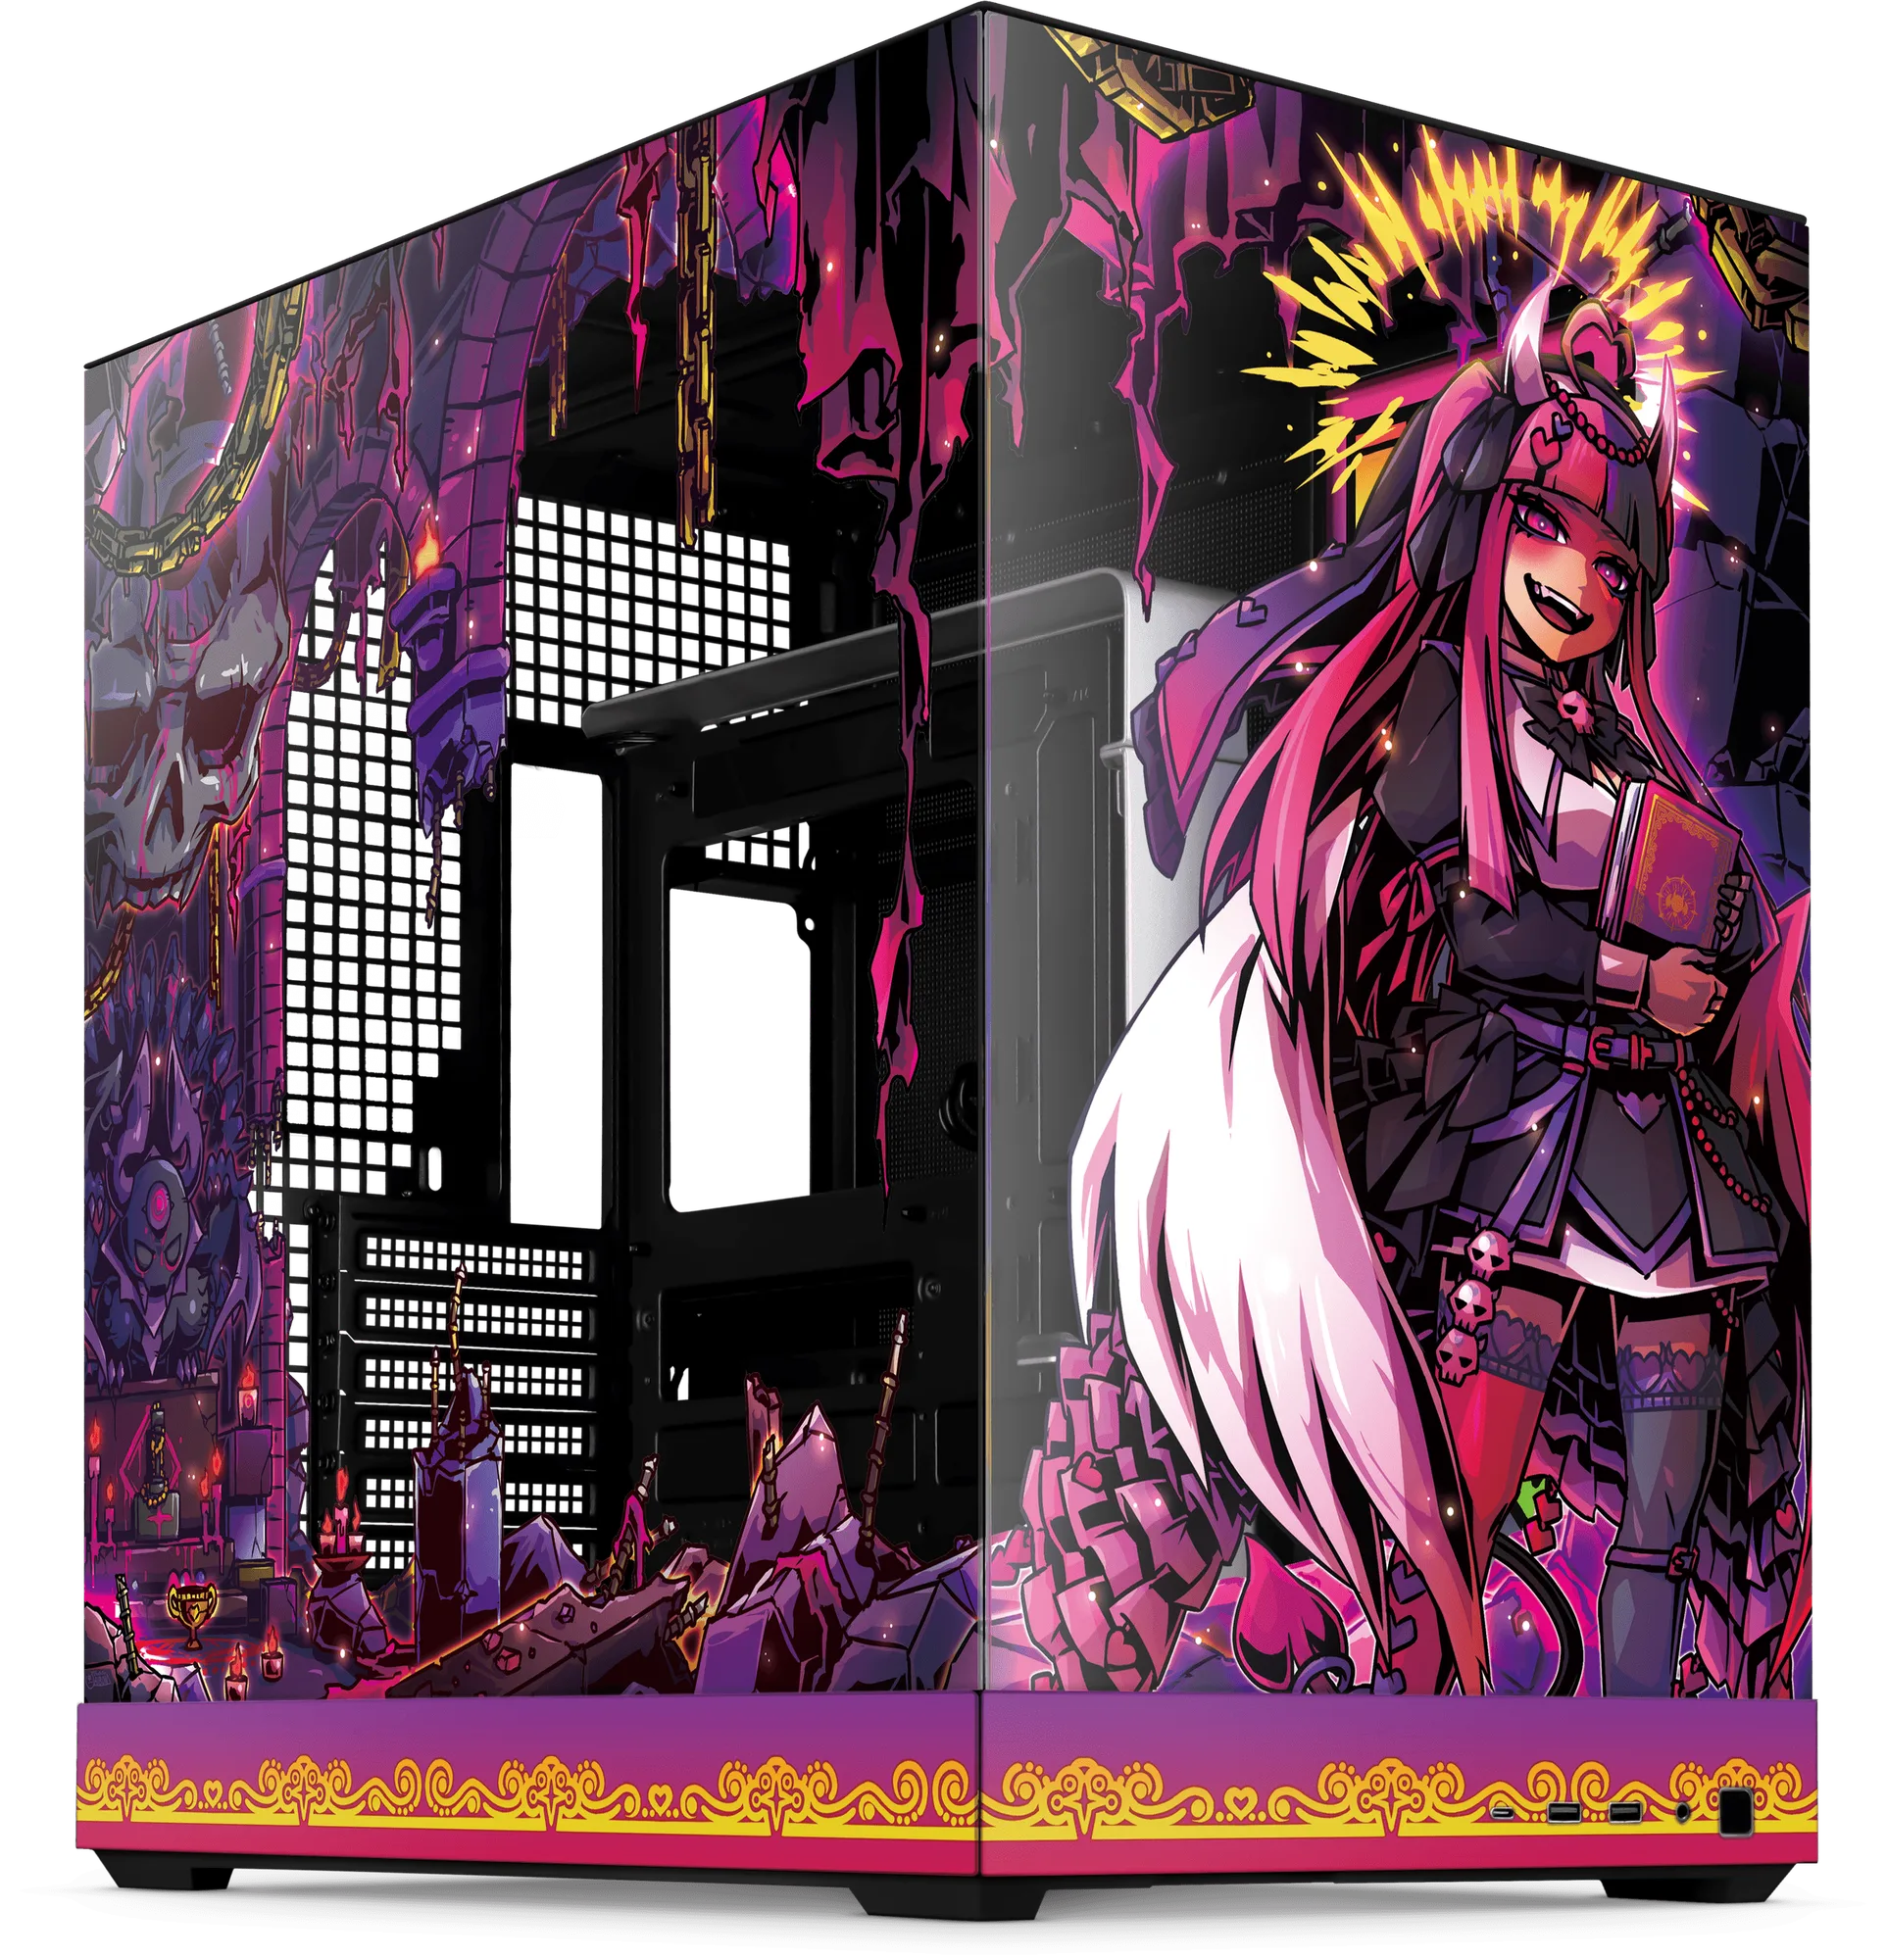
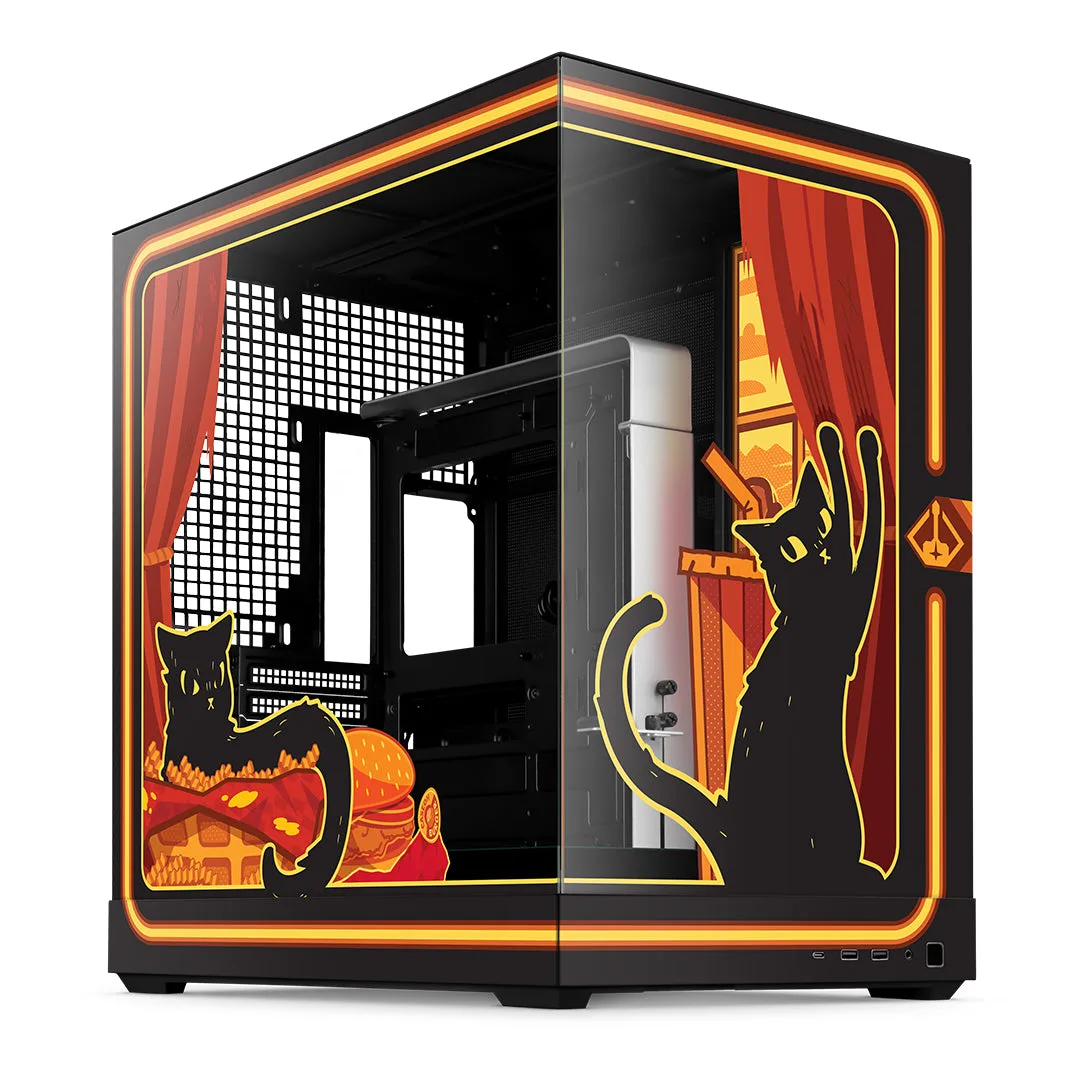
- Chainsaw Man Case Bundle: The Chainsaw Man Case Bundle includes a desk mat, wall art, and chassis, priced at USD 221.99 with a catalog comparison price of USD 299.99. A bundle simplifies a themed build by matching the case and desk accessories, though you still need to confirm the chassis fan mounts before planning your airflow.
- BFFs - Desk Mat: The BFFs desk mat measures 900x400mm and can cover a desk or serve as an extra-large mousepad. A large mat keeps your desk surface stable for case work and cable routing, and it doubles as a mousepad so you do not need a separate surface.
- Cat Girl: The Cat Girl Platelight is made of durable acrylic and diffuses light from a Platelight to create a backlit piece of art inside the computer. A backlit acrylic panel adds visual interest without affecting airflow, so it will not interfere with your fan setup or cooling.