Quick answer
Choose a Fenix diffuser by matching its inner diameter to your flashlight's bezel diameter, then decide between a rigid traffic wand for signaling and a soft silicone AOD diffuser for area light. Measure the outside edge of the bezel with calipers or a ruler before ordering, and confirm the diffuser is listed for your specific model. A loose or forced fit is the most common reason a diffuser falls off or cracks.
Measure the bezel, not the body
The diffuser grips the front bezel, so the bezel diameter is the number that matters. Use digital calipers across the widest part of the front rim, or wrap a strip of paper around it, mark the overlap, and measure that length against a ruler. A diffuser sized for a 1-inch bezel will not stay on a 1.1-inch head, even if both lights look similar in photos.
Check the product page for a stated compatibility list or diameter range. If the listing does not name your model or give a measurement, treat that as a decision limitation rather than assuming it will fit.
Pick the material for your job
Silicone diffusers flex over the bezel and survive being stuffed in a pocket or glovebox. They are the better choice for camping, reading, and task lighting where you want a soft, even glow. Rigid polycarbonate traffic wands hold their shape and throw a bright, visible cone for directing traffic or marking a position. They are less forgiving if dropped on pavement.
Color matters too. A white diffuser preserves the light's tint and is best for area illumination. Orange or red wands are for signaling, not for reading, because they filter out most of the output.
Confirm the beam shape you actually get
A diffuser turns a focused hotspot into a broad, dimmer wash of light. That is ideal for lighting a tent or a room, but it also cuts the distance the beam can reach. If your flashlight has a very tight, long-throw reflector, a diffuser will spread that beam wide and short. For close-range work that trade is fine; for searching a field it is not.
Test the diffuser indoors first. Point the light at a wall a few feet away and check for dark rings or uneven patches. A well-matched diffuser should produce a smooth, rounded pool of light with no harsh edges.
Check retention and heat before you rely on it
Give the diffuser a gentle tug after fitting it. It should stay put with normal handling but still pull off without tools. If it spins freely or slides off when you turn the light upside down, it is the wrong size. If you have to force it, stop; you risk cracking the diffuser or scratching the bezel.
High-output lights generate heat at the bezel. Run your light on a medium setting for a few minutes, then feel the diffuser. If it becomes uncomfortably hot or starts to smell, drop to a lower mode or remove the diffuser. Silicone handles heat better than thin rigid plastic, but no diffuser is a substitute for respecting the light's thermal limits.
Step-by-step: fit and test your Fenix diffuser
- Measure your bezel diameter: Use calipers or the paper-strip method across the widest front rim. Write the number down and compare it to the diffuser's stated inner diameter or compatibility list. Checkpoint: if the diffuser is not listed for your model and no diameter is given, do not buy it.
- Match the diffuser type to the task: Choose a soft silicone AOD-style diffuser for camping, reading, or room lighting. Choose a rigid traffic wand when you need to signal or mark a position. Common mistake: buying a colored wand for general lighting and then finding the output too dim and tinted.
- Fit it with the light off: Slide or press the diffuser over the bezel until it seats evenly. Do not force it past a hard stop. Checkpoint: a correct fit goes on with firm hand pressure and comes off the same way.
- Test retention and beam quality: Turn the light on at a low mode and point it at a wall a few feet away. Check for a smooth, even pool of light. Then turn the light upside down and give the diffuser a gentle tug. Common mistake: skipping the tug test and losing the diffuser on the first hike.
- Run a heat check: Use a medium mode for several minutes, then feel the diffuser and bezel. If either becomes uncomfortably hot, step down to a lower mode or remove the diffuser. Checkpoint: heat is the limiting factor, not brightness.
- Store it where you will actually use it: Keep the diffuser in your pack's lid pocket or a pouch with your light so it is there when you need area light. Do not leave a silicone diffuser pressed against a hot bezel in a closed bag. Next step: label the diffuser with its size if you own several lights.
Fenix lights that pair well with a diffuser
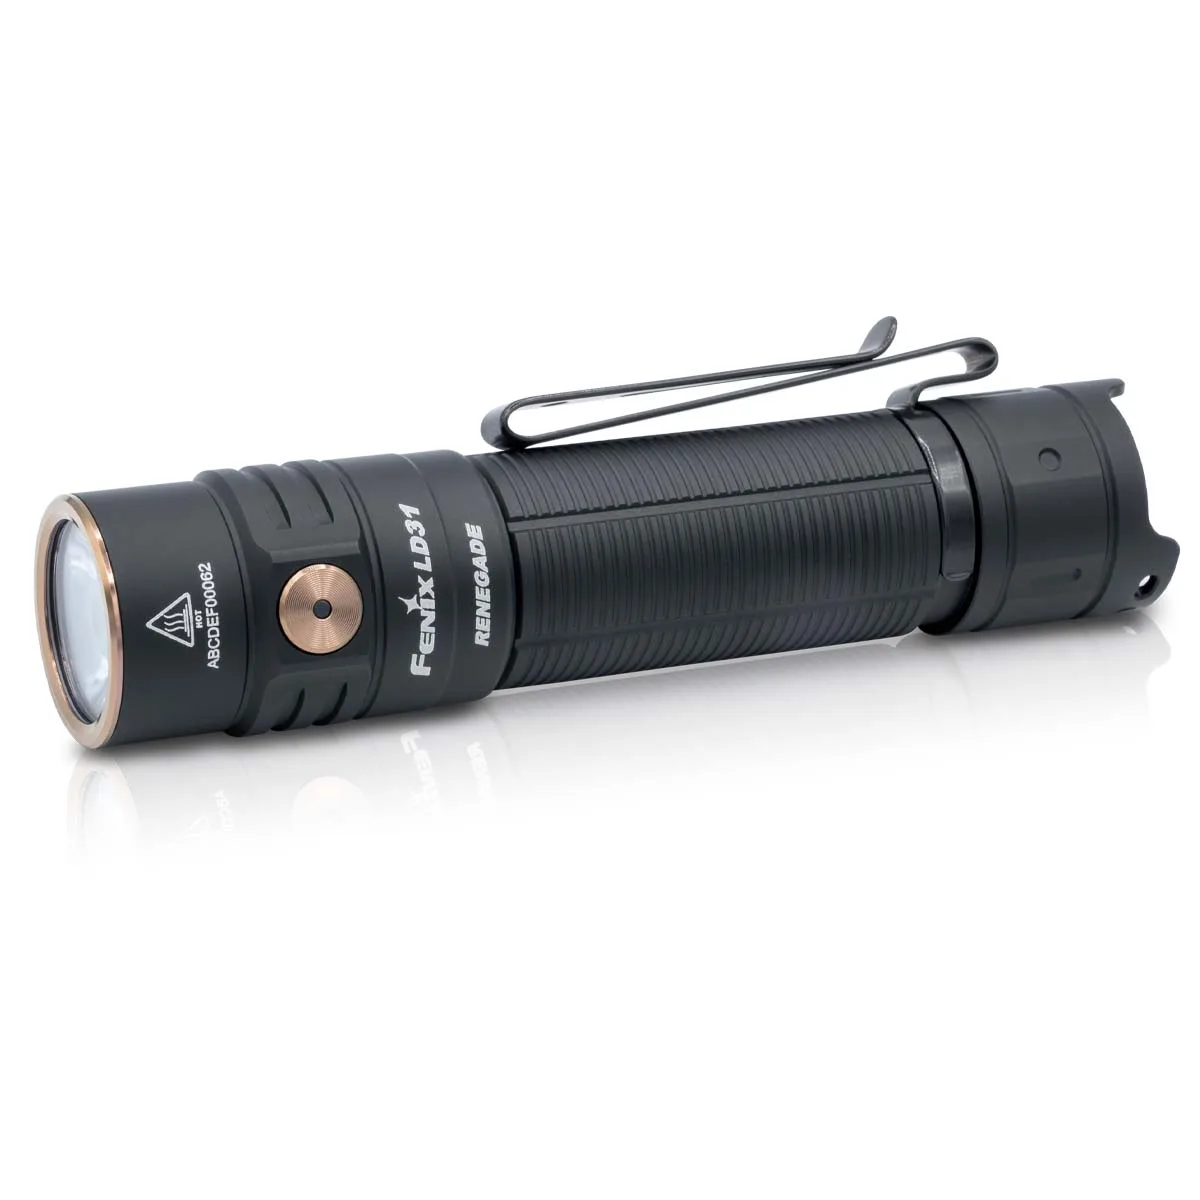
- Fenix LD31 RENEGADE® Flashlight: Fenix LD31 RENEGADE Flashlight produces 3200 lumens from a frame less than 5 inches long and runs on a 6000mAh 21700 battery. Its compact head and high output make it a strong candidate for a silicone diffuser when you want a broad, bright area light without carrying a lantern.
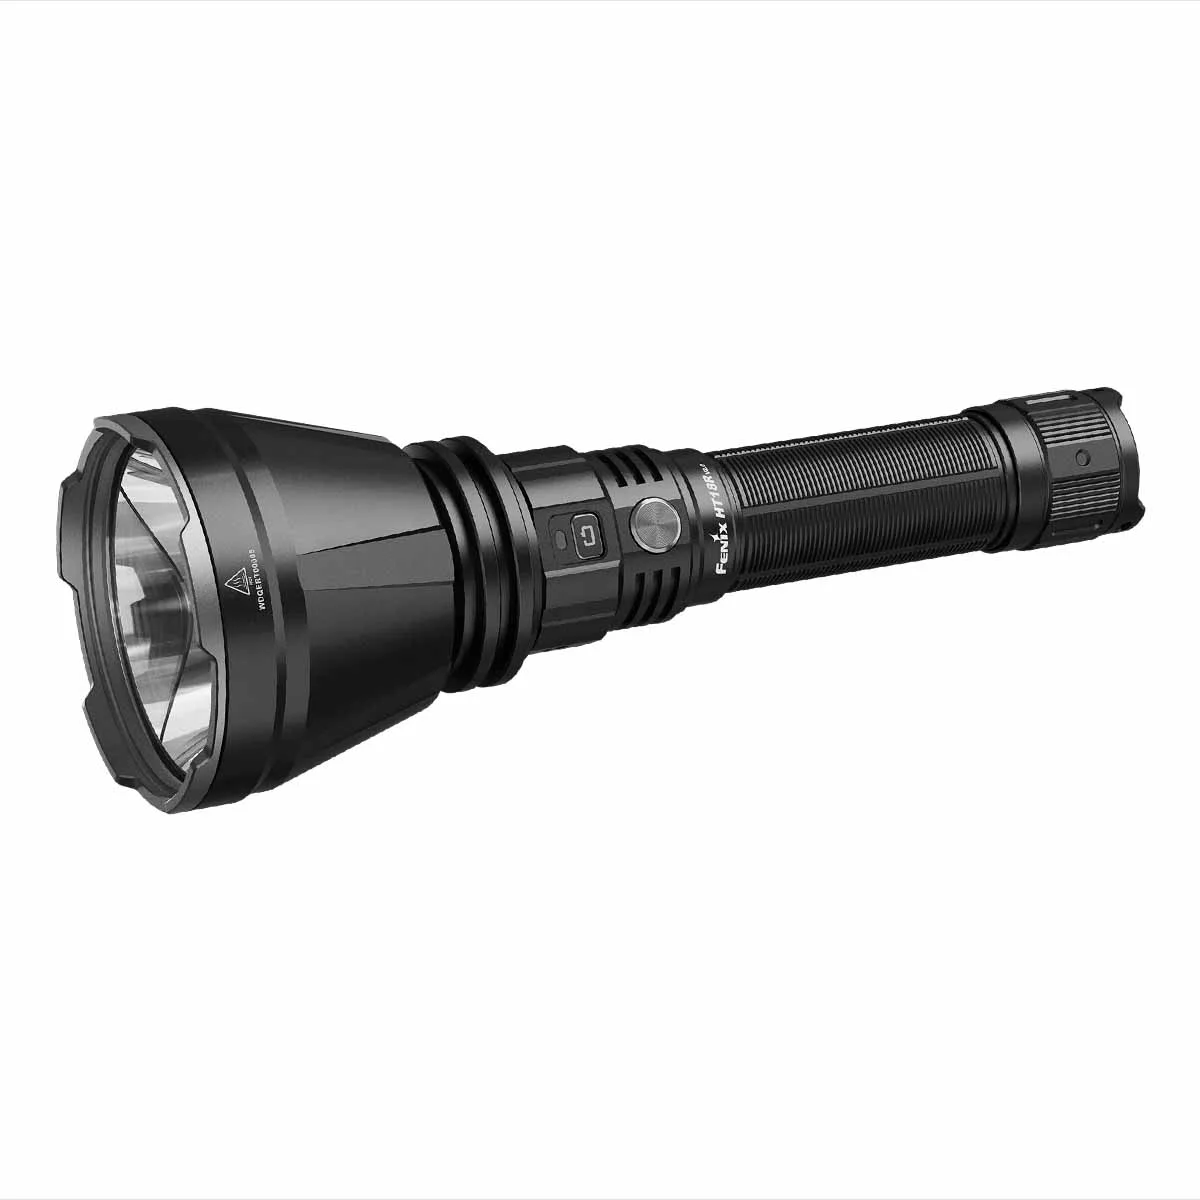
- Fenix HT18R V2.0 Long-Distance Flashlight: Fenix HT18R V2.0 Long-Distance Flashlight reaches 3700 lumens and throws 3609 feet (1100 meters) with a dual side switch system. A diffuser will trade that extreme throw for a wide, close-range wash, so use it only when you need area light rather than distance.
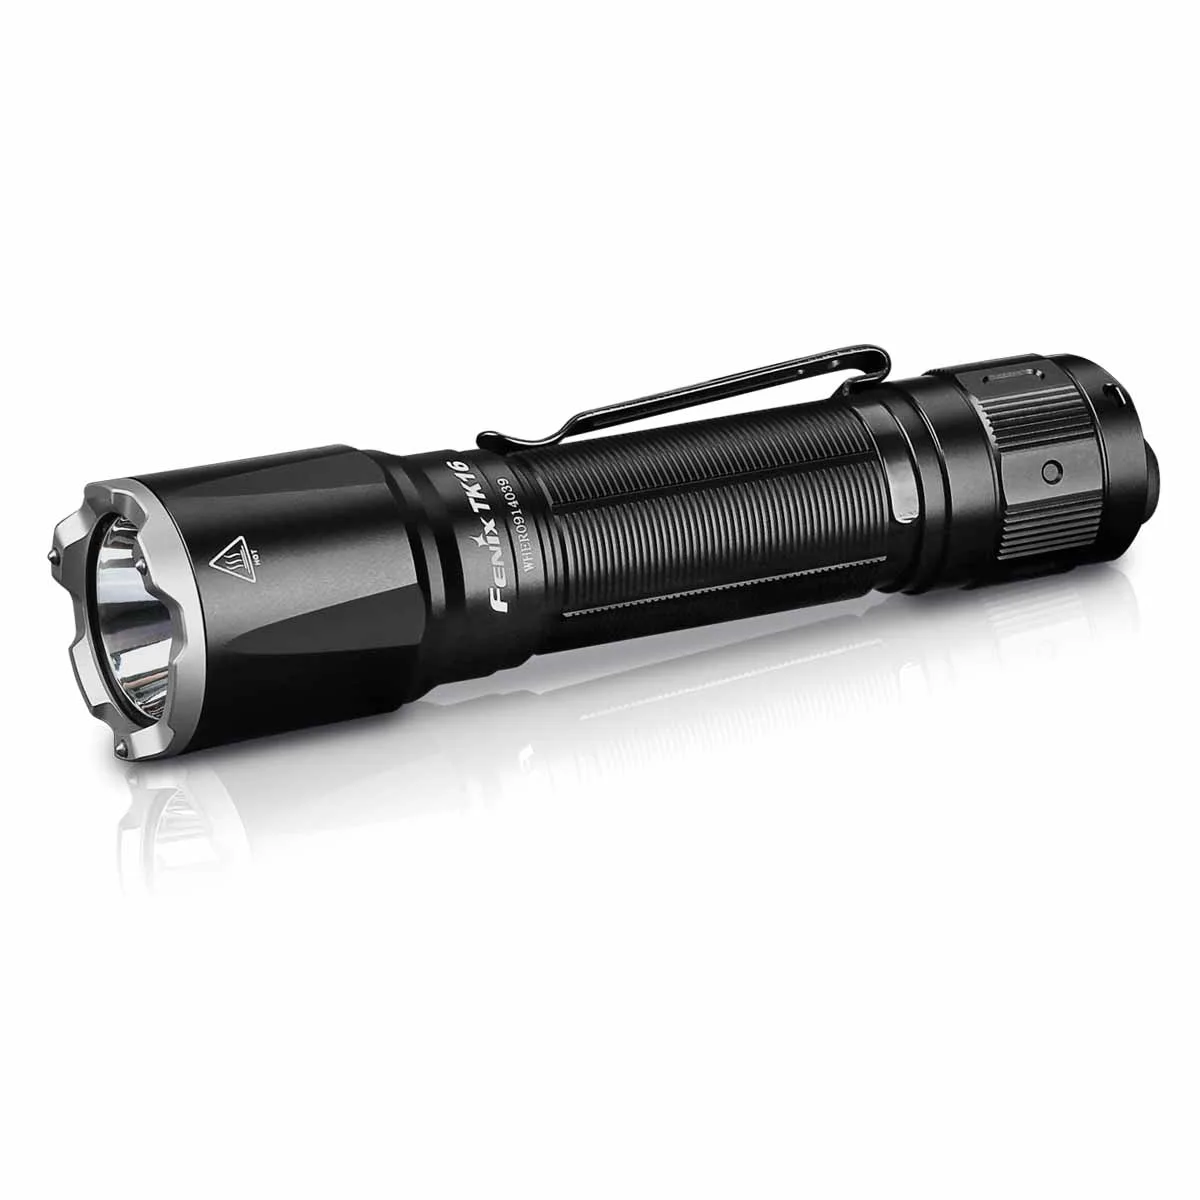
- Fenix TK16 V2.0 Tactical Flashlight: Fenix TK16 V2.0 Tactical Flashlight delivers 3100 lumens, 1247 feet (380m) of throw, six lighting modes, and an IP68 rating with a stainless steel strike bezel. The strike bezel's shape and any crenellations can affect how a diffuser seats, so test retention carefully before relying on it in the field.