Quick answer
Choose a Flip Ramp position by matching the ramp angle to the height difference between you and your partner, then adjust until your hips and back feel supported without strain. Start with the ramp flat and increase the incline gradually.
Why angle matters more than position name
The same position can feel completely different depending on the ramp angle. A steep incline shifts weight to your shoulders and can reduce hip stability, while a shallow angle may not provide enough lift for comfortable alignment. The goal is to find the angle where your body feels held rather than balanced.
Because the Flip Ramp is a full-length ramp, it supports your torso and hips along the same plane. That means small changes in angle affect both areas at once, so adjust in small increments and check in with your body before adding more height.
When to skip the ramp or change positions
If you feel pressure points, numbness, or the need to tense your muscles to stay in place, the angle is likely too steep or the ramp is positioned too far under your hips. Stop and reset rather than pushing through discomfort.
For standing or kneeling positions, the ramp may work better as a footrest or knee support than as a full body incline. In those cases, use a lower angle or place the ramp at the edge of the bed to avoid overloading your lower back.
Step-by-step Flip Ramp positioning
- Set the ramp flat on a firm surface: Place the Flip Ramp on a stable bed or floor with the flat side down. Start with the ramp fully flat to establish a baseline before adding any incline. A soft mattress can absorb the ramp's shape; choose a firm surface for consistent support.
- Lie back and check full-body contact: Lie on the ramp with your hips near the lower edge and your head supported. Notice whether your lower back, hips, and shoulders all make contact without gaps or pressure points. If your lower back arches or your hips slide, reposition the ramp closer to your hips before changing the angle.
- Increase the incline in small steps: Raise the ramp gradually, checking after each adjustment that your hips remain stable and your breathing stays relaxed. Stop at the first angle where you feel supported but not strained. A 10- to 15-degree change can be enough to shift the feel; avoid jumping to the steepest angle.
- Test your intended position with a partner or prop: Once you have a baseline angle, try the position you plan to use. If you need more height for alignment, adjust the ramp angle or slide the ramp slightly forward or back rather than changing the incline alone. For partnered positions, the ramp should bring hips closer to the same level, not force either partner to overextend.
- Do a comfort check after a few minutes: Hold the position for a few minutes and scan for numbness, tingling, or muscle tension. If any appear, lower the angle or add a small pillow under your knees or head to redistribute weight. Discomfort is a signal to adjust, not to endure; small supports can make a steep ramp usable.
- Lock in your setup and note the angle: Once you find a comfortable configuration, note the ramp angle and your body position so you can recreate it quickly next time. Keep the ramp on a non-slip surface or use a rug under the bed if it slides. Consistency makes setup faster and reduces the chance of overcorrecting on later attempts.
Product facts
-
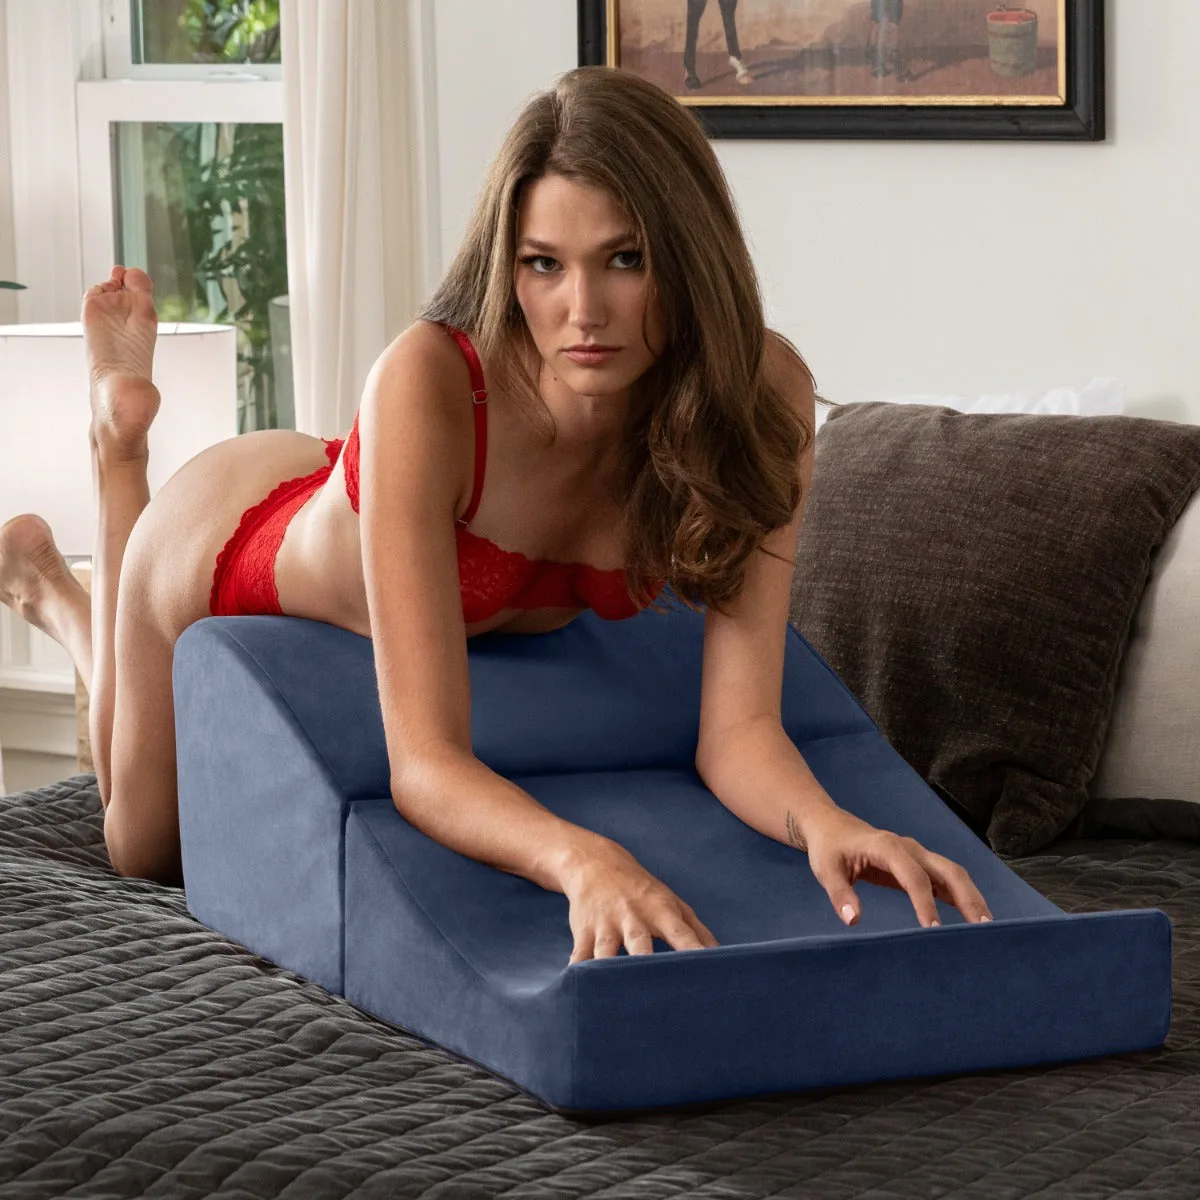
Flip Ramp: The Flip Ramp is built with high-density foam and finished in lush velvet fabrics, and it unfolds from an ottoman into a full-length ramp. The firm foam holds its shape under body weight, so you can test angles without the ramp collapsing or losing support.
Flip Ramp