Quick answer
Measure your underbust snugly and your bust at the fullest point while wearing a non-padded bra, then subtract the underbust from the bust to find your cup size. Re-measure twice; if the numbers differ by more than 2 cm, take the average. Use the result as a starting point, not a verdict, because band fit and cup shape vary between styles.
A bra that fits should stay put when you raise your arms, sit flat against your ribcage, and not leave red marks that last for hours. Most of us were never taught how to measure bra size at home, so we guess, buy, and return. This guide walks you through the whole process with a soft tape, a mirror, and about ten minutes.
You will measure your underbust and bust, work out your starting size, and check it against real-world fit signals. Along the way you will learn how to adjust for wireless styles, sister sizes, and the common mistakes that make a technically correct size still feel wrong.
What you need before you start
You do not need a professional fitting to get a useful measurement. You need a soft measuring tape, a mirror, and a bra that is not padded or molded. Wear the least structured bra you own, or go without if that is comfortable, because foam cups add volume that is not you.
Stand in front of a mirror so you can keep the tape level. If you do not have a soft tape, use a piece of string and measure it against a ruler afterward. Write every number down as you go, because you will compare them at the end.
- Soft tape or string plus ruler
- A non-padded bra or no bra
- Mirror and a pen to record numbers
Step 1: Measure your underbust
Wrap the tape around your ribcage, directly under your bust where the band sits. Keep it snug and level all the way around. Breathe out normally and read the number in centimetres. This is your underbust measurement, and it decides your band size.
The most common mistake is pulling the tape too loose because it feels tight. A band that is too loose rides up at the back and stops supporting you. If you are between numbers, round down for a firmer band or up for a softer one, and note both.
- Keep the tape level at the front and back
- Breathe out before you read the number
- Record the exact number, not a rounded guess
Step 2: Measure your bust
Wrap the tape around the fullest part of your bust, usually across the nipple line. Keep it level and not tight. Let your arms rest down so you are not pulling the tape with your hands. Read the number in centimetres.
Do not push your breasts up or flatten them to get a smaller number. The tape should touch but not compress. If your bust measurement changes depending on where you stand in your cycle, measure on a typical day and write the date next to it.
- Measure at the fullest point, not across the top
- Let your arms rest naturally
- Do not compress the tape against your body
Step 3: Work out your starting size
Subtract your underbust from your bust. The difference in centimetres gives you a starting cup size. As a rough guide, a 2.5 cm difference is an A cup, 5 cm is a B, 7.5 cm is a C, 10 cm is a D, 12.5 cm is a DD, and so on. Your underbust number becomes your band size.
This is a starting point, not a final answer. Different brands and styles cut their bands and cups differently, so the same body can wear two sizes depending on the bra. Treat the number as a place to begin trying on, not a label you must match.
- Difference of 2.5 cm per cup step is a rough guide
- Your underbust number is your band starting point
- Expect to adjust once you try a real bra on
Step 4: Check the band first
Put the bra on and fasten it on the loosest hook. The band should sit level and firm around your ribcage. You should be able to slide two fingers under the band at the back, but not a whole hand. If the band rides up when you lift your arms, it is too loose.
The band does most of the support work, so a band that is too big will make the straps dig in and the cups gap. If the band feels tight on the loosest hook but the cups fit, try a sister size: go up one band size and down one cup size, or the reverse.
- Fasten on the loosest hook first
- Band should stay level when you raise your arms
- Sister sizing: band up, cup down, or band down, cup up
Step 5: Check the cups and straps
With the band sitting correctly, check the cups. Your breast tissue should sit fully inside the cup with no spill at the top or sides. The centre front should sit flat against your chest. If the cup wrinkles, it is too big; if it cuts in, it is too small.
Straps should sit flat and stay put without digging. If you are constantly pulling them up, the band is probably too loose rather than the straps being faulty. Adjust the sliders once, then move around, sit, and reach overhead to see if anything shifts.
- No spill at the top or sides of the cup
- Centre front sits flat against your chest
- Straps stay put without tightening them hard
Adjusting for wireless and crop styles
Wireless bras and crops rely on the band and fabric tension rather than a wire to shape the cup. That means the band fit matters even more. If a wireless bra feels loose around the ribcage, no amount of strap adjustment will give you support.
For larger cup sizes, look for styles that add elastane in the body rather than only in the elastic trim. More elastane in the body helps hold shape without digging. If a wireless bra gaps at the top but the band feels right, the cup is likely too big or the style is too shallow for your shape.
- Wireless support starts with a firm, level band
- Check the fabric content for elastane in the body
- Gapping at the top with a good band usually means cup too big
Your at-home measuring checklist
- Measure underbust snug and level: Wrap the tape directly under your bust, breathe out, and read the number in centimetres. This number sets your band starting point.
- Measure bust at the fullest point: Keep the tape level and do not compress breast tissue. Record it next to your underbust number.
- Subtract to find your cup starting point: Use the difference in centimetres as a rough cup guide, then treat it as a starting size. Do not assume the label is final.
- Try the band on the loosest hook: Check it sits level and firm, and stays put when you raise your arms. If it rides up, go down a band size or try a sister size.
- Check cups and straps: Look for spill, gapping, and a flat centre front, then move around to test stability. Fix the band before you adjust the straps.
- Re-measure and compare: Measure twice and average if the numbers differ by more than 2 cm. Use the average as your reference for future orders.
How real wireless styles handle sizing
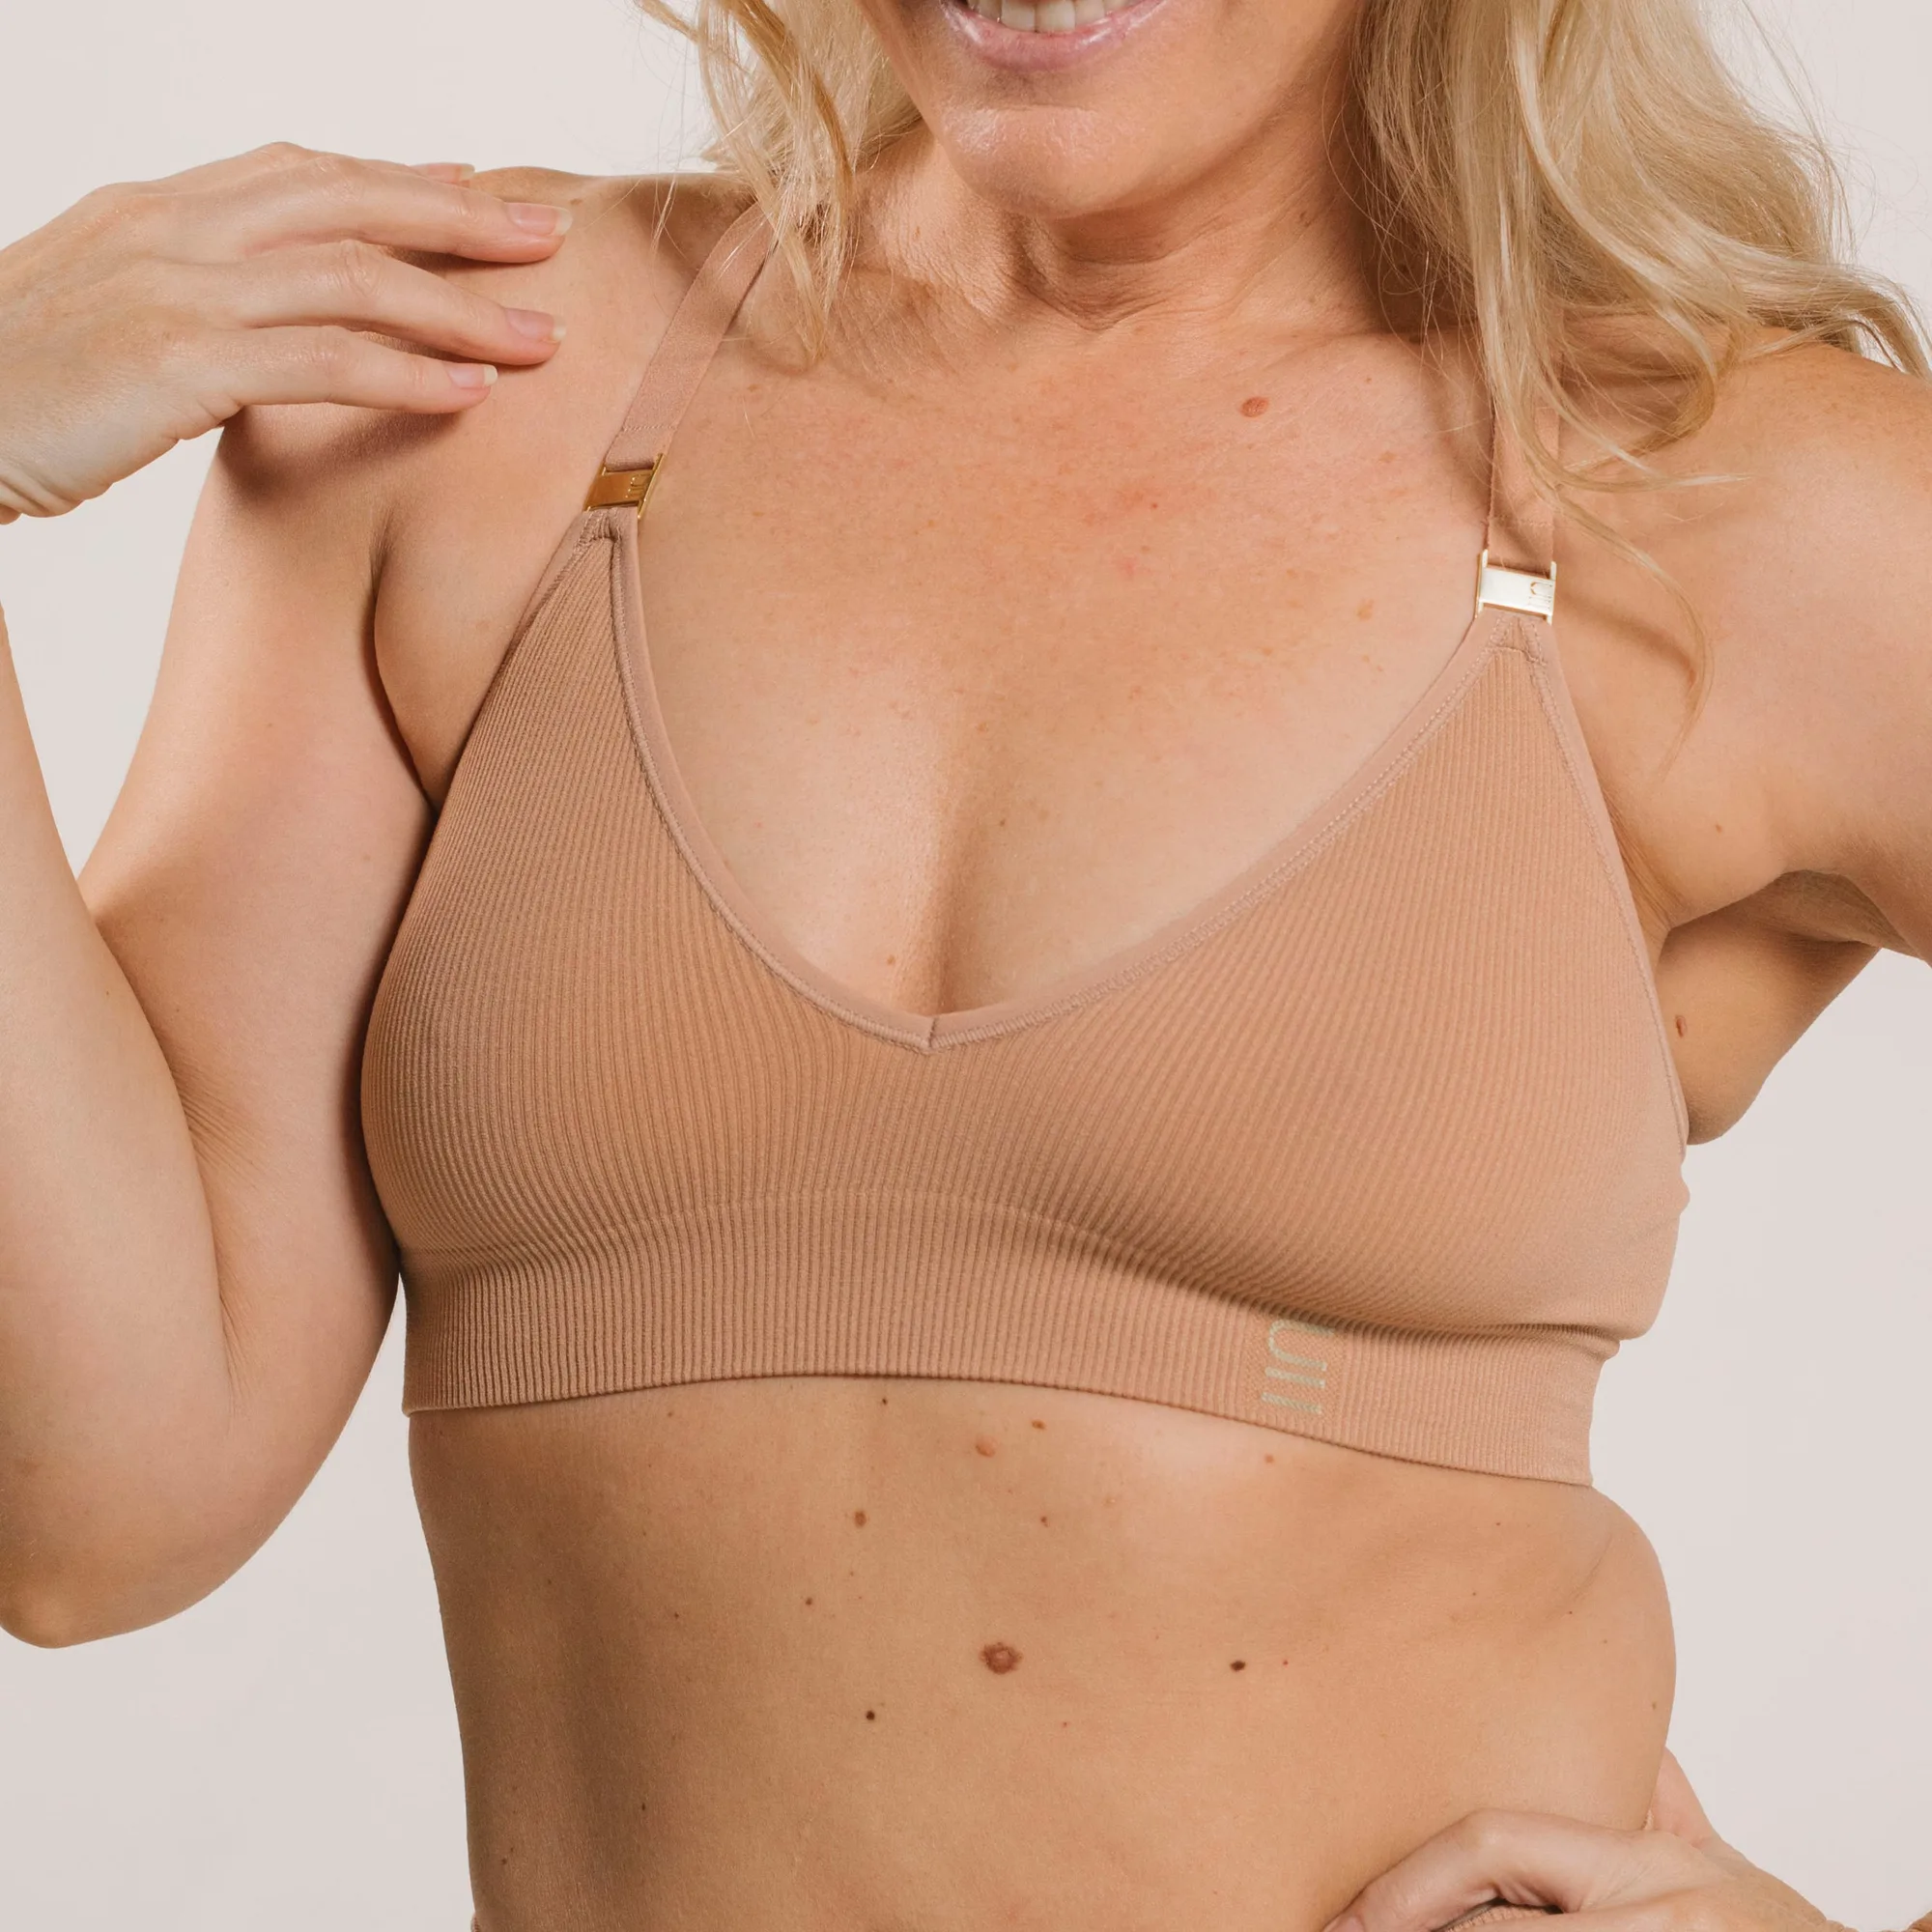
- Recycled Wireless Bra A-D - Nude 3: The elastic costs 13 times standard bra elastic, and the neckline and underarm are designed not to dig or cut in. If you are between band sizes, a firmer, higher-quality elastic can hold support without needing to size down for tightness.
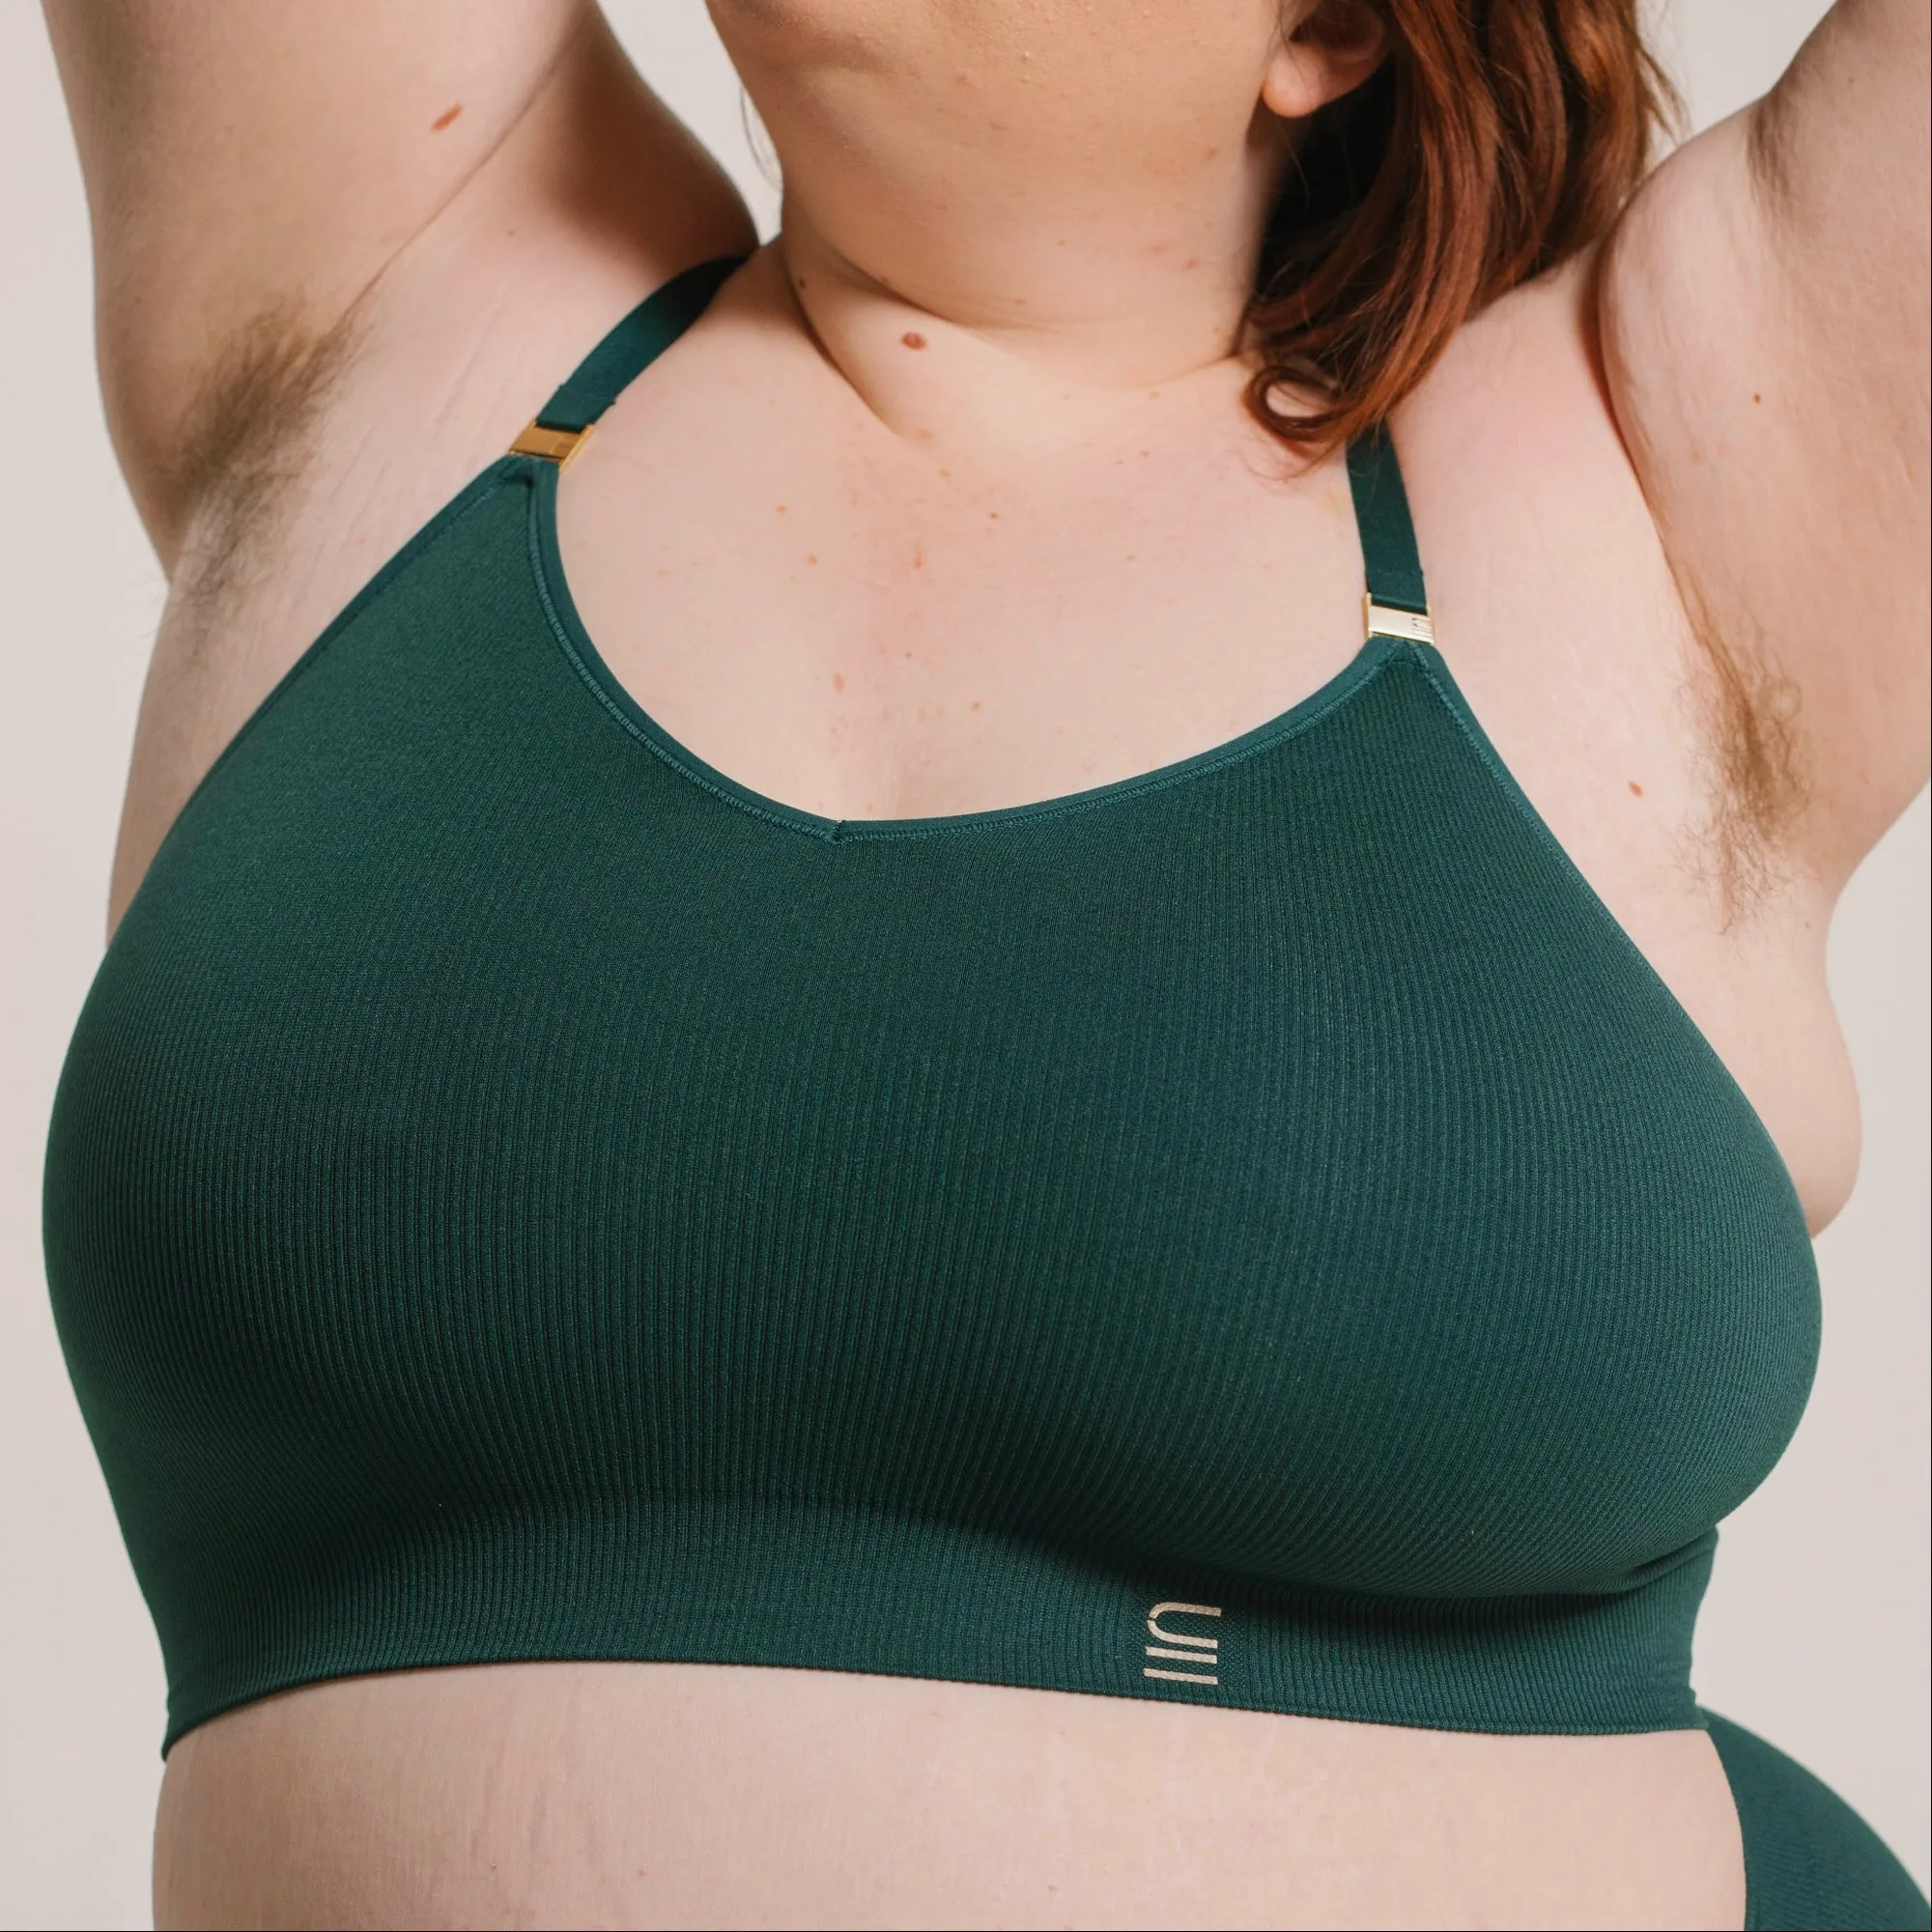
- Recycled Wireless Bra DD+ - Atlantis: For DD+ the elastane in the body is increased for additional support without adding restriction. Larger cup sizes often need body fabric, not just elastic, to keep shape, so check the fabric blend when comparing wireless bras.
- Recycled Wireless Bra H+ - Atlantis: Maximum elastane is used in the body for support without digging, restricting, or losing shape, and the straps are engineered not to slip. If you usually tighten straps to stop them slipping, a style with a supportive body and stable straps may let you wear your measured band size instead of sizing down.
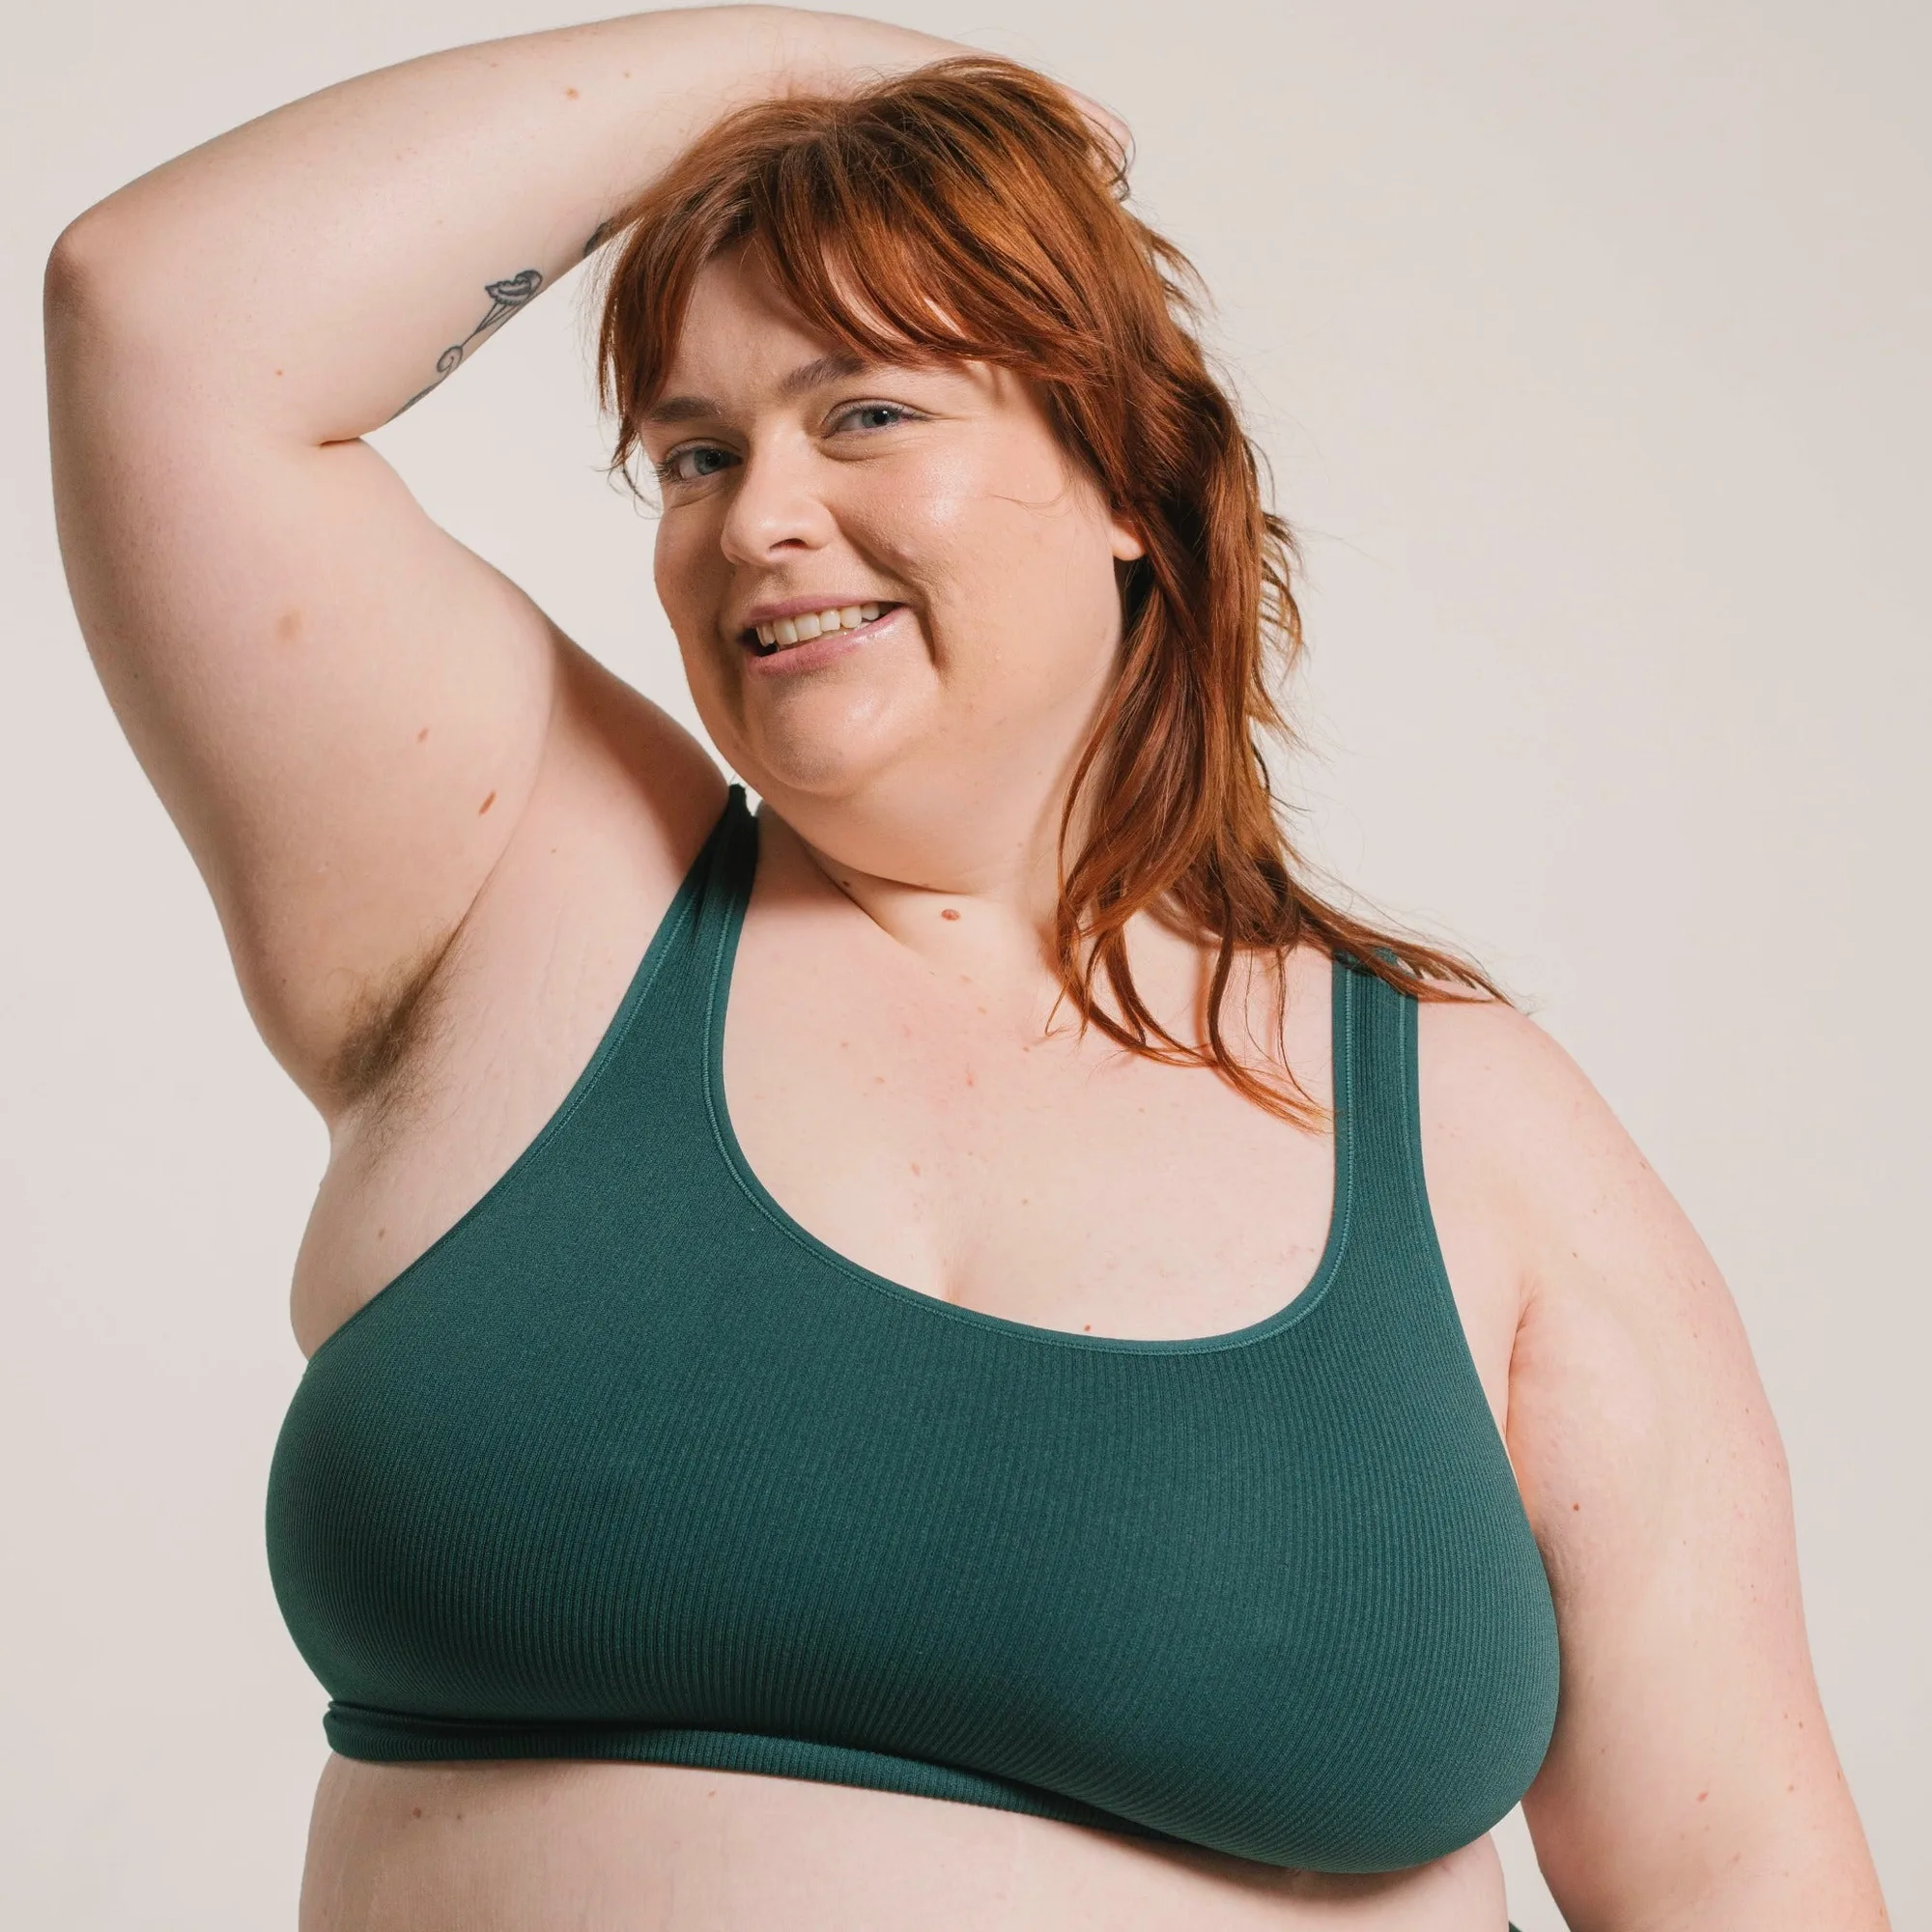
- Recycled Bra Crop D+ - Atlantis: Double layer construction with fabric straps and a high support elastic edge, engineered for D+ bodies, with a neckline that sits high. Crops for larger cups can replace layering two or three crops, so use your underbust measurement to pick the band rather than sizing up for coverage.
Measuring at home gives you a reliable starting size, but the real test is how the band and cups behave when you move. Measure twice, start with your underbust, and adjust from there. If you are shopping wireless, pay attention to the body fabric and elastic quality, because that is what keeps support in place after the first wash.