Quick answer
Start with the fabric of your outer layer, not the underwear drawer. Smooth, thin fabrics such as leggings and jersey dresses show every ridge, so choose a cut with minimal back coverage and flat edges, then confirm the size sits flush against the body. For most people that means a thong or a close-fitting mini brief in soft microfibre or cotton stretch, worn one size that does not dig in.
Visible panty lines rarely come from the underwear being wrong on its own. They come from a mismatch between the cut, the fabric of your clothes and how the waistband and leg openings sit on your body. Fix those three things and you can wear almost any style without a visible outline.
This guide walks through the decisions in the order that matters: reading your outer fabric, choosing a cut, checking the edges, testing the fit and building a small rotation so you always have a pair that works. Each step includes the mistake that most often undoes it.
Step 1: Read the fabric of your outer layer first
Hold the garment up to a light. If you can see your hand through it, the fabric is thin enough to reveal seams, lace trim and folded edges underneath. Knit leggings, bias-cut satin skirts and light jersey dresses are the usual culprits. A structured fabric such as denim or a lined skirt hides far more, which is why the same pair of briefs can look invisible one day and obvious the next.
Once you know which garments are the revealing ones, you only need one or two underwear styles that work with them. Everything else in your drawer can stay as it is.
- Checkpoint: if the fabric shows the outline of your hand, assume it will show underwear edges too.
- Mistake to avoid: buying a full set of new underwear before identifying which outfits actually cause the problem.
Step 2: Match the cut to the garment, not to habit
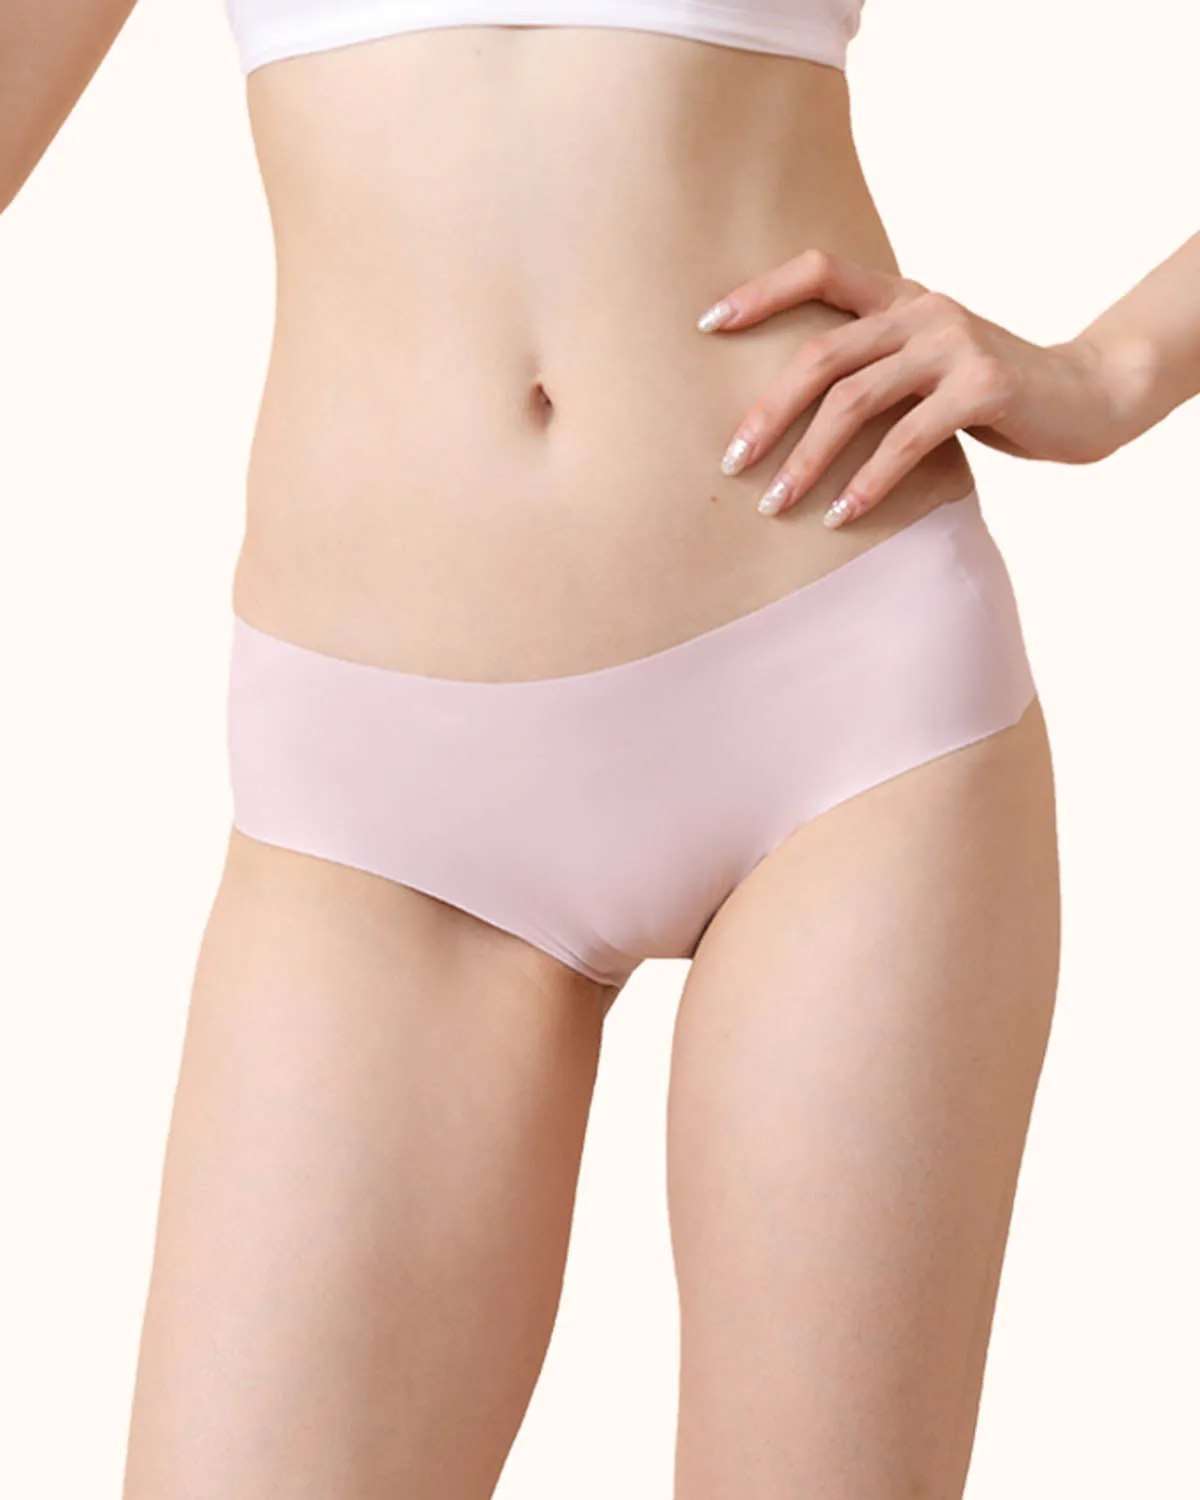
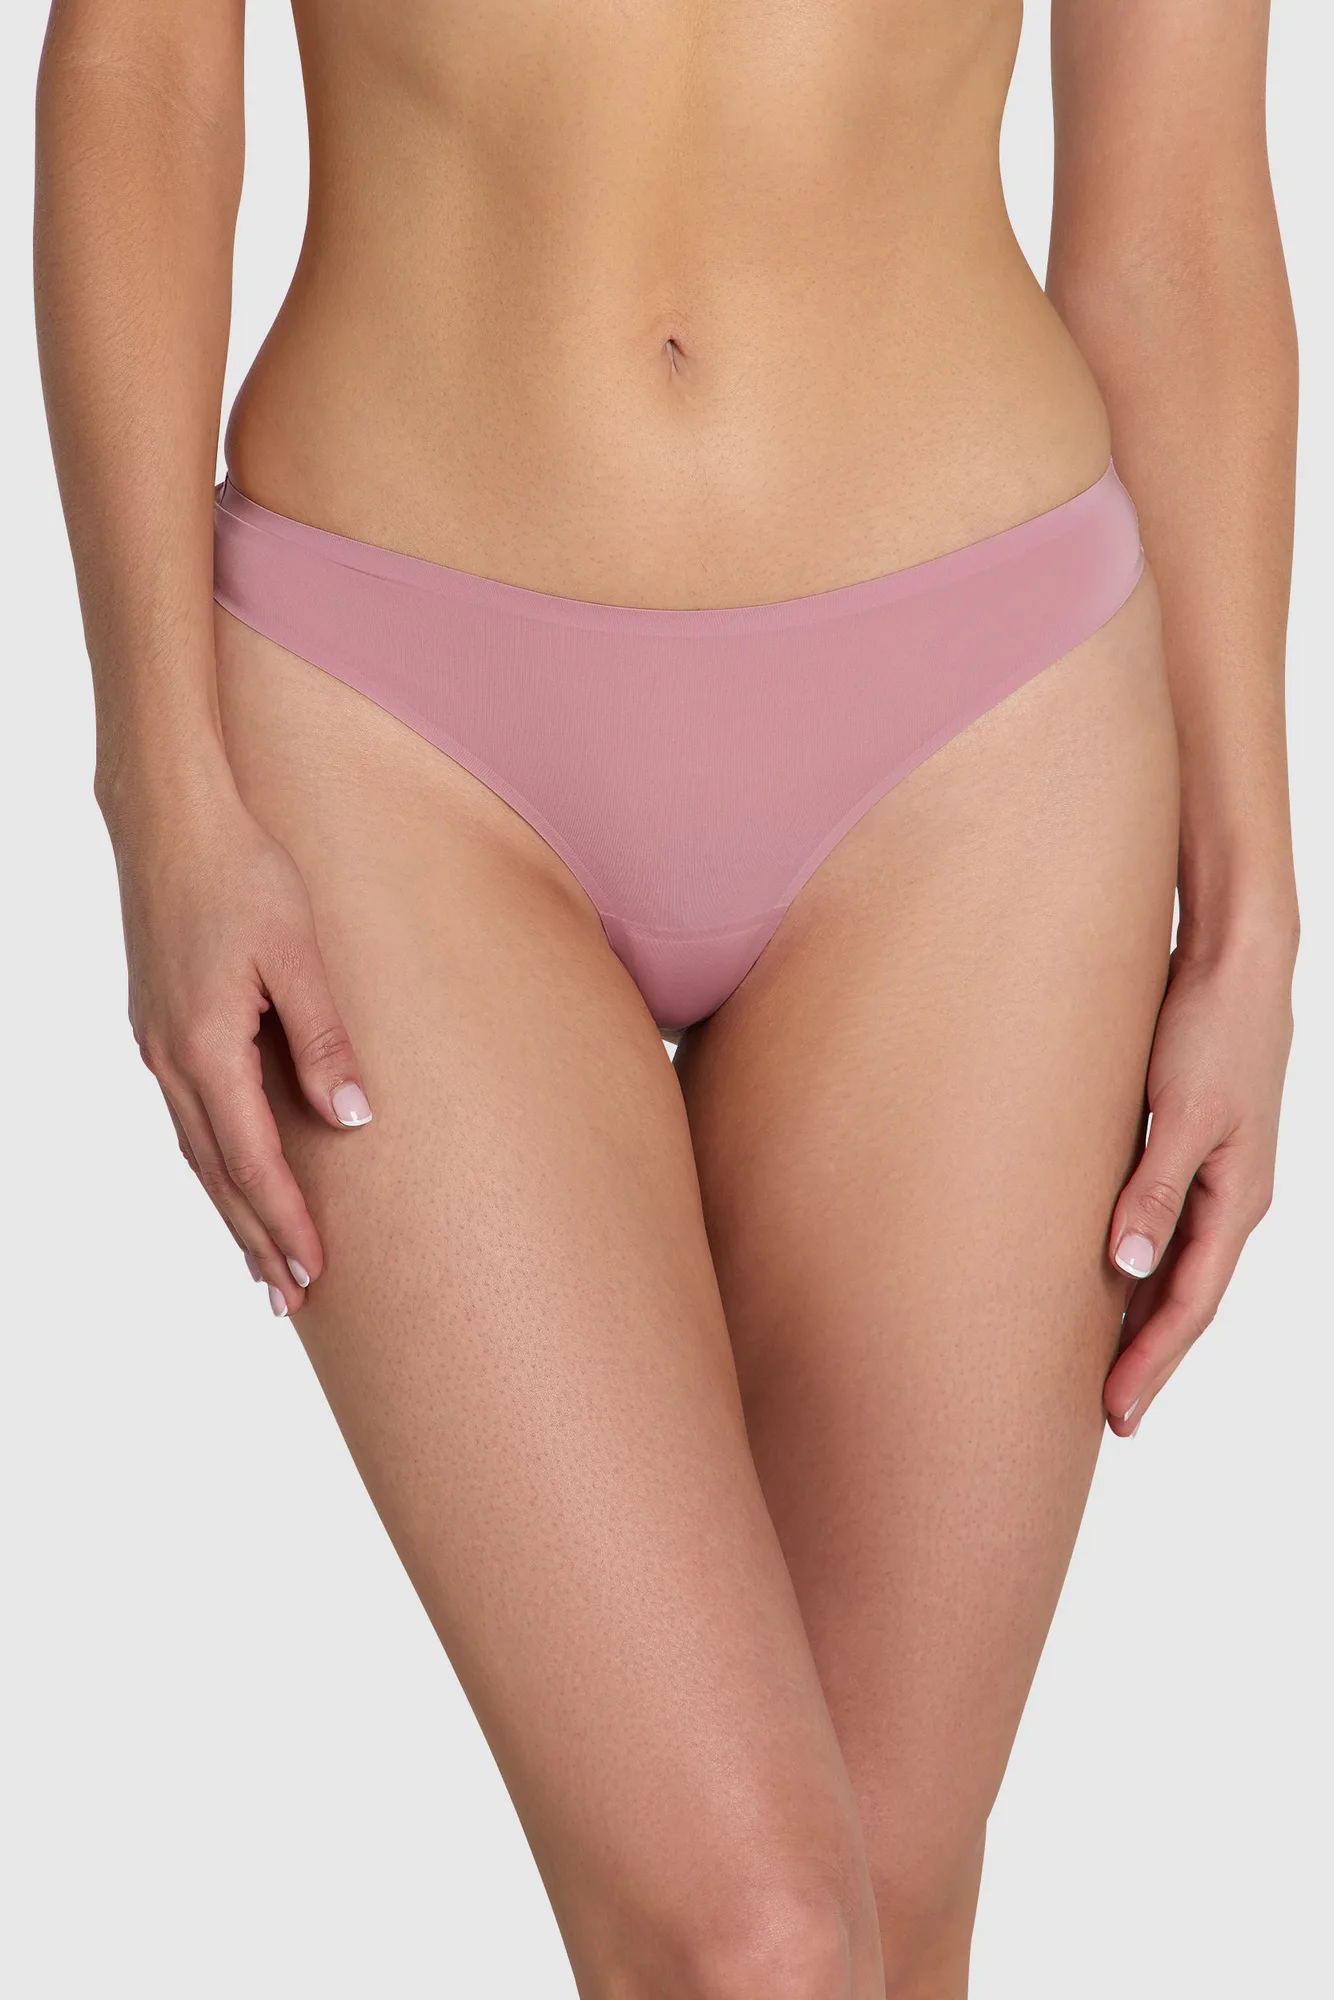
Back coverage is the single biggest factor in visible panty lines. A thong removes the fabric that would otherwise crease across the seat, which is why it is the default under leggings and fitted dresses. A mini brief or Rio-cut brief covers more but sits lower and closer to the body, so it can also stay hidden under medium-weight fabrics. A fuller midi brief gives more coverage but has more fabric to press against the outer layer.
There is no universally invisible cut. A thong in a stiff fabric with a thick waistband can show more than a well-fitted mini brief in soft microfibre. Judge the cut together with the fabric and the edges.
- Checkpoint: for tight clothes, prioritise minimal back coverage and flat edges over maximum coverage.
- Mistake to avoid: assuming a thong is automatically invisible; a thick waistband still shows through thin knits.
Step 3: Look at the edges and waistband finish
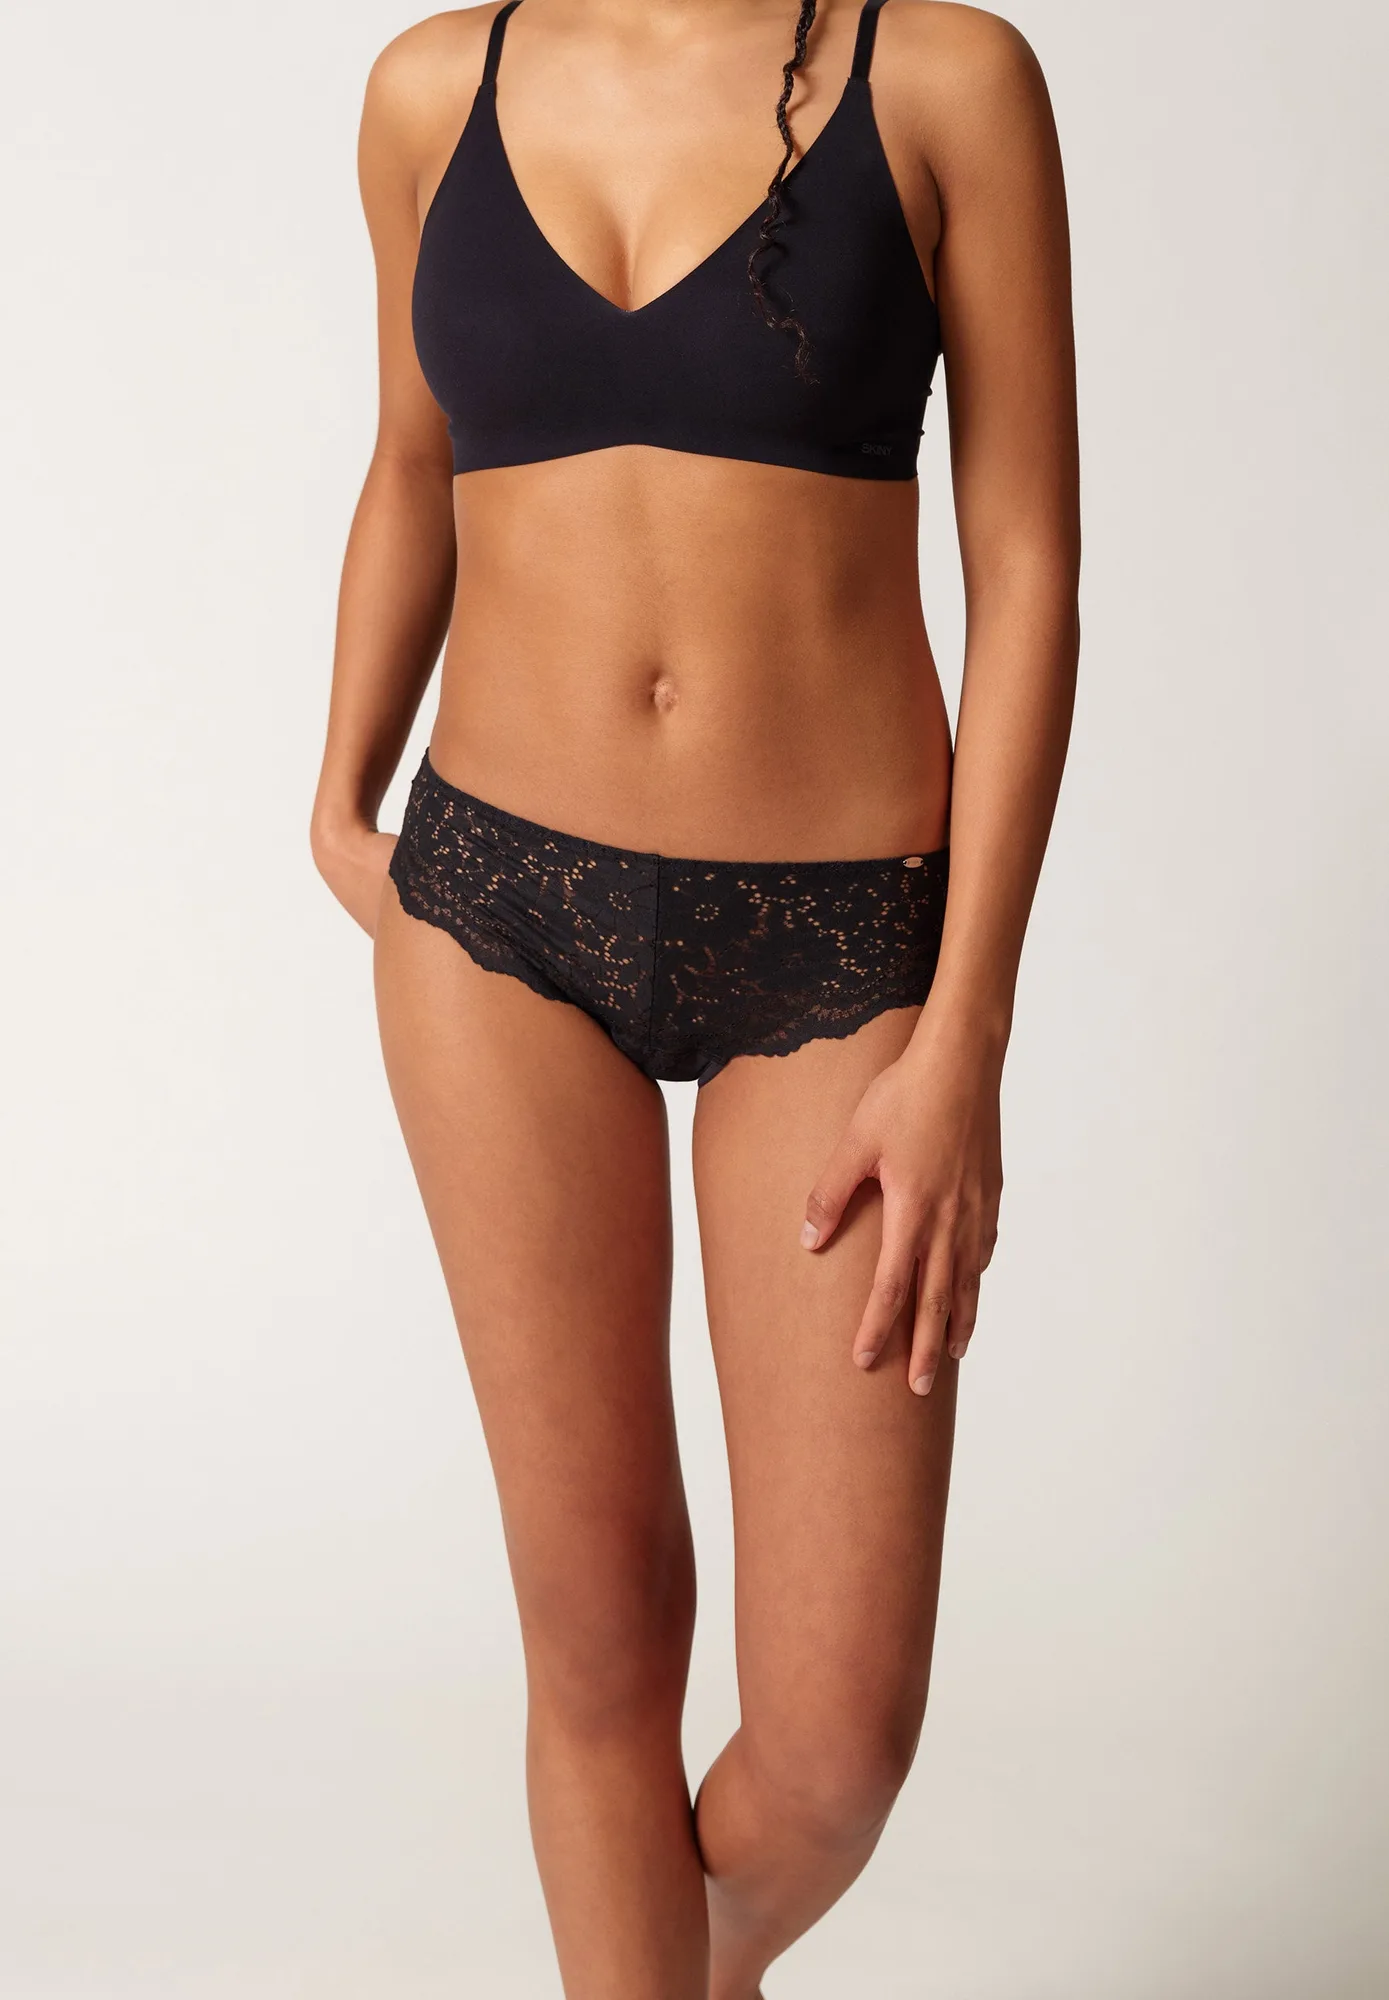
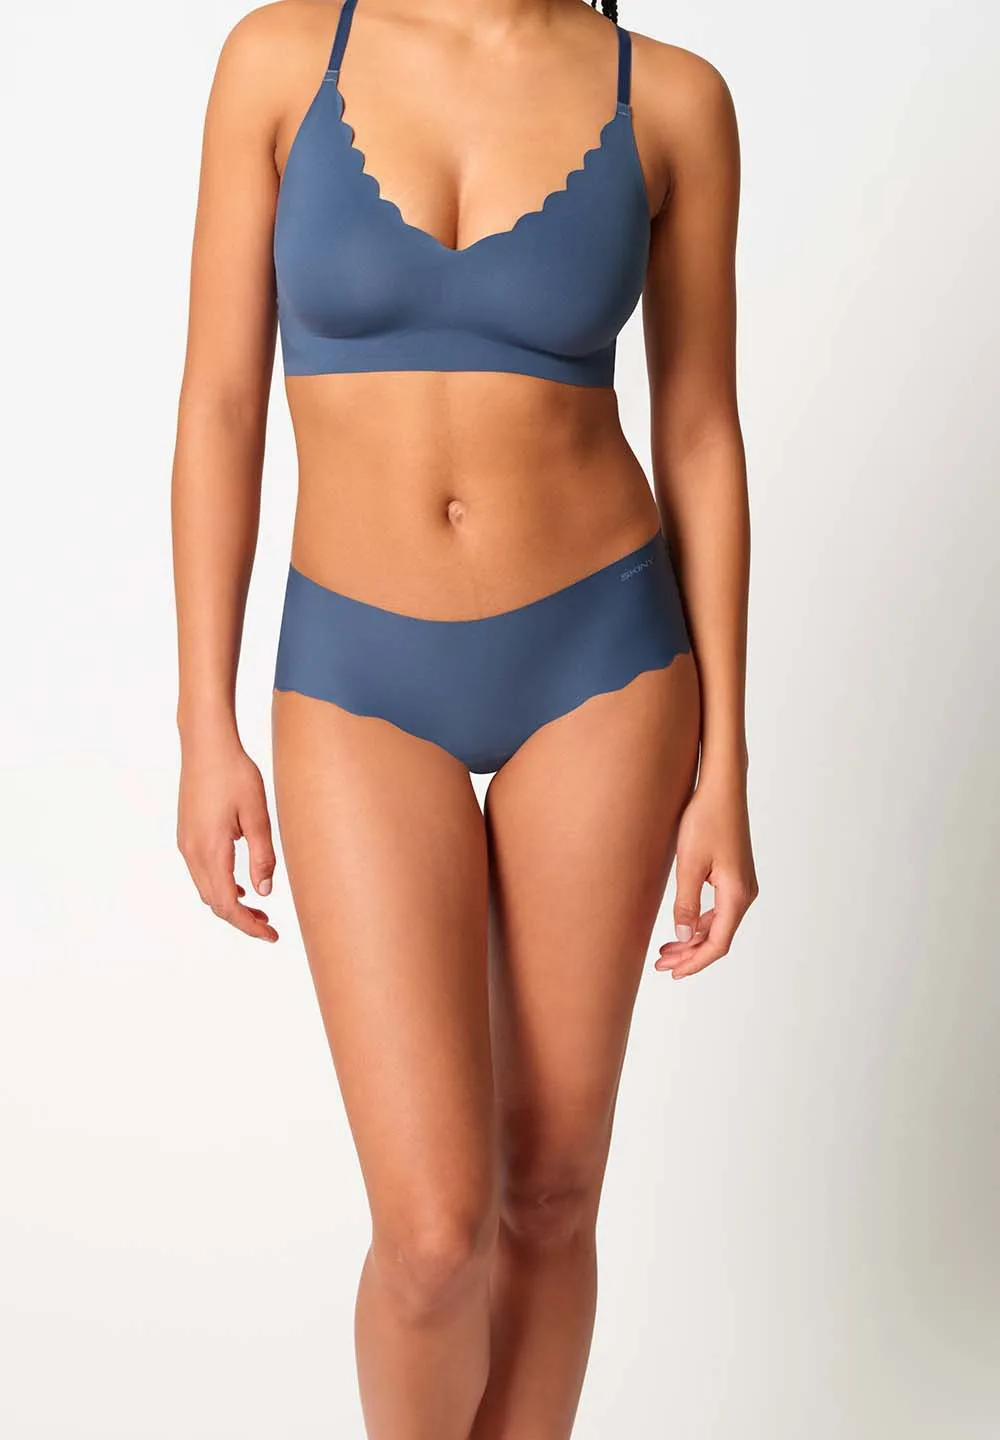
The outline you see under clothes is usually the edge of the fabric, not the fabric itself. Bonded or cut edges lie flatter than folded and stitched hems, and a narrow elastic waistband creates a thinner line than a wide one. Lace trim adds a decorative texture, but under a thin knit that texture can transfer to the surface of your clothes.
If you want one style that disappears under most outfits, look for soft microfibre with flat, bonded edges. If you prefer cotton for everyday wear, choose a pair where the waistband and leg openings are smooth rather than gathered.
- Checkpoint: run a finger along the waistband; if you can feel a raised ridge, it can show through a thin outer layer.
- Mistake to avoid: choosing lace trim for its look when the outfit you plan to wear is thin and smooth.
Step 4: Get the size right, because digging in creates lines
Underwear that is too small digs into the skin and pushes fabric outward, which creates lines even under thick clothing. Underwear that is too large shifts and folds, which also shows. The correct size sits flush: the waistband stays level when you move, the leg openings do not cut in, and you can sit, bend and walk without adjusting.
Try the pair on with the outfit you plan to wear it under, not with your usual jeans. Walk a few steps, sit down and check in a mirror from the side and back. This takes two minutes and prevents most of the disappointment that leads to unworn underwear.
- Checkpoint: if you need to tug the waistband down after sitting, the size or rise is wrong for that outfit.
- Mistake to avoid: sizing down to feel more supported; compression is what creates the visible line.
Step 5: Build a small rotation for the outfits that need it
You do not need a drawer full of invisible underwear, but you do need enough that you are not washing the same pair every other day. Two or three pairs that reliably disappear under leggings and fitted dresses, plus your usual everyday briefs for looser clothing, covers most weeks without overbuying.
Keep the no-show pairs separate from the rest so you can find them when you are getting dressed in a hurry. Replacing them when the elastic softens matters more than replacing them on a schedule, because a stretched waistband starts to shift and show.
- Checkpoint: if a pair only works with one specific outfit, it is a specialist pair, not an everyday one.
- Mistake to avoid: keeping stretched-out pairs in the rotation because they still technically fit.
Your five-step no-show checklist
- 1. Test the outer fabric: Hold the garment to a light and see whether your hand shows through. If it does, plan for a minimal-coverage cut with flat edges. Checkpoint: thin fabric equals high risk of visible lines.
- 2. Choose the cut for that garment: Use a thong or mini brief under leggings and fitted dresses; save midi and fuller briefs for looser clothing. Checkpoint: match the cut to the outfit, not to your default preference.
- 3. Check the edges and waistband: Feel for raised ridges, folded hems and lace trim. Flat, bonded edges and narrow waistbands create the thinnest line. Checkpoint: if you can feel a ridge, expect to see it.
- 4. Confirm the fit in motion: Wear the pair with the actual outfit, then walk, sit and bend. The waistband should stay level and the leg openings should not cut in. Checkpoint: needing to tug or adjust means the size or rise is wrong.
- 5. Build a small dedicated rotation: Keep two or three reliable no-show pairs separate from everyday briefs, and replace them when the elastic softens. Checkpoint: a stretched waistband shifts and shows, even if the size label has not changed.
Products that fit this approach
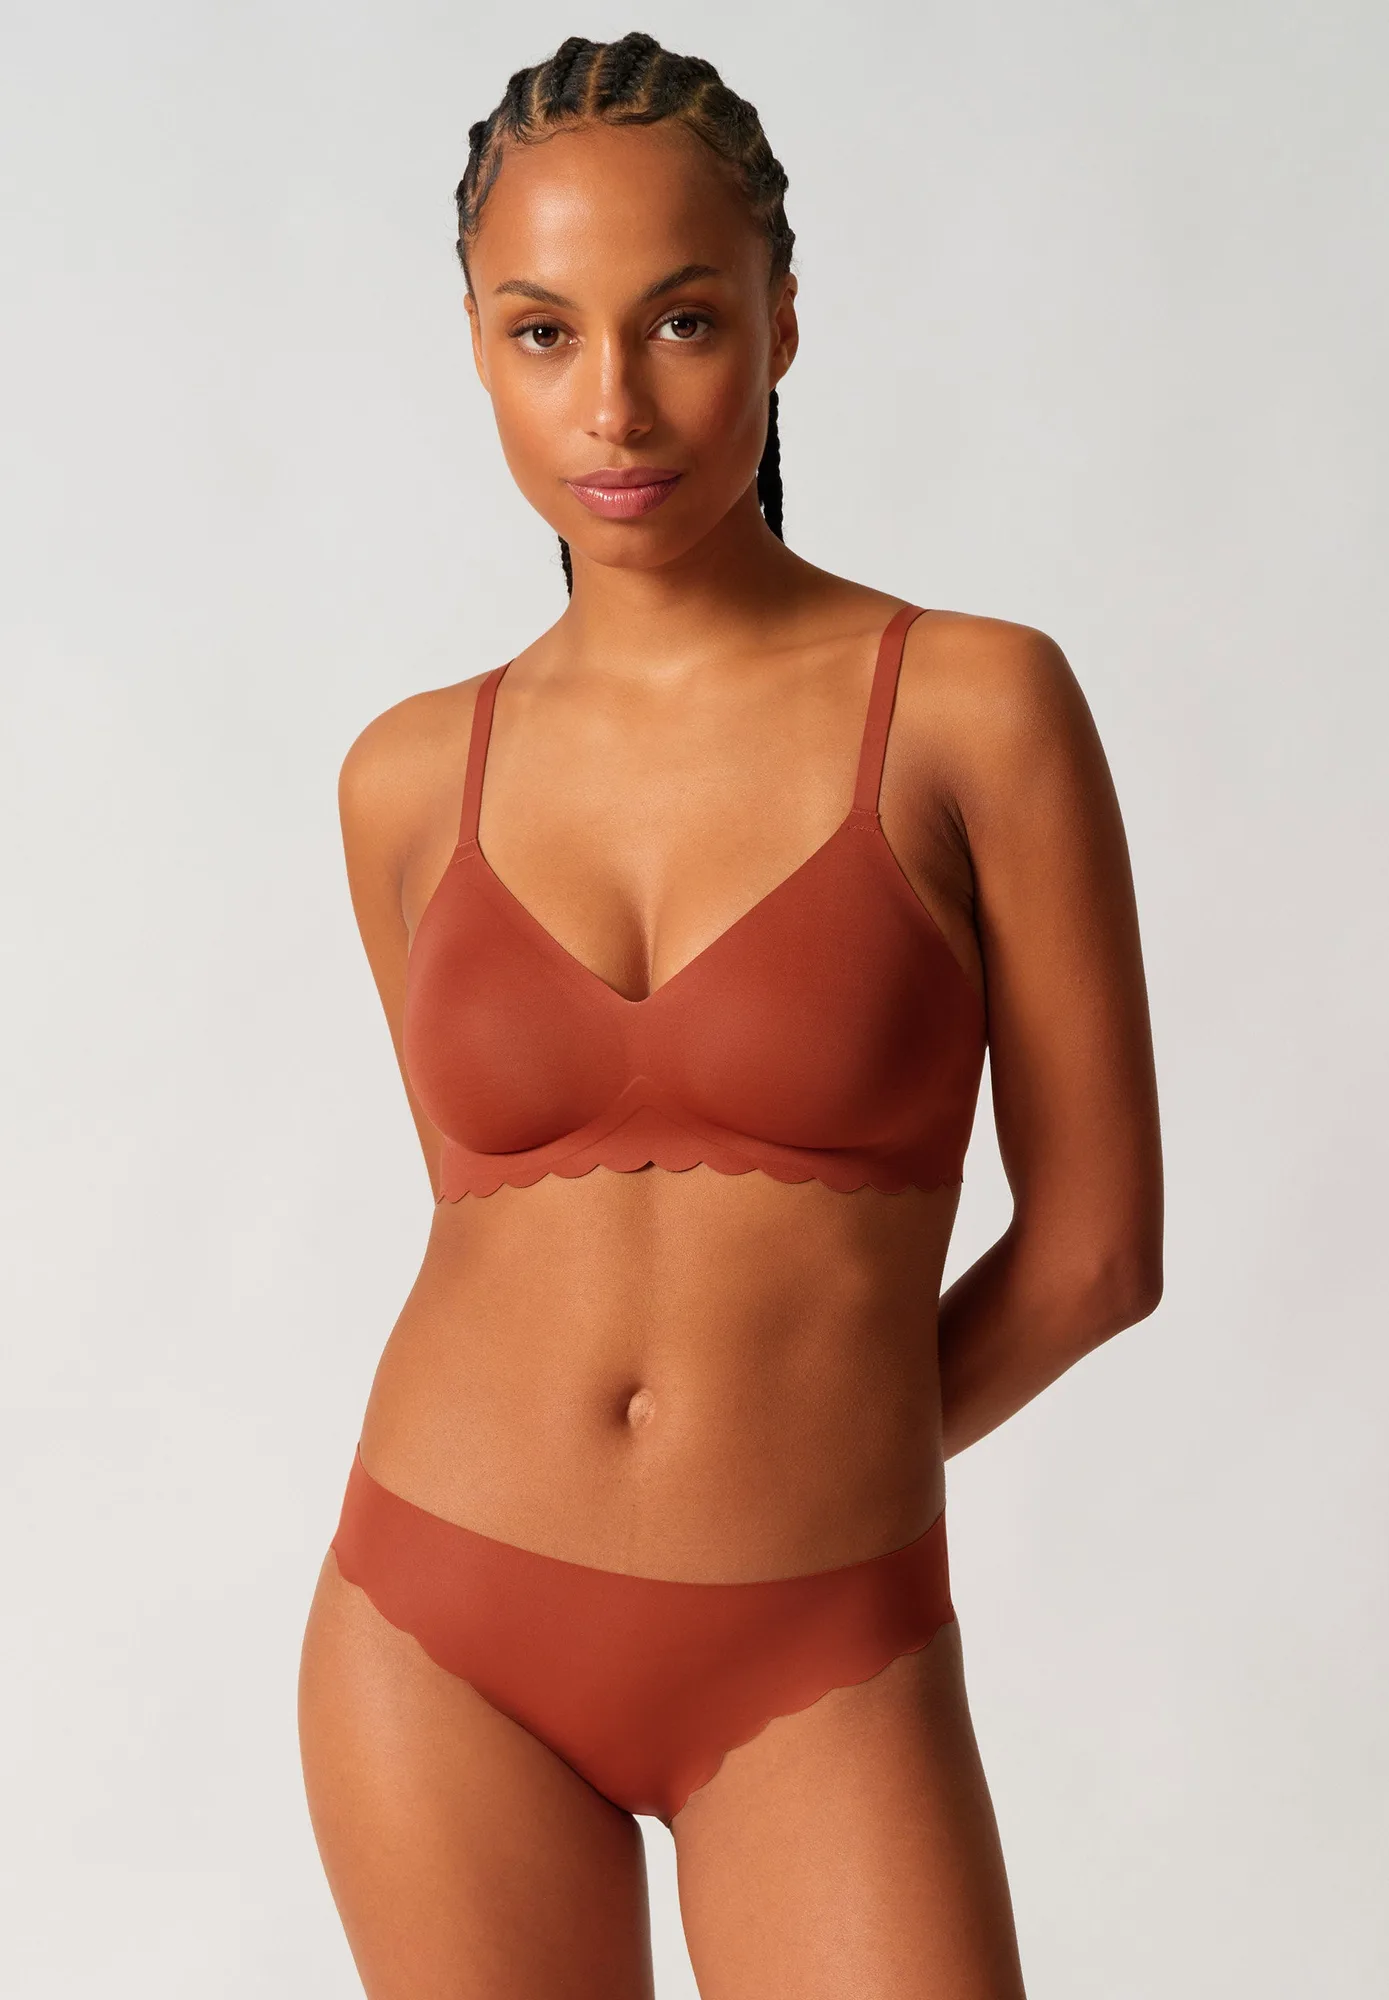
- Sensation Triangle bra remov. pads | 087055-08A077: Double-layered, super-soft microfibre with removable pads, cut and bonded edges, and a second-skin feel. Bonded edges and soft microfibre are the same qualities that keep a bra outline from showing under a thin top, so the upper half of the outfit can be as smooth as the lower half.
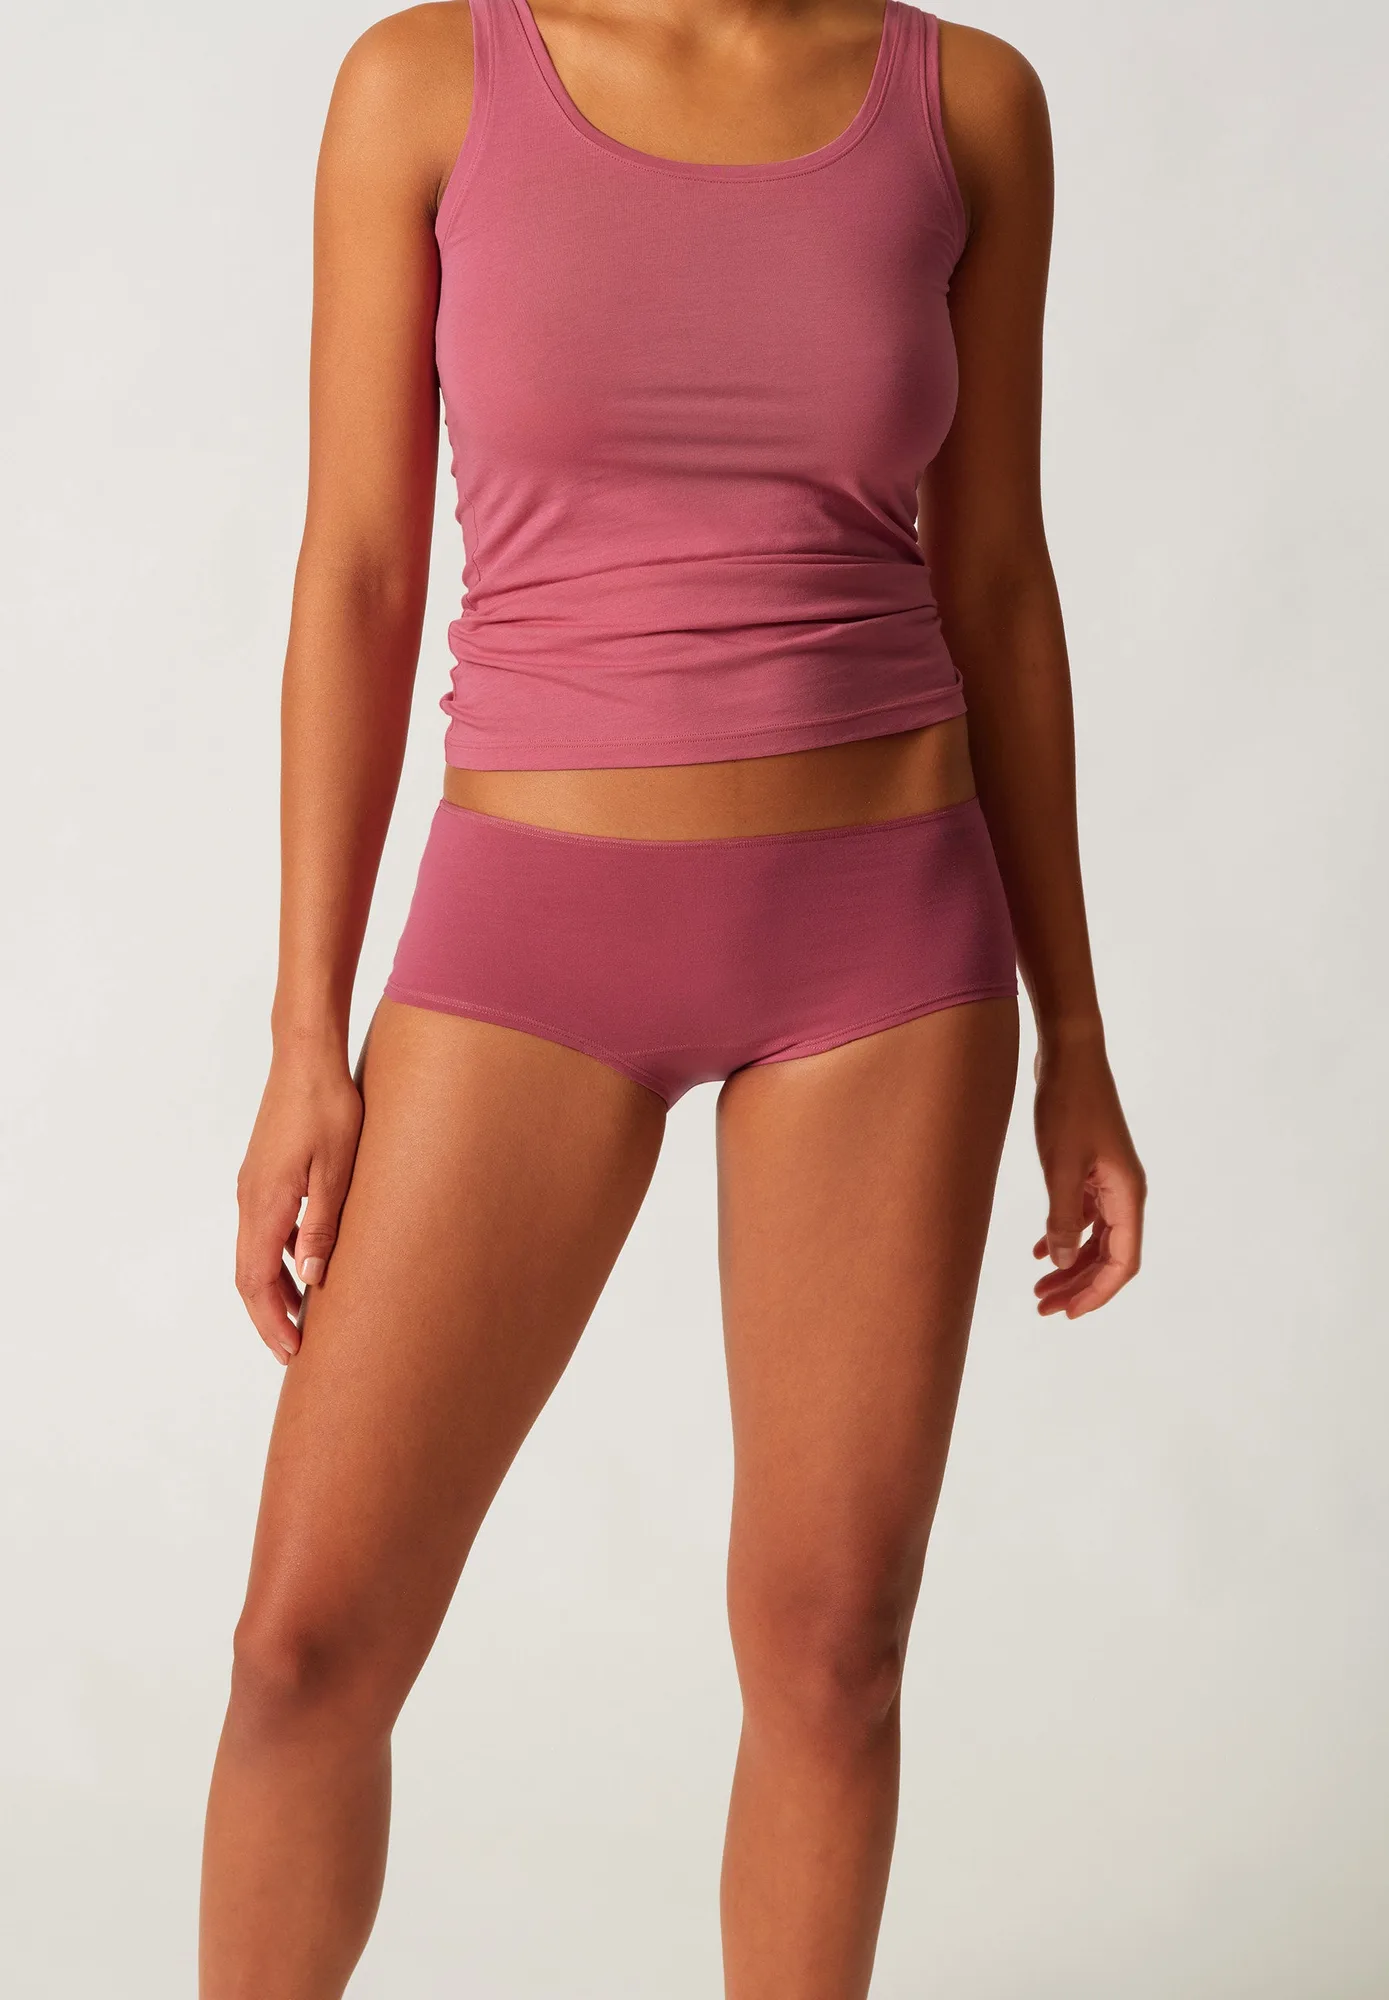
- SKINY ADVANTAGE Cotton Stretch Panty 2 pack | 087092-08A139: Soft cotton-spandex fabric with elastic lace trim at the waistband and leg openings, sold as a two-pack. A good everyday option for looser clothing; the lace trim is a point to check against very thin outer fabrics, where trim texture can transfer.
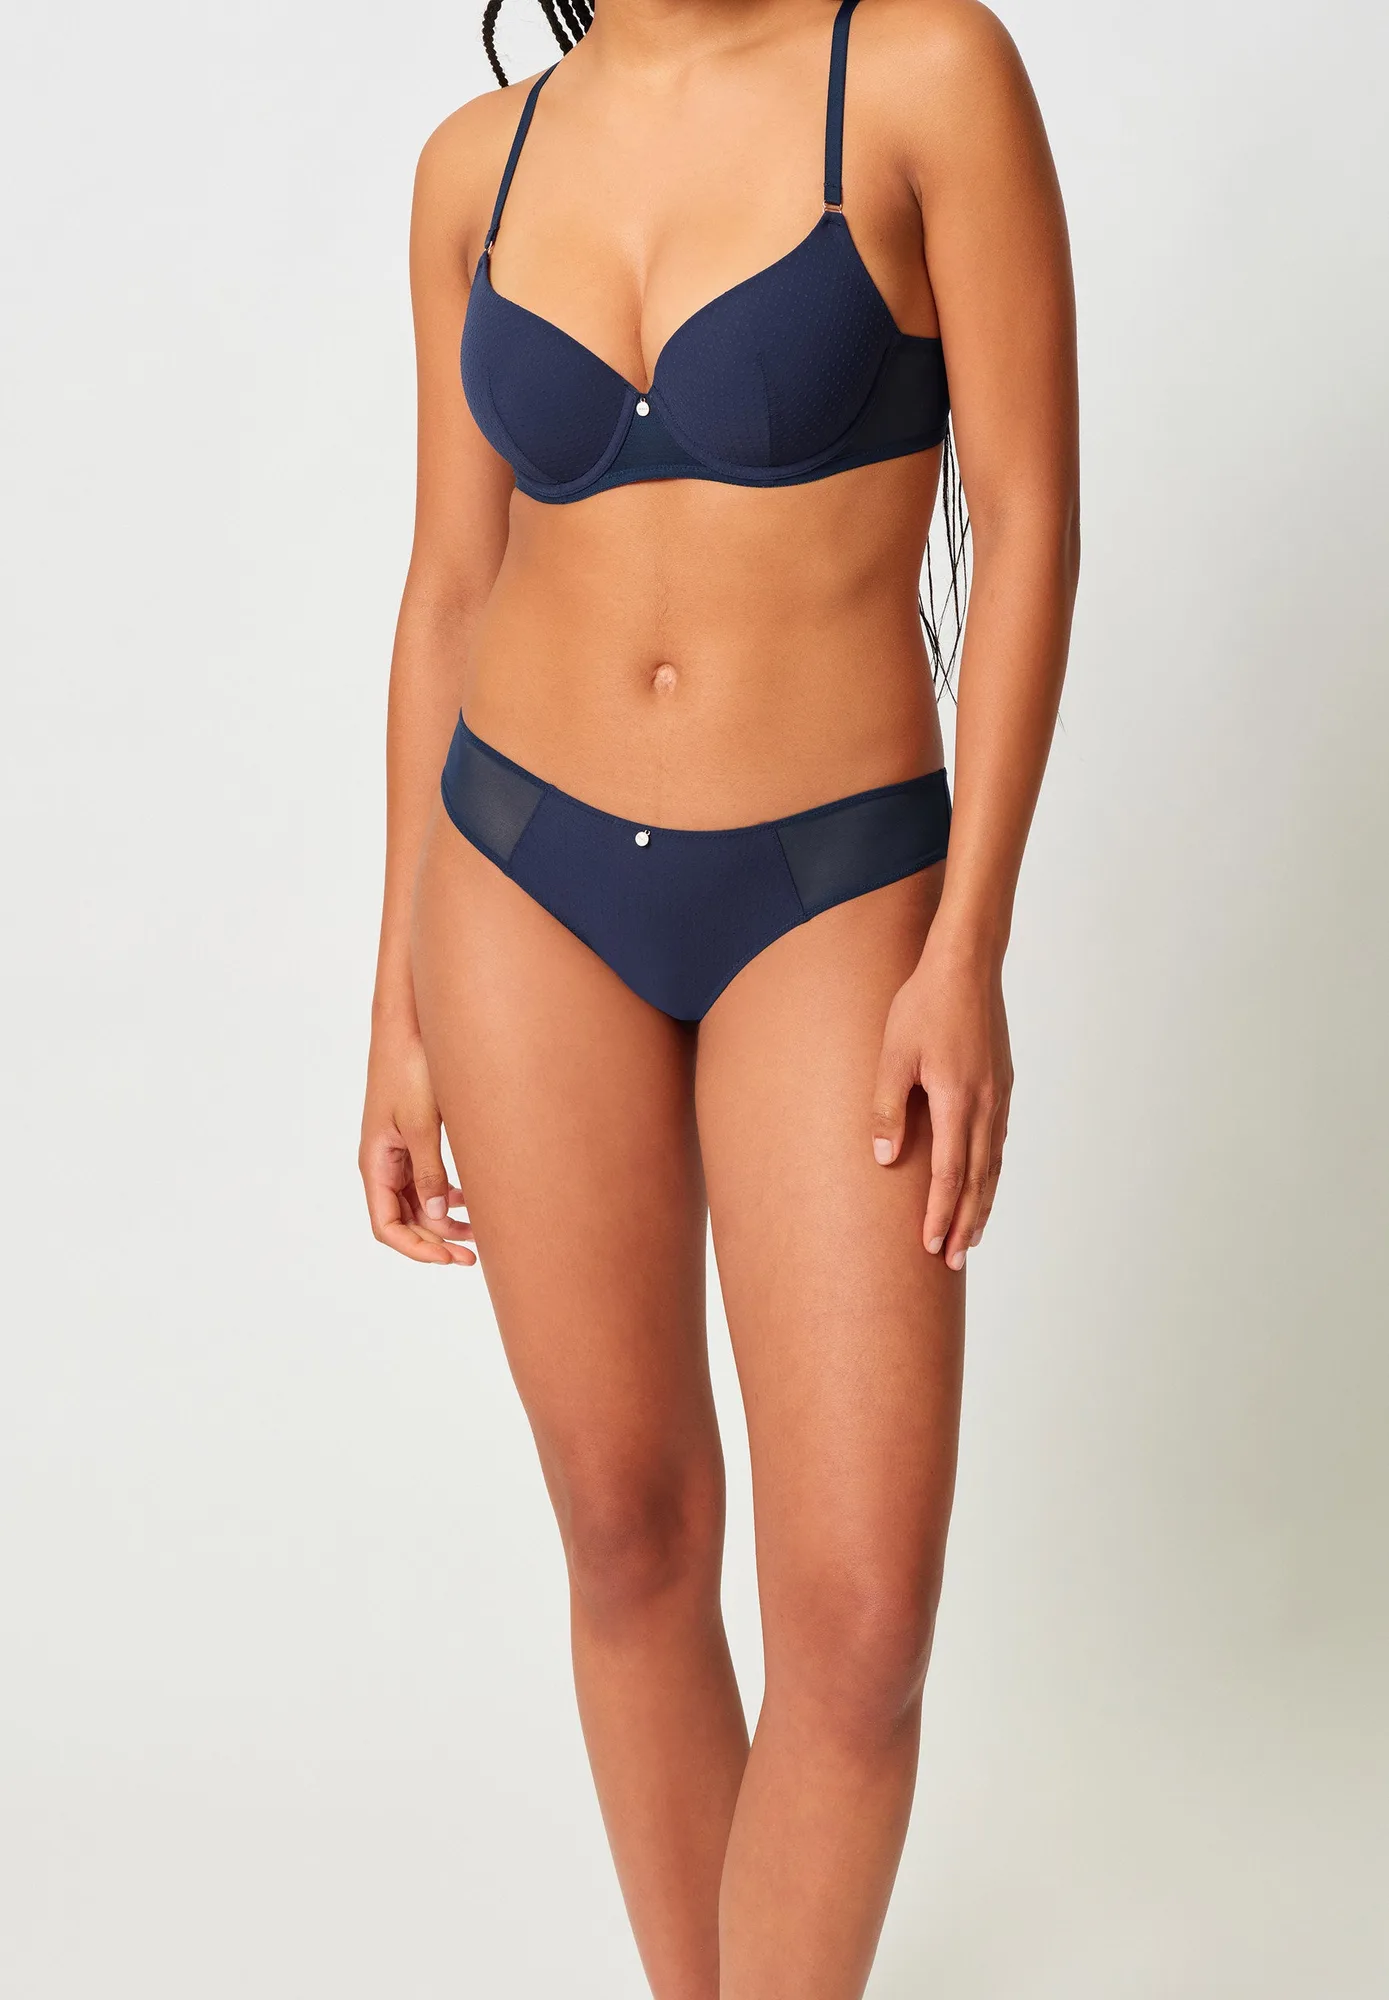
- Spotlight Bikini briefs | 087194-08S976: Integrated elastic bands provide support without digging in, and the fit is described as flattering with a timelessly modern design. Support without digging in is exactly what prevents the compression lines that make underwear visible under fitted clothes.
- Monthlysolution Period briefs | 082749-087665: A close-fitting layer system with medium absorbency for up to 6 hours, washable and reusable, with lace trim at the front and back. Period underwear adds absorbent layers, so treat it as a coverage decision: it works well under medium-weight fabrics, but the extra structure is more likely to show under very thin leggings.
Invisible underwear is mostly a matching exercise: thin outer fabric calls for minimal back coverage and flat edges, and the right size keeps everything flush while you move. Get those three things right and you can stop thinking about your underwear entirely.