Quick answer
Choose bag strap webbing by matching the width to your bag's size and hardware, then pick a style that suits how the bag will be used. For most everyday totes and crossbody bags, 1-1/2 inch webbing is the practical default; reserve 2 inch webbing straps for larger carryalls or heavy loads.
Why width changes more than looks
Width affects how a strap sits on your shoulder, how easily it feeds through hardware, and how much support the bag offers. A wider strap spreads weight over more surface area, which can feel more comfortable on a loaded bag, but it also takes up more space at the seam and may not fit narrow rings or sliders.
Before you commit to a full roll, check the opening of every piece of hardware the strap will pass through. If the webbing barely fits, the strap will be difficult to adjust and may fray at the edges over time.
When a patterned webbing earns its place
Solid webbing is forgiving: it hides small stitching wobbles and works with almost any fabric. Patterned options such as boathouse striped webbing or nautical rope webbing add visual interest, but they also make stitch lines and seam bulk more noticeable. That is not a reason to avoid them; it is a reason to test your topstitching on a scrap first.
If you are sewing a bag where the strap is a design feature, a pattern can carry the look. If the strap is purely functional, a solid shade usually blends in more easily and is simpler to match to future projects.
The trade-off between width and construction
Wider webbing can make a bag feel more substantial, but it also creates bulk where the strap meets the bag body. On small bags, a 2 inch strap can overwhelm the proportions and make the attachment points harder to finish cleanly. On large bags, a narrow strap can look undersized and may dig into your shoulder when the bag is full.
There is no universal correct width. The right choice depends on the bag's intended load, the hardware you already have, and how much visible stitching you are willing to manage.
How to choose webbing width and style, step by step
- Measure your hardware opening: Use a ruler or caliper to measure the inside width of every ring, slider, or buckle the strap will pass through. Compare that number to the webbing width before buying. Common mistake: assuming a 1-1/2 inch strap will fit a 1-1/2 inch ring; the webbing needs a little clearance to move freely. If the hardware opening is not at least slightly wider than the webbing, size down or change the hardware.
- Match width to bag size and load: For small purses and lightweight crossbody bags, a narrower strap is usually enough. For medium totes, 1-1/2 inch webbing is a practical middle ground. For large carryalls or bags that will hold heavy items, consider 2 inch webbing straps to spread the load. Common mistake: choosing width by appearance alone without considering how full the bag will be. Test the strap width against a mock-up of the bag body before cutting the final length.
- Decide whether the strap is a feature or a support: If you want the strap to be part of the design, choose a patterned webbing such as boathouse striped webbing or nautical rope webbing. If you want it to disappear into the bag, choose a solid color close to the main fabric. Common mistake: picking a bold pattern without checking how it looks next to the bag fabric in daylight. Lay the webbing across the fabric before sewing; patterns can compete in ways that are hard to predict on a screen.
- Check the finished edge and prep needs: Look for webbing with finished edges so you do not have to turn, press, or interface it. Sallie Tomato Premium Webbing is designed this way, which reduces bulk at the strap attachment. Common mistake: buying raw-edge webbing for a clean-finish bag and then struggling to encase the edges neatly. If the product description does not state finished edges, plan a finishing method before you sew.
- Sew a test strap before committing: Cut a short scrap of your chosen webbing and sew it to a scrap of your bag fabric using the same needle, thread, and stitch length you plan to use. Check for puckering, skipped stitches, and how the pattern aligns. Common mistake: testing on a different fabric or with a different needle, which gives misleading results. Adjust needle size or stitch length on the scrap until the strap lies flat and the stitching is even.
Product facts to know
-
1-1/2" Harbor Nautical Rope Webbing: 1-1/2" Harbor Nautical Rope Webbing has finished edges and needs no turning, pressing, or interfacing. You can sew a clean strap directly to the bag without extra prep, which saves time on simple totes and crossbody bags.

1-1/2" Harbor Nautical Rope Webbing
-
1-1/2" Striped Boathouse Webbing: 1-1/2" Striped Boathouse Webbing is a durable woven webbing with finished edges. The striped pattern makes the strap a visible design element, so plan your topstitching and seam placement before cutting.
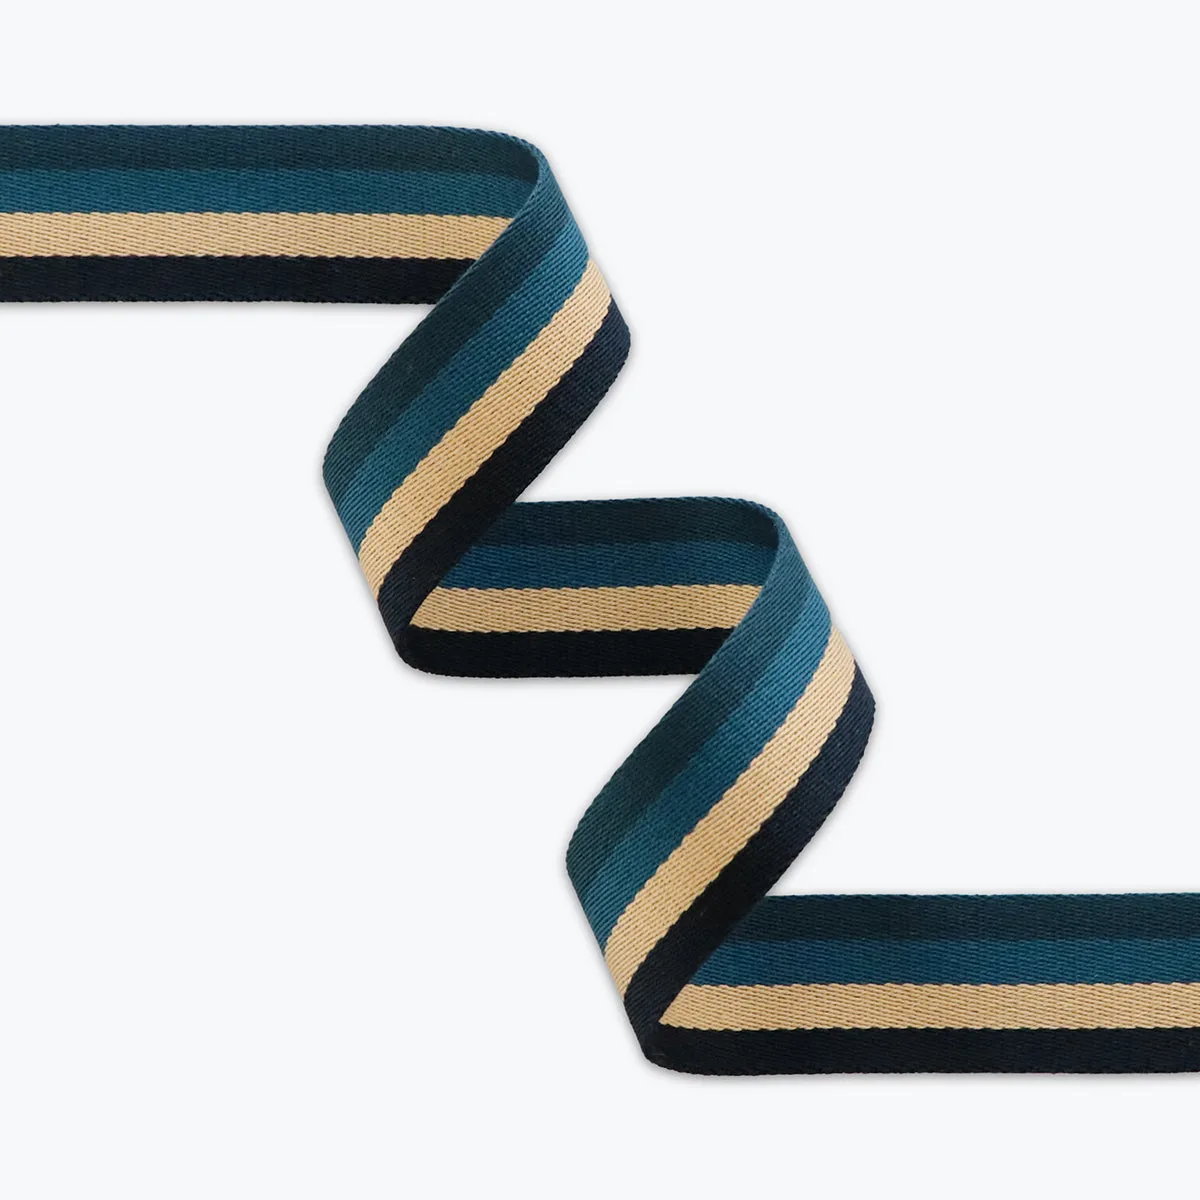
1-1/2" Striped Boathouse Webbing
-
1-1/2" Checkerboard Green/White Webbing: 1-1/2" Checkerboard Green/White Webbing is a woven webbing designed for strength and structure. Its graphic pattern suits casual bags where the strap is meant to stand out, but it will show stitch lines more than a solid color.