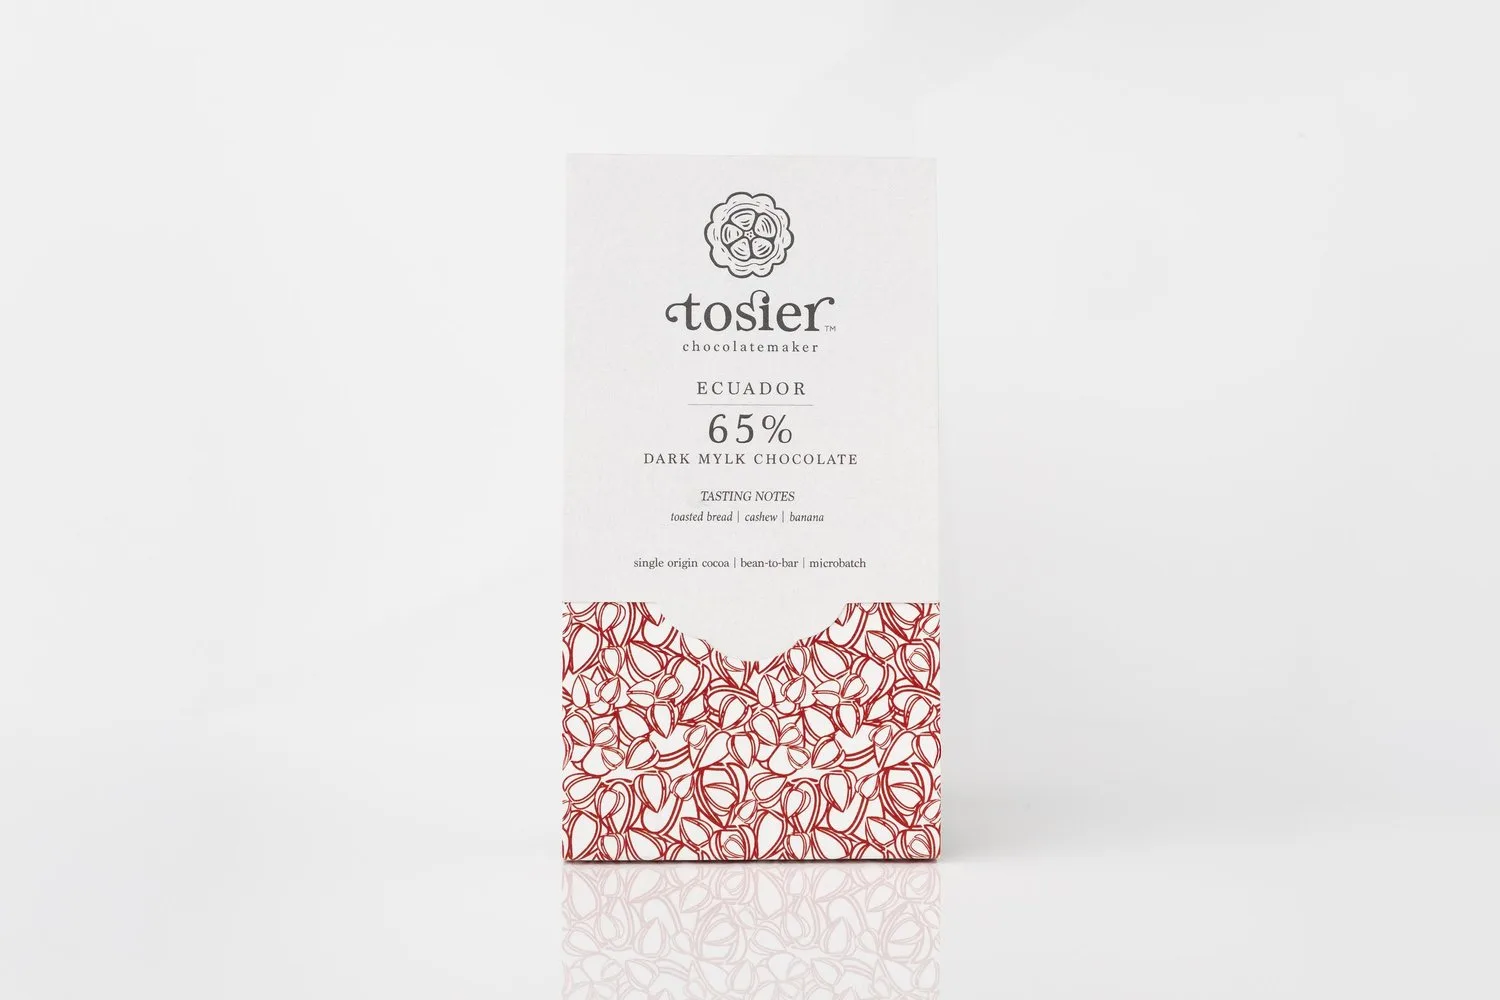
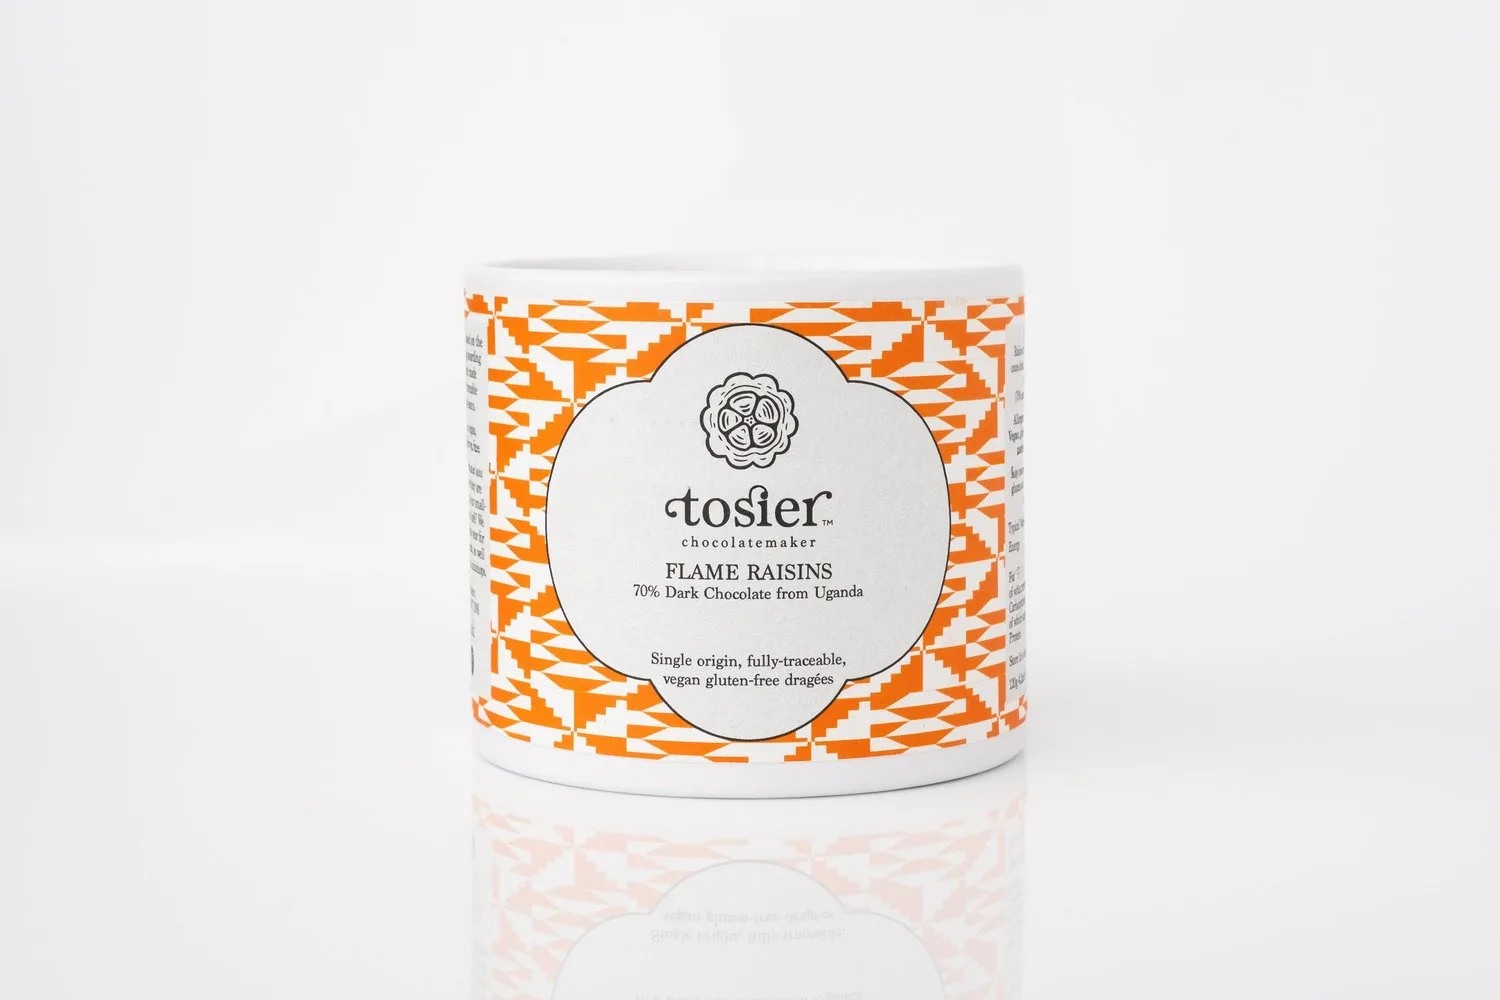
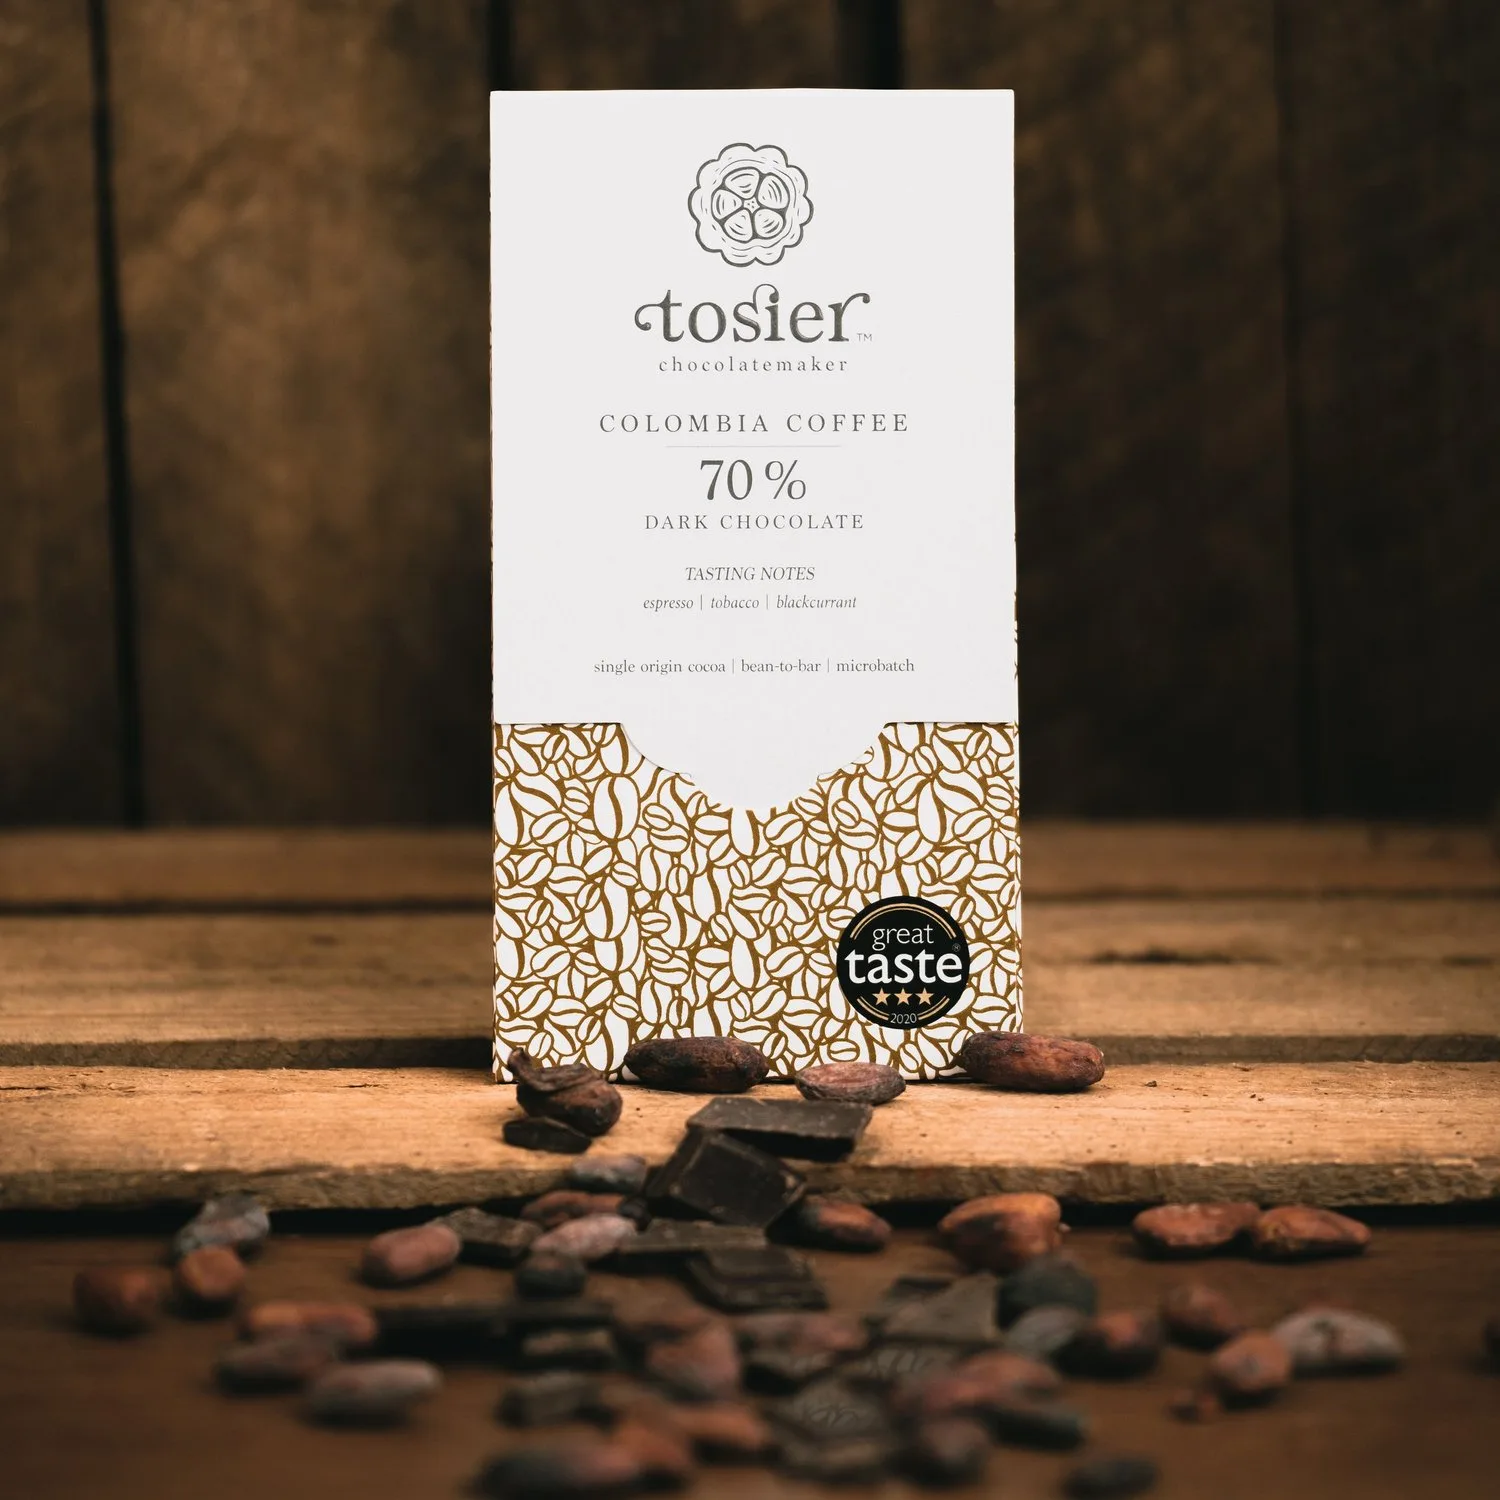
Whether you're a home chocolatier or a professional pastry chef, your chocolate molds are among the most important tools in your kitchen. Clean, well-maintained molds ensure that your finished chocolates release easily, have a glossy finish, and retain their intricate details. On the other hand, a single speck of dust or residue can ruin an entire batch. This guide covers everything you need to know about cleaning and maintaining chocolate molds so they serve you for years.
From polycarbonate to silicone molds, each material requires a slightly different approach. But the core principles remain the same: gentle handling, proper drying, and careful storage. By following these expert tips, you'll extend the life of your molds and consistently produce professional-quality chocolates at home.
Why Clean Molds Matter for Perfect Chocolate
Chocolate is a sensitive medium. It picks up moisture, odors, and grease from even the smallest residue left on a mold. A dirty mold can cause chocolate to stick, bloom (develop white streaks), or lose its shine. For home chocolate makers using premium ingredients like Single Origin Drinking Chocolate 200g — Tosier Chocolatemaker or artisan couverture, a clean mold is the first step toward a flawless finish.
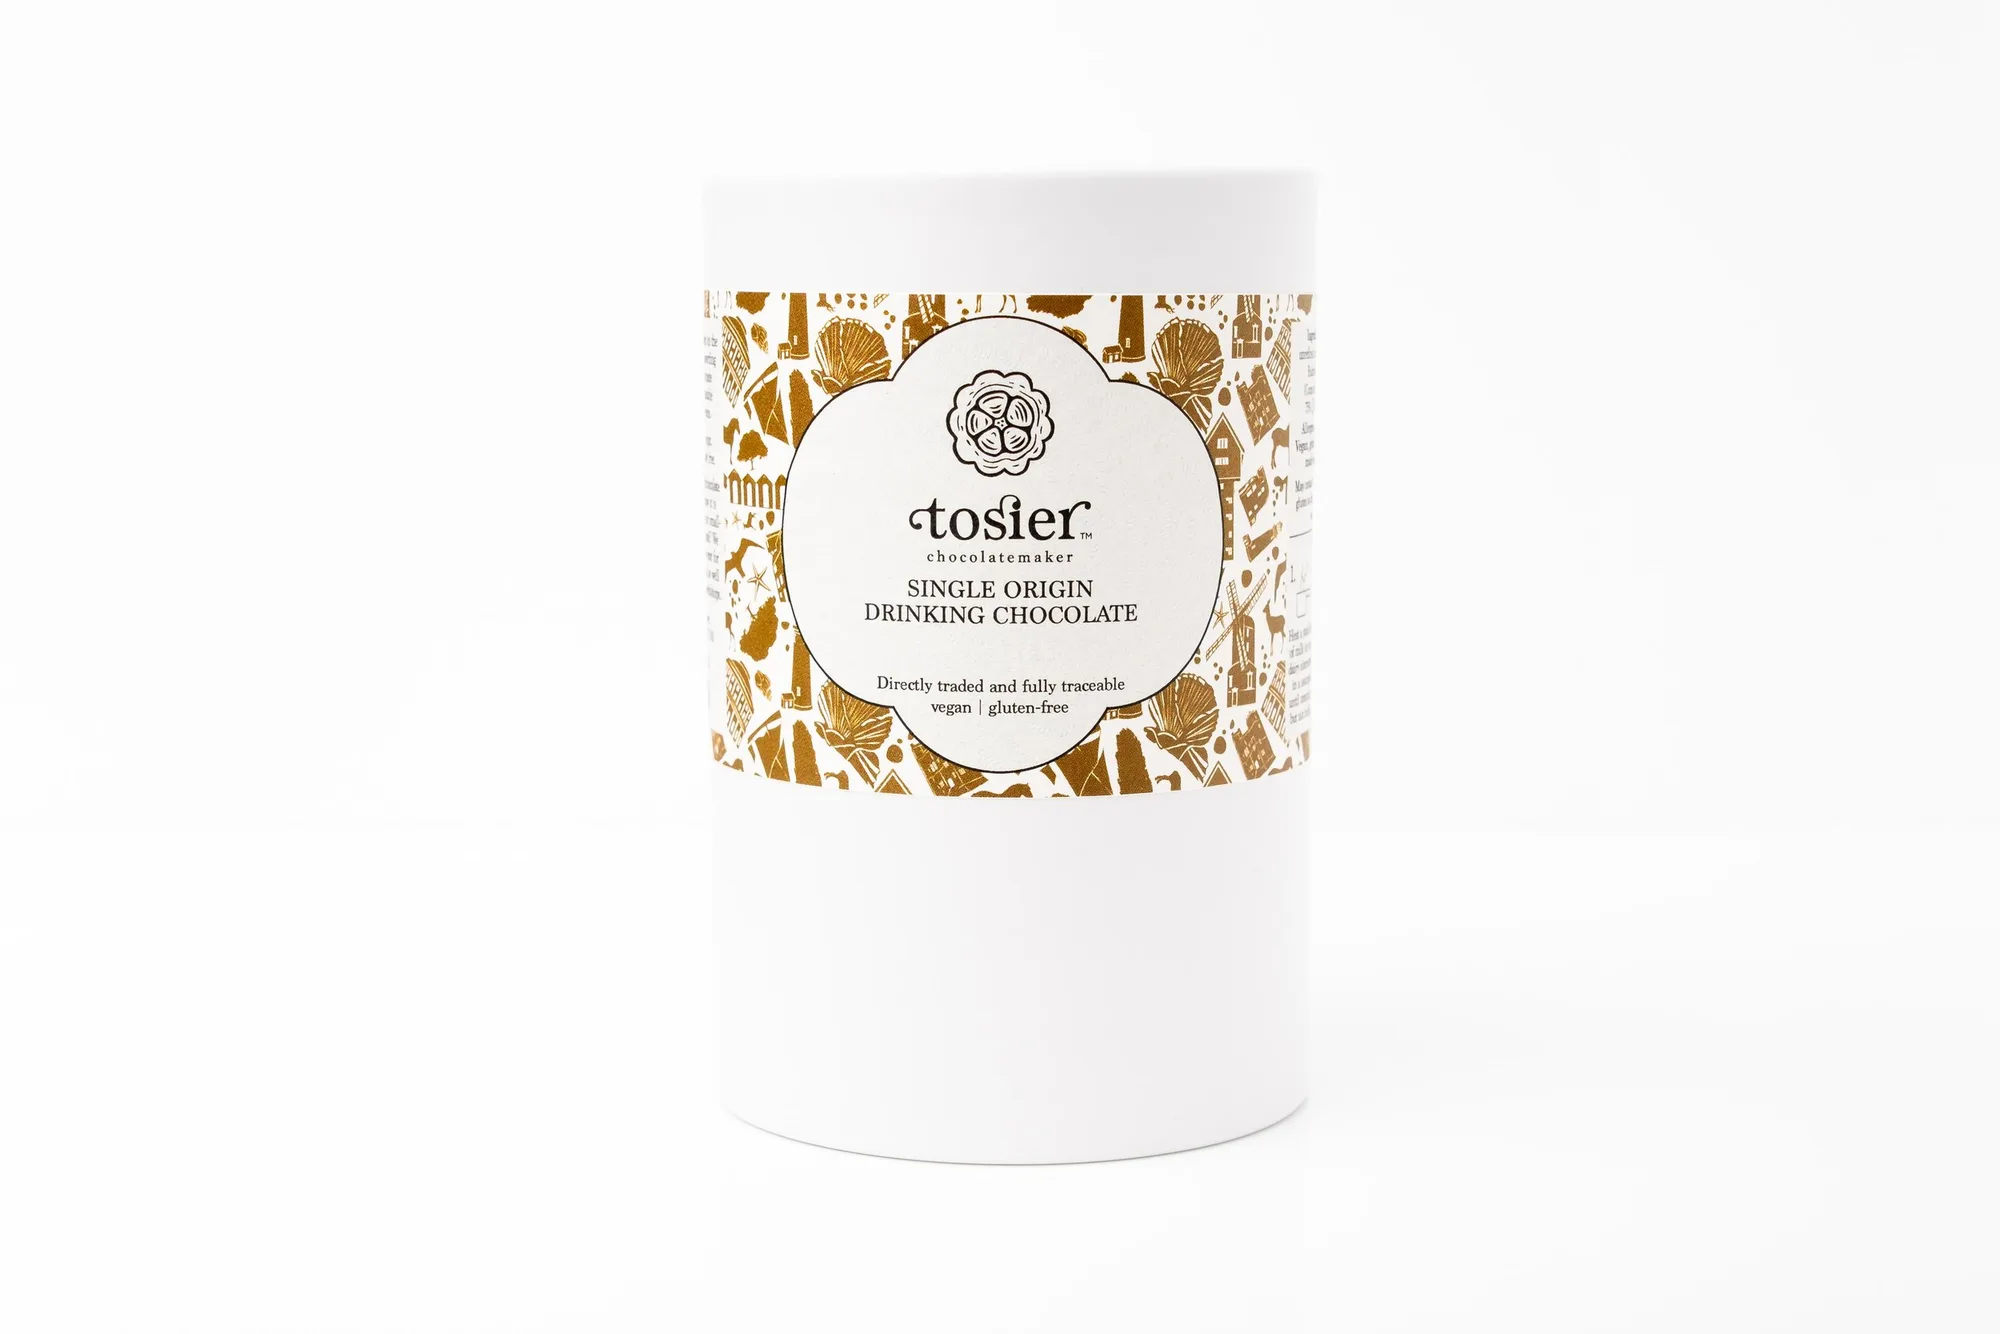
Single Origin Drinking Chocolate 200g — Tosier Chocolatemaker
Moreover, mold maintenance directly affects the taste and texture of your final product. Stale cocoa butter or leftover chocolate from a previous batch can alter the flavor profile of your new creation. Regular cleaning also prevents scratches and wear, keeping your molds in top condition for repeated use.
- Always inspect molds for residue before each use — even a fingerprint can cause dull spots.
- Use a dedicated set of microfiber cloths for polishing molds to avoid lint transfer.
Step-by-Step Guide to Cleaning Chocolate Molds
Start by rinsing your mold with warm (not hot) water immediately after use. Hot water can warp polycarbonate molds or cause chocolate residue to melt into crevices. Use a soft sponge or a silicone brush with a mild, unscented dish soap. Avoid abrasive scrubbers, as they scratch the surface and create places for chocolate to stick in the future.
For stubborn cocoa butter residue, soak the mold in warm water with a few drops of soap for 10–15 minutes. Then gently wipe with a soft cloth. Rinse thoroughly with clean water to remove all soap traces. Finally, dry the mold with a lint-free microfiber towel — never air-dry, as water spots can leave mineral deposits that affect chocolate gloss.
- Never use bleach, vinegar, or harsh chemicals — they can leave odors that transfer to chocolate.
- For silicone molds, you can briefly boil them or run them through the dishwasher on a gentle cycle (no heat dry).
Polishing and Preparing Molds for Tempering
Once your mold is clean and completely dry, the next step is polishing. This removes any invisible dust or grease and ensures a mirror-like shine on your finished chocolates. Use a soft, lint-free cloth or a cotton ball to gently buff the surface. Some chocolatiers use a small amount of food-grade isopropyl alcohol on a cloth for a final polish — just let it evaporate fully before pouring chocolate.
Polishing is especially important when working with high-cocoa-content bars like 70% Semuliki Forest 2024 Harvest Uganda 60g, AoC Bronze Award — Tosier Chocolatemaker or 80% Hacienda Victoria Ecuador 2025 Harvest 60g — Tosier Chocolatemaker, where a flawless surface showcases the bean's natural beauty. A well-polished mold also helps the chocolate contract evenly during cooling, making demolding effortless.
- Hold the mold up to a bright light to check for smudges or lint before pouring chocolate.
- Store polished molds in a sealed plastic bag or airtight container to keep them dust-free between uses.
Proper Storage to Extend Mold Life
How you store your chocolate molds is just as important as how you clean them. Keep molds flat or nested carefully to avoid warping. Polycarbonate molds should be stored away from direct sunlight and heat sources, as UV rays can degrade the plastic over time. Silicone molds can be rolled or folded, but avoid creasing them permanently.
For long-term storage, wrap each mold in acid-free tissue paper or place them in a dedicated plastic bin. Avoid stacking heavy items on top of molds, as pressure can distort their shape. If you have multiple molds, consider using dividers to prevent scratching. Proper storage ensures your molds remain true to shape and ready for your next chocolate-making session.
- Label your storage containers with the mold type and date of last cleaning for easy organization.
- Keep molds in a cool, dry place — humidity can promote mold growth on the mold itself.
Common Mistakes to Avoid in Chocolate Mold Care
One of the most common mistakes is using paper towels to dry molds — they leave lint and fibers that stick to chocolate. Another is leaving chocolate residue in molds for days before cleaning, which can harden and become difficult to remove. Also, avoid using metal utensils or abrasive pads that scratch the mold surface.
Some home chocolatiers mistakenly use cooking spray or oil to help release chocolate, but this can cause blooming and off-flavors. Instead, rely on proper tempering and clean molds. If you're using a premium couverture like the Ethically traceable untempered premium couverture for chefs and baking — Tosier Chocolatemaker, proper mold care ensures that the chocolate's natural sheen and snap are preserved.
- Never use dishwasher detergent on polycarbonate molds — the high heat and chemicals can cloud the plastic.
- If a mold has a lingering smell, soak it in a baking soda and water solution for 30 minutes, then rinse thoroughly.
Investing a few extra minutes in cleaning and maintaining your chocolate molds pays off with every batch you make. Whether you're crafting bars, bonbons, or drinking chocolate disks, a well-cared-for mold is your best ally. To get started with the finest single-origin chocolates for your next project, explore the selection at Tosier Chocolatemaker and treat your molds to the quality they deserve.