Quick Answer
Clean your CPU air cooler every 3–6 months by removing dust from the fan and heatsink with compressed air, and check the fan and mounting for secure operation.
Why Cleaning Matters
Dust buildup on your CPU air cooler’s fan and heatsink reduces airflow, raising temperatures and making the fan work harder. Over time, this can increase noise and even shorten the lifespan of your components.
Regular cleaning is a simple, low-cost way to keep your cooling system efficient. It also gives you a chance to inspect the cooler for any signs of wear or loose mounting.
How Often to Clean
For most PCs, cleaning every 3–6 months is sufficient. If you live in a dusty environment, have pets, or run your PC on the floor, you may need to clean more frequently.
You don’t need to disassemble the cooler for every cleaning—sometimes a quick dusting with compressed air is enough. A full deep clean, including removing the fan, is only necessary when dust has accumulated on the heatsink fins.
Step-by-Step Cleaning Process
- Power Down and Unplug: Shut down your PC, unplug the power cable, and press the power button to discharge any residual charge. Place the PC on a stable, static-free surface. Never clean a cooler while the PC is running or plugged in.
- Access the Cooler: Open the side panel of your case. If necessary, remove the fan from the heatsink (usually held by clips or screws) to expose the fins. Be careful with any cables attached to the fan. Check the fan mounting clips for cracks or looseness while you have it off.
- Remove Dust with Compressed Air: Use a can of compressed air to blow dust off the fan blades and heatsink fins. Hold the fan still with a finger to prevent it from spinning (which can generate voltage and damage the fan). Blow in short bursts, directing the air through the fins from the clean side. Always hold the fan blades to avoid over-spinning and potential bearing damage.
- Wipe Down Surfaces: Use a soft, lint-free cloth slightly dampened with isopropyl alcohol to wipe the fan blades and the top of the heatsink. Avoid getting moisture into the fan motor or on the CPU socket. Let all components dry completely before reassembling.
- Reassemble and Test: Reattach the fan to the heatsink, close the case, and plug in the power. Boot the PC and listen for unusual noises. Check that the fan spins freely and that temperatures remain normal under load. If temperatures are still high after cleaning, check the thermal paste and consider reapplying it.
Product Spotlight
-
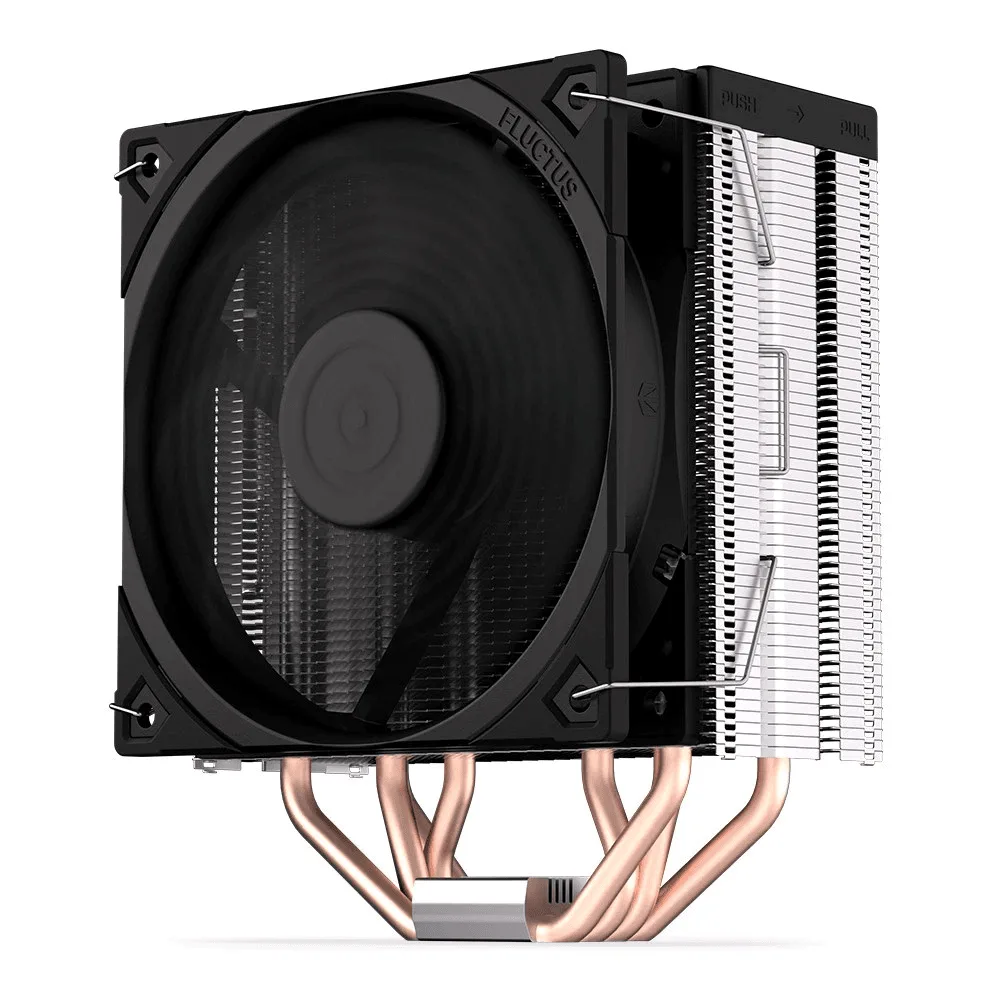
Endorfy Fera 5 Black 120mm CPU Air Cooler: The Endorfy Fera 5 Black features a direct-contact heat pipe design and an optimised fin stack for efficient cooling in a compact 120mm form factor. The exposed heat pipes and tight fin spacing are effective for cooling but can trap dust, so regular cleaning with compressed air keeps it performing at its best.
Endorfy Fera 5 Black 120mm CPU Air Cooler