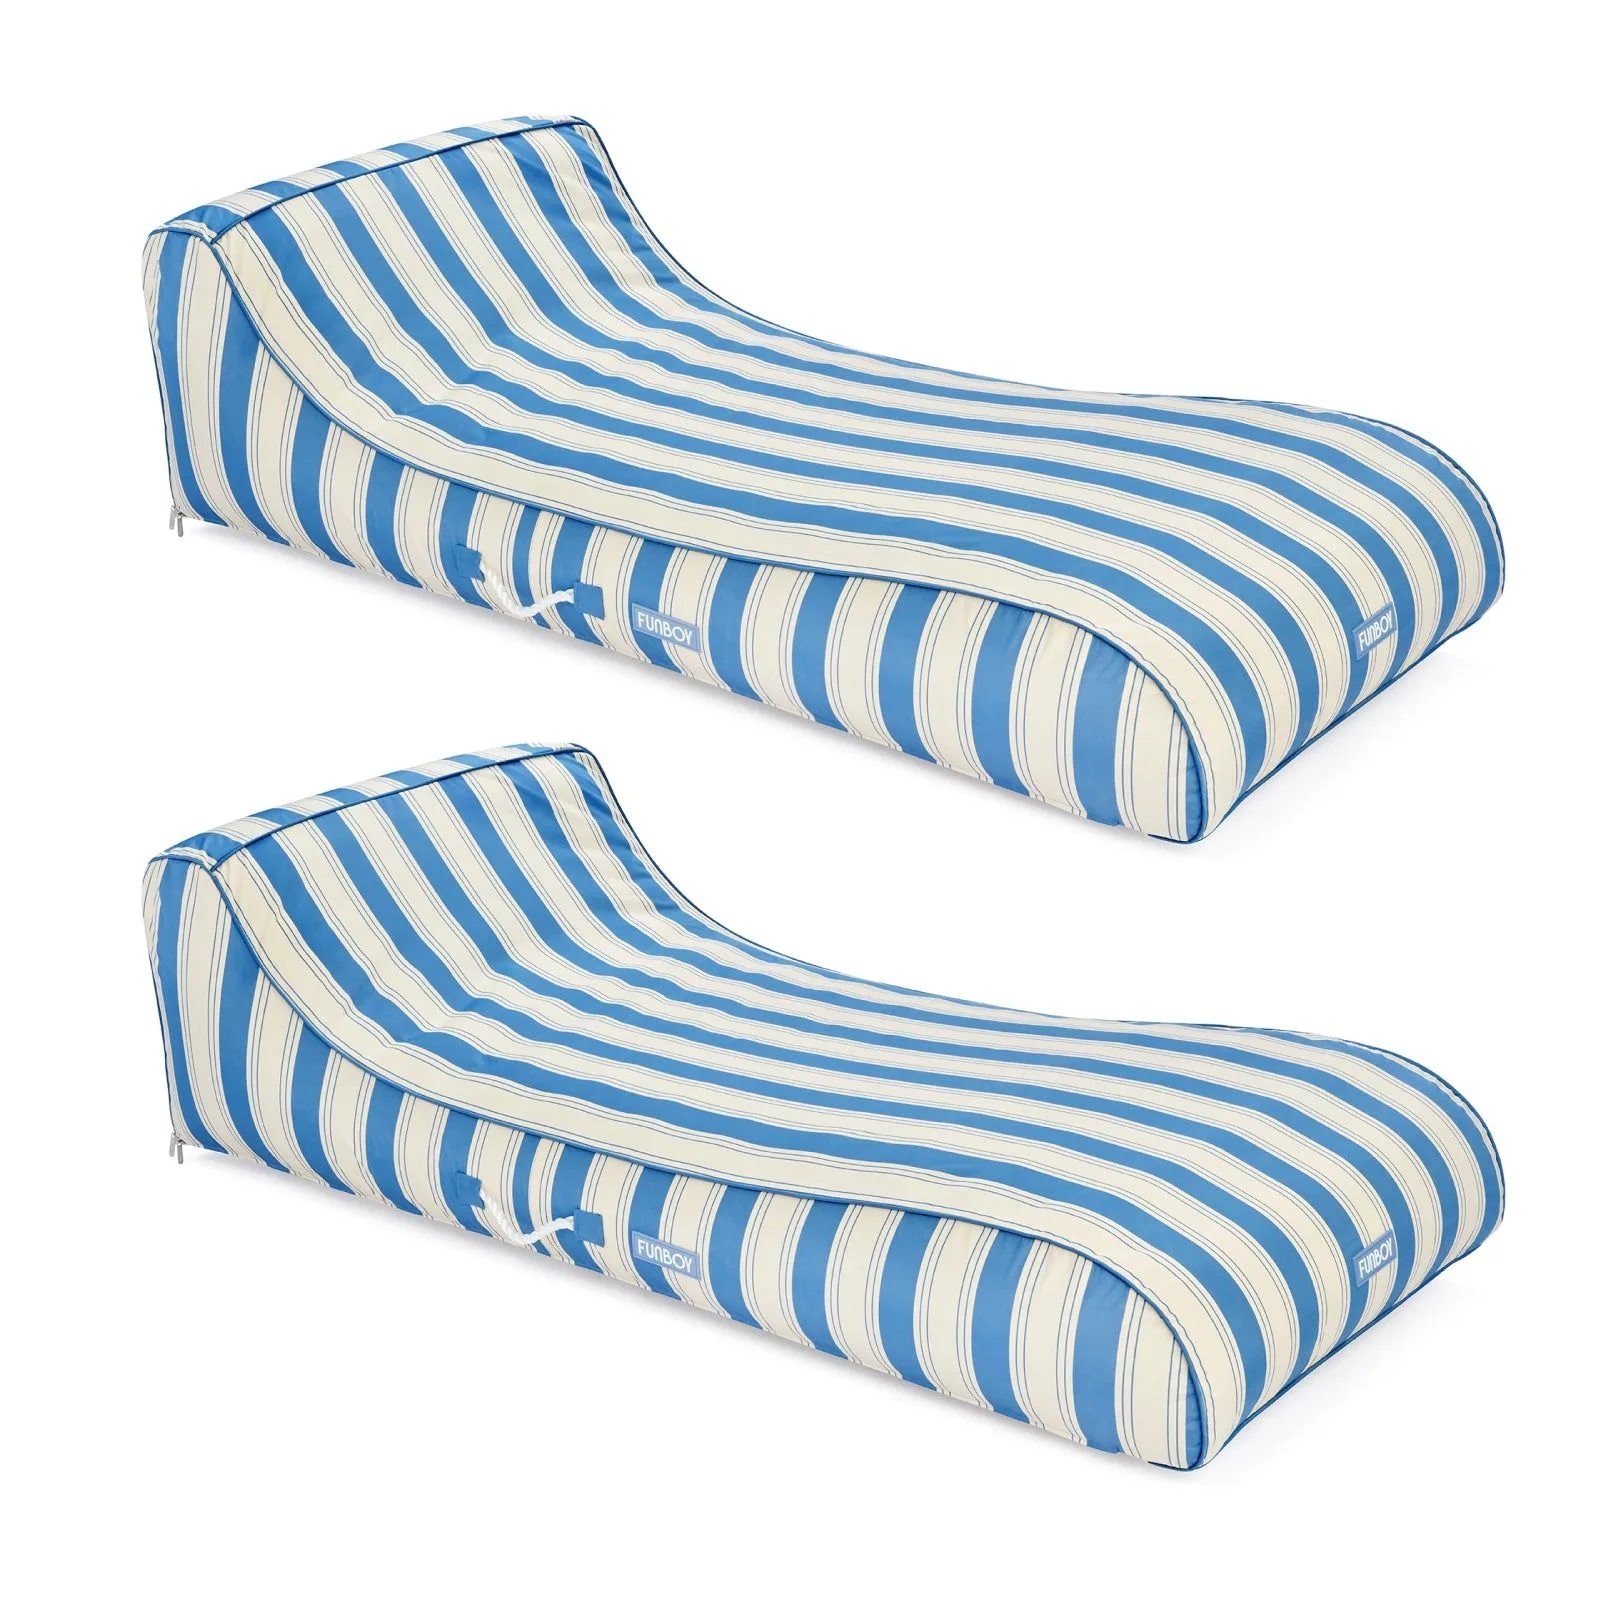
Your inflatable pool floats are the centerpiece of summer fun, whether you’re lounging on a https://pickkind.shop/products/chaise-lounger-float-113352https://pickkind.shop/products/chaise-lounger-float-113353https://pickkind.shop/products/chaise-lounger-float-113354https://pickkind.shop/products/chaise-lounger-float-113362Chaise Lounger Float or floating with friends on a giant island. But after a season of sun, sunscreen, and pool chemicals, they can start to look tired and even develop mold or mildew. Proper cleaning and maintenance are the keys to keeping your inflatables vibrant, safe, and ready for next year’s pool party.
In this guide, you’ll learn step-by-step how to clean your pool floats, remove stubborn mold, patch small leaks, and store them properly so they last for many summers to come. With a little care, your favorite floats will stay as bright and bouncy as the day you bought them.
Why Cleaning Your Pool Float Matters
Pool floats are exposed to chlorine, saltwater, sunscreen, oils, and dirt. Over time, these substances can break down the vinyl material, cause discoloration, and create a breeding ground for mold and bacteria. Regular cleaning not only keeps your float looking photo-ready but also prevents damage that can lead to leaks or punctures.
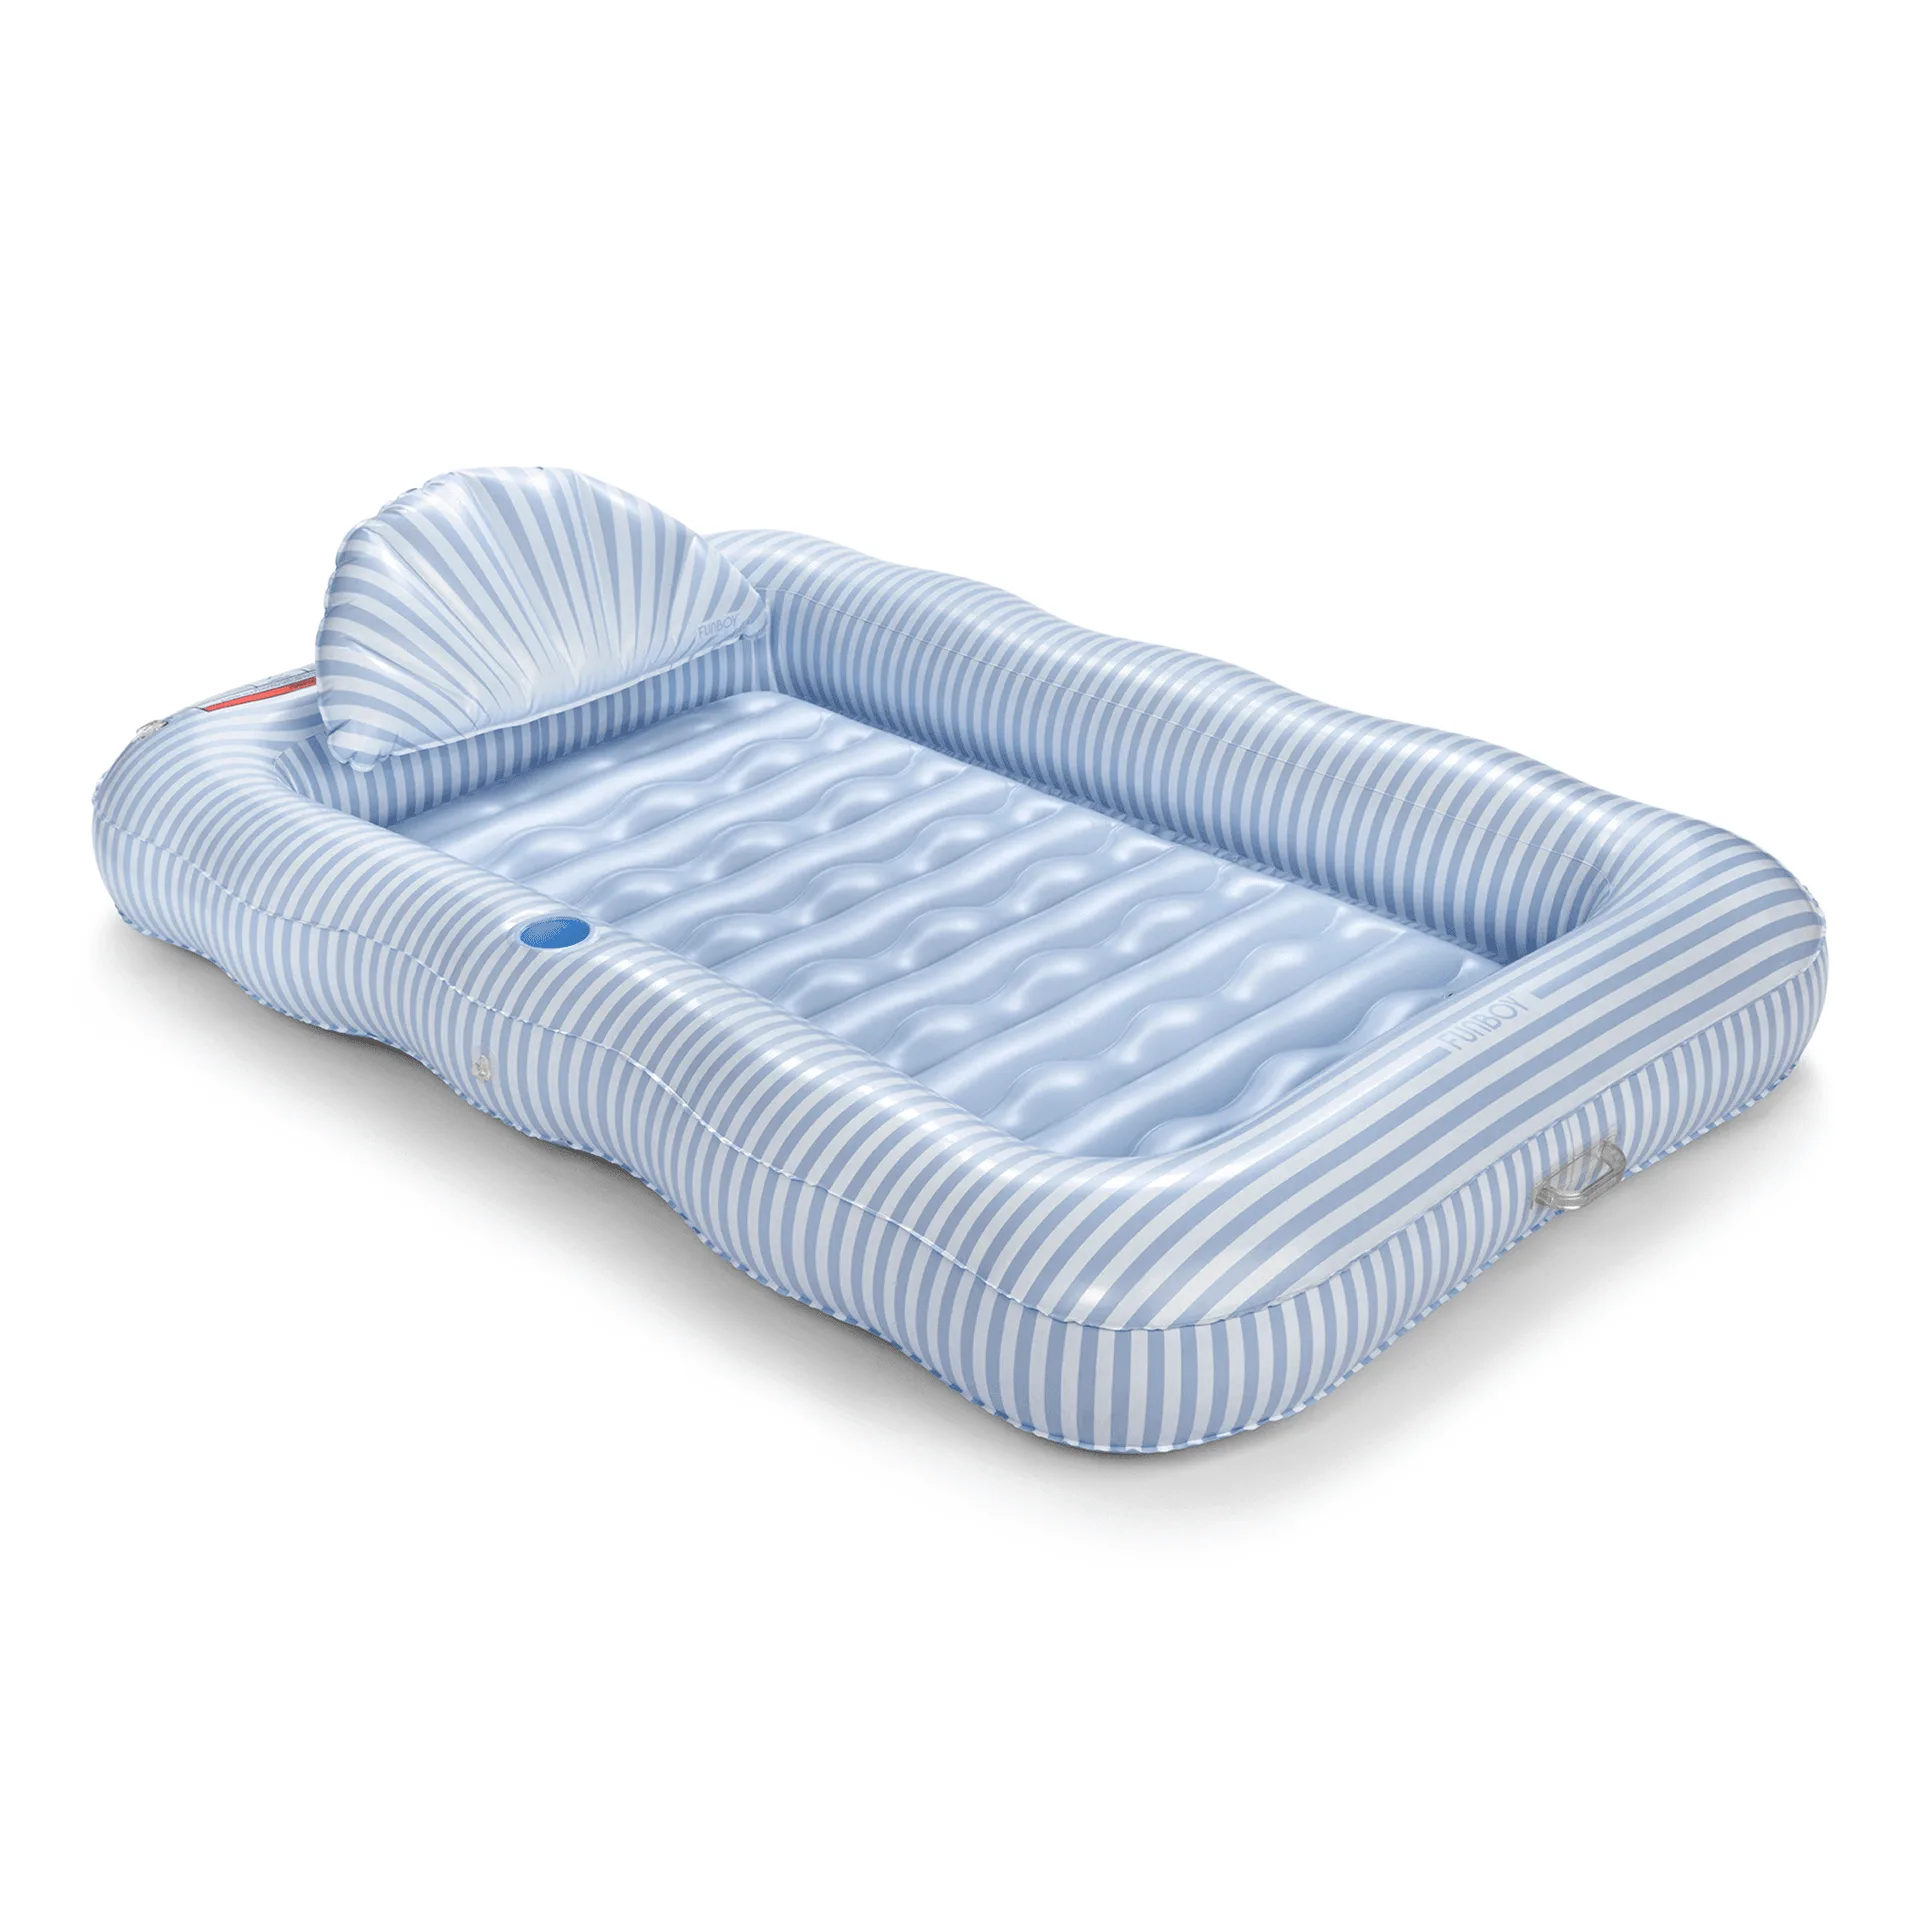
For high-use items like the Tanning Pool Lounger or a Fabric Pool Hammock, a quick rinse after each use can dramatically extend their life. Think of it as a simple habit that pays off in long-term enjoyment and savings.
- Rinse your float with fresh water after every use to remove chlorine and salt.
- Dry it completely before storing to prevent mold growth.
- Avoid leaving floats in direct sunlight for extended periods when not in use.
How to Clean Your Inflatable Pool Float
For a thorough clean, you’ll need mild dish soap, a soft sponge or cloth, and lukewarm water. Avoid harsh chemicals like bleach or abrasive scrubbers, which can damage the vinyl. Mix a small amount of soap with water and gently wipe down the entire surface, paying extra attention to seams and crevices where dirt hides.
For floats with intricate designs, like the Pink Retro Phone Float, use a soft-bristled toothbrush to reach small details. Rinse thoroughly with fresh water and let it air-dry completely before deflating or storing. Never use a machine dryer or heater to speed up drying, as heat can warp or melt the material.
- Use mild dish soap and a soft cloth only.
- Avoid bleach, ammonia, or abrasive cleaners.
- Dry completely in the shade before storage.
Removing Mold and Mildew from Pool Floats
Mold and mildew are common if floats are stored while damp. To remove them, mix a solution of equal parts white vinegar and water. Apply it with a soft sponge and let it sit for 10 minutes. Then scrub gently and rinse thoroughly. Vinegar is a natural disinfectant that won’t harm the vinyl.
For stubborn spots, you can use a specialized vinyl cleaner or a paste of baking soda and water. Test any cleaner on a small hidden area first. After cleaning, dry the float completely in the sun (but not for too long) to kill any remaining spores. This method works great for all floats, including the Kids Splash Pad and other family favorites.
- White vinegar and water is a safe, effective mold remover.
- Always test cleaners on a small area first.
- Dry thoroughly after cleaning to prevent mold from returning.
Patching Small Leaks and Punctures
Even the best-cared-for floats can get an occasional puncture. Most inflatables come with a repair kit, but you can also use a patch of similar vinyl material and a strong waterproof adhesive. First, locate the leak by inflating the float and listening for air, or submerge it in water to watch for bubbles.
Clean and dry the area around the hole, apply adhesive to both the patch and the float, and press firmly. Let it cure for at least 24 hours before inflating again. For larger tears, consider replacing the float. Regular inspection before each use helps catch small issues early.
- Use a repair kit or vinyl patch and waterproof adhesive.
- Let the patch cure for 24 hours before use.
- Inspect your floats regularly for wear and tear.
How to Store Inflatable Floats for Winter or Off-Season
Proper storage is crucial for extending the life of your pool floats. After cleaning and drying, deflate the float completely. Fold it loosely (avoid sharp creases) and place it in a storage bag or a plastic bin with a lid. Keep it in a cool, dry place away from direct sunlight, extreme temperatures, and rodents.
For large items like a Tanning Pool Lounger, consider hanging them in a closet or garage to avoid pressure points. Never store inflatables in a hot attic or damp basement. If you have multiple floats, label them so you can easily find your favorites next season.
- Store in a cool, dry place away from sunlight.
- Deflate completely and fold loosely to avoid creases.
- Use a storage bin or bag to protect from dust and pests.
By following these simple cleaning and maintenance steps, your inflatable pool floats will stay bright, safe, and fun for many seasons. Whether you’re relaxing on a Chaise Lounger Float or keeping the kids entertained with a Kids Splash Pad, a little care goes a long way. Ready to upgrade your summer setup? Check out the full FUNBOY collection for floats that are as durable as they are stylish.