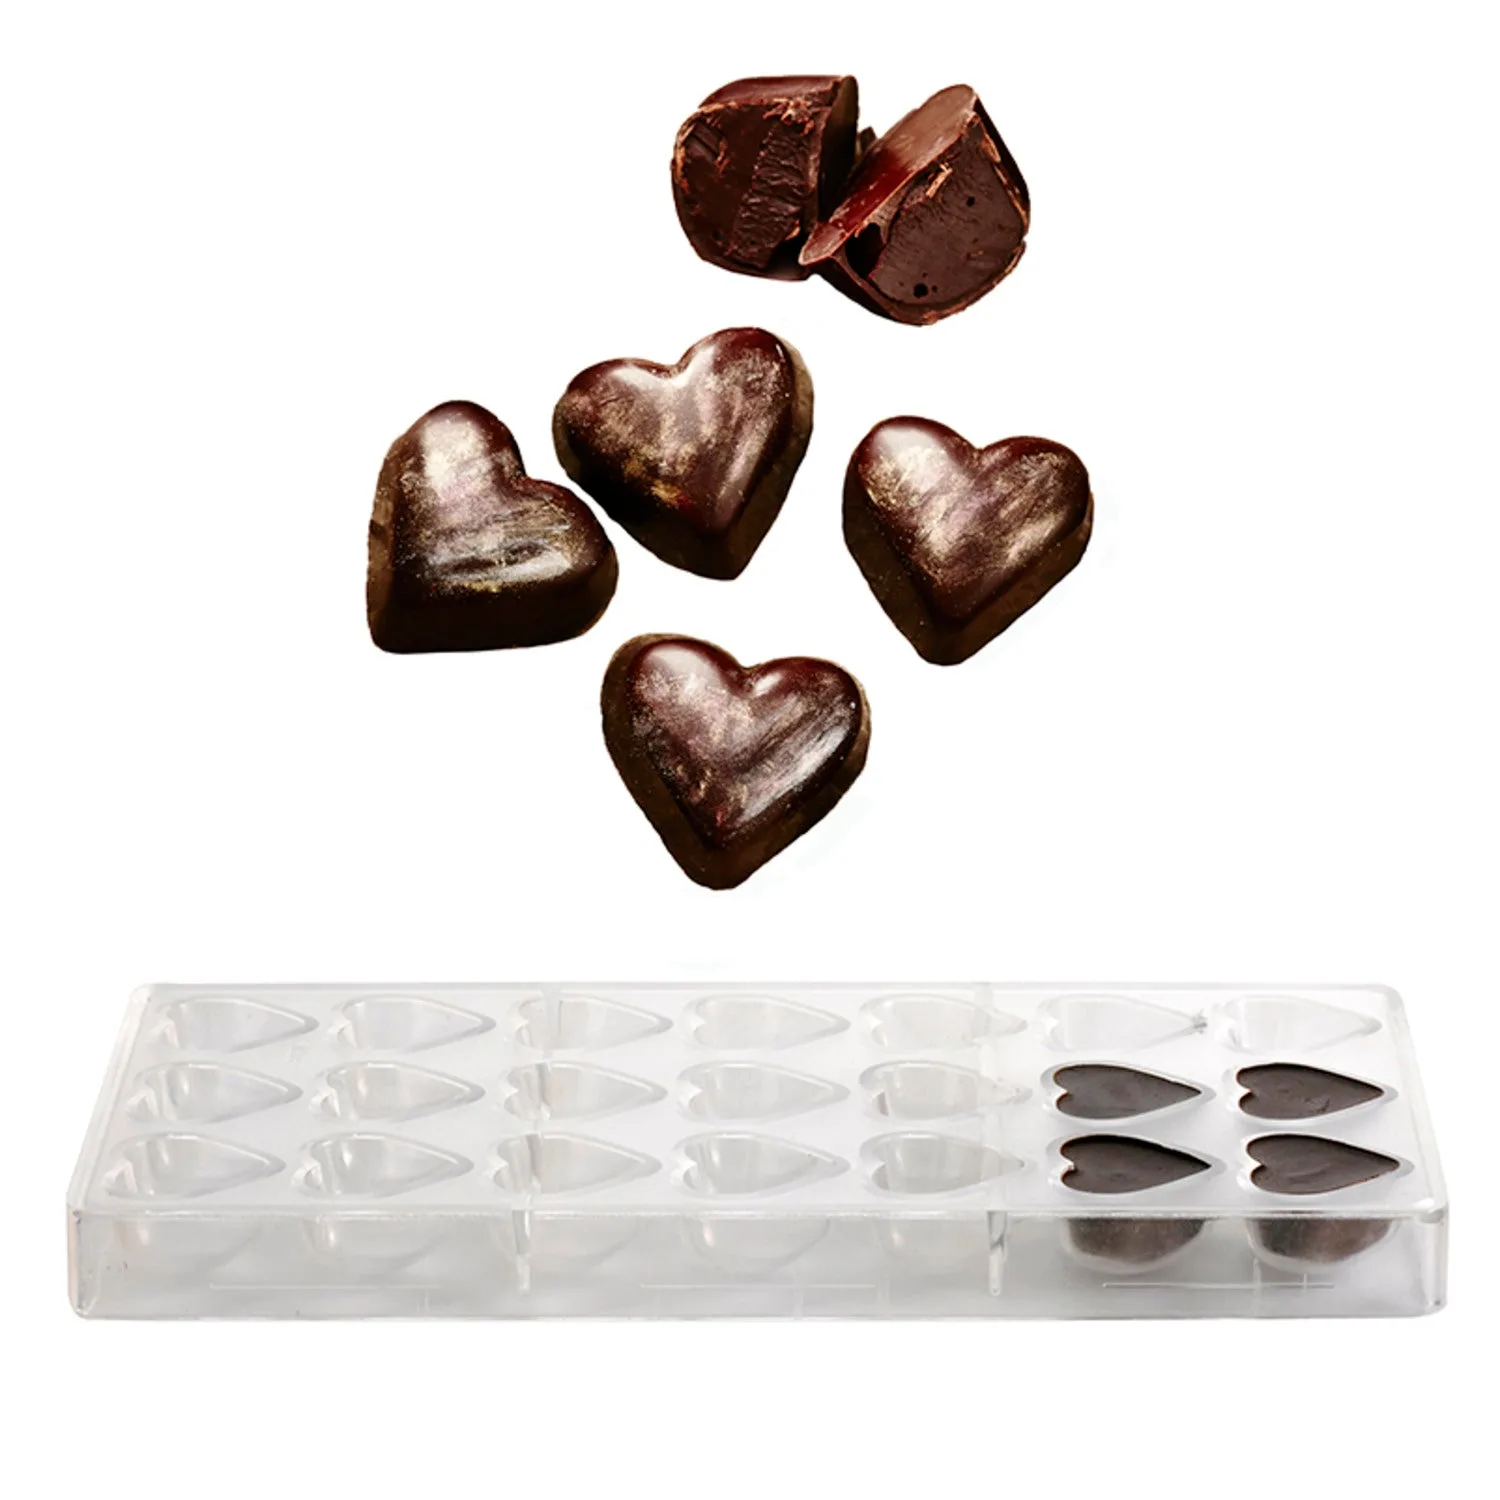
Chocolate moulds are a wonderful investment for anyone who loves making homemade chocolates, from simple bars to intricate shapes. Whether you use them occasionally for holiday treats or frequently for custom confections, proper care is essential to maintain their clarity, shine, and release properties. Without the right cleaning and storage techniques, moulds can become cloudy, scratched, or develop stubborn residue that ruins your next batch.
In this guide, we’ll walk you through the best practices for cleaning chocolate moulds after each use, how to store them safely, and common mistakes to avoid. Plus, we’ll highlight a few handy items from Lakeland that make the process easier—like the 4 Icing Scrapers for removing excess chocolate and the Dancing Ballerina Cookie Cutter for creative inspiration alongside your mould collection.
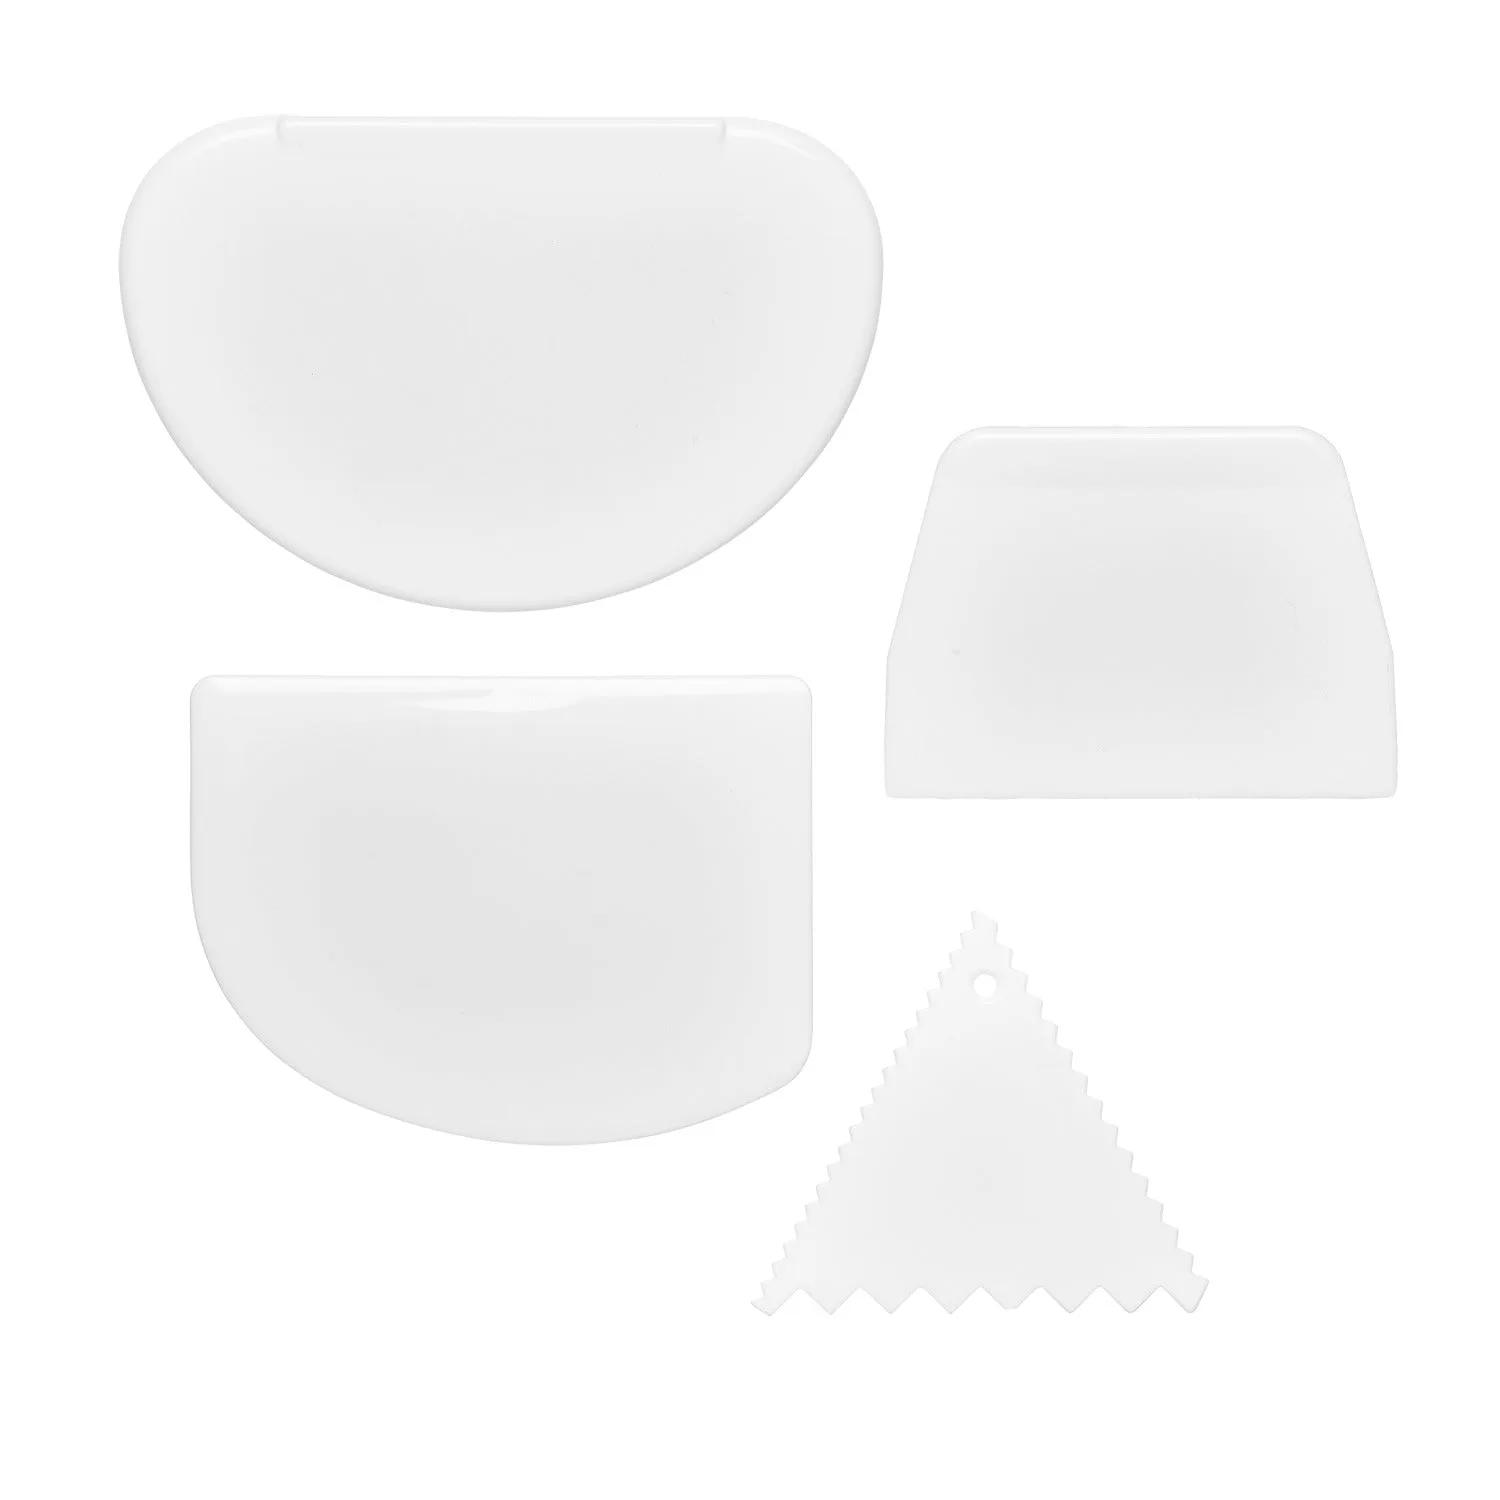
4 Icing Scrapers
Why Proper Cleaning Matters for Chocolate Moulds
Chocolate moulds, whether made of polycarbonate, silicone, or plastic, are designed to release smooth, glossy chocolates. Over time, leftover cocoa butter, sugar crystals, and fine chocolate particles can build up in the crevices, leading to cloudy surfaces or sticky spots. If not cleaned thoroughly, this residue can transfer to your next batch, affecting both appearance and taste.
Moreover, aggressive cleaning methods can damage the mould’s surface. Polycarbonate moulds, in particular, are sensitive to high heat and harsh detergents, which can cause micro-scratches that trap more residue. By adopting a gentle yet effective cleaning routine, you’ll extend the life of your moulds and ensure consistently professional results.
- Avoid using abrasive sponges or steel wool that can scratch polycarbonate.
- Never use boiling water, as high temperatures can warp or cloud moulds.
- Use a dedicated set of tools, like the 4 Icing Scrapers, to gently remove stuck chocolate.
Step-by-Step Guide to Cleaning Chocolate Moulds
Start by allowing the mould to come to room temperature if it was in the fridge or freezer. Sudden temperature changes can cause condensation, which might lead to sugar bloom on future chocolates. Then, gently tap the mould upside-down to remove any loose chocolate pieces. For stubborn bits, use a soft silicone spatula or a small scraper—this is where a set of 4 Icing Scrapers comes in handy. Their flexible edges can reach into corners without scratching.
Next, wash the mould by hand using warm (not hot) water and a mild, unscented dish soap. Submerge the mould for a few minutes to loosen any oily residue. Use a soft microfiber cloth or a very soft sponge to wipe every surface, paying extra attention to detailed cavities. Rinse thoroughly with cool water to remove all soap traces, as leftover detergent can affect chocolate tempering. Finally, air-dry the mould completely on a clean tea towel or cooling rack. Do not towel-dry with a fabric that may leave lint.
- If chocolate has hardened in deep grooves, soak for 10–15 minutes in warm water.
- For polycarbonate moulds, avoid dishwashers entirely.
- Store your moulds with other kitchen tools like the Dancing Ballerina Cookie Cutter for neat organization.
How to Store Chocolate Moulds to Prevent Damage
Once your moulds are completely dry, store them in a cool, dry place away from direct sunlight. UV light can yellow polycarbonate over time, and humidity may encourage mold growth or condensation inside cavities. The best practice is to place them flat, not stacked, to avoid scratching the inner surfaces. If you must stack multiple moulds, put a sheet of parchment paper or a soft cloth between each one.
For smaller moulds or novelty shapes, consider using a dedicated drawer or container. You can also nest them with other bakeware items, but ensure they are protected. A reusable container with a lid, like the EKO Ecocasa Recycling Bin Matt Black 30+30L, can double as a storage box if you clean it thoroughly. However, always line it with a clean cloth or paper to prevent scratches. Alternatively, store your moulds alongside your cookie cutters—such as the Dancing Ballerina Cookie Cutter—to keep all your fun shapes together in one tidy bin.
- Never store moulds in the refrigerator or freezer long-term, as condensation can occur.
- If you have limited space, hang moulds on a pegboard using clips.
- Label your storage container so you can quickly find the right mould.
Common Mistakes to Avoid When Caring for Chocolate Moulds
One common error is using harsh chemicals or bleach to remove stubborn cocoa butter stains. These can leave residues that taint future chocolate batches. Instead, try a paste of baking soda and water for tough spots, then rinse thoroughly. Another mistake is scraping moulds with metal utensils—always stick to silicone, plastic, or the flexible ends of your 4 Icing Scrapers.
Many also forget to handle moulds by the edges to avoid fingerprints and oils from their hands. Oils can transfer to the mould and cause chocolate to stick unevenly. Always clean your hands before touching a clean mould, and wear cotton gloves if you’re tempering chocolate. Lastly, don’t forget to check your moulds for cracks or warping before each use—damaged moulds will not release chocolate properly.
- Always dry moulds thoroughly before storing to prevent moisture damage.
- Avoid storing near strong odors like spices or onions, as polycarbonate can absorb smells.
- Use a dedicated drawer or bin for your moulds and baking tools.
Extending the Life of Your Moulds with Regular Maintenance
Over time, even well-cared-for moulds may develop a haze that dulls the finish of your chocolates. You can polish polycarbonate moulds once a year with a gentle plastic polish or a mixture of white vinegar and water (1:4 ratio). Apply with a soft cloth, rub gently, and rinse with cool water. Silicone moulds can be boiled for a few minutes to refresh them, but check the manufacturer’s instructions first.
Rotating your moulds also helps. If you have a large collection, use each mould at least once every few months to prevent any residue from hardening permanently. And don’t forget to involve the whole family—kids love using novelty cutters like the Dancing Ballerina Cookie Cutter alongside moulds to create fun shapes. The more you use your tools, the more you’ll appreciate keeping them in top condition.
- Keep a small notebook or list of which moulds you use most often.
- Invest in a good quality baking tray or sheet to place moulds on during filling.
- Join an online community for chocolate makers to share care tips.
By following these simple cleaning and storage tips, your chocolate moulds will stay in pristine condition, ready for your next creative project. For all your baking and chocolate-making needs, explore Lakeland’s range of tools—including the 4 Icing Scrapers and the Dancing Ballerina Cookie Cutter—to make your kitchen time even more enjoyable. Happy molding!