Quick answer
Clean your ruck mods with lukewarm water and mild soap, scrub only where dirt has bonded, then air-dry them fully before storage. Inspect after every major trip: check bartack stitching at stress points, test buckles and zippers, and look for rust or white corrosion on metal hardware. Catching one loose stitch or stiff buckle early is cheaper than replacing the mod or the ruck it is sewn to.
Why mods need their own care routine
A ruck mod is not just an accessory; it is a permanent alteration to your pack. Once pockets, radio carriers, or hydration sleeves are attached, the mod and the host ruck share the same load path. Dirt trapped in webbing, salt from sweat, and grit in buckles all accelerate wear at the exact points where the mod was reinforced. Treating the mod as a separate item during cleaning and inspection keeps the whole system serviceable.
The goal is not to make gear look new. It is to keep stitching, hardware, and fabric doing their jobs. A mod that is clean and inspected is easier to trust when you are loading it heavy.
What to check before you clean anything
Empty every pocket and pouch first. Small debris, loose straps, and forgotten items can hide corrosion or abrasion, and a wet cleaning session will only push grit deeper into the fabric. Note any damage you already see, such as frayed webbing or a bent buckle, so you can compare it after cleaning.
If a mod uses hook-and-loop closures, separate the panels before washing. If it has a hydration bladder or radio insert, remove it. The mod itself is what you are cleaning, not its contents.
Cleaning without damaging coatings or stitching
Use lukewarm water and a mild, non-detergent soap. Harsh cleaners, bleach, and machine washing strip durable water repellent finishes and can weaken nylon over time. Work the soapy water in with a soft brush or cloth, focusing on high-contact areas like shoulder straps, pocket mouths, and the base of the mod where it meets the ruck.
Rinse with clean water until no suds remain. Soap residue attracts dust and can leave a sticky film that holds grit against the fabric. Do not wring or twist the mod; press water out gently and let it air-dry away from direct heat. Direct sun and high heat can shrink or stiffen nylon and degrade coatings.
The inspection points that actually predict failure
Start with stitching at every stress point: where the mod attaches to the ruck, where buckles and straps meet fabric, and around pocket openings. Look for loose threads, pulled bartacks, or stitch rows that have separated from the fabric. A single broken stitch is not an emergency, but a run of broken stitches means the load is pulling away from the host pack.
Next, check hardware. Metal buckles, slides, and grommets can develop rust or white corrosion, especially after exposure to sweat and humid environments. Plastic hardware can crack at the stress points or become stiff with grit. Test every buckle by opening and closing it; it should snap cleanly, not grind.
Finally, inspect fabric and webbing. Look for abrasion, thinning, or holes, particularly on the bottom of the mod and along edges that rub against the ruck. If a mod has a hydration sleeve or radio pocket, check the interior lining for cracks or peeling.
Step-by-step ruck mod care routine
- Empty and dry the mod: Remove all contents, including hydration bladders and radio inserts. Shake out grit and debris, then let the mod air-dry if it is damp from sweat or rain. Common mistake: storing a damp mod. Trapped moisture causes mildew and corrosion.
- Pre-treat stains and heavy soil: Mix lukewarm water with a mild soap. Apply with a soft brush to mud, salt stains, and greasy spots. Let it sit for a minute before scrubbing. Checkpoint: do not use bleach or detergent; they damage coatings and stitching.
- Hand-wash the mod: Work the soapy water into the fabric with a soft brush, focusing on pocket mouths, strap ends, and the base of the mod. Rinse with clean water until no suds remain. Common mistake: machine washing. The agitation and heat can distort the mod and wear hardware.
- Air-dry completely: Press out excess water gently and hang or lay the mod flat to dry away from direct sun and heat. Turn pockets inside out if possible. Checkpoint: do not store until every layer, including webbing and padding, is fully dry.
- Inspect stitching and stress points: Look for loose or broken threads at attachment points, pocket corners, and where buckles meet fabric. Compare against your pre-clean notes. Common mistake: ignoring a single loose stitch. It can grow into a seam failure under load.
- Test hardware and buckles: Open and close every buckle, slide, and zipper. Check for rust, white corrosion, cracks, or grit. Wipe metal hardware with a dry cloth and apply a light coat of oil if rust is present. Checkpoint: stiff or grinding buckles need cleaning now, not after they fail.
- Check fabric and webbing for abrasion: Inspect high-wear areas: the bottom of the mod, edges that rub against the ruck, and any area that contacts the ground when the pack is set down. Common mistake: missing thinning fabric until it tears. Early repair is simpler than replacement.
How specific mods change your care routine
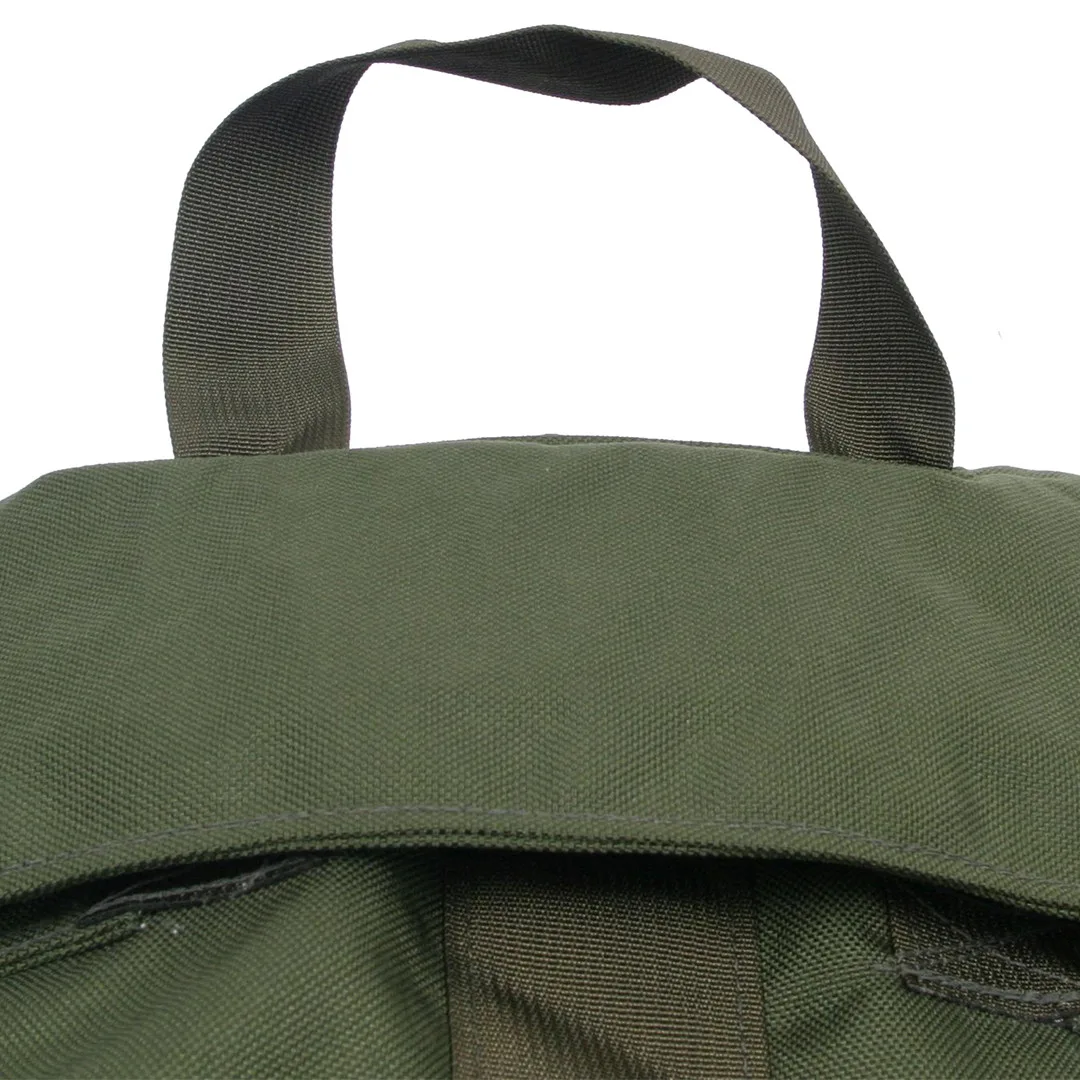
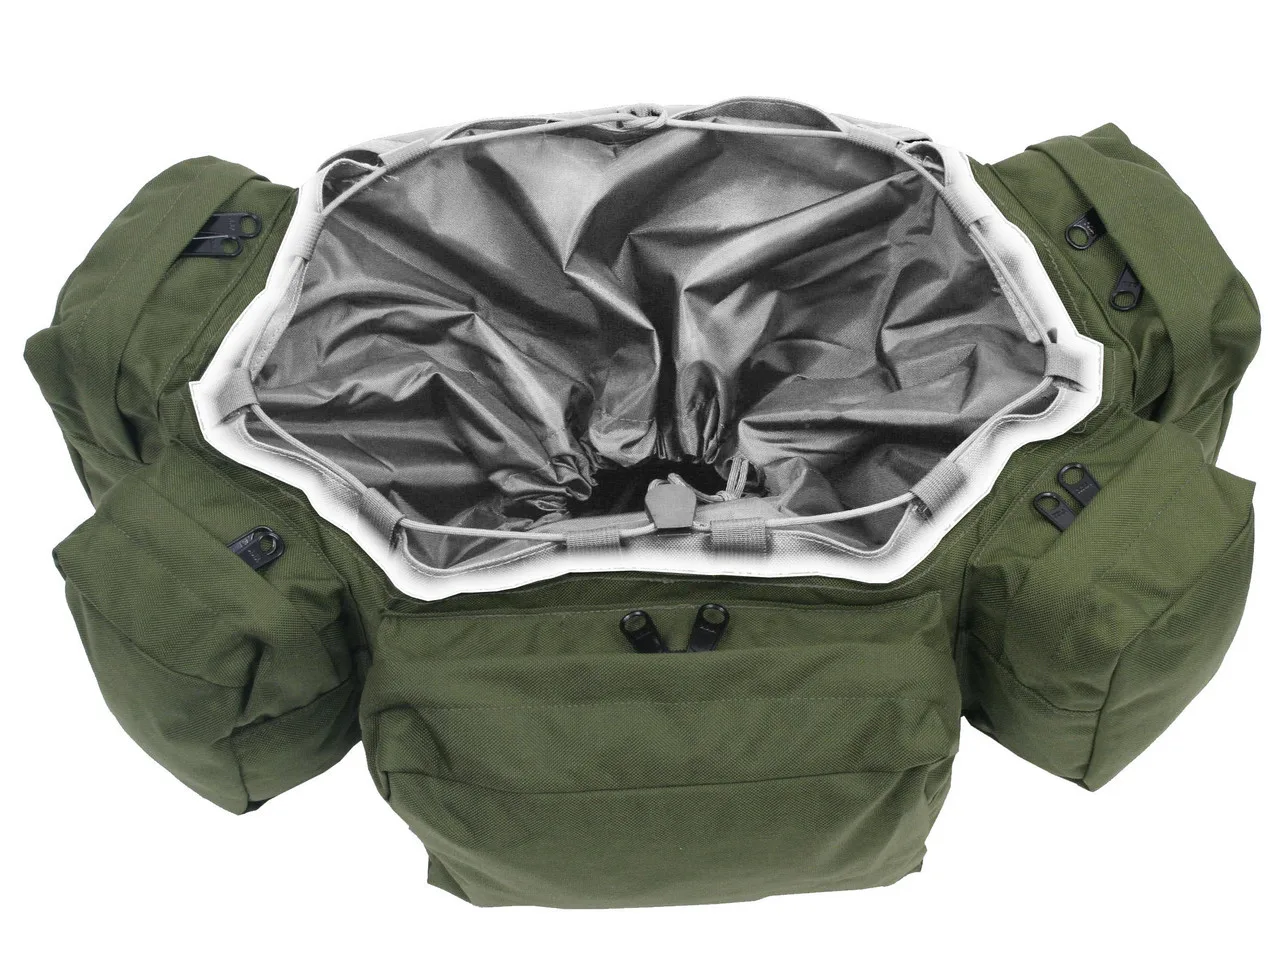
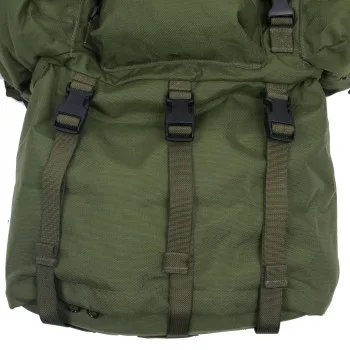
- 5 Pocket Combo Ruck Mod: The 5 Pocket Combo Mod adds five external pockets, upgrades main buckles to Fastex, and reinforces stress points. Five pockets mean more seams, zippers, and hardware to inspect. The Fastex buckles should be checked for smooth operation and grit, while the reinforced stress points are your first place to look for loose stitching.
- Enlarged Radio Pocket Ruck Mod: The Enlarged Radio Pocket Ruck Mod replaces the small internal pocket with an enlarged carrier for PRC-117, ASIP, and other manpack systems. A radio carrier holds concentrated weight in one area, so the attachment points and the pocket base take more stress. Inspect those seams and the bottom of the pocket for abrasion after every field use.
- Hydration Pocket Ruck Mod: The Hydration Pocket Ruck Mod adds a 3-liter external hydration carrier to your Large ALICE pack, freeing internal space and providing easy access to water. Moisture is the enemy here. After use, empty and dry the carrier fully, then check the seams and any hardware for corrosion or mildew before storing the ruck.