The M1 Garand bayonet is more than just a piece of military history—it's a functional tool that deserves proper care. Whether you're a reenactor, collector, or shooter, keeping your bayonet clean and well-maintained ensures it remains both authentic and reliable. Without regular maintenance, rust, grime, and dullness can degrade its appearance and performance.
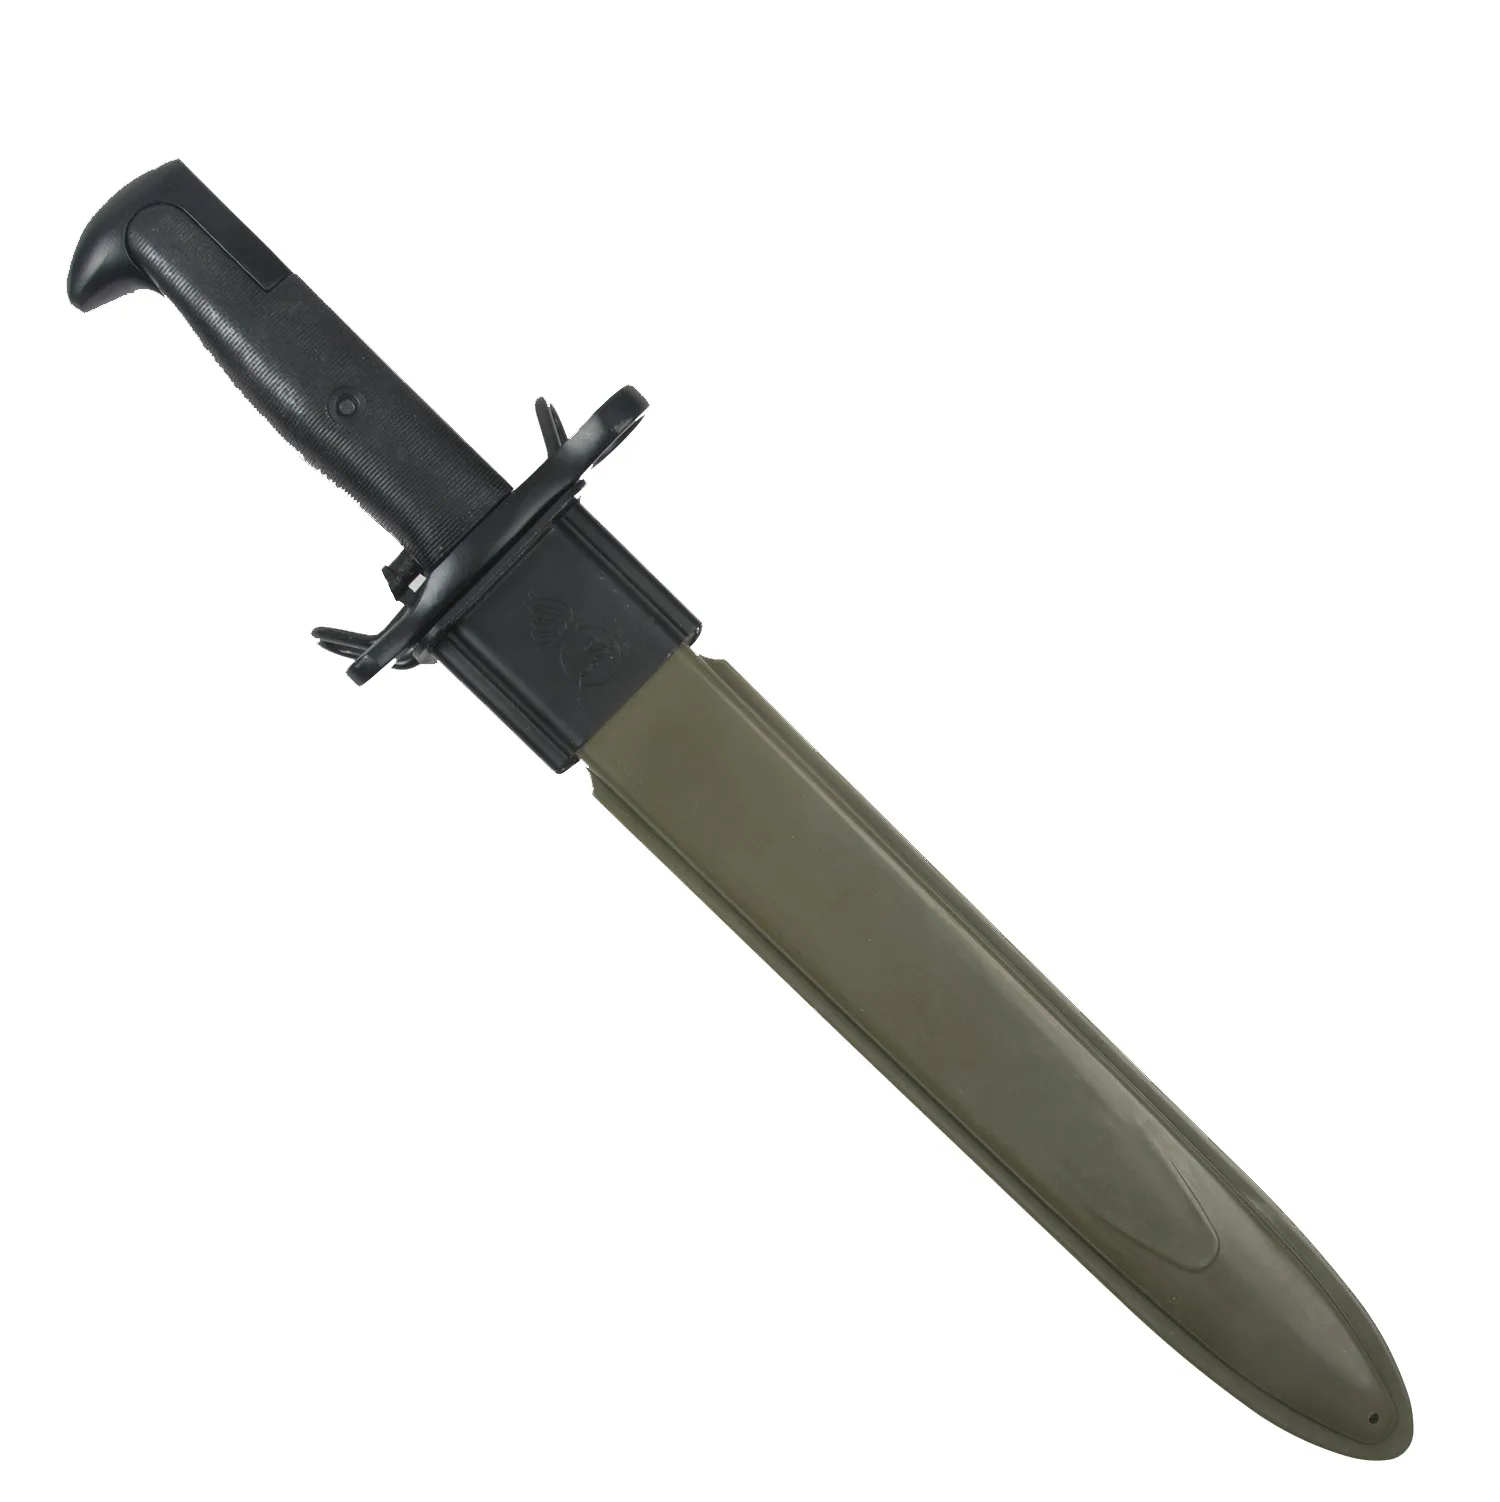
M1 Garand bayonet
In this guide, we'll walk you through a simple, step-by-step process for cleaning and maintaining your M1 Garand bayonet. From disassembly to oiling, you'll learn the best practices to preserve your investment for years to come.
Why Proper Bayonet Maintenance Matters
Your M1 Garand bayonet is a robust piece of field gear, but it's not immune to the elements. Moisture, dirt, and even the oils from your hands can cause corrosion or tarnish over time. For reenactors and collectors, a well-maintained bayonet adds authenticity to your impression. For shooters, a clean blade and scabbard reduce friction and make handling safer.
Neglecting maintenance can lead to pitting, edge dullness, and even damage to the scabbard. By dedicating a few minutes after each use, you can prevent these issues and keep your bayonet in top condition. It's also important to use the right tools—avoid harsh chemicals that can strip the blued finish or damage the leather or metal components.
- Always wear gloves when handling the blade to avoid leaving fingerprints that can cause rust.
- Inspect the bayonet regularly for signs of rust, dents, or loose fittings.
Step 1: Disassemble the Bayonet and Scabbard
Start by separating the bayonet from the scabbard. Most M1 Garand bayonets feature a simple locking mechanism—press the release catch and slide the blade out. For the scabbard, check if it has a metal throat or leather tip; these may require gentle cleaning with a soft brush. Remove any dirt or debris from the scabbard's interior using a dry cloth or compressed air.
If your bayonet has a grip or pommel that can be unscrewed, do so carefully. Some models have a single screw or a rivet—do not force anything. For the M1 Garand bayonet, the blade typically attaches to the handle via a crossguard and a pommel nut. Use a properly sized screwdriver or wrench if needed, but only if you're confident in reassembly.
- Work on a clean, padded surface to avoid scratching the blade.
- Photograph the disassembly steps if you're unsure of reassembly.
Step 2: Clean the Blade and Metal Parts
Use a soft, lint-free cloth and a mild solvent (like mineral spirits or gun oil) to wipe down the blade. Avoid abrasive pads or steel wool, which can scratch the blued finish. For stubborn residue, a plastic scraper or a soft toothbrush dipped in solvent works well. Pay attention to the fuller (the groove along the blade) and the crossguard, where dirt often accumulates.
After cleaning, dry all metal parts thoroughly with a clean cloth. If you notice any rust spots, use a fine-grade bronze wool or a rust eraser specifically designed for blued steel. Gently rub the affected area in the direction of the grain, then re-oil immediately. For the scabbard, clean the metal throat with a dry cloth and apply a thin layer of oil to prevent rust.
- Avoid using WD-40 as a long-term protectant—it can dry out and leave residue.
- For leather scabbards, use a dedicated leather cleaner and conditioner.
Step 3: Oil and Protect the Metal Surfaces
Once the blade is clean and dry, apply a light coat of high-quality gun oil or a rust-preventive oil. Use a clean cloth to spread the oil evenly, then wipe off any excess. The goal is a thin, invisible film that seals the metal from moisture. Focus on the blade, crossguard, and any exposed steel on the pommel.
For collectors who prefer a more traditional approach, Renaissance Wax or a similar microcrystalline wax can be used instead of oil. Wax provides a longer-lasting barrier and doesn't attract dust. Apply it with a soft cloth, let it haze, then buff to a shine. This method is especially good for bayonets that are displayed rather than used in the field.
- Re-oil the bayonet after each use or every few months if stored.
- Store the bayonet in a dry, climate-controlled environment, ideally in a padded case.
Step 4: Maintain the Scabbard and Handle
The scabbard of an M1 Garand bayonet is often made of leather or fiberglass with a metal throat. For leather scabbards, clean with a damp cloth and a mild soap, then condition with a leather balm. Avoid over-oiling, which can soften the leather and cause it to warp. For fiberglass scabbards, simply wipe with a damp cloth and dry thoroughly.
The handle (grip) is typically made of plastic or wood. Clean plastic grips with a mild soap solution and dry immediately. Wooden grips require more care: use a dry cloth to remove dirt, then apply a small amount of linseed oil or furniture wax. Avoid soaking the wood, as moisture can cause swelling or cracking. Reassemble the bayonet once all parts are dry and oiled.
- Check the scabbard's throat for sharp edges that could scratch the blade.
- If the scabbard has a drainage hole, ensure it's clear of debris.
Product Recommendations for Your M1 Garand Bayonet
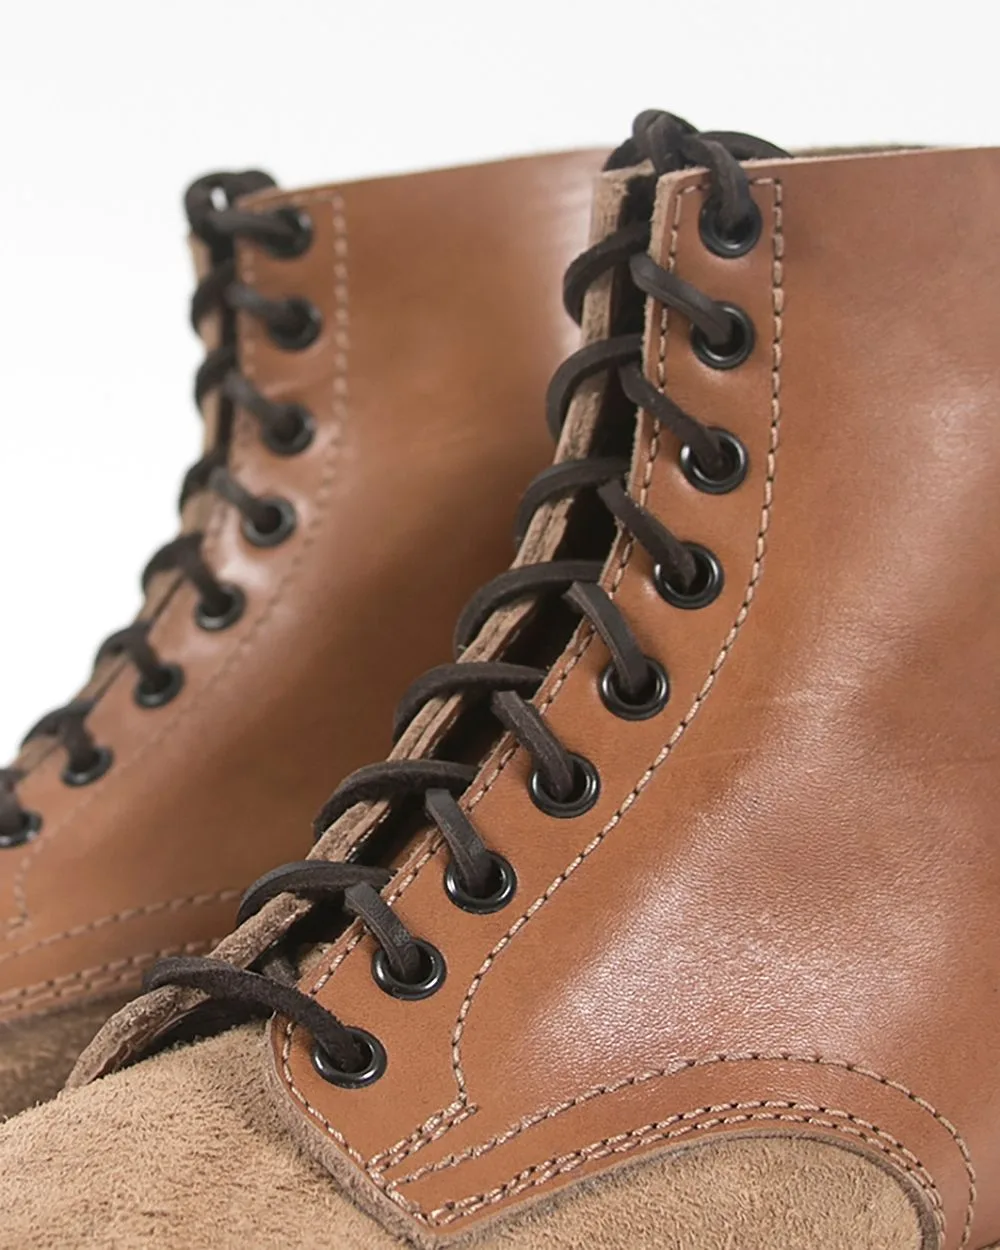
To keep your bayonet in peak condition, consider pairing it with complementary gear from your collection. For example, the M1 Garand Bayonet is often used alongside the https://wildernessworks.shop/products/m1910-canteen-cover-99278M1910 Canteen Cover for a complete field setup. If you're building a WWII impression, the Parachute Jumper Boots offer authentic footwear that matches the era.
For collectors, the 504th PIR Pocket Patch adds a distinctive unit identifier to your uniform. Whether you're displaying your bayonet or using it in reenactments, these accessories enhance the overall authenticity of your gear. Always store your bayonet separately from other metal items to avoid scratches.
- Use a silicone-treated cloth for long-term storage of the blade.
- Avoid storing the bayonet in the scabbard for extended periods—moisture can get trapped.
By following these simple steps, you can keep your M1 Garand bayonet clean, sharp, and historically accurate. Regular maintenance not only preserves its value but also ensures it's ready for the field or display. Start your care routine today and enjoy your gear for years to come. For more high-quality reproductions and accessories, explore our collection of M1 Garand Bayonet and other WWII gear.