If you’re serious about your fitness routine, your shaker bottle is probably one of your most-used pieces of gear. But let’s be honest: that lingering sour smell after a protein shake can be off-putting, and if you’re not careful, mold can start to grow in the nooks and crannies. A clean shaker bottle isn’t just about aesthetics—it’s about hygiene and making sure your supplements taste as good as they should.
In this guide, we’ll cover everything you need to know about cleaning your shaker bottle properly. From quick daily rinses to deep-cleaning methods that banish even the toughest odors, you’ll learn how to keep your bottle fresh and ready for your next shake. Plus, we’ll share tips on preventing mold and bacteria buildup so you can enjoy your favorite pre-workout or protein without any unwanted side effects.
Why Does My Shaker Bottle Smell?
The main culprit behind a smelly shaker bottle is the buildup of protein residue, which provides a perfect breeding ground for bacteria and mold. When you mix protein powder with liquid, tiny particles cling to the walls and lid of the bottle. If you don’t clean it immediately, these particles break down and start to ferment, producing that characteristic sour odor.
Another factor is moisture. A damp environment is ideal for microbial growth. If you leave your shaker bottle sealed with residual liquid, you’re essentially creating a petri dish. Even if you rinse it out, the moisture left behind can cause problems over time. That’s why proper drying is just as important as washing.
- Rinse your shaker bottle immediately after use to prevent residue from drying.
- Always air-dry your bottle completely with the lid off to avoid trapped moisture.
Daily Cleaning Routine for Your Shaker Bottle
The simplest way to keep your shaker bottle smelling fresh is to establish a daily cleaning routine. Right after you finish your shake, rinse the bottle with warm water and a drop of dish soap. Use a bottle brush to scrub the inside, especially the bottom corners and the lid. Pay extra attention to the seal and any crevices where residue can hide.
For a quick fix when you’re on the go, you can use a dedicated shaker bottle cleaning tablet or a drop of unscented dish soap. Just add water, shake vigorously, and rinse thoroughly. However, this is not a substitute for a full wash—make sure to do a deep clean regularly.
- Use a bottle brush with a long handle to reach the bottom and corners.
- Don’t forget to clean the lid and the mixing ball or whisk—they harbor bacteria too.
Deep Cleaning: Removing Stubborn Odors and Mold
If your shaker bottle has developed a persistent smell or you’ve noticed mold, it’s time for a deep clean. One effective method is to soak the bottle in a solution of warm water and white vinegar (one part vinegar to three parts water) for 30 minutes. Vinegar is a natural disinfectant and deodorizer that breaks down protein residue and kills bacteria.
Another option is to use baking soda. Make a paste with water and baking soda, apply it to the inside of the bottle, and let it sit for a few hours before scrubbing and rinsing. For mold removal, you can also use a diluted bleach solution (one tablespoon of bleach per quart of water), but be sure to rinse thoroughly afterward to avoid any chemical residue.
- Soak in vinegar solution to neutralize odors without harsh chemicals.
- Use baking soda paste for tough stains and smells.
- If mold is visible, use a bleach solution and scrub with a brush.
Preventing Smells and Mold in the Future
Prevention is always better than cure. After cleaning your shaker bottle, make sure it’s completely dry before storing it. Leave the lid off and place it upside down on a drying rack. If you’re at the gym, consider using a shaker bottle with a wide mouth that’s easier to clean, or invest in a stainless steel bottle that doesn’t retain odors as much as plastic.
Another tip is to avoid leaving your shaker bottle in a hot car or gym bag for extended periods. Heat accelerates bacterial growth. Also, consider using a dedicated cleaning tablet once a week to keep things fresh. And remember, if your bottle is cracked or scratched, those tiny grooves are perfect hiding spots for bacteria—consider replacing it if it’s worn out.
- Air-dry your bottle completely before storing it.
- Avoid leaving it in warm, enclosed spaces.
- Replace your shaker bottle if it shows signs of wear and tear.
The Best Shaker Bottles and Accessories to Consider
While cleaning is essential, choosing the right shaker bottle can make your life easier. Look for bottles with smooth interiors and minimal crevices. Some brands offer dishwasher-safe options, which can save you time. For example, the HYDE Nightmare Shaker - Red is a popular choice among athletes because it’s durable and easy to clean. Its wide mouth allows for thorough brushing, and the design minimizes hard-to-reach areas.
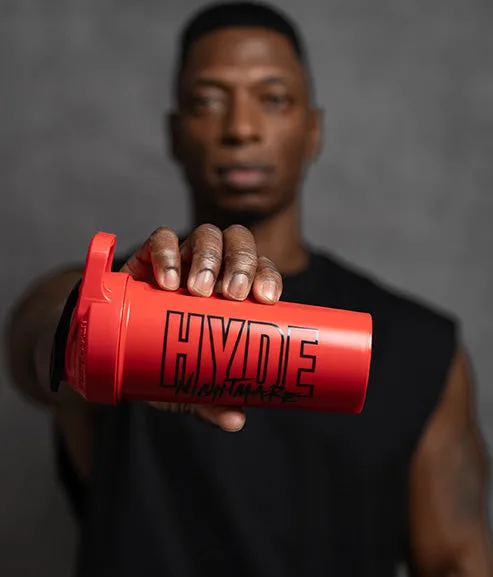
HYDE Nightmare Shaker - Red
If you’re looking for a complete kit, consider the Jekyll & Hyde Signature Dual Tub, which comes with two compartments for pre-workout and protein, but you’ll still need a reliable shaker. Pair your bottle with a high-quality supplement like the Mr. HYDE Xtreme pre-workout, and you’ll want to keep your gear in top condition. Remember, a clean shaker bottle ensures your supplements taste great and remain safe to consume.
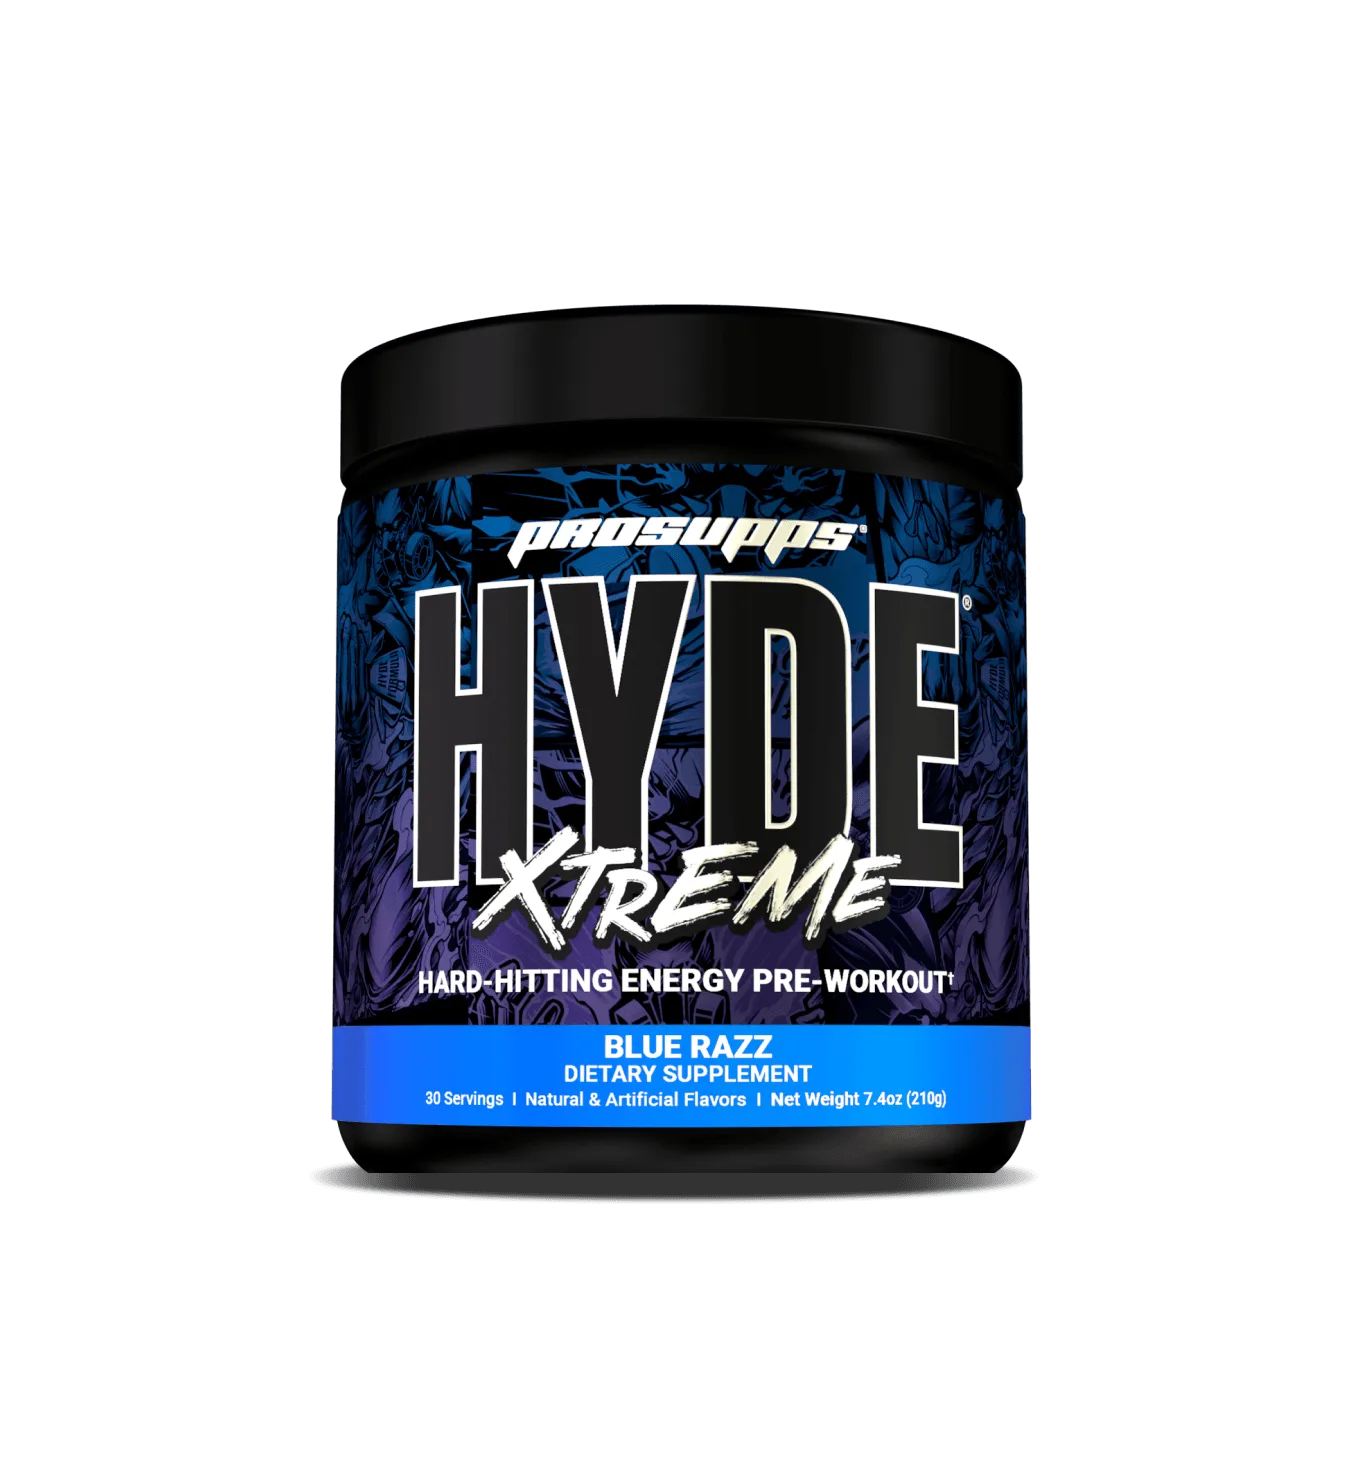
Mr. HYDE Xtreme
- Choose a shaker bottle with a wide mouth for easier cleaning.
- Look for dishwasher-safe materials like Tritan or stainless steel.
- Consider a bottle with a removable mixing ball for thorough cleaning.
Keeping your shaker bottle clean is a simple but crucial part of your fitness routine. By following these daily and deep-cleaning tips, you can eliminate odors, prevent mold, and ensure every shake tastes as good as the first. Remember to dry your bottle completely and replace it when necessary. For a reliable and easy-to-clean option, check out the HYDE Nightmare Shaker - Red—it’s designed with hygiene in mind. Your future shakes will thank you!