Quick Answer
To clean your dog's grooming brush, remove loose hair, soak it in warm soapy water, scrub gently, rinse thoroughly, and let it air dry completely. Regular cleaning prevents bacteria buildup and keeps the brush effective for your dog's coat health.
Keeping your dog's grooming brush clean is as important as brushing itself. A dirty brush can harbor bacteria, oils, and dead skin, which can lead to skin irritation or infections. Plus, a clogged brush won't effectively remove loose fur or distribute natural oils, leaving your dog's coat dull and tangled.
In this guide, we'll walk you through a simple, step-by-step process to clean your dog's grooming brush, whether it's a slicker, pin, or deshedding tool. We'll also share tips on how often to clean and how to maintain your brush for long-lasting use.
Why Regular Brush Cleaning Matters
Your dog's brush collects not only fur but also dirt, dander, and natural oils. Over time, these accumulate and can become a breeding ground for bacteria and fungi. When you use a dirty brush, you're spreading these contaminants back onto your dog's skin, which can cause itching, redness, or even infections, especially if your dog has sensitive skin.
A clean brush also performs better. Hair and debris can clog the bristles or pins, reducing their ability to penetrate the coat and remove loose fur. This means more effort for you and less comfort for your dog. By making brush cleaning a regular part of your grooming routine, you ensure both hygiene and effectiveness.
- Clean your brush at least once a month, or more often if you brush daily or your dog has a heavy shedding coat.
- If you notice a buildup of hair or product residue, it's time for a deeper clean.
What You'll Need
Gathering the right supplies makes the cleaning process quick and efficient. You'll need a comb or your fingers to remove loose hair, a bowl of warm water, mild dish soap or pet-safe brush cleaner, and a soft-bristled brush or old toothbrush for scrubbing. A towel for drying is also essential.
Avoid using harsh chemicals or hot water, as they can damage the brush's bristles or handle. Stick to gentle soap and warm water to preserve the brush's integrity.
- Use a comb with wide teeth to lift out hair from between bristles without bending them.
- If your brush has a rubber base, check for any removable parts that might need separate cleaning.
Step-by-Step Cleaning Process
Start by removing as much loose hair as possible. Use your fingers or a comb to pull hair from the bristles, working from the base outward. This prevents hair from clogging the drain when you rinse the brush.
Next, fill a bowl with warm water and add a few drops of mild dish soap. Submerge the brush (if it's safe for water) and let it soak for 10-15 minutes. This loosens dirt and oils. For brushes with wooden handles, avoid soaking the handle; instead, clean only the bristle area.
After soaking, use a soft-bristled brush or toothbrush to gently scrub between the bristles and the base. Pay special attention to areas where hair and debris tend to accumulate. Rinse thoroughly under warm running water to remove all soap residue.
Finally, shake off excess water and place the brush bristle-side down on a clean towel to air dry. Ensure it's completely dry before storing or using it again to prevent rust or mold.
- Never use a hairdryer to speed up drying, as heat can damage the brush.
- For brushes with rubber or silicone parts, check if they are dishwasher-safe; if so, you can place them on the top rack.
Step-by-Step Brush Cleaning Routine
- Step 1: Remove Loose Hair: Use a comb or your fingers to lift out trapped hair from the bristles. Work from the base outward to avoid bending the bristles. Common mistake: pulling hair out aggressively can damage the brush. Be gentle.
- Step 2: Soak in Soapy Water: Fill a bowl with warm water and a few drops of mild dish soap. Submerge the brush (if water-safe) and let it soak for 10-15 minutes to loosen dirt and oils. Check that your brush is water-safe; wooden handles should not be soaked.
- Step 3: Scrub Gently: Use a soft-bristled brush or toothbrush to scrub between bristles and the base. Focus on areas with buildup. Avoid harsh scrubbing that could bend or break bristles.
- Step 4: Rinse Thoroughly: Rinse under warm running water until all soap is gone. Residual soap can irritate your dog's skin. Ensure no soap remains; it can cause skin irritation.
- Step 5: Air Dry Completely: Shake off excess water and lay the brush bristle-side down on a towel. Let it air dry fully before storing. Never use heat to dry; it can damage the brush.
Recommended Product for Easy Cleaning
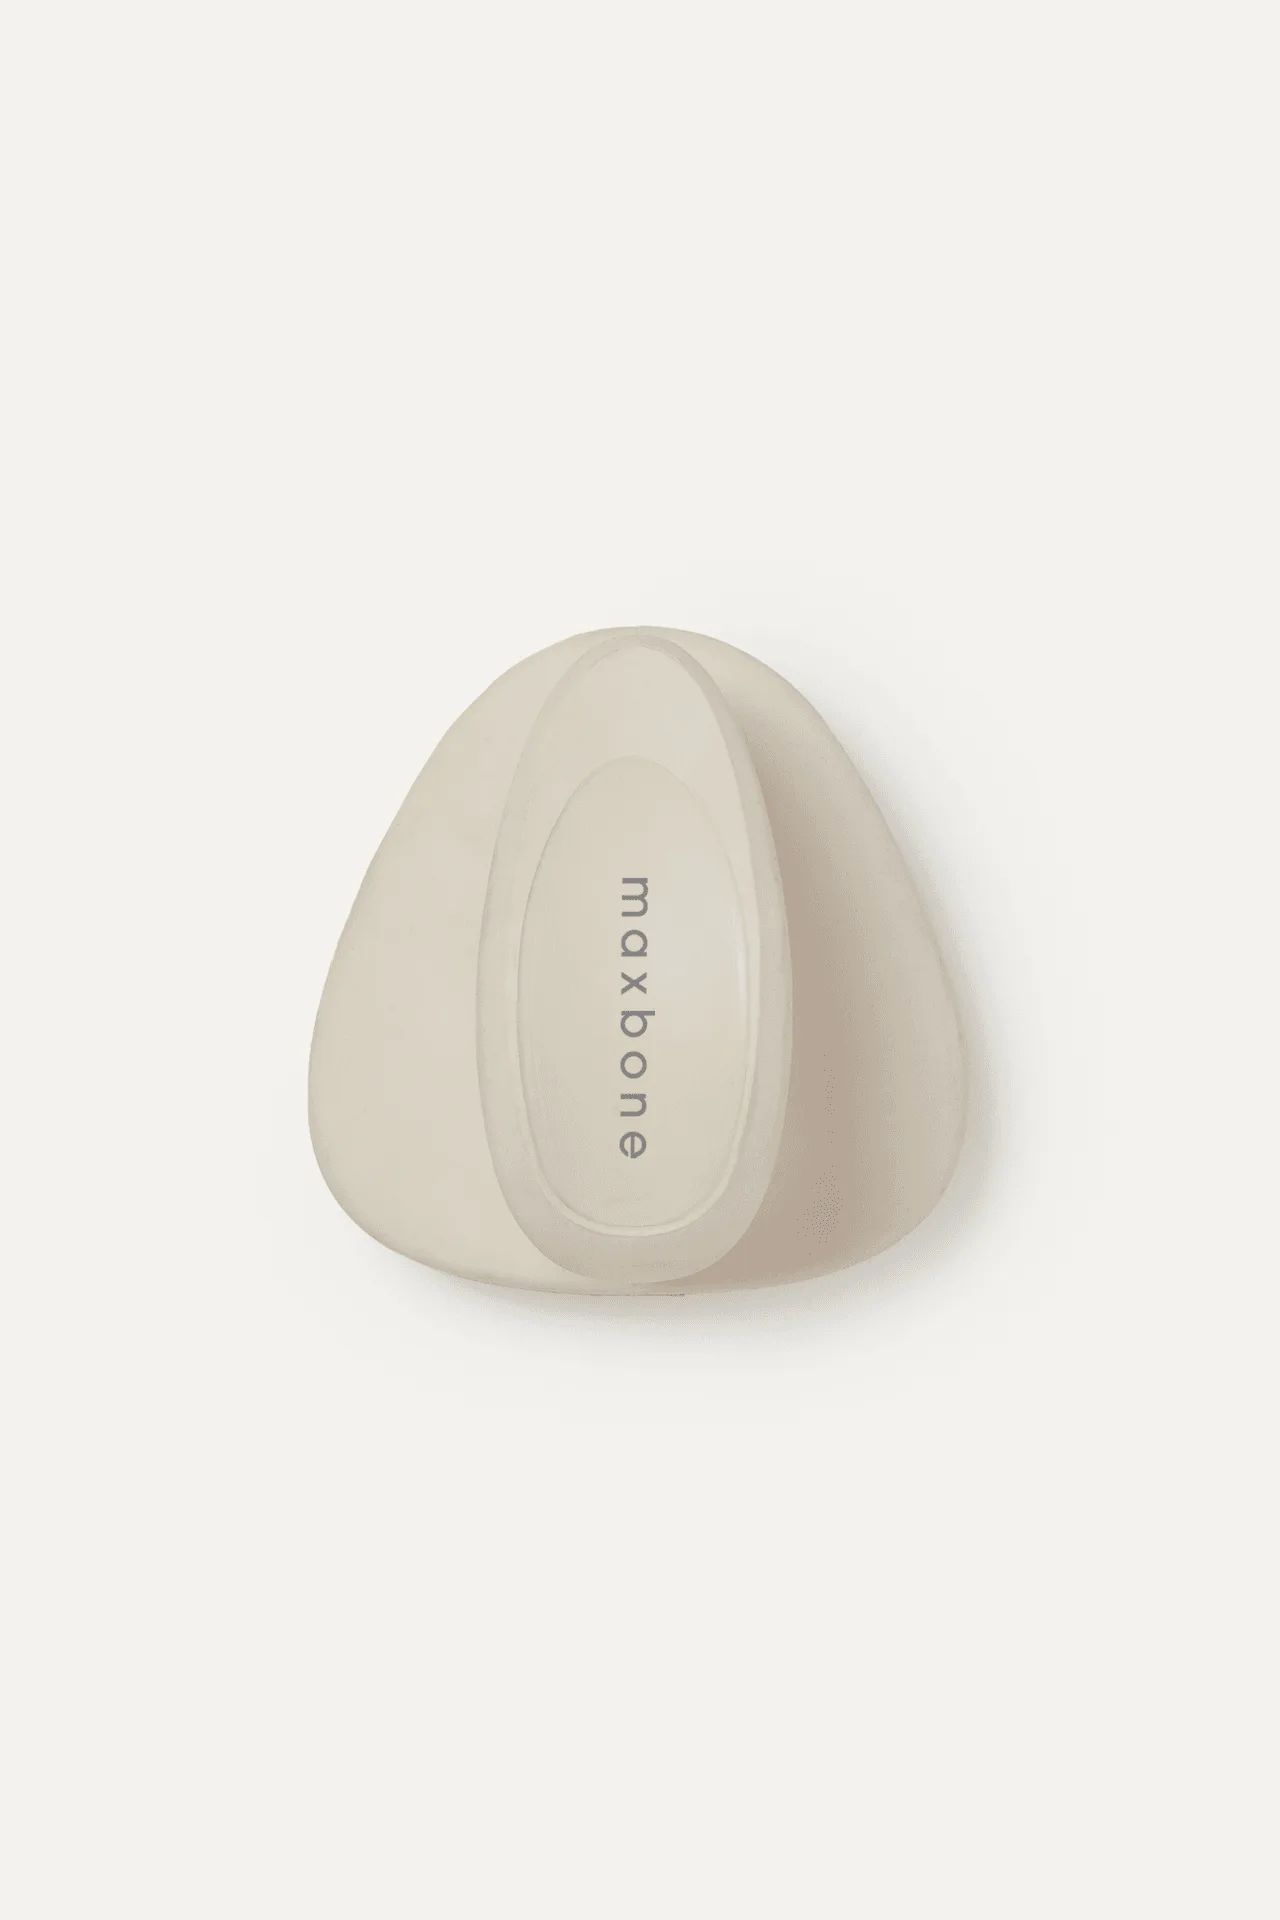
- Coat Therapy Brush: Our Coat Therapy Brush is designed to enhance your pet's coat and skin while offering a soothing massage effect. The lightweight, modern design makes it perfect for shedding and removing excess hair while bathing. It's made of silicone so you can comfortably groom your dog. Because it's made of silicone, this brush is naturally resistant to bacteria and easy to rinse clean. You can even use it during bath time to remove loose hair while shampooing, making the cleaning process simpler.
Regularly cleaning your dog's grooming brush is a simple yet essential part of maintaining your pet's coat health and the tool's longevity. By following these steps, you'll ensure a hygienic grooming experience for your furry friend. Remember, a clean brush makes for a happy, healthy pup.