Quick answer
You do not need a pitcher to cold brew tea. Use a mason jar, a water bottle, a tea ball in any cup, or brew a concentrated batch and dilute it later. The core method never changes: combine tea and cold water, refrigerate for 8 to 12 hours, then strain or remove the tea. A mason jar is the easiest all-purpose choice, while a water bottle works best for drinking on the go.

tea ball
Cold brewing is simply steeping tea in cold water for several hours instead of using hot water. That slow, gentle extraction is why cold brew tastes smoother and less bitter than tea that was brewed hot and then chilled. The good news is that none of that depends on owning a pitcher.
Any clean container that holds water and fits in your fridge can cold brew tea. The four methods below cover the situations that come up most often: brewing at home, brewing on the go, brewing a single cup, and brewing a batch you can dilute later. Each one includes the step people most often skip.
Method 1: Cold brew tea in a mason jar
A mason jar is the closest thing to a pitcher without being one. Add your loose leaf tea, fill with cold filtered water, screw on the lid, and refrigerate. A quart jar with roughly 4 to 6 teaspoons of loose leaf tea is a reasonable starting ratio for a full jar, but adjust to your taste after the first batch. The glass lets you watch the color deepen, which is a useful visual cue.
The mistake to avoid is shaking the jar to speed things up. Agitation does not shorten the steep; it just suspends fine particles that make the final tea cloudy and harder to strain. Let it sit still. When the time is up, pour through a fine mesh strainer or a tea ball's mesh into another jar or glass.
- Checkpoint: after 8 hours, taste a spoonful. If the flavor is thin, give it 2 to 4 more hours rather than adding more tea.
Method 2: Cold brew tea in a water bottle
For commuting, travel, or the gym, a water bottle is the most practical vessel. The catch is that loose leaves are hard to remove from a narrow bottle, so this method works best with tea that stays contained. A stainless steel mesh tea ball solves that: fill it, drop it in, cap the bottle, and refrigerate or carry it chilled.
The common mistake here is using a bottle that is not completely clean or that previously held coffee or a flavored drink. Cold brew picks up those aromas over several hours. Rinse with hot water first, and if you are brewing in a bottle you plan to drink from directly, remove the tea ball before you start sipping so the tea does not keep getting stronger.
- Checkpoint: if the tea ball floats and only half the leaves are submerged, add a little more water or use a larger ball so all the tea has contact with water.
Method 3: Single-cup cold brew with a tea ball
When you only want one glass, a tea ball in a mug or glass is the simplest route. Add your loose leaf tea to the ball, clip it to the rim, fill with cold water, and refrigerate the whole glass. Because the volume is small, this usually finishes faster than a full jar, so start checking around the 6-hour mark.
The mistake is overfilling the tea ball. Leaves need room to expand and water needs to circulate around them; a packed ball brews unevenly, with some leaves doing all the work and others staying dry. Fill it about half to two-thirds full. Stainless steel mesh is also easier to clean than fine cloth or paper, which matters when you brew this way daily.
- Checkpoint: if the glass tastes weak after 8 hours, your tea ball was likely too full rather than the steep being too short.
Method 4: The cold brew tea concentrate method
The concentrate method is the most flexible option when you do not have a pitcher. Brew a smaller amount of tea in a stronger ratio, then dilute each serving with cold water, sparkling water, or ice when you pour. This lets you make one batch and turn it into several different drinks over a few days without brewing again.
The mistake is treating the concentrate like finished tea and drinking it straight. It is intentionally strong. Start by diluting roughly one part concentrate to one or two parts water, then adjust. Store the undiluted concentrate in a sealed jar in the fridge and dilute only what you are about to drink, so the rest keeps its strength.
- Checkpoint: label the jar with the date you brewed it so you are not guessing later how long it has been in the fridge.
How long to cold brew and how to store it
Most cold brew tea lands in a useful range between 8 and 12 hours in the refrigerator. Herbal and fruit blends often need the longer end because their flavors come from dried fruit, spices, and botanicals rather than traditional tea leaves. Green and white teas tend to be ready closer to 8 hours and can turn dull if left much longer.
Once brewed, remove the tea from the water. Leaving leaves in the liquid keeps extracting and eventually pushes the tea toward bitterness and a flat, stewed character. Store the finished tea in a sealed jar or bottle in the refrigerator and drink it within a few days. If you want to serve it over ice, brew it slightly stronger, since melting ice will dilute the glass.
- Cold water extracts more slowly than hot water, so a cold brew that tastes weak at 6 hours is usually just unfinished, not a failed batch.
Your four-step cold brew routine
- Pick your container: Choose a mason jar for home batches, a water bottle with a tea ball for travel, a single glass with a tea ball for one serving, or a small jar if you want a concentrate to dilute later. Checkpoint: the container must be clean and free of lingering coffee or flavored-drink aromas.
- Add tea and cold water: Use loose leaf tea or a cold brew packet, then fill with cold filtered water. Leave the leaves room to expand rather than packing the infuser tight. Checkpoint: all the tea should be in contact with water, not floating above the surface.
- Refrigerate and wait: Steep 8 to 12 hours without shaking. Taste at 8 hours and extend only if the flavor is still thin. Checkpoint: herbal and fruit blends often need the longer end; green and white teas are usually ready sooner.
- Remove the tea and store: Strain or lift out the tea, then keep the finished brew sealed in the refrigerator. Dilute concentrate only as you pour each serving. Checkpoint: leaving the leaves in the liquid keeps it extracting and turns the tea bitter.
Teas and tools that fit these methods
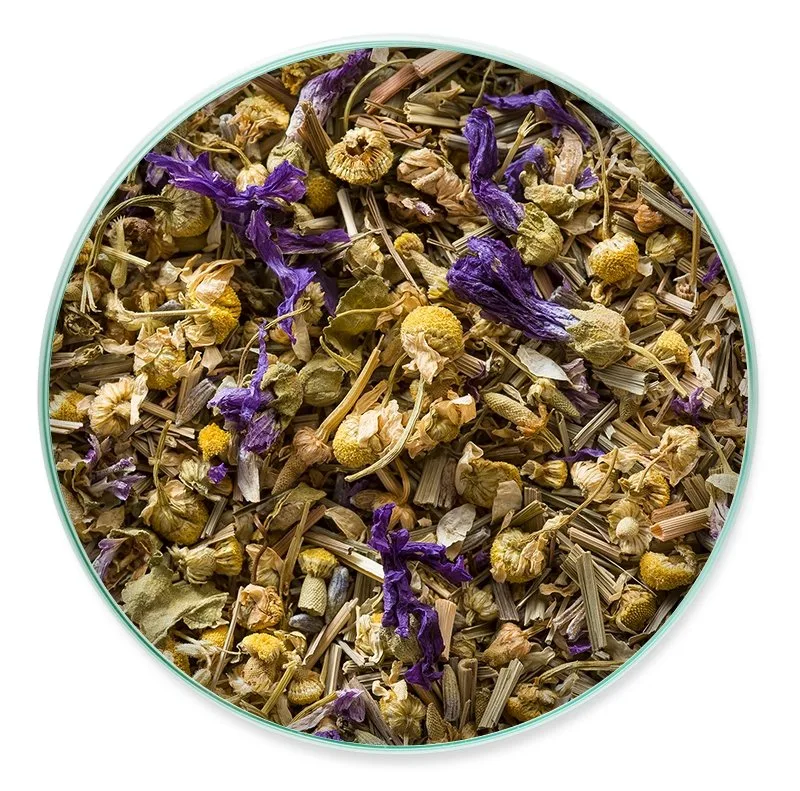
- lavender-chamomile-cold-brew-tea-packets-ddd6303540b9b49d85076fb7-553432">Lavender Chamomile Cold Brew Tea Packets (10pack): These packets are specially formulated to safely cold brew, and the blend is a caffeine, sugar, and calorie free chamomile herbal tea in the Relaxer line. Pre-portioned packets remove the measuring and straining steps, which makes them a natural fit for the water bottle method when you want a caffeine-free evening glass.
- Peach Party - Cold Brew Sample: A peach hibiscus herbal tea with light mixed berry notes, part of the Immunity blends that combine rooibos, herbal, and fruit teas. A single sample is a low-commitment way to test whether your jar, bottle, or tea ball setup produces a cold brew you actually enjoy before buying a larger format.
- Tea Ball - Wholesale (6 Pack): A stainless steel mesh infuser designed to brew one cup of tea at a time and work with loose leaf teas, available as a 6-pack case. This is the piece of equipment that makes the water bottle and single-cup methods work with loose leaf tea, and the 6-pack covers keeping one at home, one at work, and spares.
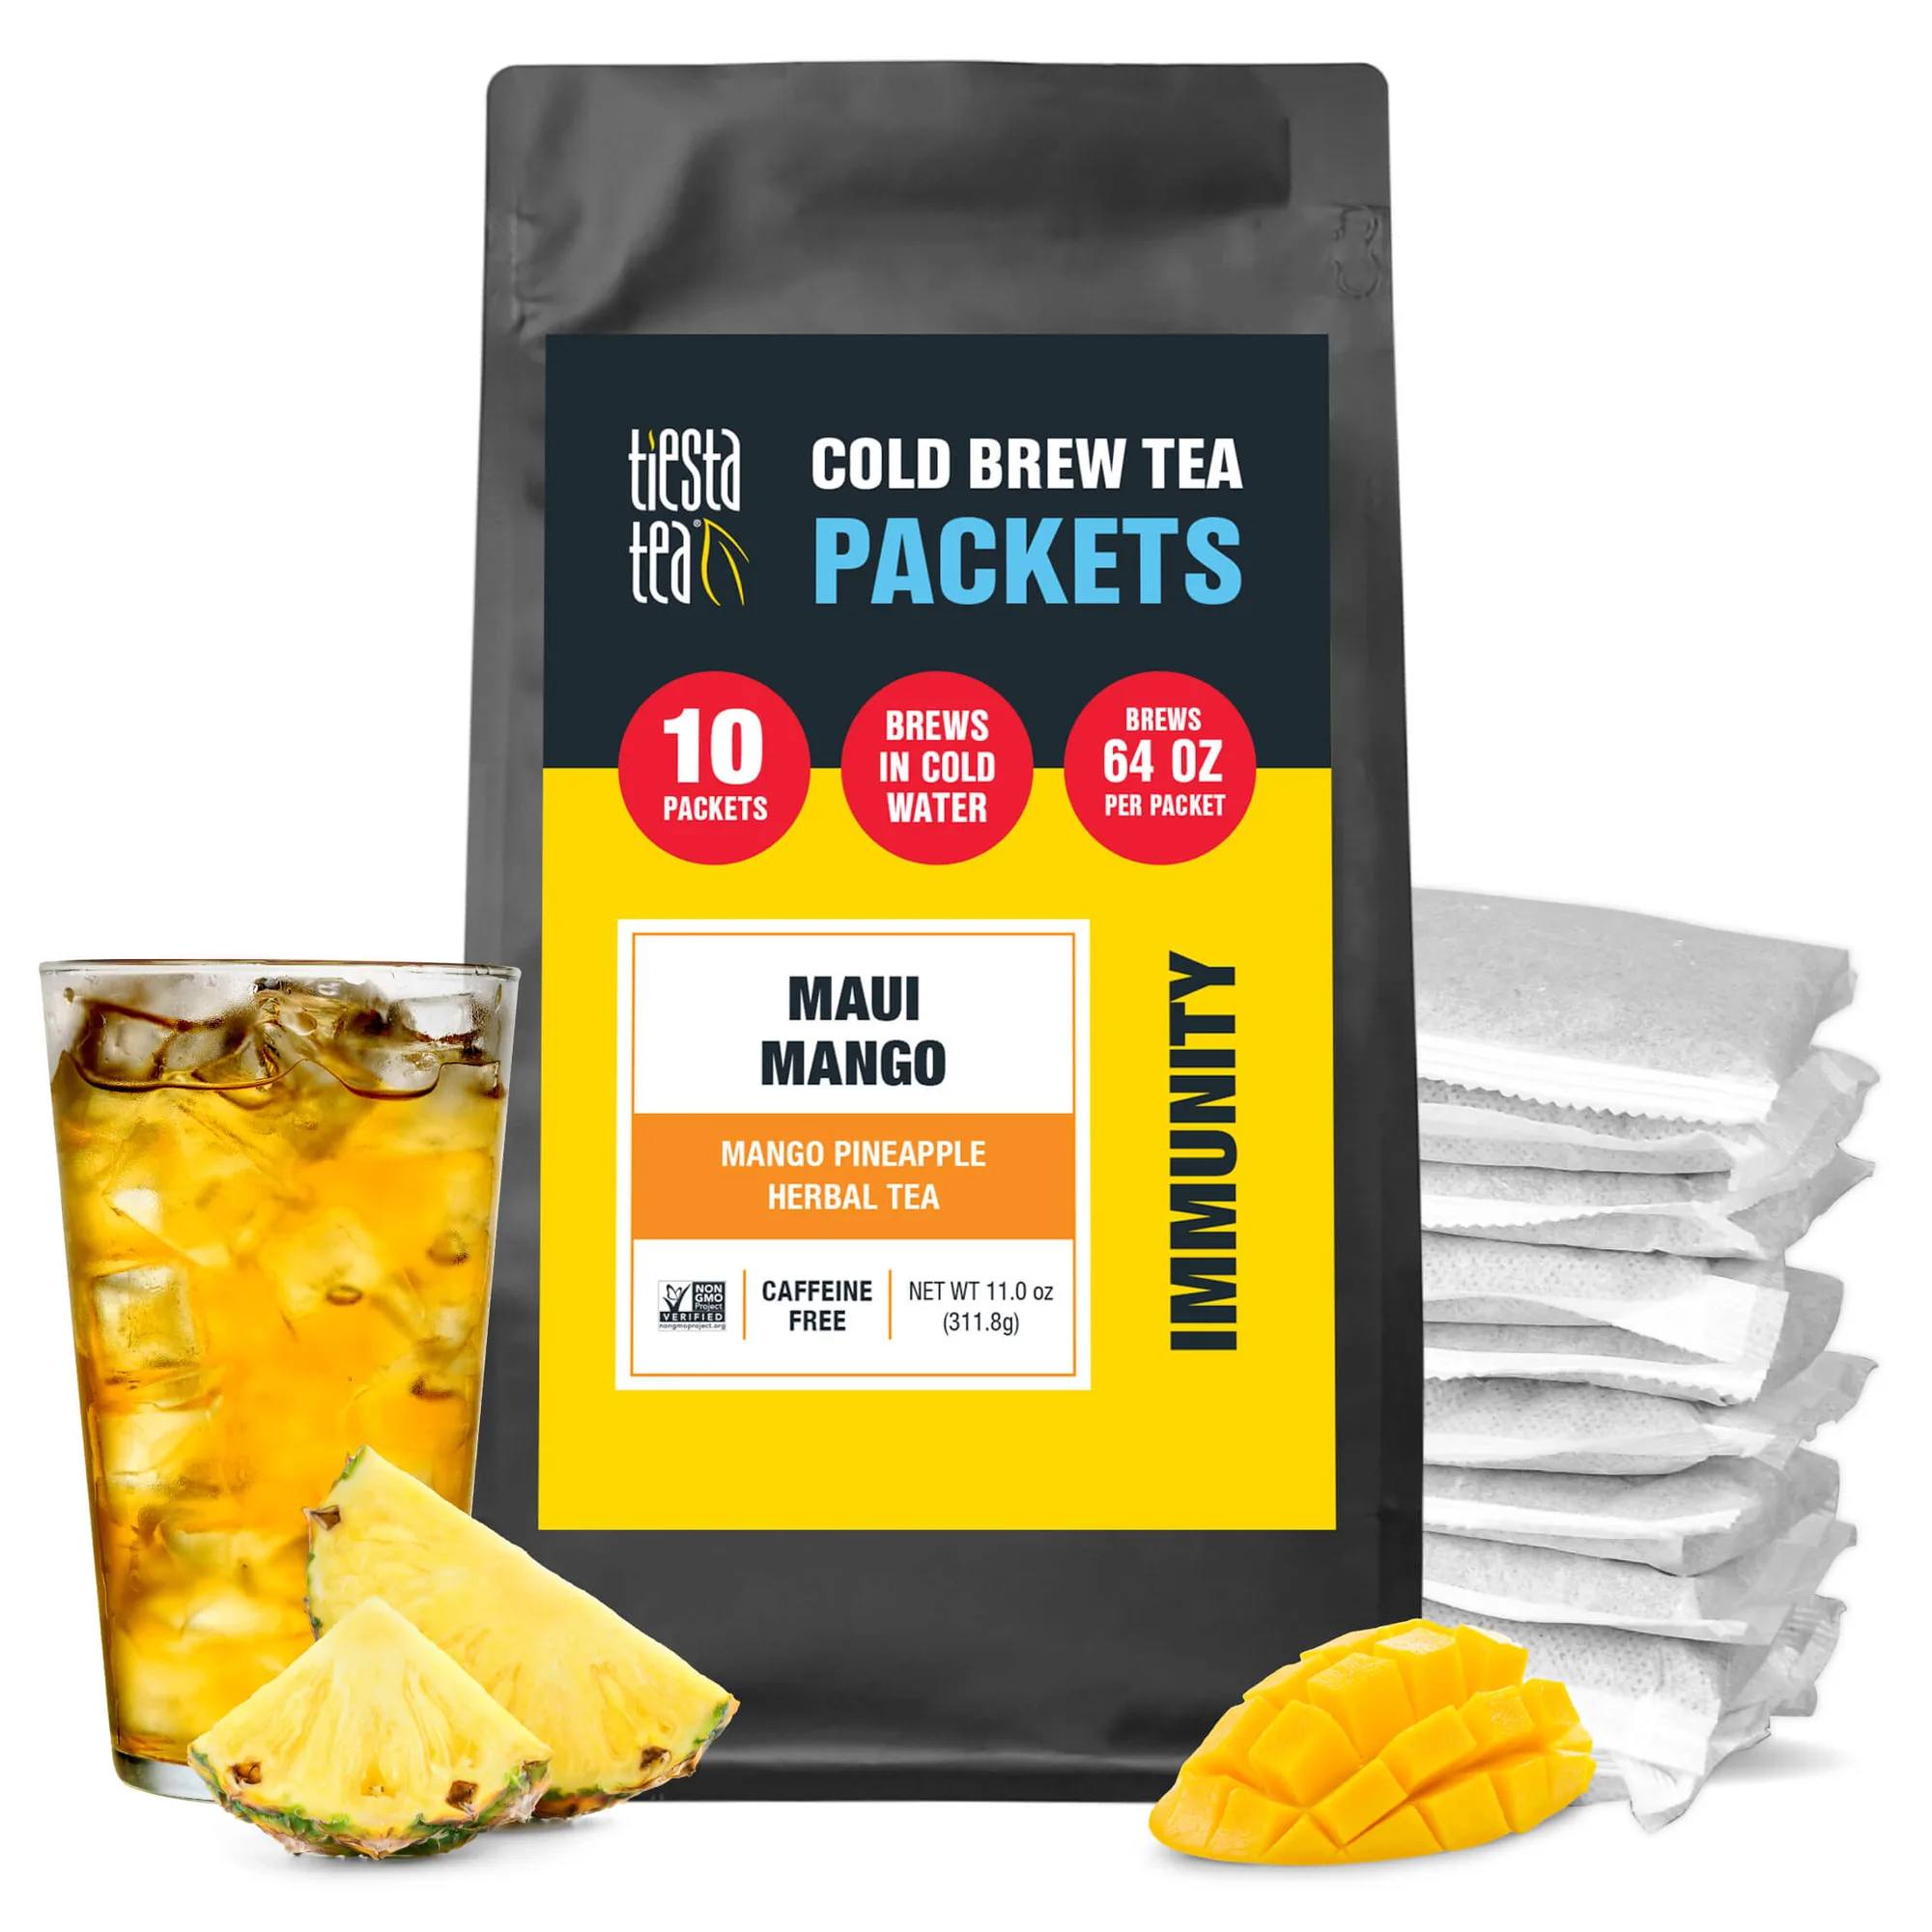
- Caffeine Free Tiesta Tasting Sampler: A 25-tea caffeine free sampler that includes blends such as Maui Mango, Cozy Chai, and Chamomile Mint. If you are still deciding which flavors to cold brew, a sampler lets you test several blends in small batches instead of committing a full pouch to a method you have not tried yet.
Cold brewing without a pitcher comes down to choosing the container you already have and giving the tea enough undisturbed time. Start with a mason jar if you are unsure, keep a tea ball on hand for bottles and single cups, and try the concentrate method once you find a blend you want on repeat.