Quick answer
To connect a retro console to a modern TV, first identify your console's video output (composite, SCART, or RF) and your TV's available inputs. If your TV lacks matching ports, use a dedicated retro console HDMI adapter or upscaler. For a simpler, plug-and-play option, consider a handheld system like the Pixel Player or Retro Arcade Machine X that connects directly via HDMI or plays on its own screen.
Check your console and TV ports before buying anything
Before you start, look at the back of your retro console and your modern TV. Consoles from the 1980s and 1990s typically output composite video (yellow RCA), RF (coaxial), or SCART. Modern TVs usually have HDMI, and sometimes component or composite inputs on budget models. If your TV has a yellow composite port, you may be able to connect directly with the original cable. If not, you'll need an adapter. Write down exactly which ports you have—this prevents buying the wrong adapter.
Choose the right adapter for your console's signal
Not all AV-to-HDMI adapters are equal. Cheap generic adapters often add lag or distort colors. For composite-only consoles, a dedicated retro console HDMI adapter that upscales to 720p or 1080p is a better choice. If your console supports RGB or component, look for an adapter that accepts those signals. Avoid adapters that only convert HDMI to composite (the reverse direction)—they won't work for this setup. Check that the adapter matches your console's output type and your TV's input.
Connect the cables in the correct order
Always power off both the TV and the console before connecting anything. Plug the console's video cable into the adapter, then connect the adapter to the TV's HDMI port. If your adapter needs external power, plug it in last. Once everything is secure, turn on the TV first, then the console. Select the correct HDMI input on your TV using the remote. If you see no signal, try a different HDMI port or check that the adapter's power light is on.
Adjust TV settings for better picture and lower lag
Modern TVs often apply extra processing that makes retro games look blurry or feel laggy. Go into your TV's picture settings and switch to 'Game' mode if available. Turn off noise reduction, motion smoothing, and any 'film mode.' If your adapter has a resolution switch, try 720p first—many retro consoles output 240p, and 720p often scales more cleanly than 1080p. For handhelds like the Pixel Player or Retro Arcade Machine X, these settings don't apply because they have their own built-in screens.
Test with a known-good game and controller
After connecting, insert a game you know works and test the controller. If the picture appears but controls don't respond, check that the controller is plugged into the correct port (some adapters pass through controller signals, others don't). If the picture rolls or is black and white, your adapter may be set to the wrong video standard (NTSC vs. PAL). Many adapters have a small switch for this—check the manual. If you still have issues, try a different TV or monitor to isolate the problem.
Step-by-step: connect your retro console to a modern TV
- Identify your console's video output: Look at the back of your retro console. Note whether it uses composite (yellow RCA), RF (coaxial), SCART, or component cables. Check your TV's available inputs too. Checkpoint: If your TV lacks a matching port, you'll need an adapter.
- Pick a compatible retro console HDMI adapter: Choose an adapter that matches your console's output and your TV's HDMI input. Avoid generic adapters that add lag. For composite consoles, a dedicated upscaler is best. Mistake to avoid: Buying an HDMI-to-composite adapter instead of composite-to-HDMI.
- Power off and connect cables: Turn off the TV and console. Plug the console's video cable into the adapter, then the adapter into the TV's HDMI port. Connect adapter power last. Checkpoint: Ensure all connections are snug and the adapter's power light is on.
- Turn on and select the correct input: Turn on the TV first, then the console. Use the TV remote to select the HDMI input you used. If no signal, try another HDMI port. Mistake to avoid: Forgetting to switch the TV to the right input.
- Optimize TV settings for retro games: Enable Game mode, disable motion smoothing and noise reduction. If your adapter has a resolution switch, try 720p for cleaner scaling of 240p games. Checkpoint: Picture should be sharp and controls responsive.
- Test with a game and controller: Insert a known-working game and test the controller. If the picture is black and white or rolls, check the adapter's NTSC/PAL switch. Mistake to avoid: Assuming the adapter is faulty before checking video standard settings.
Handheld alternatives that skip the adapter
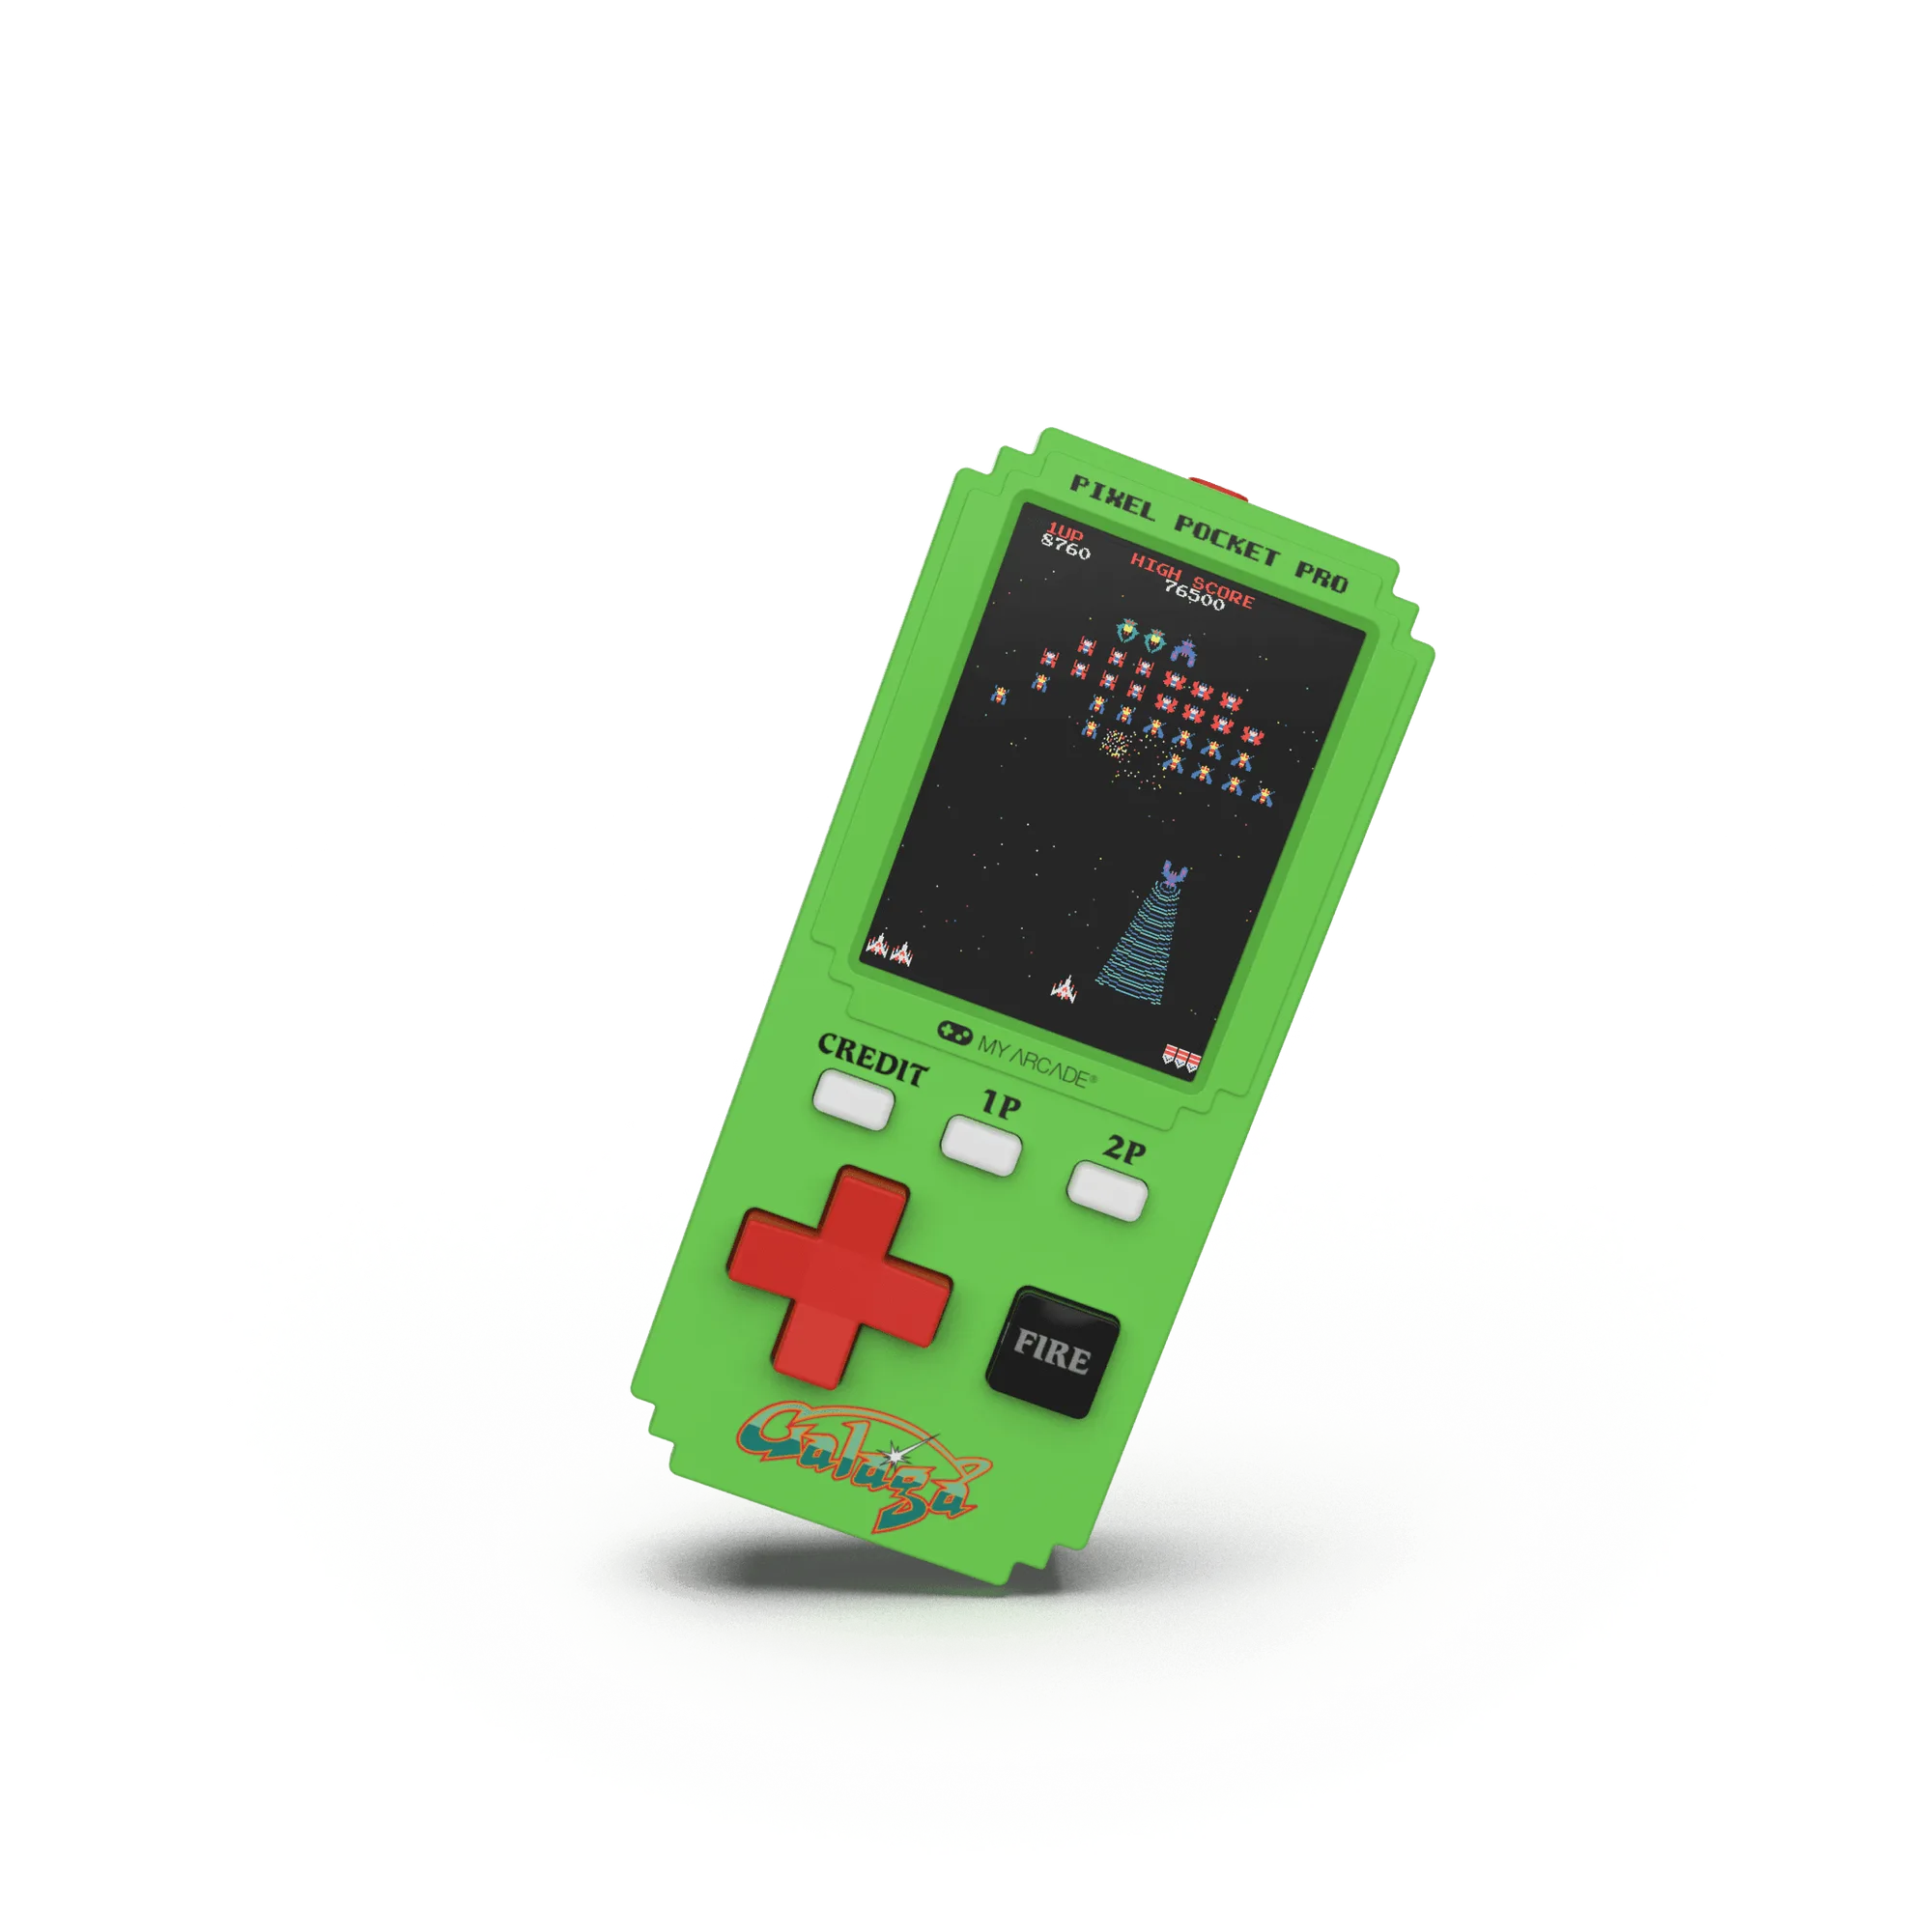
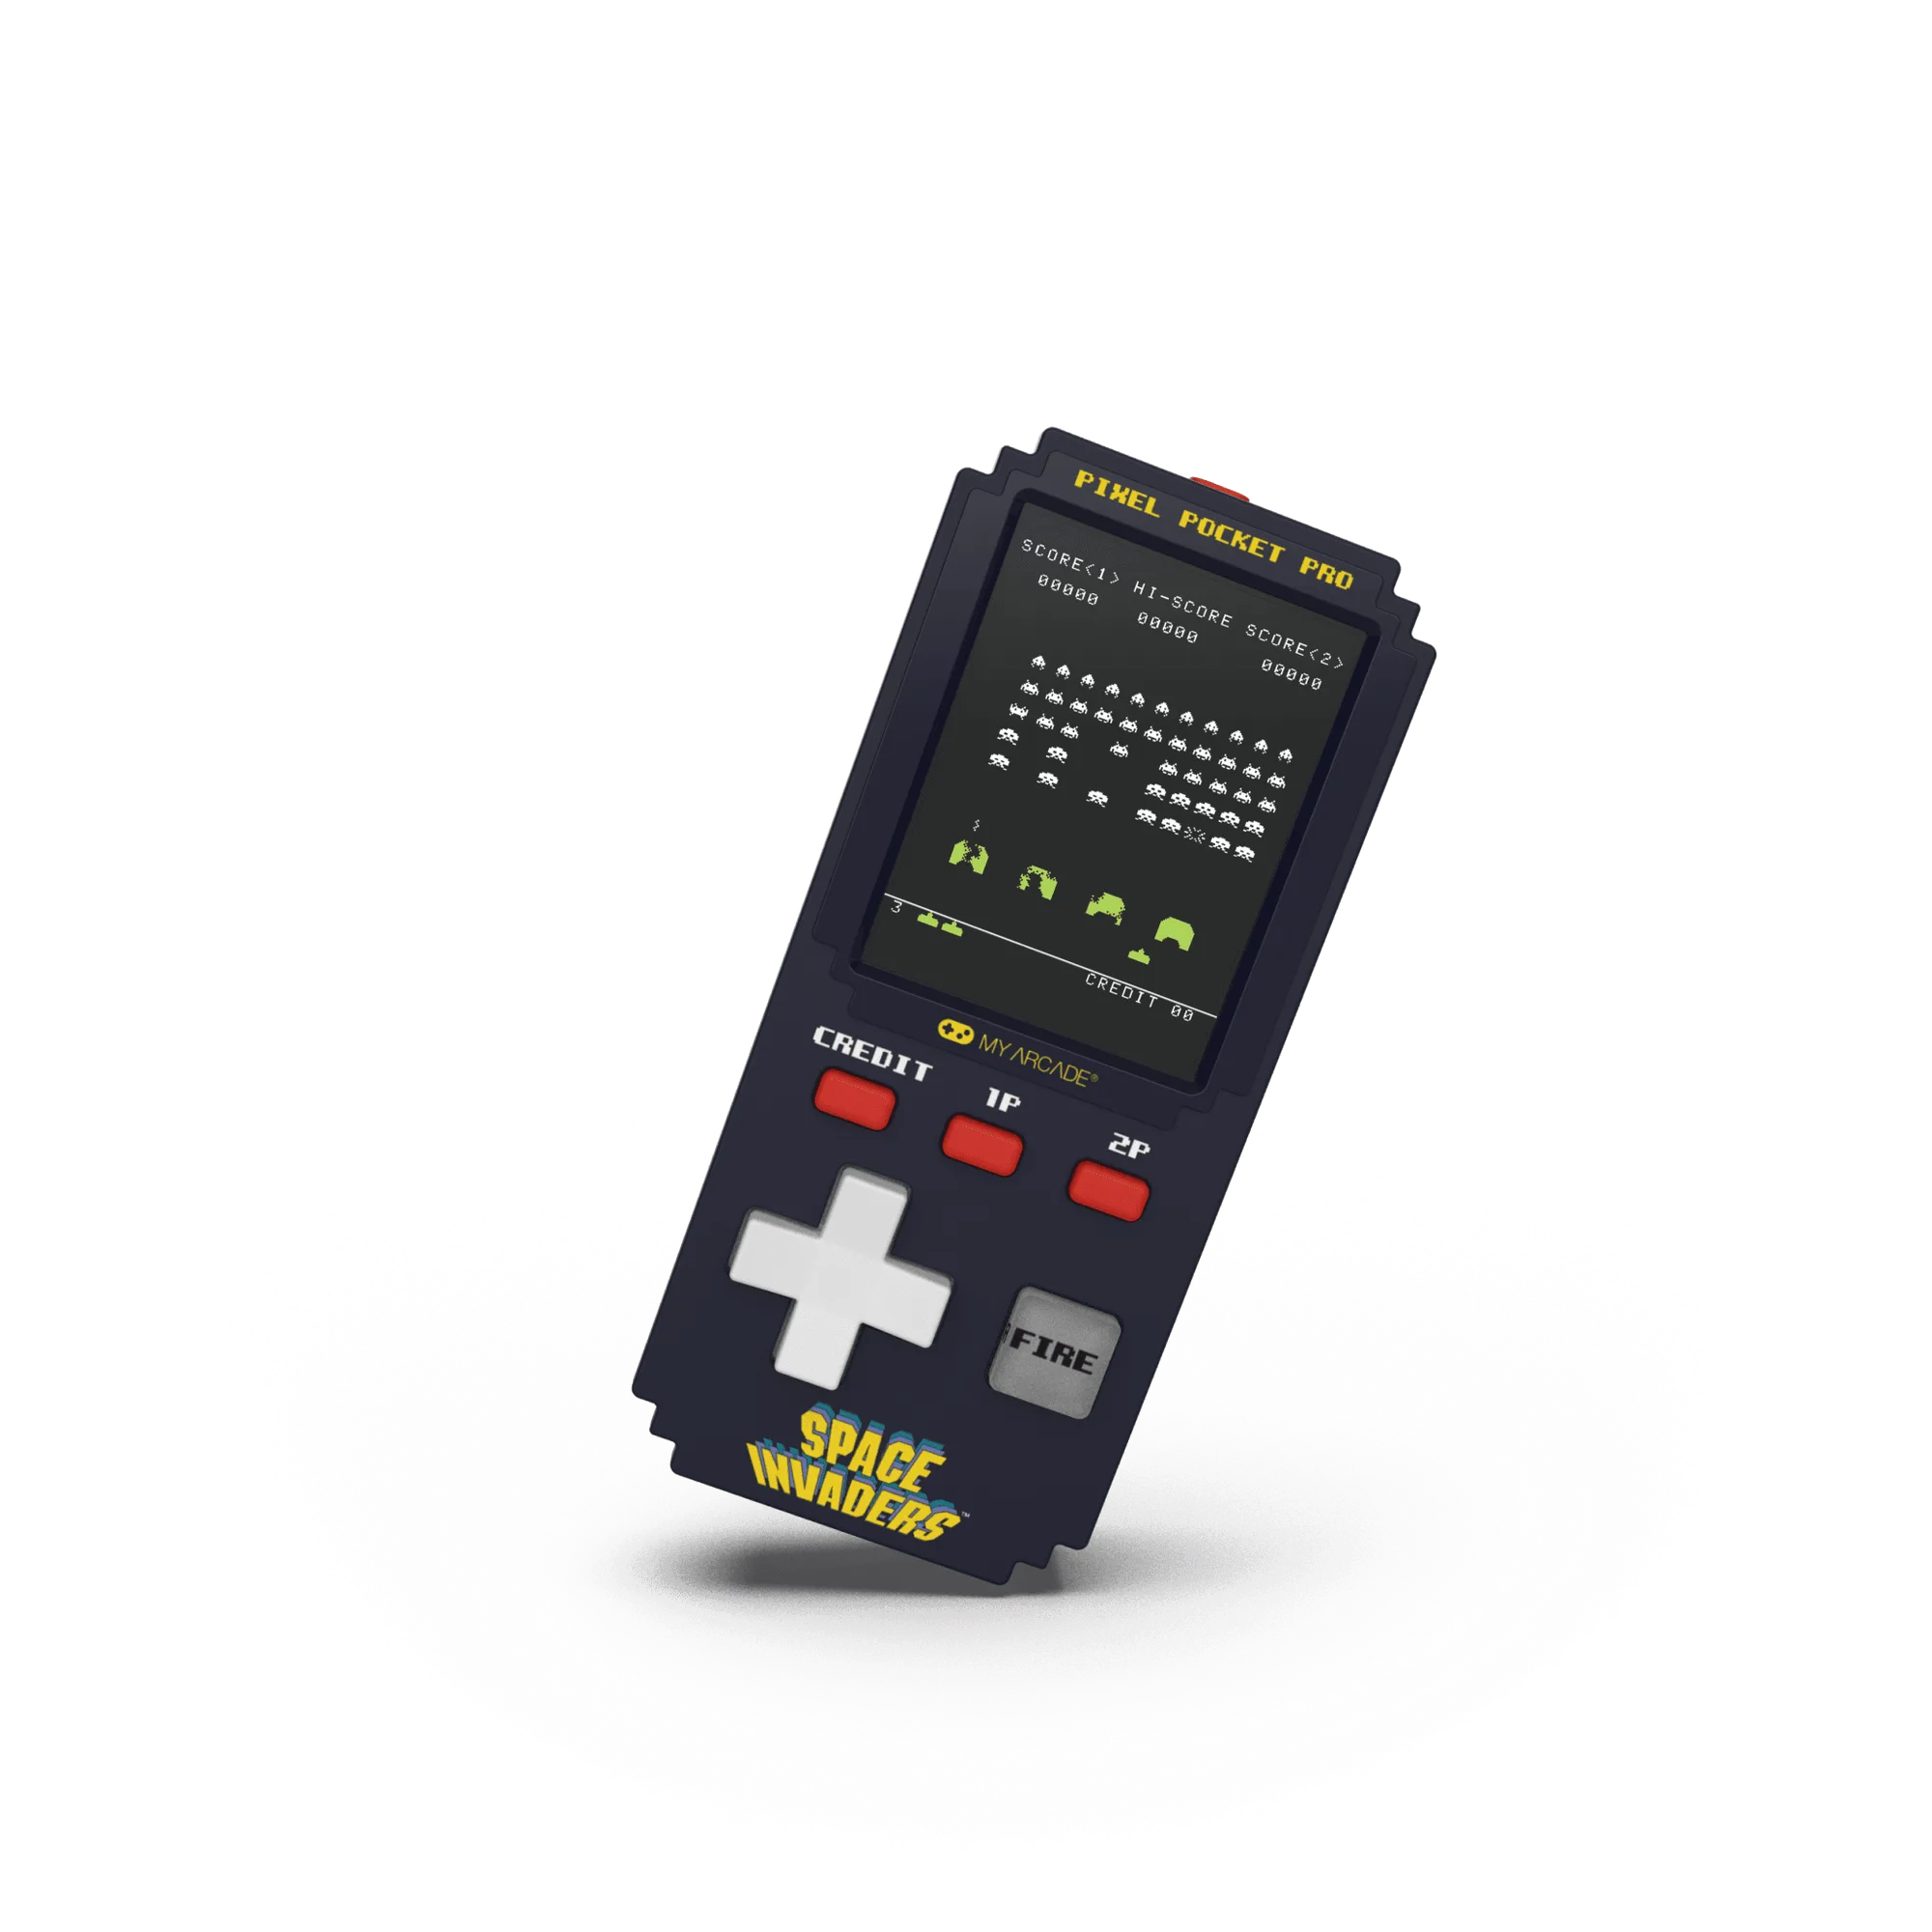
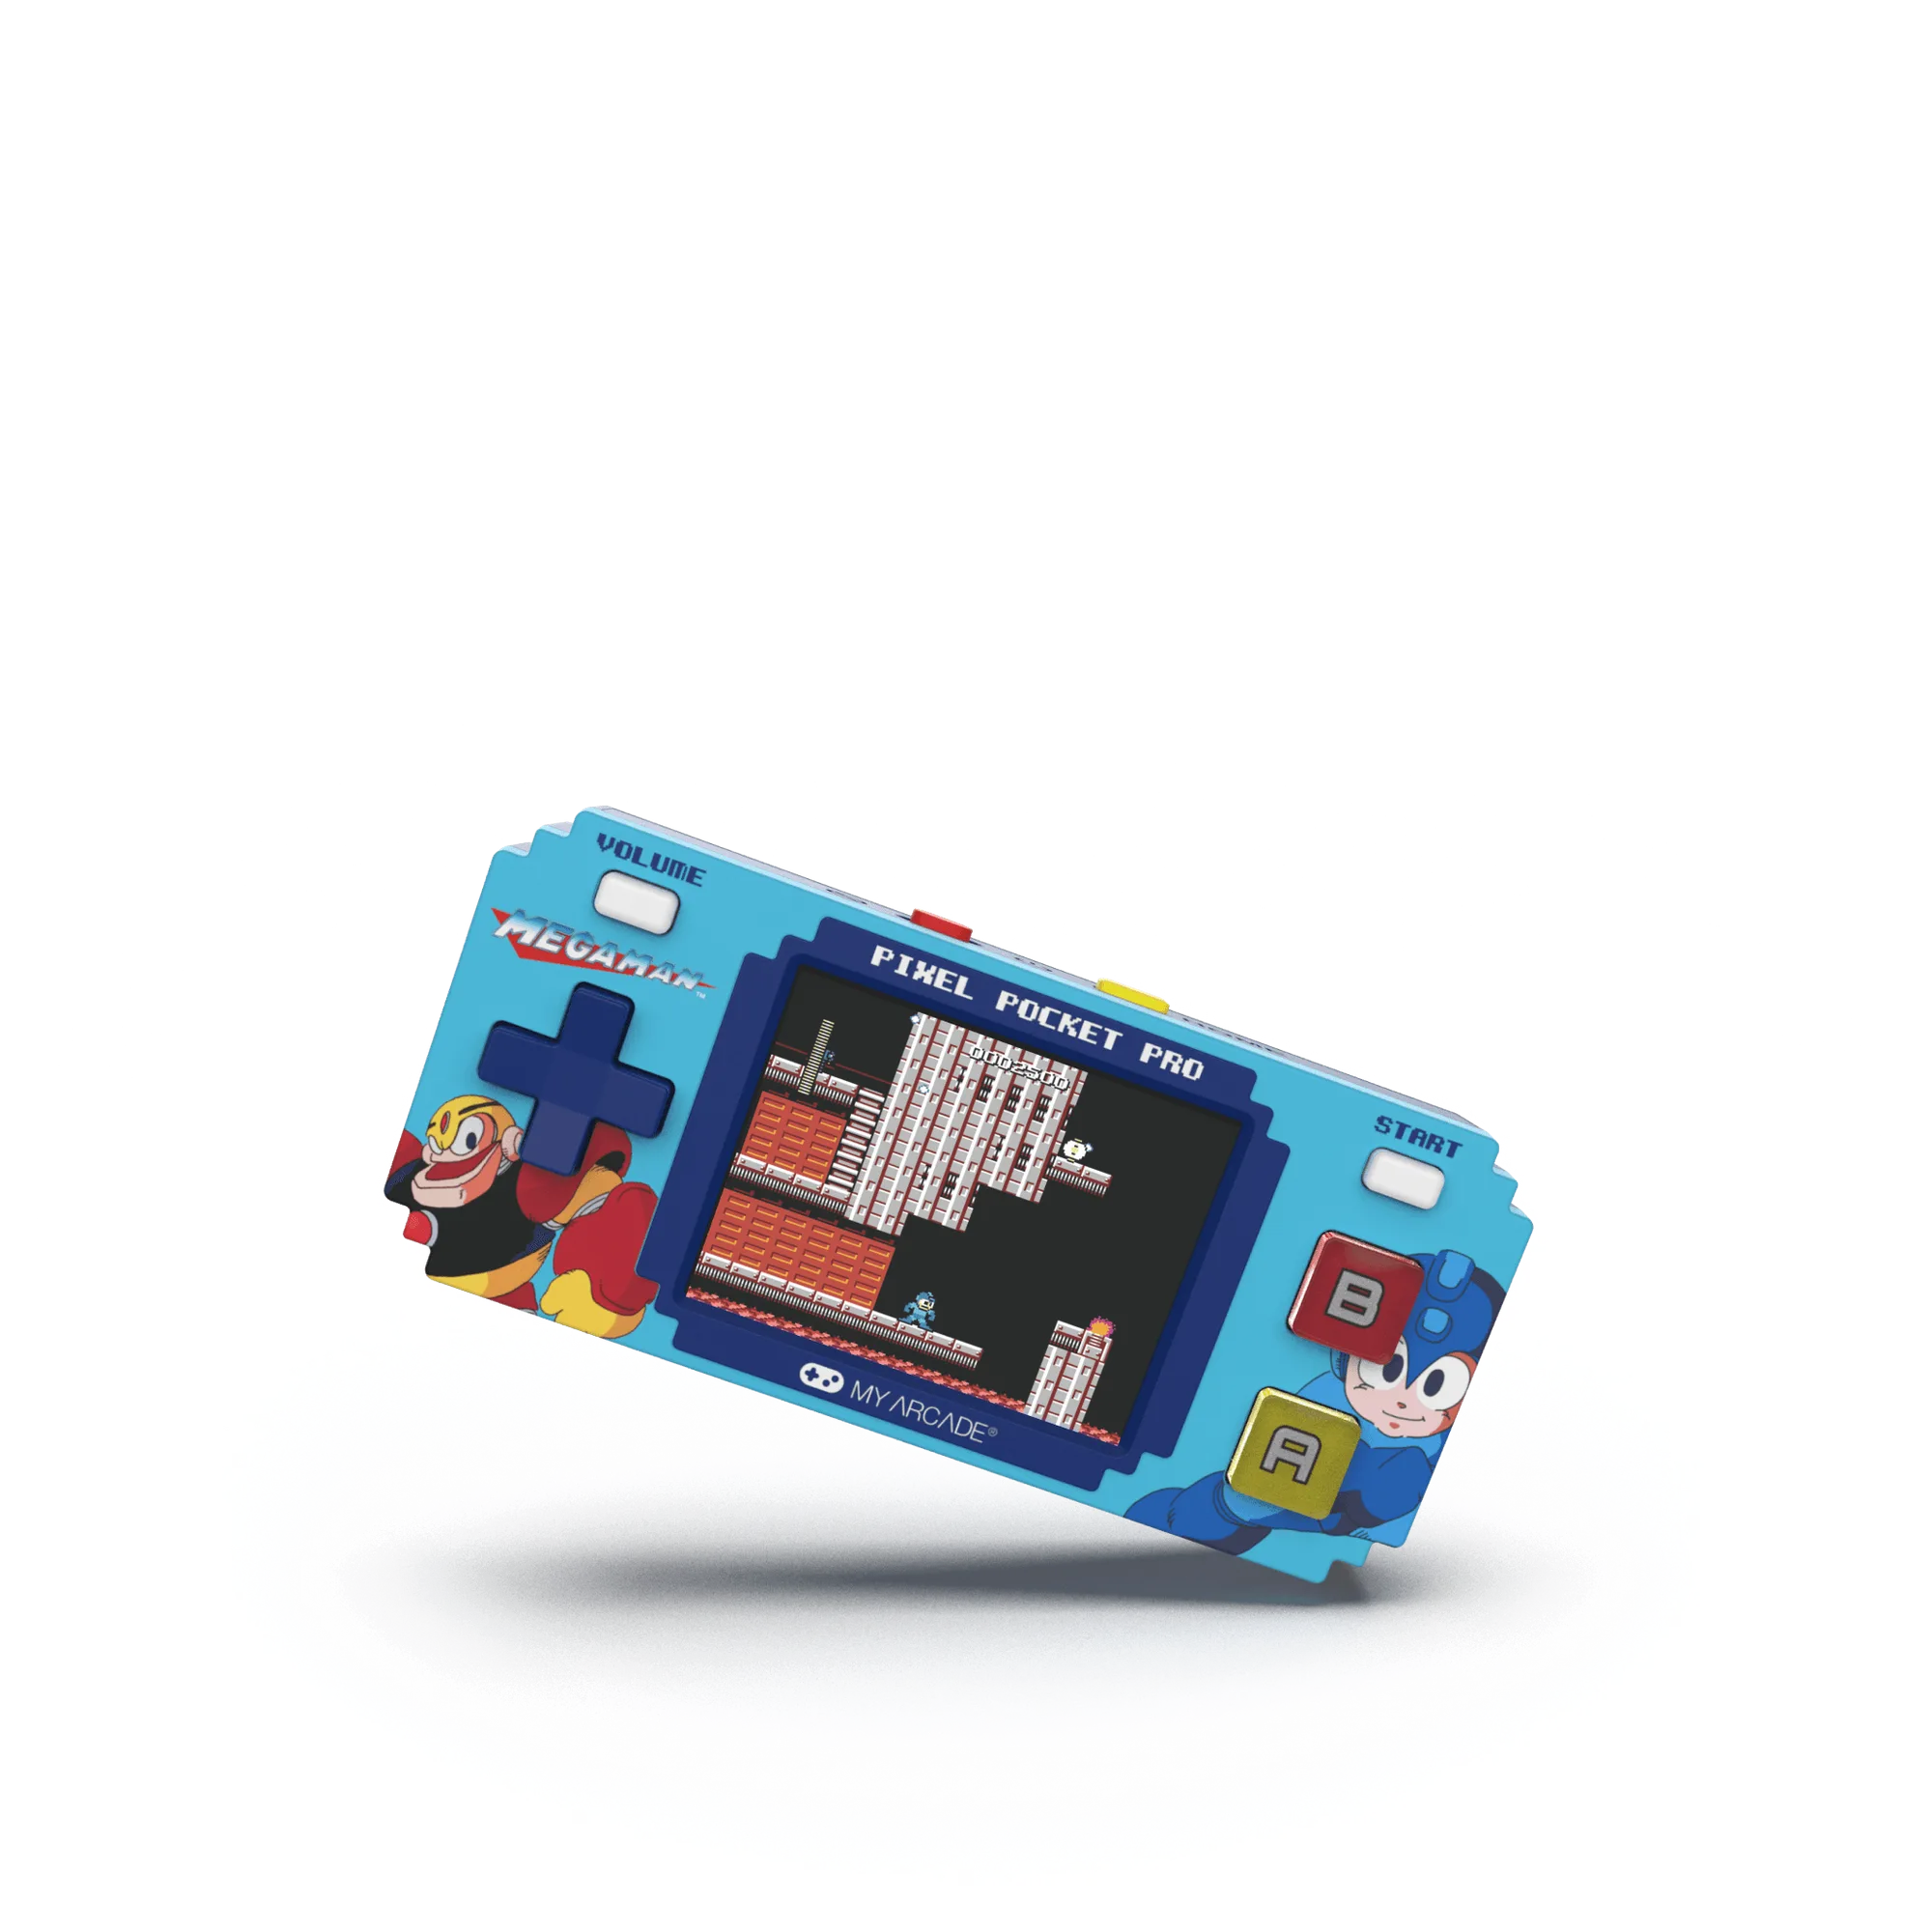
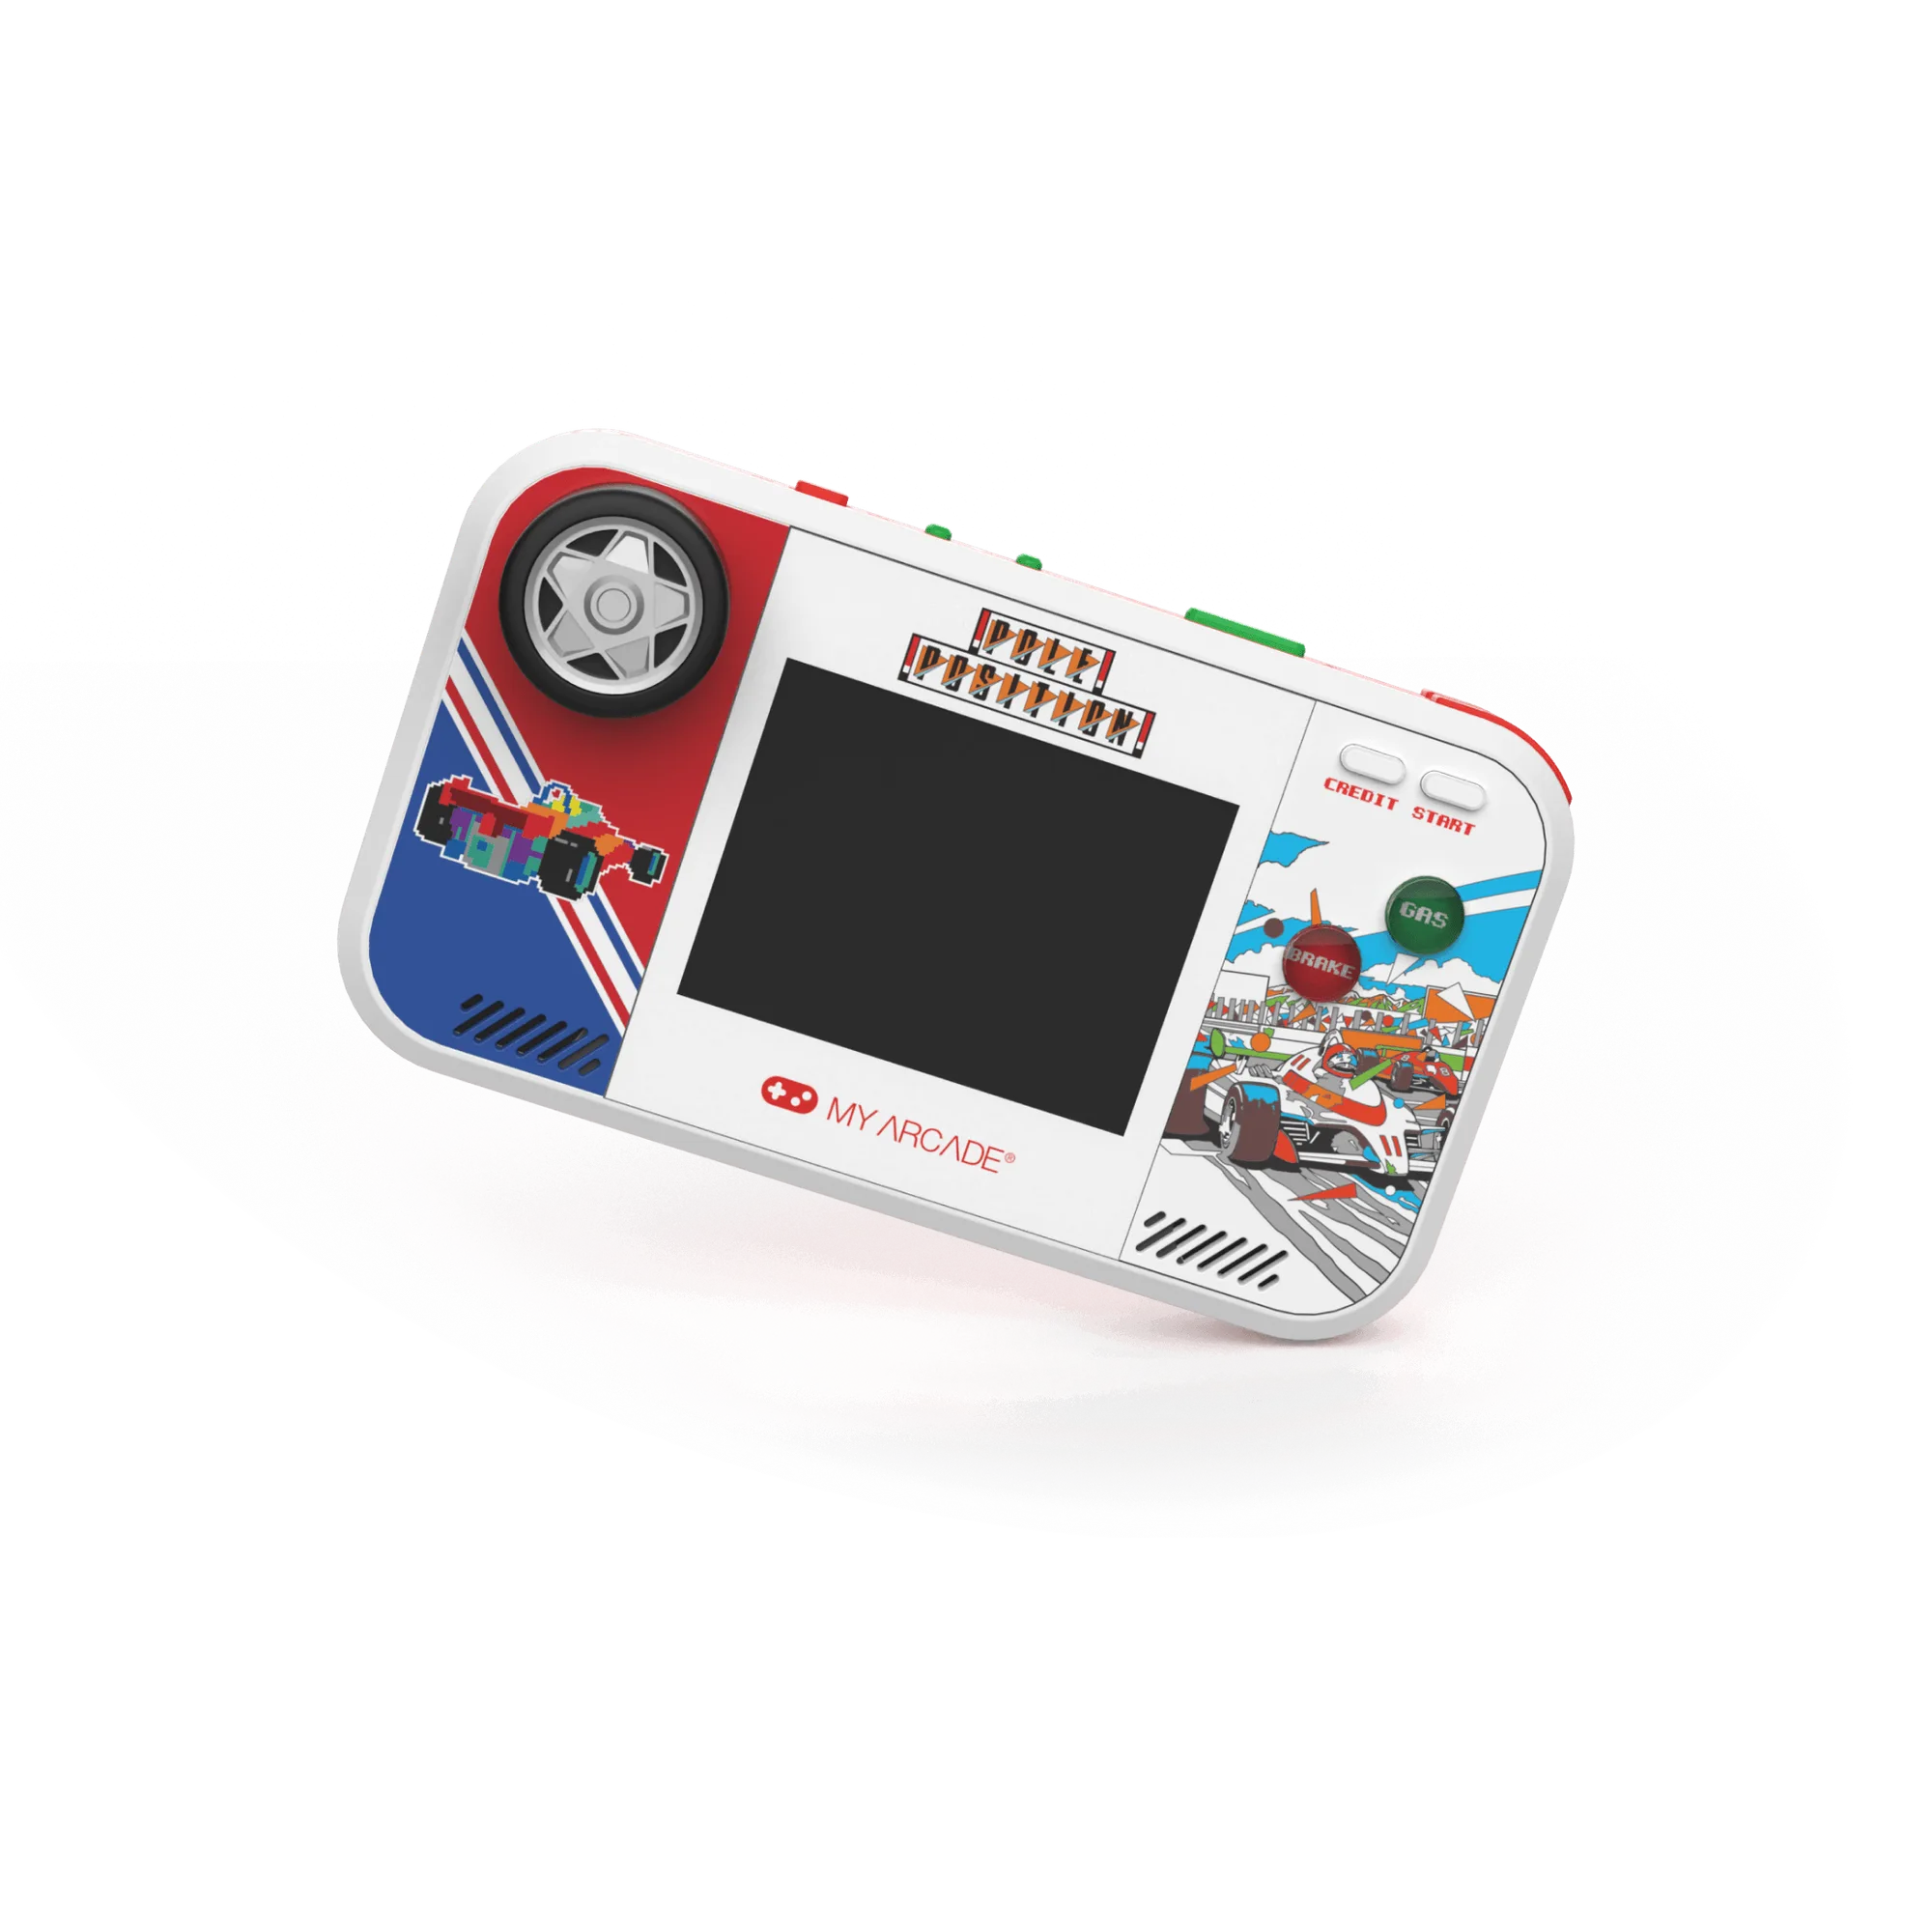
- Pixel Player: Portable handheld gaming device with 300 built-in video games, including 8 classic Data East titles like BurgerTime, Karate Champ, and Bad Dudes. If you want to play retro games without dealing with adapters or TV settings, this handheld works out of the box and includes games you can't find elsewhere.
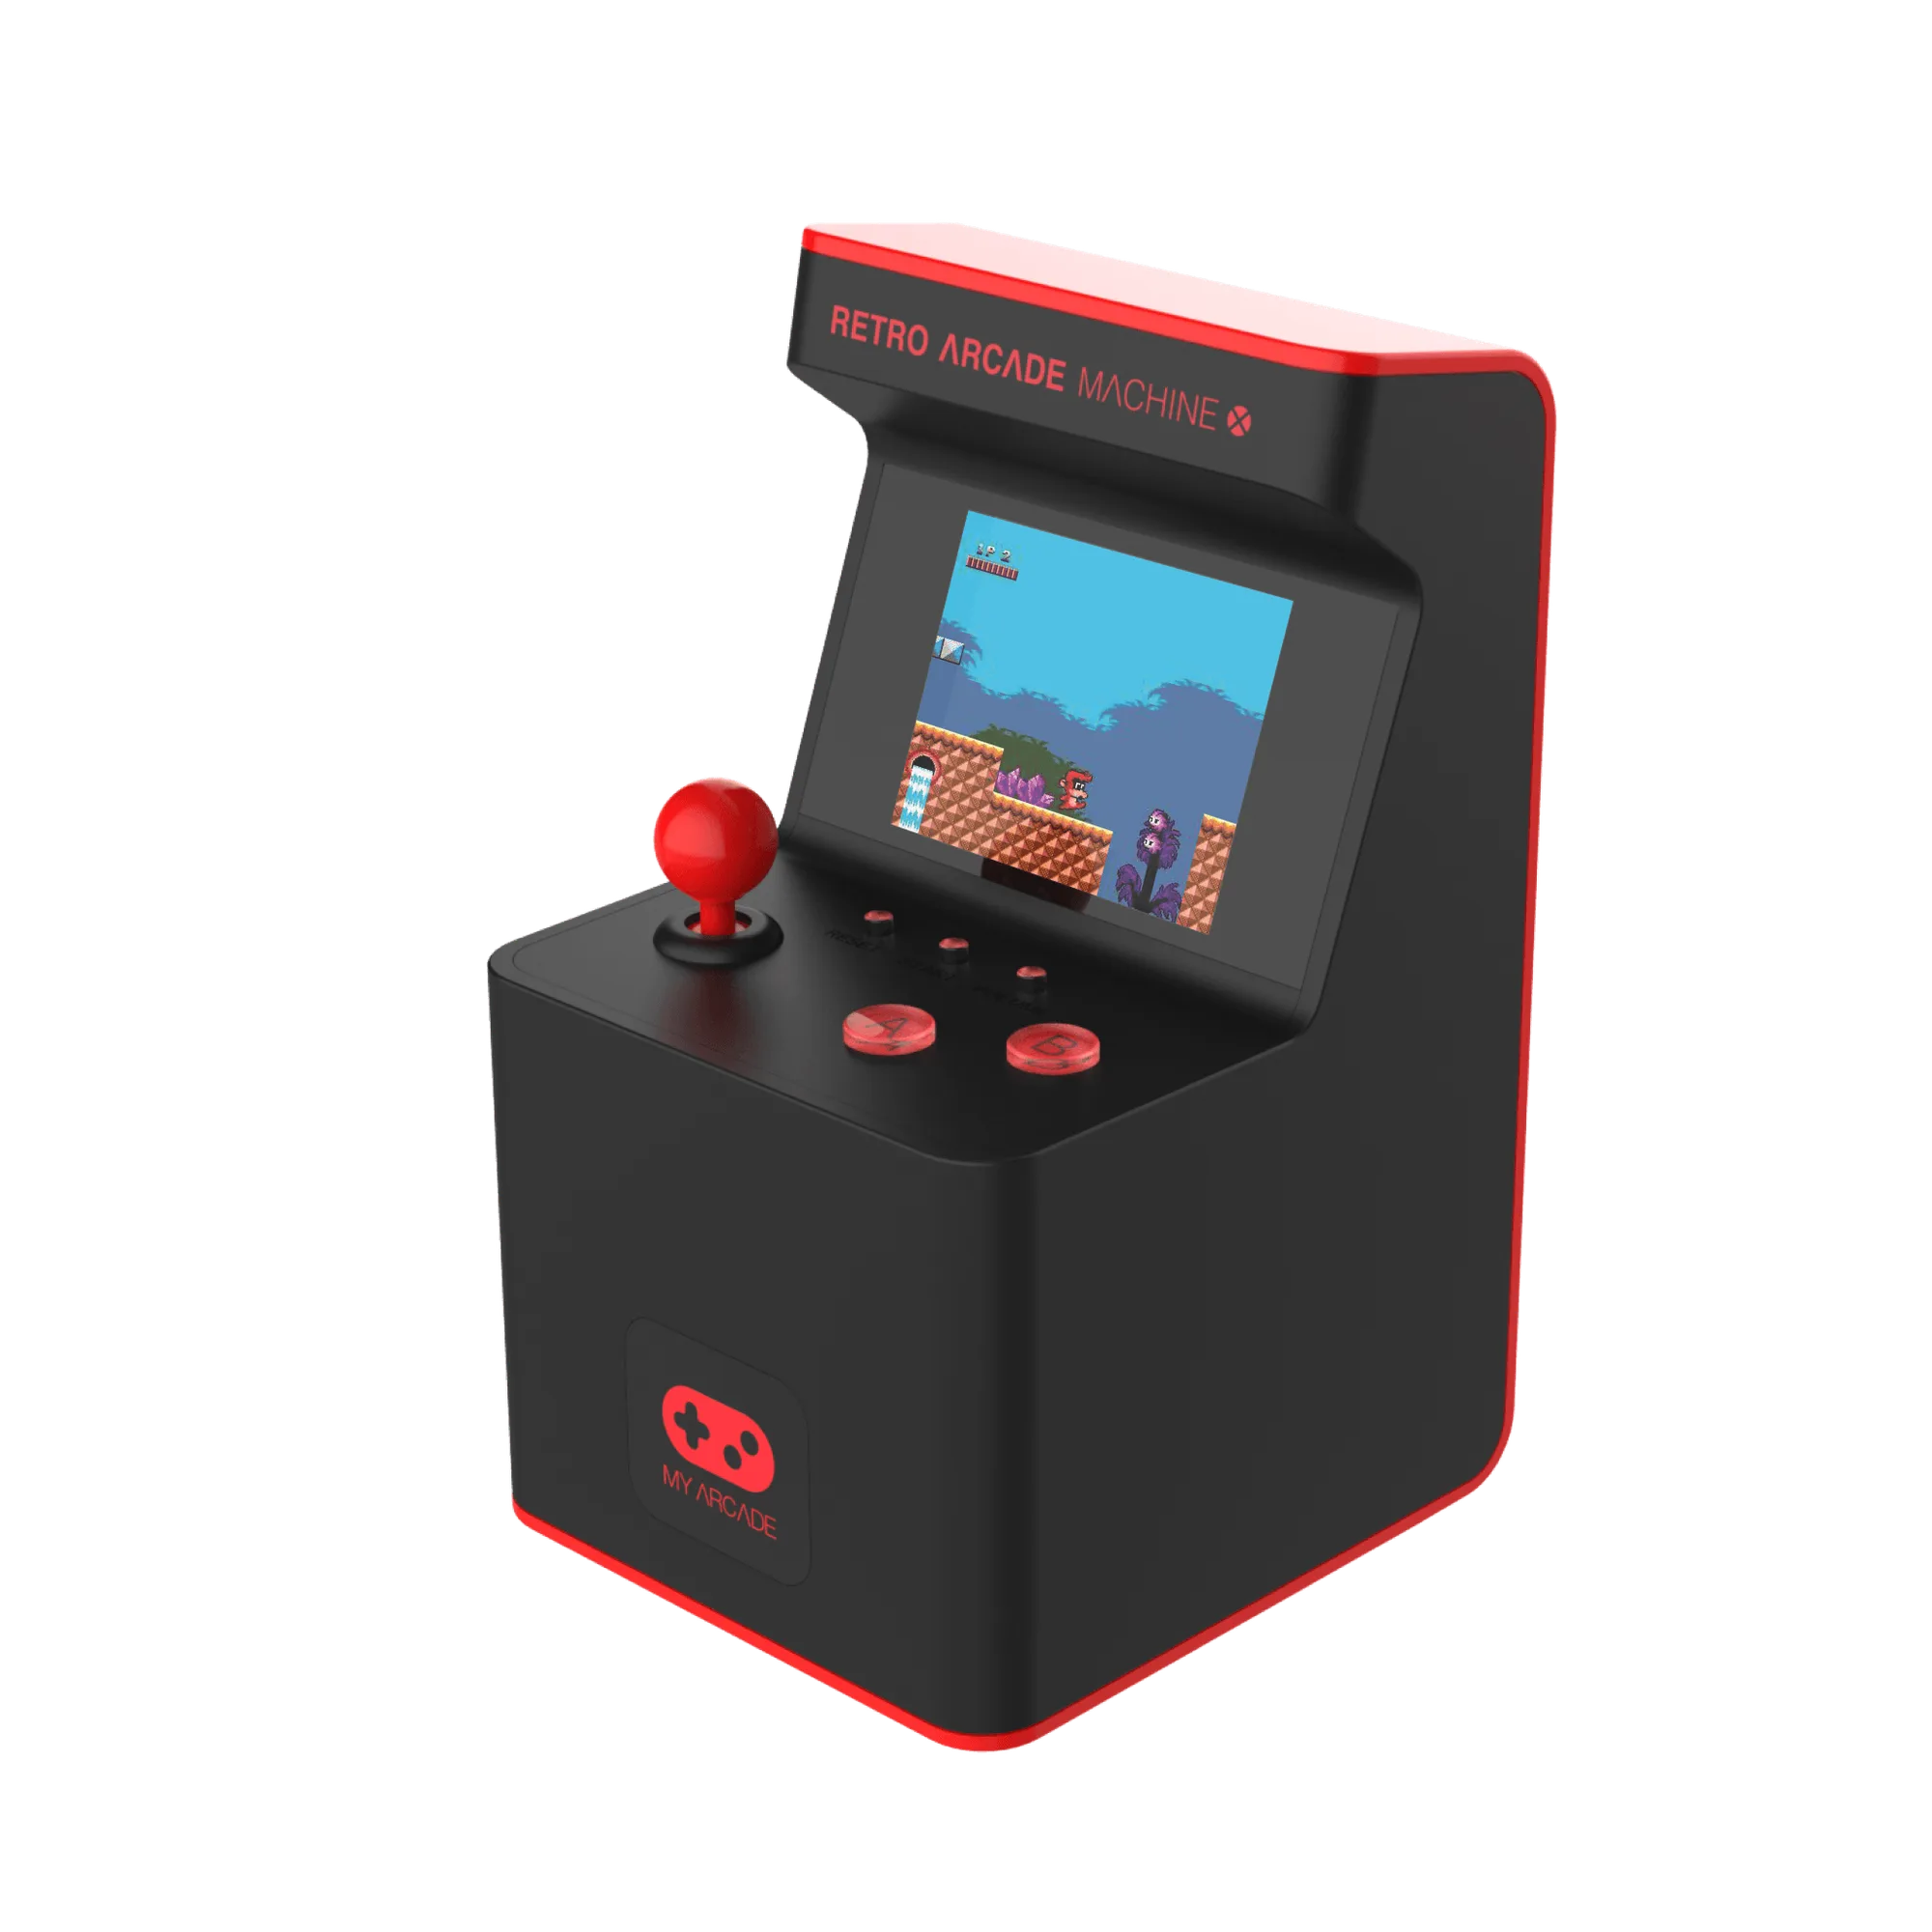
- Retro Arcade Machine X: Retro Arcade Machine X brings back the arcade experience with 300 games and a full-color LCD screen with controls that mimic original arcade cabinets. It offers a self-contained arcade feel without needing a TV or adapter, making it a good choice for small spaces or quick play sessions.
- GALAGA Joystick Player: GALAGA Joystick Player is a portable gaming system featuring the classic shoot-em-up GALAGA, where you defend your fleet against alien attackers. If you mainly want one iconic arcade game, this plug-and-play joystick provides a focused experience without any connection hassle.