What the adaptor tracks actually do
The Rubber Road & Rail Adaptor Tracks are two pieces that bridge two different track systems: a standard wooden monorail train track and the PlanToys Rubber Road & Rail track. They let you take a monorail track you already own and connect it to the flexible rubber road and rail pieces, so play can move between the two without rebuilding everything from scratch.
Each adaptor track flips: one side has car tracks, the other side has two train tracks. That flip is the key to combining road and rail play in one layout. The set also includes a wooden bridge piece that adds a little elevation and visual interest to the connection point.
How to connect the tracks, step by step
The exact sequence depends on the tracks you already have, but these steps cover the typical connection between a wooden monorail track and the PlanToys rubber road and rail system.
- 1. Identify the two track ends you want to join: One end should be a standard wooden monorail train track; the other should be a PlanToys Rubber Road & Rail track piece. The adaptor tracks are designed to sit between them.
- 2. Choose the side you need: Flip the adaptor track so the car-track side or the two-train-track side faces up, depending on whether you are connecting road play or rail play.
- 3. Slot the adaptor into the monorail track: Align the adaptor with the end of the wooden monorail track and press it into place. The fit should be snug but not forced.
- 4. Connect the rubber road and rail piece: Attach the other end of the adaptor to the PlanToys rubber track. The rubber flexes, so you can angle the track slightly if your layout needs a curve or a slope.
- 5. Add the wooden bridge if you want elevation: The included wooden bridge can support the connection point or create a small overpass. Place it under the adaptor or rubber track where it fits naturally.
- 6. Test the connection with a train or car: Run a vehicle across the joint to check that the transition is smooth. If it catches, lift the adaptor and reseat it.
What you get in the set
-
Rubber Road & Rail Adaptor Tracks: Includes two adaptor tracks that connect a parallel rail system to a monorail system, plus a wooden bridge. Two adaptors let you make two separate connections or create a loop, and the bridge adds a vertical element to your layout.
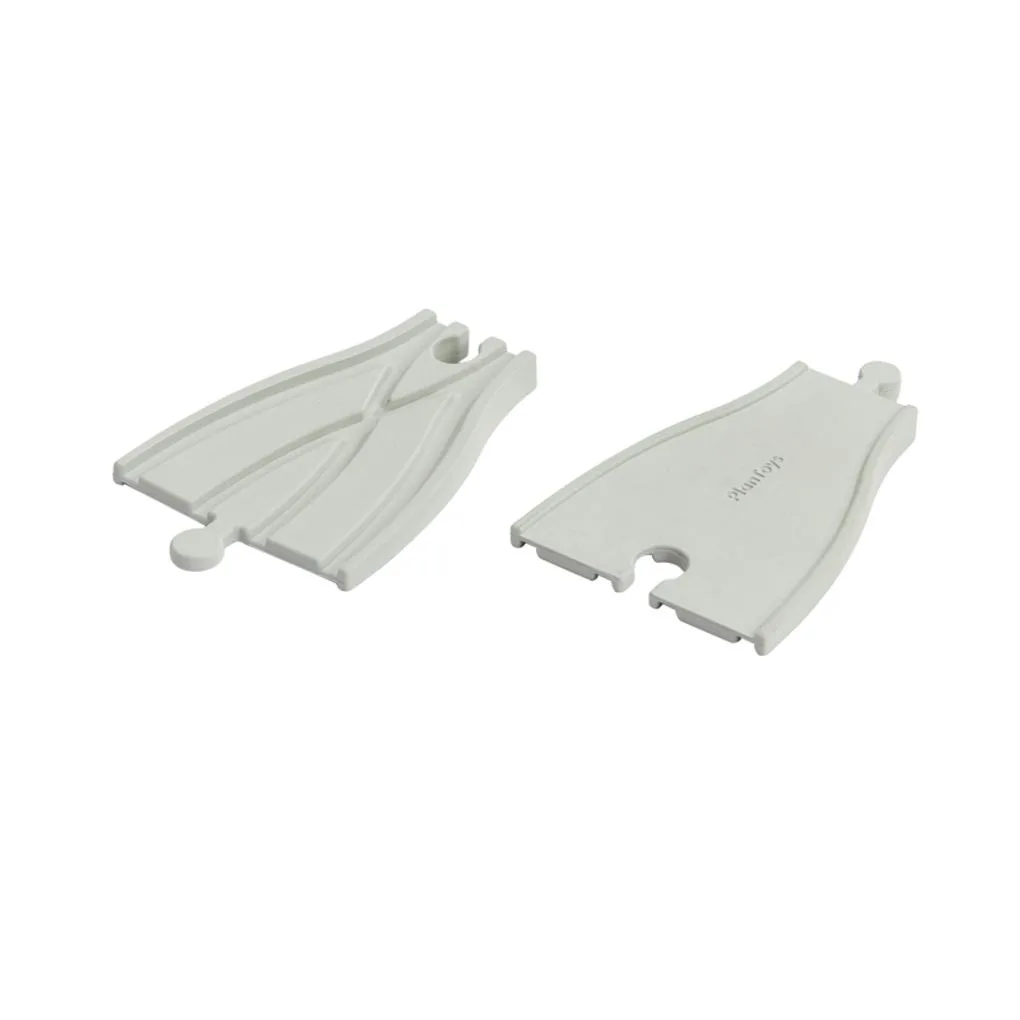
Rubber Road & Rail Adaptor Tracks
-
Rubber Road & Rail Adaptor Tracks: Flip the track for car tracks on one side and two train tracks on the other. One piece covers both road and rail play, so you can switch between them without buying separate adaptors.
-
Rubber Road & Rail Adaptor Tracks: Compatible with PlanToys trains and cars and most other brands on the market. You can mix these adaptors into an existing wooden track collection, not just PlanToys sets.
Track expansion ideas that use the adaptors
Once the adaptors are in place, you can treat your layout as one connected system. Here are a few ways to expand road and rail play without buying more track than you need.
Create a level crossing: run a rubber road track across a wooden train track using the car-track side of the adaptor. Add the wooden bridge to make a small overpass where the road crosses the rail.
Build a dual loop: use both adaptors to connect a monorail loop to a rubber road loop. One adaptor handles the entry, the other the exit, so trains and cars can circulate through the same scene.
Extend onto uneven surfaces: the rubber tracks can lie on flat and rounded surfaces, so you can take the layout off the table and onto a rug or a gentle slope. The adaptors let you bring a wooden track into that flexible zone.
These ideas work because the adaptors are small, flip-friendly pieces. You are not locked into a permanent configuration; you can pull them out and rearrange the layout whenever play changes direction.
What to check before you connect
A few practical points will save you frustration when mixing track brands.
- Track height and connector shape: The adaptors are designed for PlanToys trains and cars and most other brands, but wooden track systems vary. Test the fit with one adaptor before building a whole layout.
- Which side faces up: The car-track side and the two-train-track side are different. If a vehicle derails at the joint, check that you have the right side up for that vehicle.
- The wooden bridge placement: The bridge is a separate piece. It can sit under the adaptor or nearby as scenery. There is no single correct position, so let your child experiment.
- Age and supervision: The supplied product information does not list an age range or small-parts warning for this set. Check the packaging or the product page for the manufacturer’s age recommendation before giving it to a child who still puts things in their mouth.
Materials and care notes
The rubber tracks are made from all-natural rubber, which is what allows them to flex and lie on rounded surfaces. The wooden parts, including the bridge and the adaptor bodies, are made in Thailand from chemical-free rubberwood trees, with formaldehyde-free glues, organic pigments, and water-based dyes.
The supplied information does not include specific cleaning instructions for this set. As a general precaution, avoid soaking wooden tracks in water; wipe them with a damp cloth and dry them thoroughly. For the rubber pieces, a quick wipe is usually enough. Always check the manufacturer’s care guidance on the product page if you need confirmation.