Balloon garland arches have become the ultimate statement piece for any celebration, from birthday parties and bridal showers to weddings and baby showers. Their ability to transform a plain space into a vibrant, festive environment is unmatched, and the best part is that you can create one yourself without hiring a professional decorator. With the right tools, a bit of patience, and our step-by-step guide, you will be able to craft a balloon garland arch that looks like it was designed by a pro.
At MINNIDIP, we understand the power of party decor to elevate any gathering. Whether you are planning an intimate backyard get-together or a large-scale event, a balloon arch serves as a stunning focal point that draws the eye and sets the mood. In this tutorial, we will walk you through the entire process, from gathering your supplies to attaching the final balloon. We will also share tips on choosing the perfect color palette and balloon sizes to create a cohesive, eye-catching design that your guests will love.
Gathering Your Supplies: What You Need for a DIY Balloon Garland Arch
Before you start inflating balloons, it is essential to have all your materials ready. The foundation of any balloon garland arch is a sturdy frame or base. You can use a balloon arch kit that includes a flexible plastic strip with holes, or you can create a frame using PVC pipes or even a fishing line if you prefer a floating look. For beginners, a balloon arch strip is the easiest option as it provides structure and makes assembly straightforward.
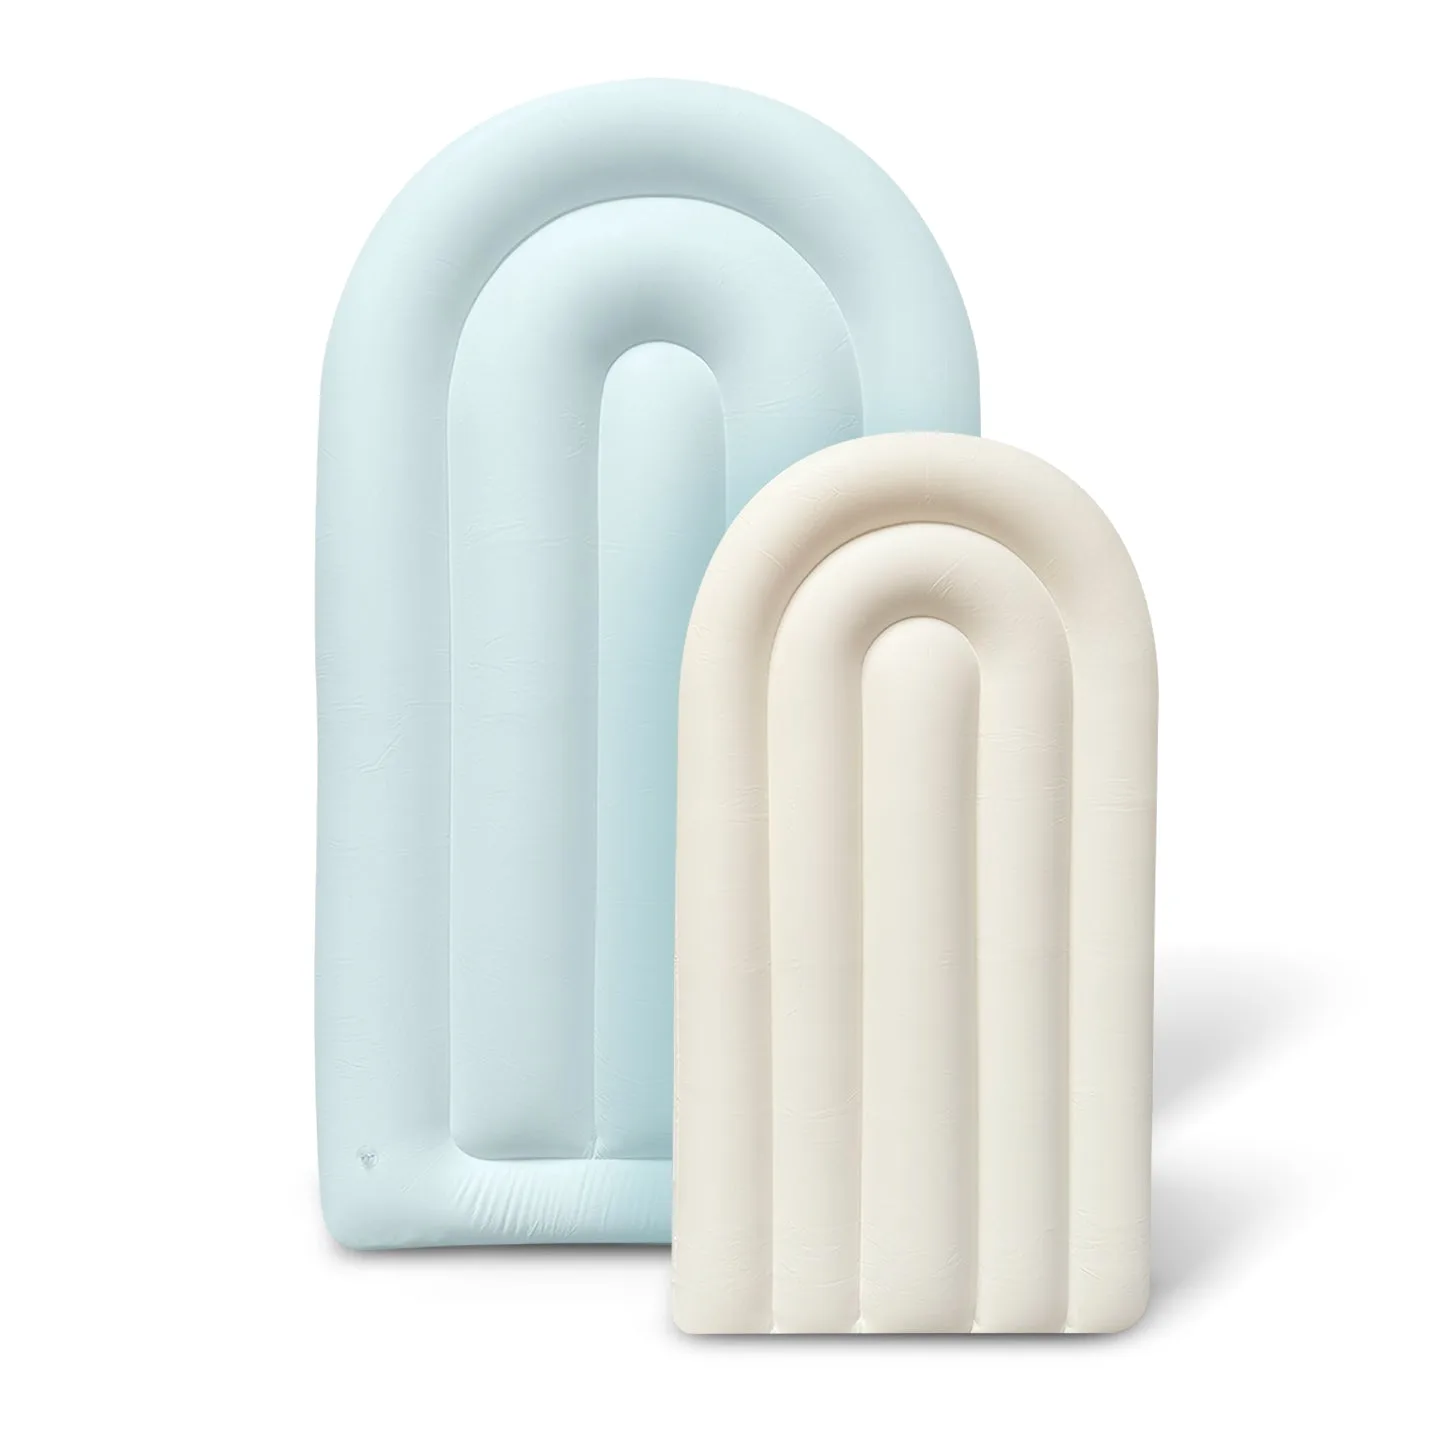
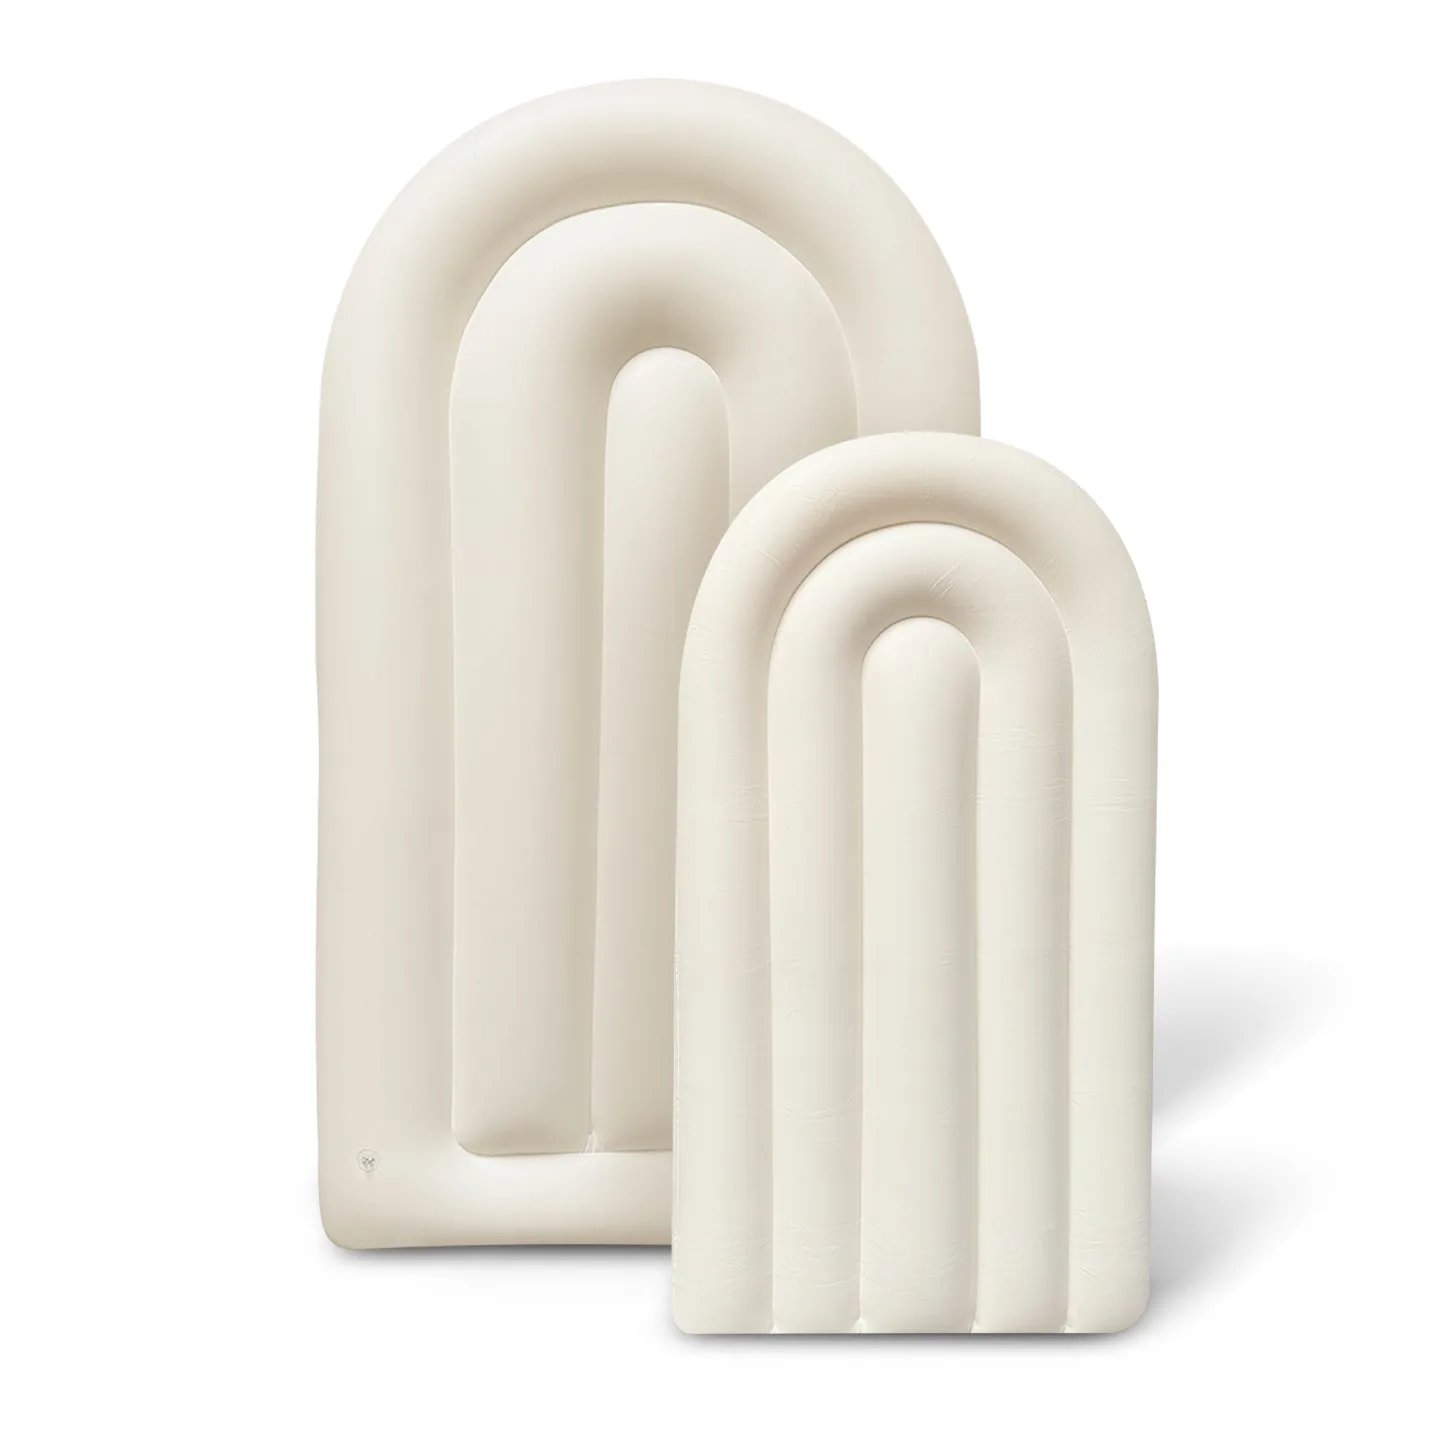
In addition to the frame, you will need a variety of balloons in different sizes. A mix of 5-inch, 11-inch, and 16-inch balloons creates depth and texture. You will also need a balloon pump (hand pump or electric), balloon glue dots or double-sided tape for attaching balloons to each other, and a command hook or adhesive hooks to secure the arch to the wall. For a polished finish, consider adding decorative elements like greenery, flowers, or LED fairy lights. MINNIDIP offers ready-to-use balloon garland clusters that simplify the process even further, such as the SHIPS NOW Balloon Garland: 10-Cluster Strand in Cream (Matte) which provides a pre-made cluster of balloons that you can easily attach to your arch frame.
- Balloon arch strip or frame (flexible plastic strip recommended for beginners)
- Assorted balloons (5-inch, 11-inch, and 16-inch for variety)
- Balloon pump (electric pump saves time for large arches)
- Balloon glue dots or double-sided tape
- Command hooks or adhesive wall hooks for hanging
Step 1: Choose Your Color Palette and Balloon Sizes
The color scheme of your balloon garland arch sets the tone for your entire party. For a cohesive look, choose two to four complementary colors. Monochromatic schemes (varying shades of one color) create an elegant, modern feel, while contrasting colors (like blush and cream or peach and sage) add a playful, vibrant energy. Neutral tones like cream, blush, and dusty sage are trending for weddings and sophisticated events, while bright primary colors work well for children's parties.
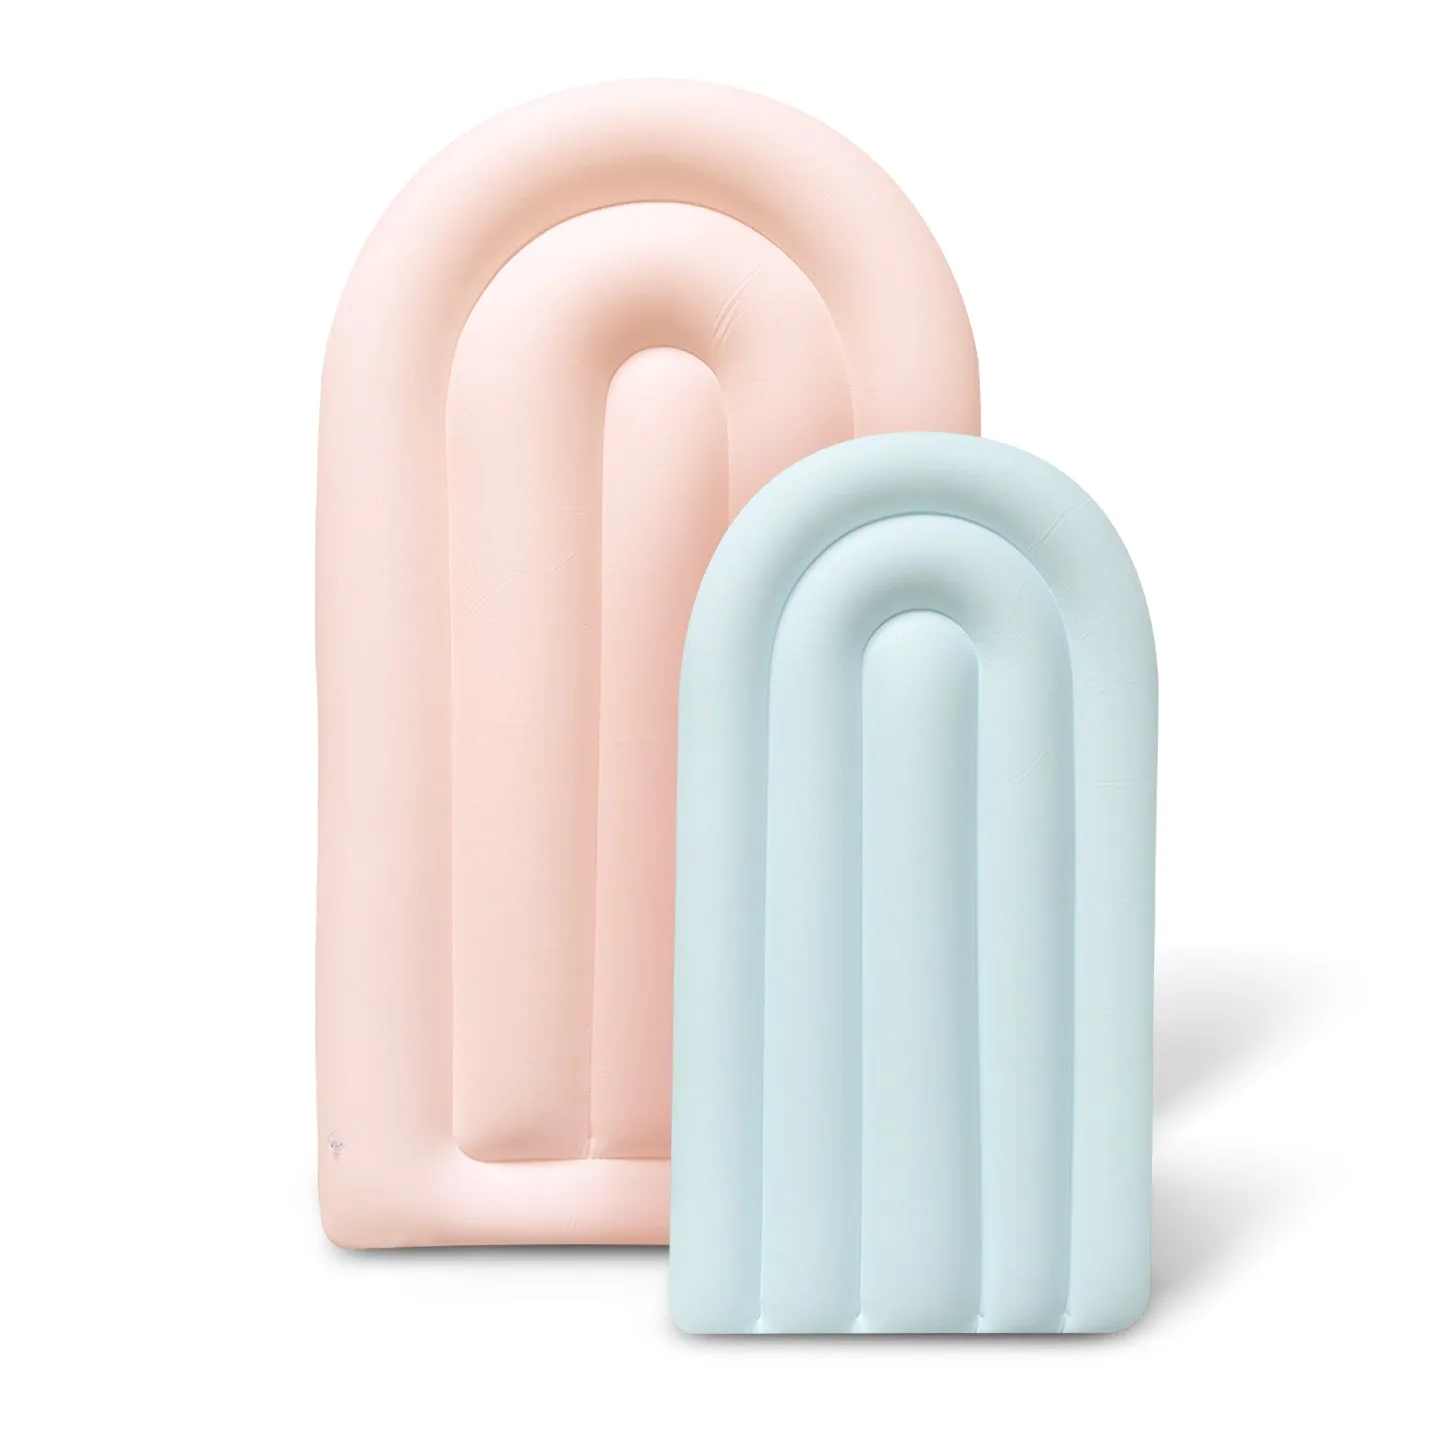
Once you have your colors, plan the sizes. Use larger balloons (16-inch) as the base to fill the arch, medium balloons (11-inch) as the main body, and small balloons (5-inch) to fill gaps and add texture. This layering technique gives the arch a professional, organic look. MINNIDIP offers pre-made balloon clusters that take the guesswork out of sizing. For example, the SHIPS NOW Balloon Garland: Fluted Display Arch Set in Blush/Cream (Matte) is designed with a curated mix of sizes and colors, making it a perfect starting point for beginners.
Step 2: Inflate and Tie Your Balloons
Inflate your balloons using a pump to save time and avoid fatigue. Do not inflate them to their full capacity; leave some slack so the balloons are slightly soft and can be manipulated easily. This also prevents popping when you attach them to the frame. Tie each balloon with a simple knot, leaving a small tail if you plan to use balloon ties or if you are attaching them directly to the arch strip.
For a uniform look, inflate all balloons of the same size to a similar diameter. You can use a balloon sizer (a cardboard template with a hole) to ensure consistency. If you are using a balloon arch strip, you will insert the knots of the balloons into the holes of the strip. For a fishing line method, you will tie the balloons directly to the line at regular intervals. For beginners, the strip method is highly recommended as it is more forgiving and easier to adjust.
- Use a balloon pump to inflate balloons quickly and evenly.
- Leave balloons slightly under-inflated for easier manipulation and to prevent popping.
- Use a balloon sizer for consistent balloon sizes.
Step 3: Assemble the Balloons on the Arch Strip
If you are using a balloon arch strip, lay it flat on the floor or a large table. Start by inserting the knots of your largest balloons into the holes of the strip, spacing them evenly. Then, fill in the gaps with medium and small balloons. Alternate colors and sizes to create a balanced, textured look. Do not worry about perfection at this stage; you can always adjust the balloons later.
Once all balloons are inserted, gently lift the strip and shape it into an arch. You may need to twist the strip slightly to create a curve. Secure the ends of the strip to your wall using command hooks. If you are using a pre-made cluster strand like the SHIPS NOW Balloon Garland: 5-Cluster in Peach (Matte), you can simply attach the clusters to your arch strip or directly to the wall using glue dots. This saves significant time and ensures a professional finish.
Step 4: Secure the Arch and Add Finishing Touches
After shaping the arch, secure it firmly to the wall or desired surface. Use command hooks at both ends and, if needed, in the middle to prevent sagging. Make sure the arch is stable and level. Then, step back and assess the overall look. Add extra balloons to any sparse areas using glue dots. You can also tuck small balloons into gaps to create a fuller appearance.
To elevate your balloon garland arch, consider adding decorative elements. Greenery (like eucalyptus or ivy), silk flowers, or LED fairy lights can be woven through the balloons for a magical effect. You can also hang a banner or sign from the center of the arch. For themed parties, incorporate props like tassels or paper fans. MINNIDIP's balloon garland products are designed to be versatile, so you can easily customize them with your own creative touches.
- Use command hooks for easy removal without damaging walls.
- Add greenery or flowers for a romantic, garden-party look.
- Incorporate LED lights for evening events or indoor parties.
Tips for a Professional-Looking Balloon Arch
To achieve that wow factor, there are a few insider tricks to keep in mind. First, always use a mix of balloon sizes. A uniform size looks flat and amateurish. Second, do not be afraid to over-stuff the arch. More balloons create a lush, dense look that is more visually appealing. Third, use balloon glue dots to attach balloons to each other, especially at the base of the arch where gaps are most noticeable.
Another pro tip is to use a color gradient or ombre effect. Start with darker shades at the base and gradually transition to lighter shades at the top. This creates a sophisticated, flowing design. Also, consider the backdrop of your arch. A plain wall or a photo backdrop will make the colors pop. Finally, practice makes perfect. If this is your first time, start with a small arch or a mini version to build confidence before tackling a large installation.
Creating a balloon garland arch is a rewarding DIY project that adds instant charm to any event. With the right supplies and a step-by-step approach, you can achieve professional-quality decor that impresses your guests. MINNIDIP offers a range of pre-made balloon garlands and clusters that simplify the process, so you can focus on the fun part: celebrating. Explore our collection of balloon garlands to find the perfect palette for your next party and start crafting your masterpiece today.