Painting a Gundam model is one of the most rewarding ways to make it truly yours. Whether you're aiming for a realistic military finish, a sleek anime-accurate look, or a bold original color scheme, a structured workflow separates a clean, professional result from a messy one. This guide walks you through the entire custom painting process, from planning and preparation to final topcoating.
The key to a successful custom paint job is patience and a clear sequence. Rushing any step—whether it's cleaning parts, priming, or applying decals—can ruin hours of work. By following a proven workflow, you'll avoid common pitfalls like paint pooling, uneven coats, or smudged decals. Let's dive into the complete process.
Step 1: Planning Your Custom Color Scheme
Before you touch a single part, decide on your custom color scheme. Sketch your ideas or use digital tools to visualize the final look. Consider the Gundam's original design and how your palette will enhance its silhouette. For example, a Strike Freedom with a midnight blue and gold scheme looks dramatically different from the stock white and blue.
Think about the mood you want to convey: aggressive, stealthy, heroic, or weathered. Also, decide on the finish—glossy, matte, or satin—as this affects your choice of paints and topcoats. If you're working with a kit that already has special coating, like the [Without Wing of Light] Changlong 7701 1/100 MGEX Strike Freedom Gundam Twilight Coating + Mechancial Clear Armor Version Model kit, you might want to preserve that finish and only paint accent parts. Alternatively, a standard kit gives you a blank canvas.
- Create a color map: list every part and its planned color.
- Research reference images or custom builds online for inspiration.
- Decide on the finish (matte, gloss, satin) before buying paints.
Step 2: Disassembly and Part Preparation
Disassemble your Gundam completely, separating parts by color group or sub-assembly. Use a parts organizer to keep track of small pieces. Clean every part with warm soapy water or a mild degreaser to remove mold release agents and fingerprints. This step is crucial for paint adhesion.
After cleaning, remove nub marks and sand the pieces with fine-grit sandpaper (400-800 grit). For a smooth finish, consider wet sanding. If you're working with a third-party kit like the DABAN 8807 Astray Red Frame Mars Jacket 1/100, pay extra attention to seam lines and flash, as these kits often require more cleanup.
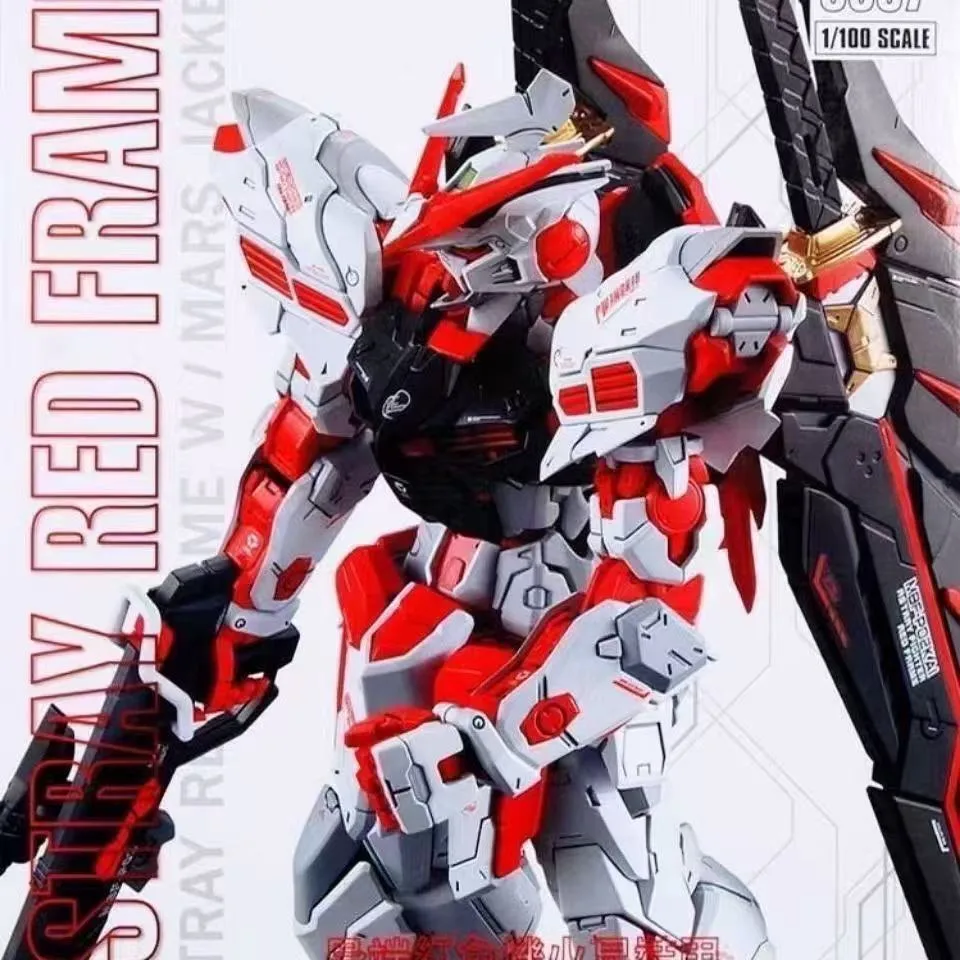
DABAN 8807 Astray Red Frame Mars Jacket 1/100
- Use a parts tray or zip-lock bags to organize parts by runner or color.
- Wash parts in warm water with dish soap; let them dry completely.
- Sand nubs and seam lines; re-scribe panel lines if needed.
Step 3: Priming – The Foundation of a Flawless Paint Job
Priming is non-negotiable for a durable, even paint finish. It provides a uniform surface for paint to adhere to, reveals imperfections, and helps your colors pop. Choose a primer that suits your paint type: lacquer, acrylic, or enamel. Spray in thin, even coats from a distance of 15-20 cm, and let each coat dry before applying the next.
For a custom build, gray primer is versatile, but white primer brightens light colors, and black primer darkens them. If you're painting a kit with intricate details, like the MG Gundam Astray Noir 1/100, a black primer can create natural shadows. Always test on a spare runner first.
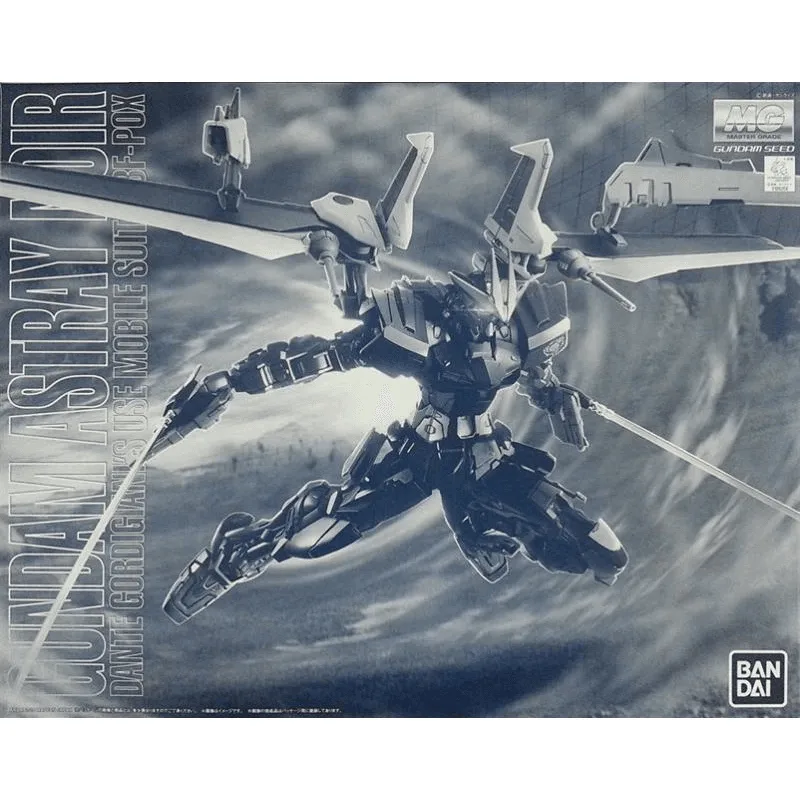
MG Gundam Astray Noir 1/100
- Apply 2-3 thin coats of primer, not one thick coat.
- Use a tack cloth to remove dust before priming.
- Let primer cure fully (24 hours for lacquer) before sanding or painting.
Step 4: Airbrushing Your Custom Colors
Airbrushing gives you the most control and professional results. Thin your paint to the consistency of skim milk and test on a spoon or scrap plastic. Spray at a pressure of 15-20 psi, keeping the airbrush moving in smooth, overlapping passes. Build up color gradually with multiple thin coats rather than one heavy coat.
If you're new to airbrushing, practice on a cheap kit or spare parts. For a striking custom look, try preshading: spray black along panel lines and recesses, then apply your main color over it. This creates depth and realism. When painting a complex kit like the [With Wing of Light] Changlong 7701 1/100 MGEX Strike Freedom Gundam Midnight Coating Version Model kit, consider painting sub-assemblies separately to reach tight areas.
- Maintain a consistent distance and speed for even coverage.
- Clean your airbrush thoroughly between color changes.
- Use masking tape for crisp color separation on multi-tone parts.
Step 5: Adding Decals and Details
Decals bring your custom paint job to life. Water slides are the most versatile and look the most realistic. Apply them after the paint has cured, using setting solution for better adhesion. If you're using high-quality decals like the RG 1/144 Gundam GP01+FB EVO Water Decal, they will conform beautifully to curved surfaces.
For a cohesive custom build, choose decals that complement your color scheme. You can also use dry transfers or stickers, but water slides are recommended for a painted finish. Seal decals with a gloss coat before applying panel line wash, then finish with your chosen topcoat.
- Cut decals close to the design to avoid clear film edges.
- Apply decals on a gloss surface for easier positioning.
- Use a soft brush or cotton swab to press out air bubbles.
Step 6: Topcoating and Final Assembly
Topcoating protects your paint and decals, and it unifies the finish. Choose a matte topcoat for a realistic, non-reflective look, gloss for a shiny, showroom finish, or satin for a middle ground. Apply in thin, even coats, and let each coat dry thoroughly.
After the topcoat cures, reassemble your Gundam. Be careful not to scratch the paint when snapping parts together; consider sanding connection points slightly for a looser fit. For display, a sturdy action base like the Playman Studio Snake Bone Action Base Stand Black for PG 00 Raiser 1/60 can showcase your work safely.
- Test topcoat on a spoon to ensure compatibility with your paint.
- Apply topcoat in a dust-free environment to avoid specks.
- Handle parts with gloves or clean hands to avoid fingerprints.
Custom painting a Gundam is a journey that transforms a standard kit into a unique masterpiece. By following this complete workflow—planning, prepping, priming, airbrushing, decaling, and topcoating—you'll achieve a professional-looking result that reflects your personal style. Whether you're enhancing a third-party kit or a Premium Bandai exclusive, the process is the same. Ready to start your custom build? Explore our selection of [With Wing of Light] Changlong 7701 1/100 MGEX Strike Freedom Gundam Midnight Coating Version Model kit to begin your next project.