Balloon mosaic numbers have become a must-have decoration for parties, from milestone birthdays to anniversaries and graduations. These eye-catching structures add a personalized touch and serve as the perfect photo backdrop. While you can buy pre-made versions, creating your own DIY balloon mosaic number is easier than you think and allows for complete customization. In this guide, we’ll walk you through the materials, steps, and tips to craft a stunning balloon number that will wow your guests.
Whether you’re celebrating a first birthday, an 18th birthday, or a 50th anniversary, a balloon mosaic number can be tailored to any theme or color palette. Plus, it’s a fun project to do with friends or family. Let’s dive into the process and make your next party unforgettable.
What You’ll Need to Build Your Balloon Mosaic Number
Before you start, gather all necessary materials. The main components include a foam board or cardboard base for the number shape, a box cutter or craft knife, a pencil, and a printed template of the number you want to create. You’ll also need a ruler, glue gun or strong adhesive, and of course, balloons in your chosen colors. For a polished look, consider using small 5-inch balloons for a tighter mosaic effect.
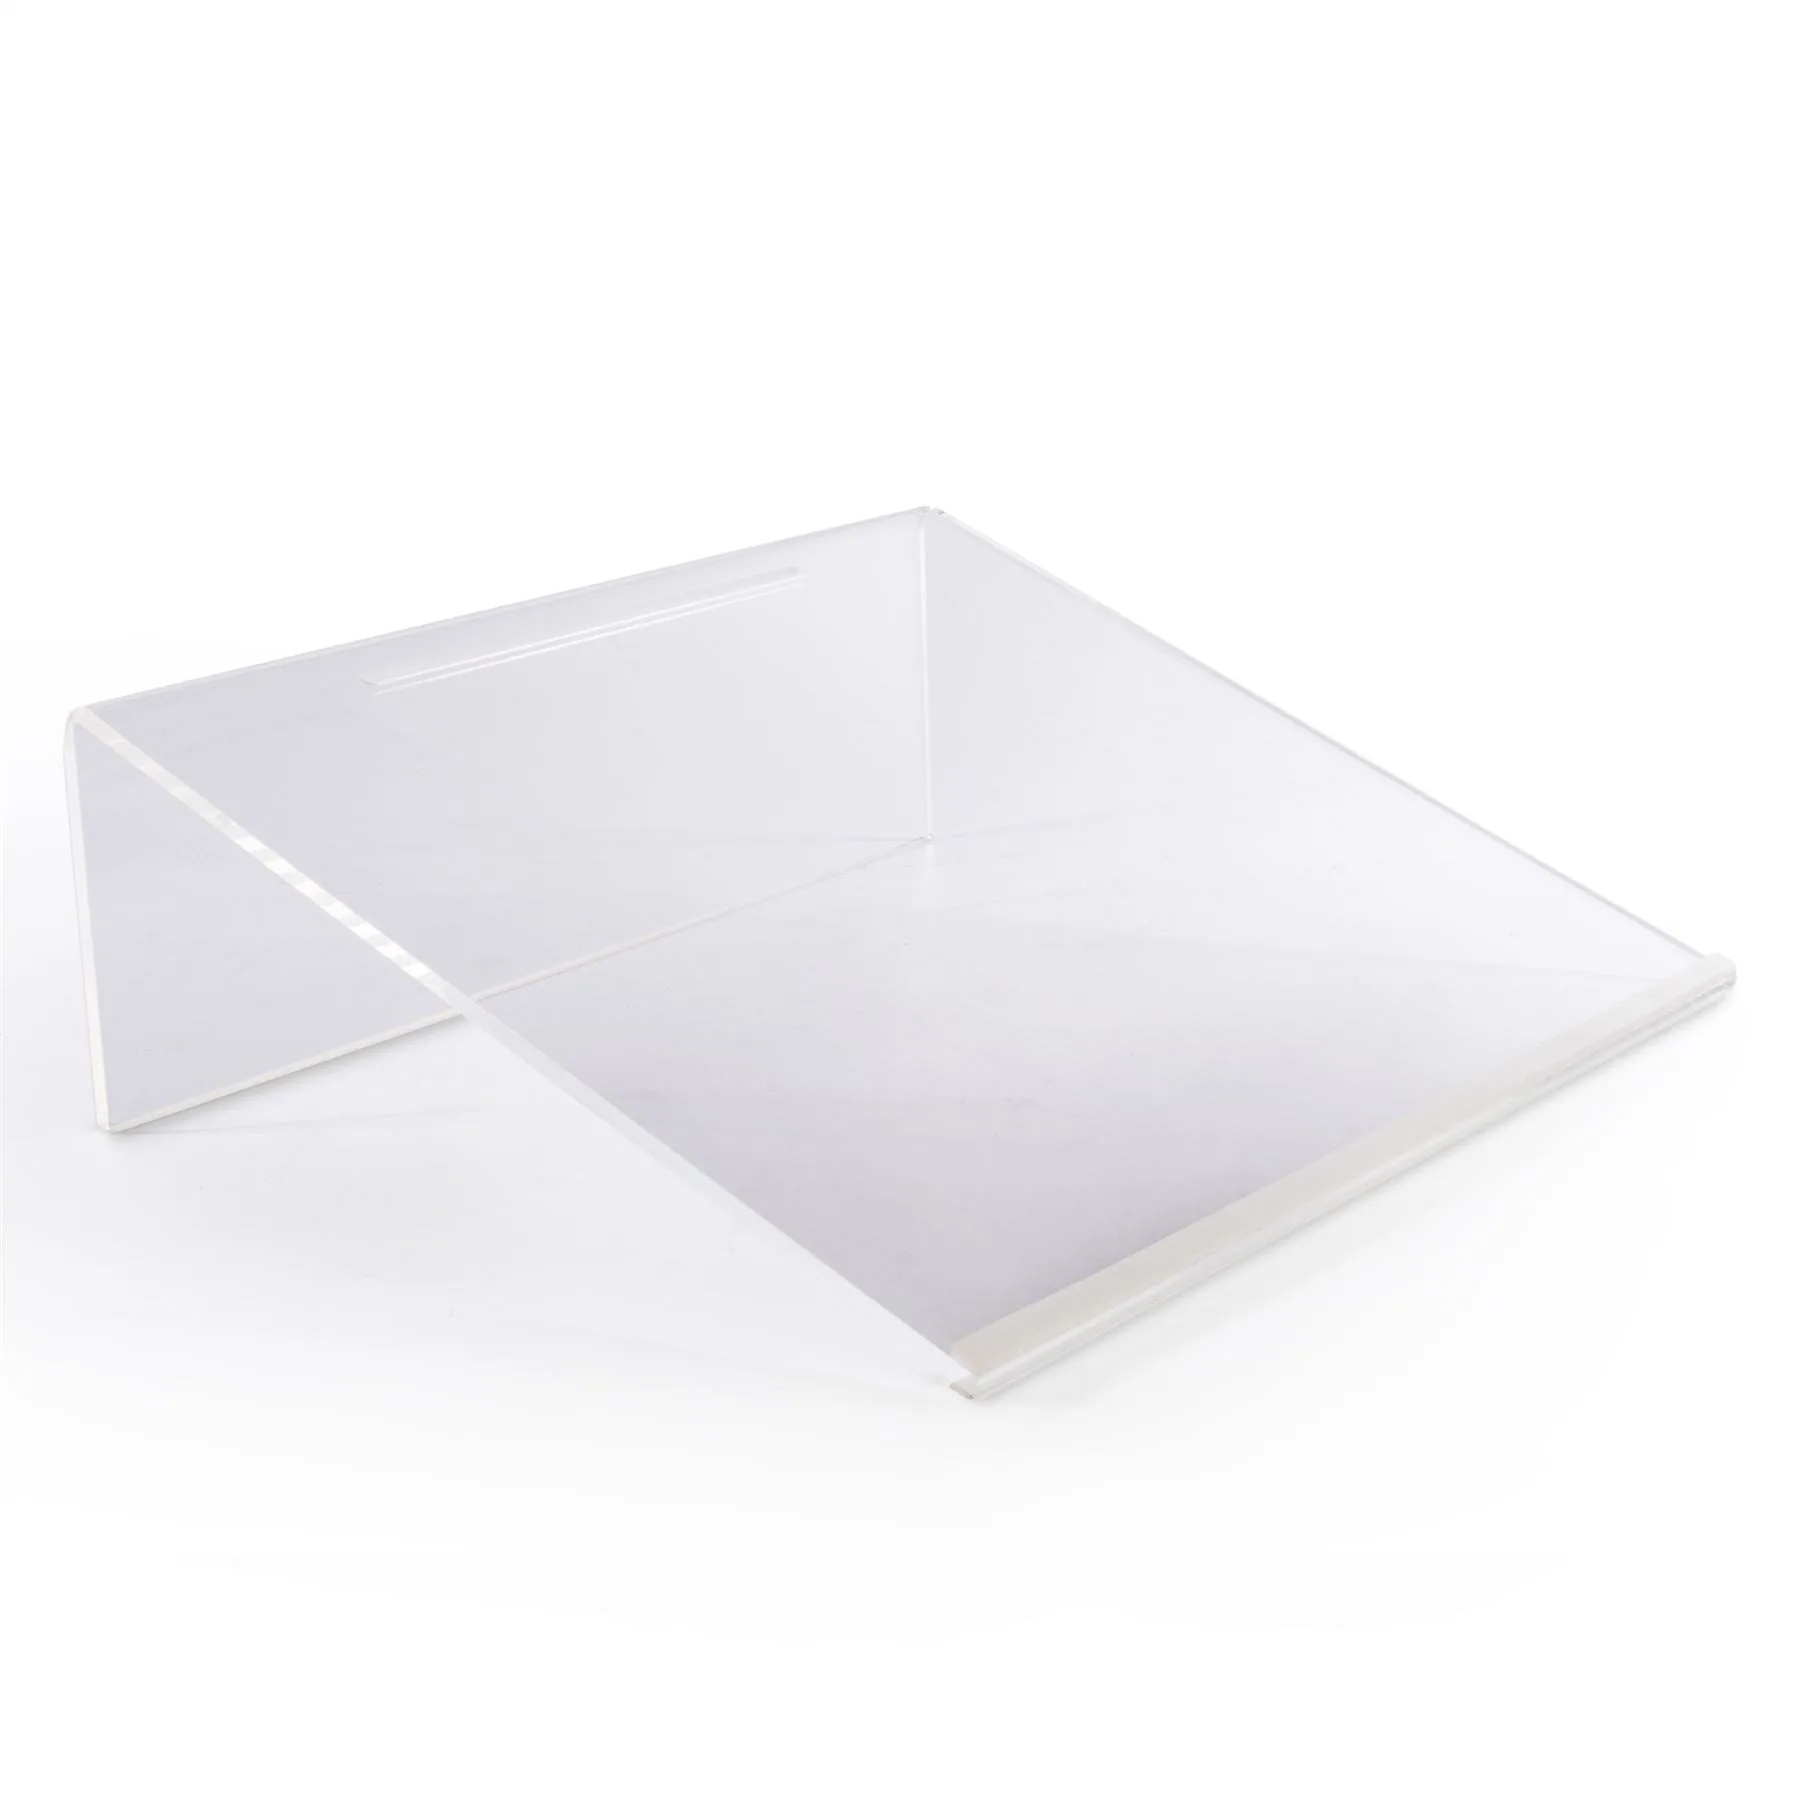
Additionally, you’ll need a stand or easel to display your finished number. You can purchase a simple wooden easel or make your own using sturdy cardboard. For a more professional finish, consider using a pre-made balloon number stand that can be reused for future parties. This is especially handy if you plan to create multiple numbers for different events.
- Foam board or corrugated cardboard for the base
- Printed number template (size: 2-3 feet tall recommended)
- Small balloons (5-inch) in your party colors
- Hot glue gun and glue sticks
- Balloon pump (save your lungs!)
Step-by-Step Guide to Creating Your Balloon Mosaic Number
Start by cutting out your number shape from the foam board using a printed template as a guide. Trace the outline with a pencil, then carefully cut with a box cutter. Make sure the edges are smooth. If you’re making a multi-digit number like 18 or 21, cut each digit separately and plan to connect them later with a small piece of foam board.
Next, inflate your balloons to a uniform size—about 4 to 5 inches in diameter. Use a balloon pump to ensure consistency. Once you have a large batch, begin gluing the balloons to the foam board base. Start from the edges and work inward, pressing each balloon firmly into the glue. Overlap the balloons slightly to create a dense, mosaic-like appearance. Continue until the entire number is covered, filling any gaps with smaller balloons or balloon scraps.
- Work in sections to avoid glue drying too quickly
- Use a mix of colors for a gradient or ombre effect
- Let the glue cool for a few seconds before pressing the balloon
Adding the Finishing Touches and Displaying Your Number
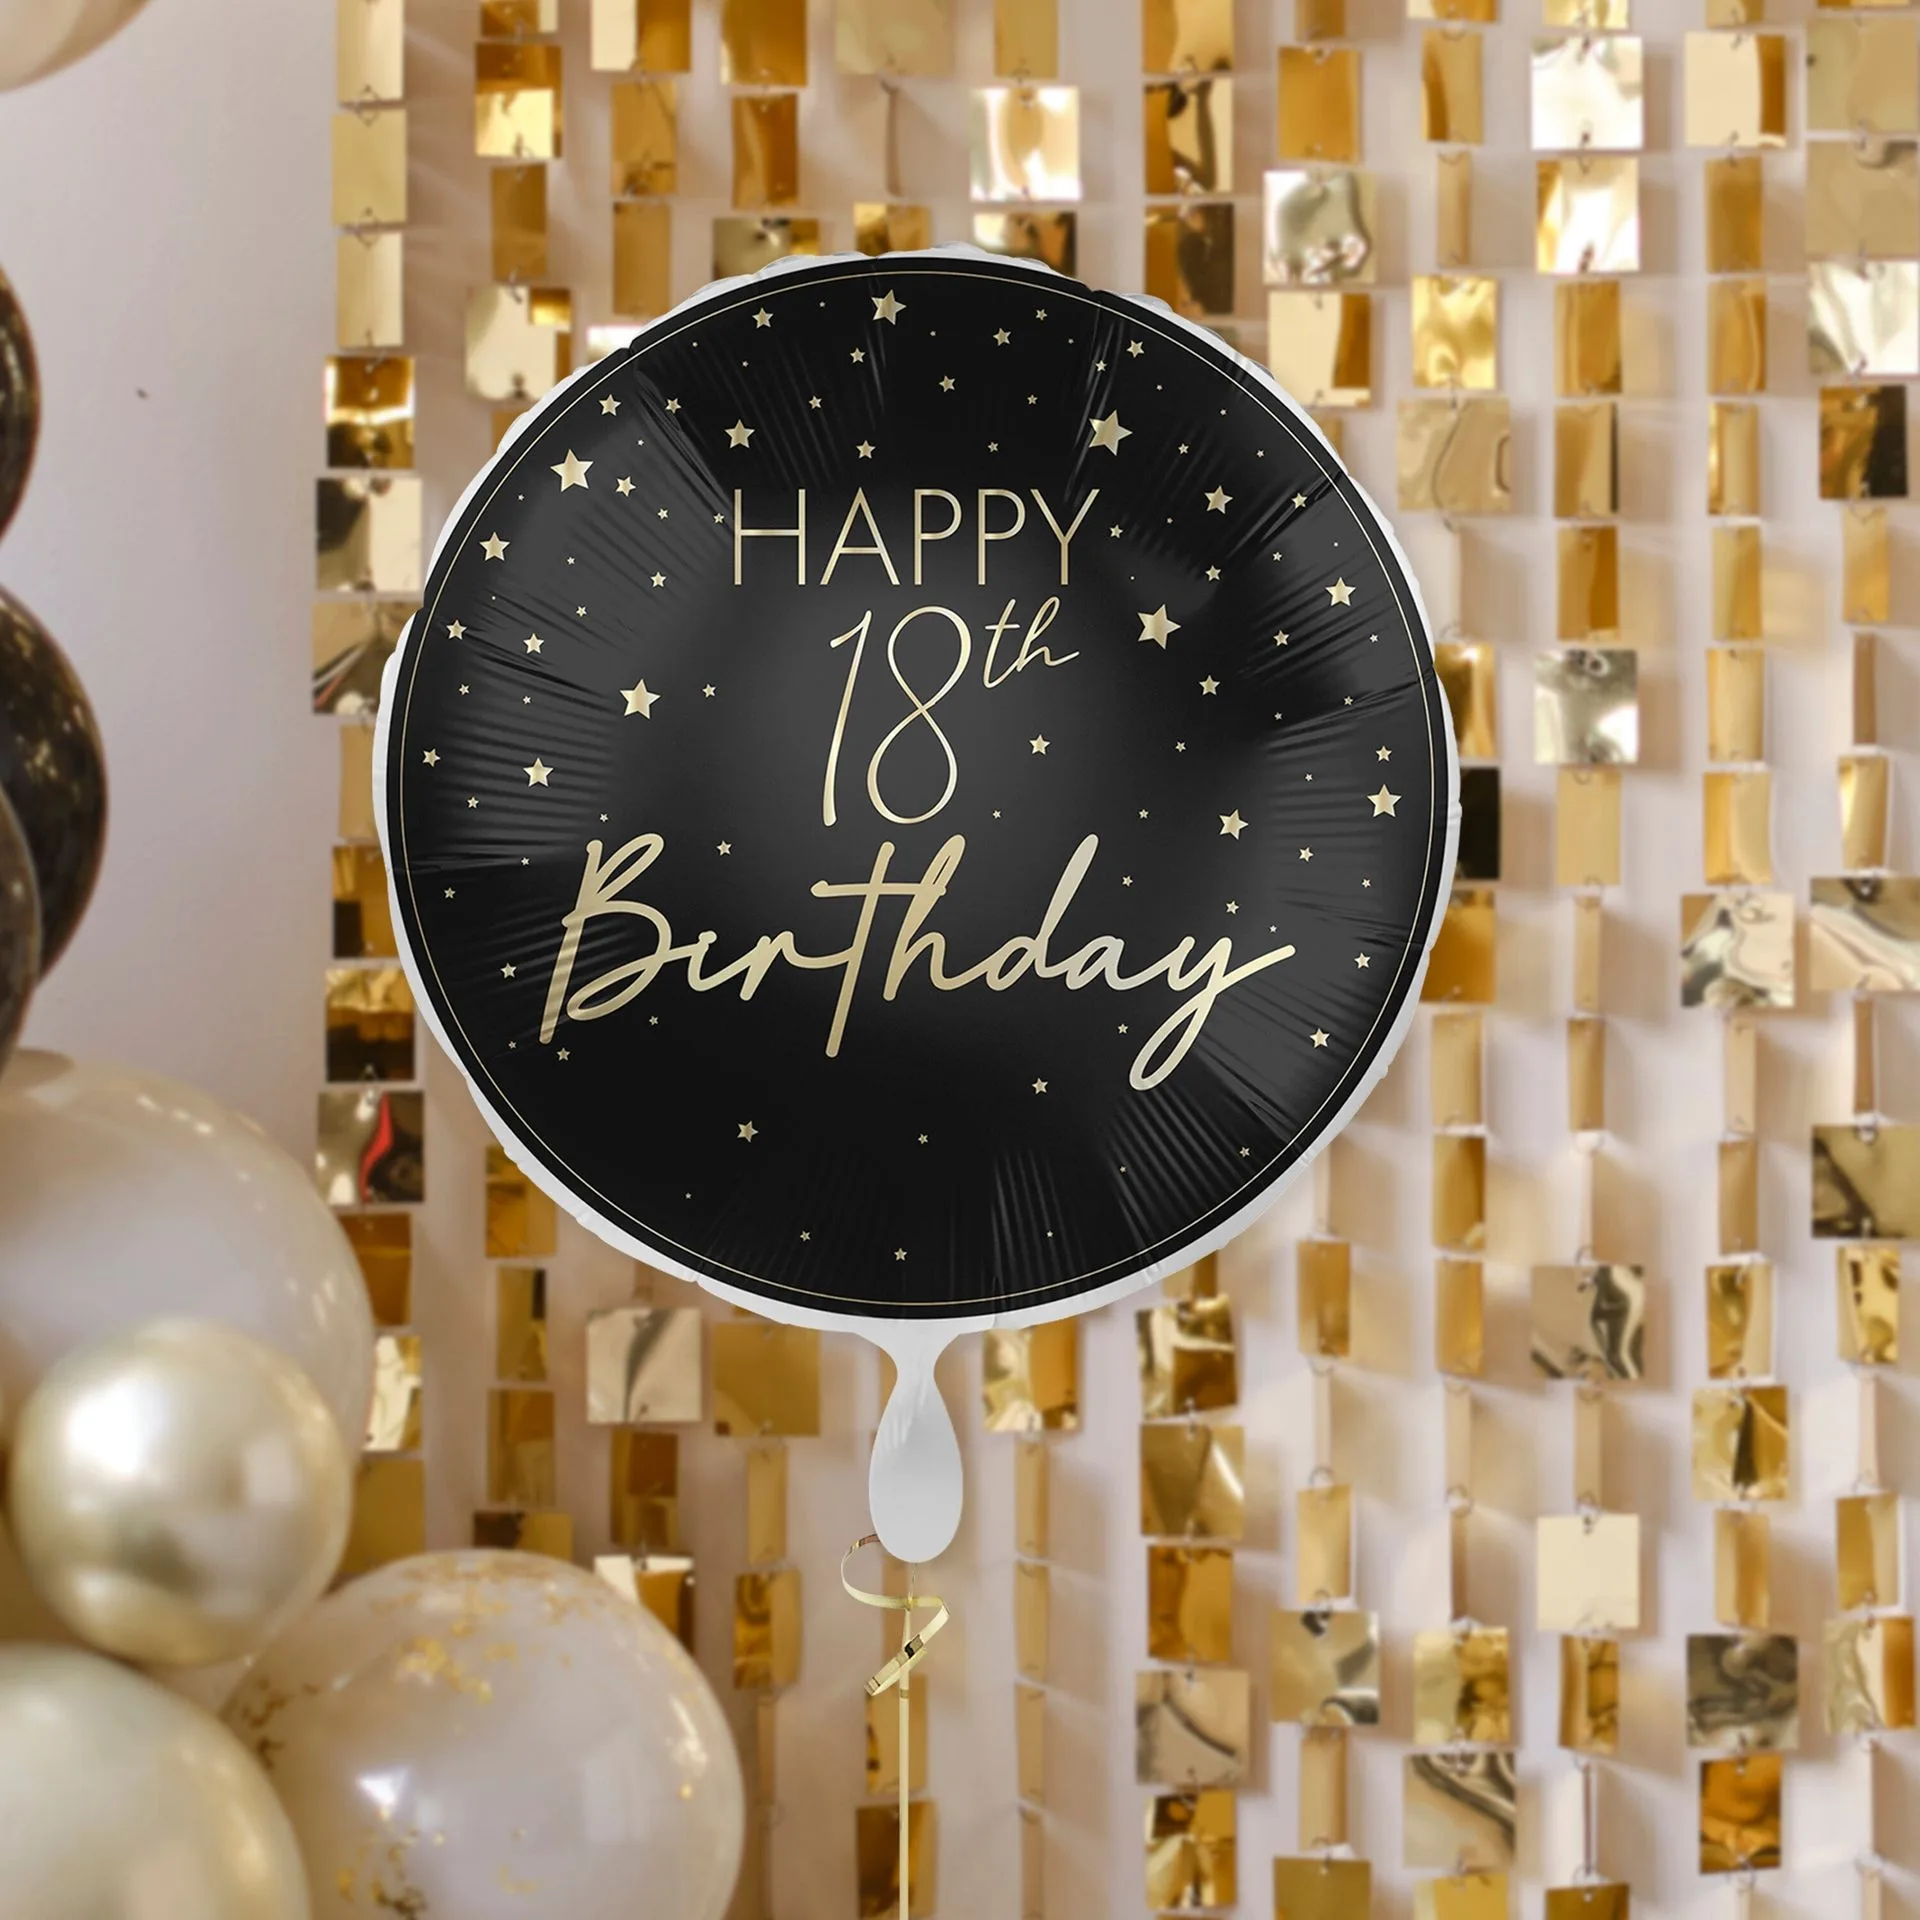
Once the glue is dry and all balloons are secure, you can add extra decorations. Consider attaching a balloon arch sign above the number to personalize it further. For example, a Happy Birthday balloon arch sign can be placed directly above the mosaic number for a cohesive look. Alternatively, you can add small LED fairy lights behind the number to make it glow at evening parties.
To display your balloon mosaic number, attach it to a stand using zip ties or strong tape. If you’re using a pre-made easel, simply lean the number against it. For a more dramatic effect, hang the number from a wall or ceiling using fishing line. Make sure the structure is stable and won’t tip over, especially if children are around. Your finished creation will be a stunning centerpiece for photos and celebrations.
- Use a balloon arch sign to frame the number
- Add greenery or flowers around the base for a natural touch
- Test the display setup before guests arrive
Creative Variations and Theme Ideas
Balloon mosaic numbers are incredibly versatile. For a baby shower, use pastel colors like pink and blue and pair with a Hello Baby cake topper. For a Halloween party, opt for orange and black balloons and place the number next to Halloween paper honeycomb pumpkins. The possibilities are endless, and you can match the number to any party theme with ease.
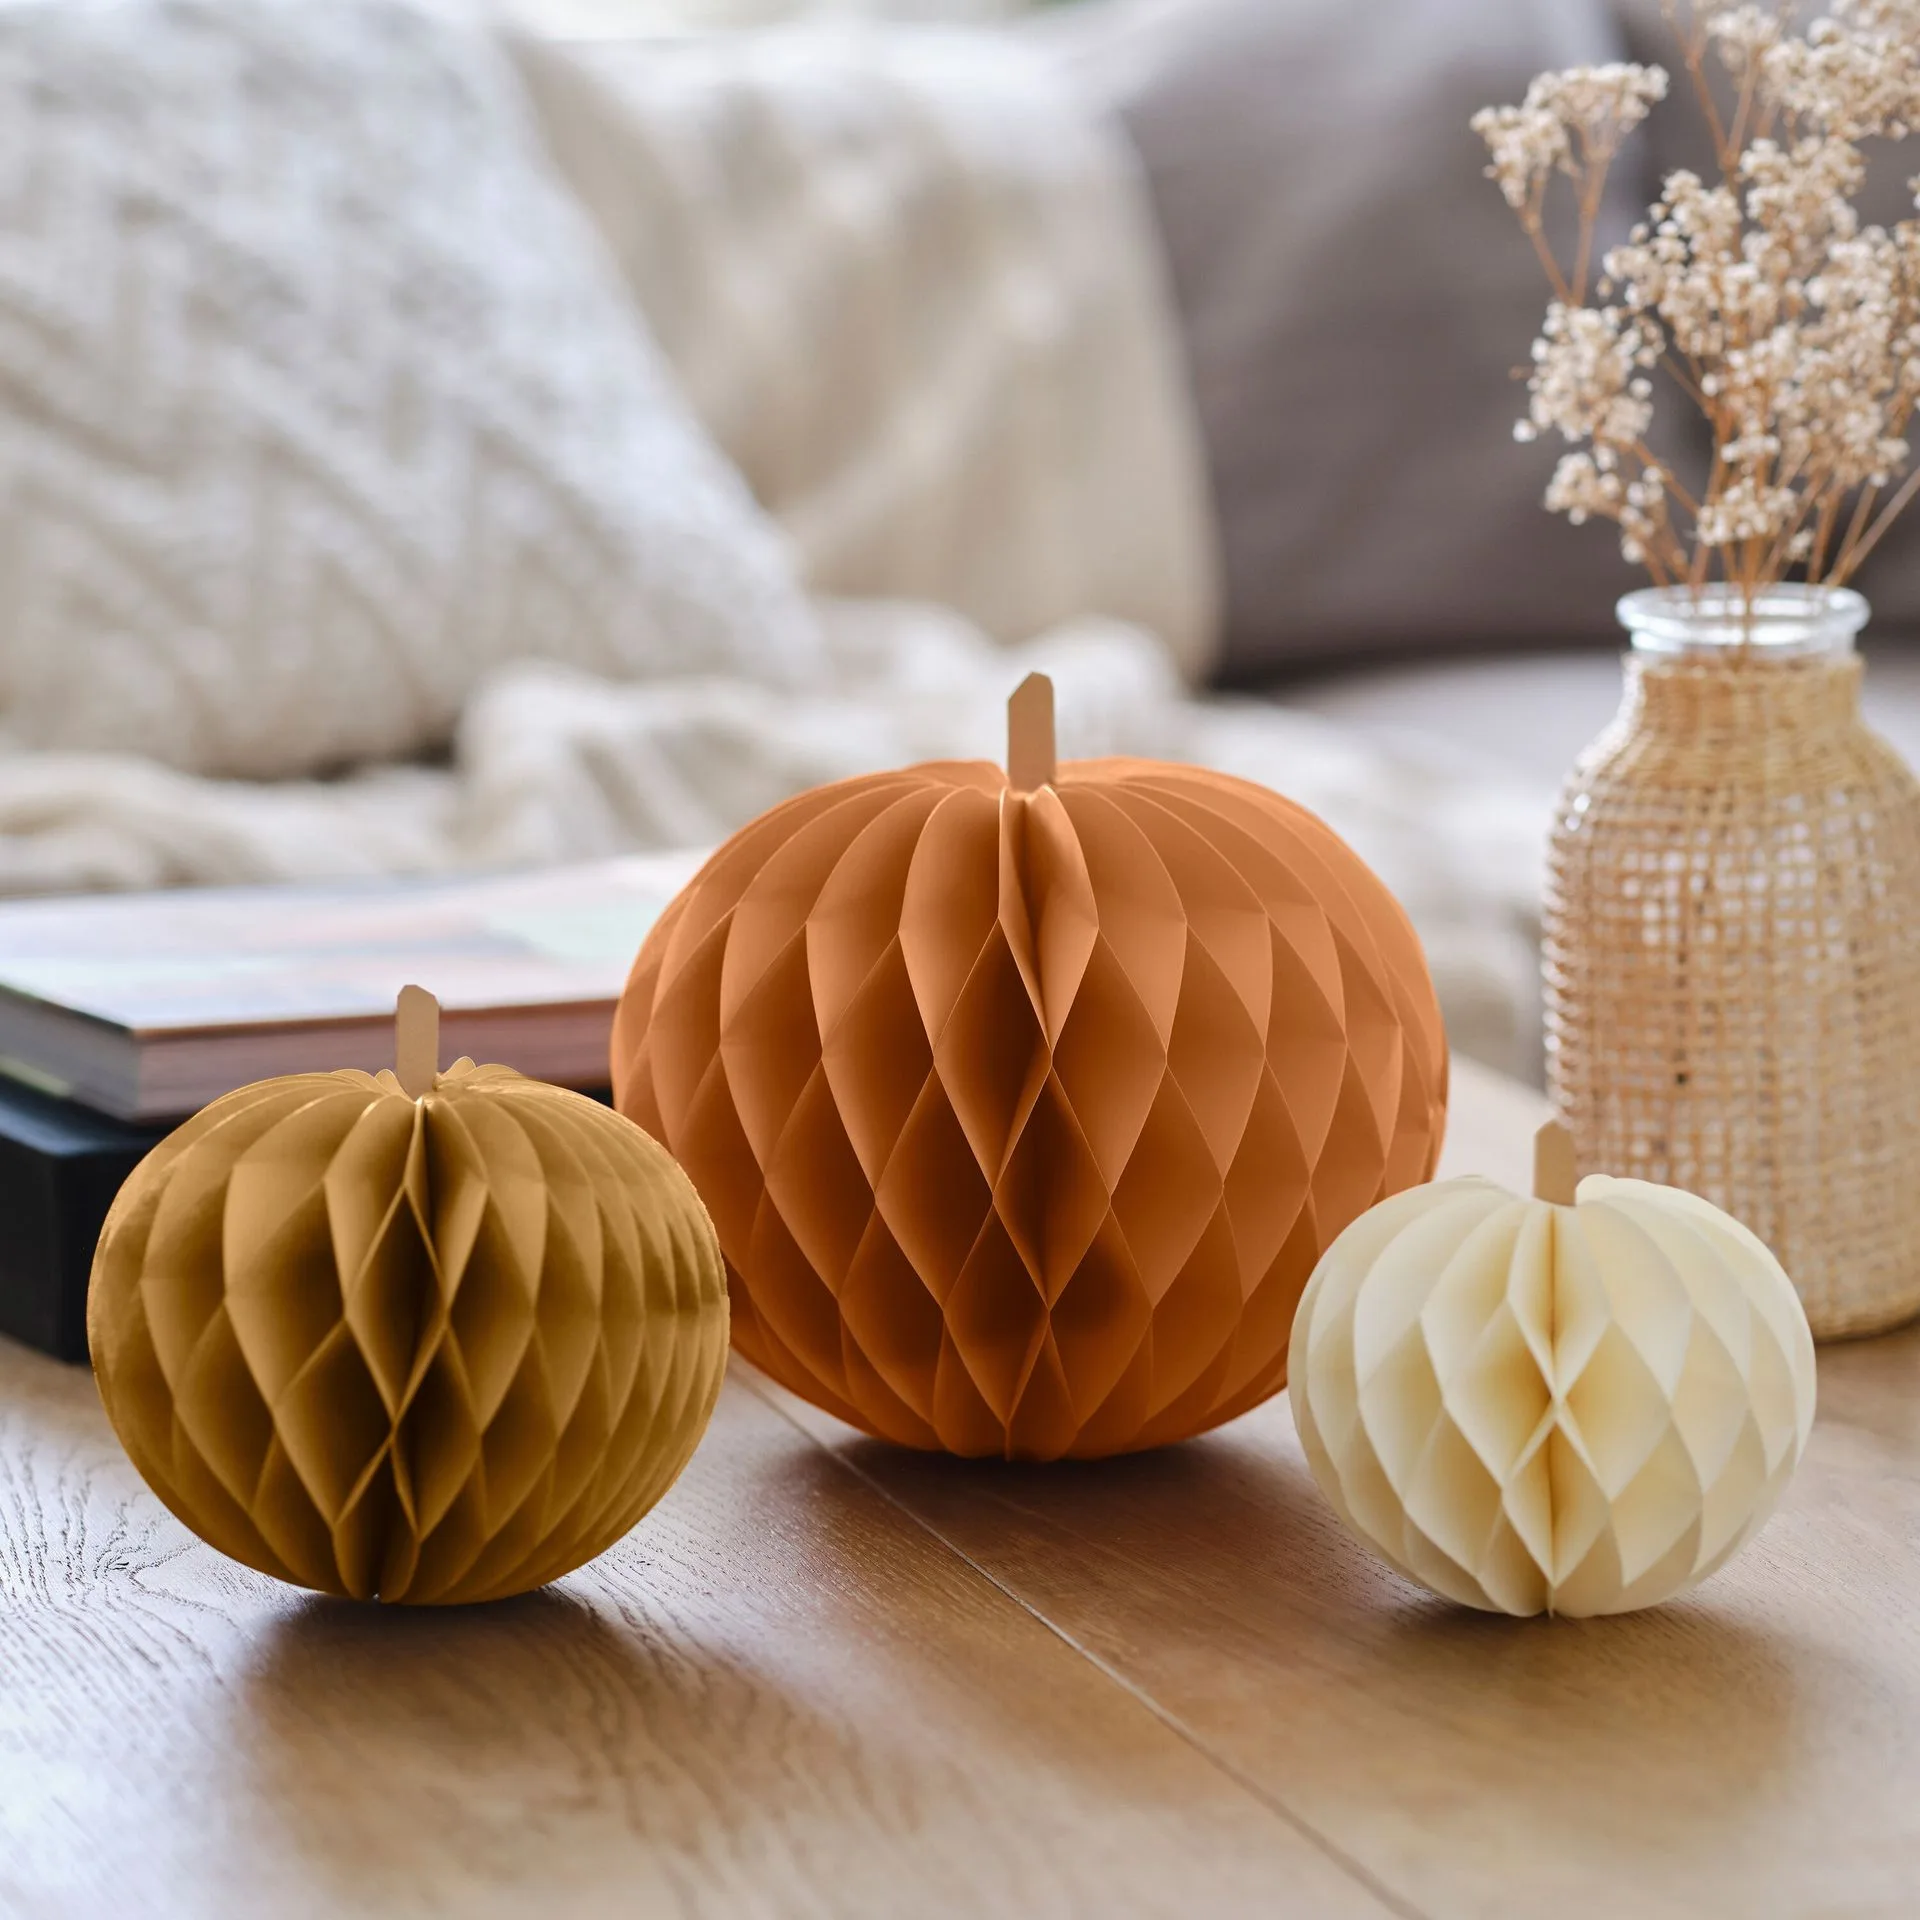
Halloween paper honeycomb pumpkins
If you’re hosting a wedding or hen party, consider using metallic balloons in gold or silver for an elegant look. For a children’s birthday, bright primary colors or character-themed balloons work well. You can even create a number that doubles as a gift—fill the hollow center with small treats like candy or party favors. This adds an interactive element that guests will love.
- Match balloon colors to your party’s color palette
- Incorporate themed balloons for holidays or events
- Add a personal message or name next to the number
Creating a DIY balloon mosaic number is a rewarding project that elevates any party decor. With a bit of patience and creativity, you can craft a custom piece that becomes the highlight of your celebration. Ready to start? Check out our selection of party supplies, including the 18th Birthday Balloon Arch Sign, to complement your balloon mosaic number and make your event truly memorable.
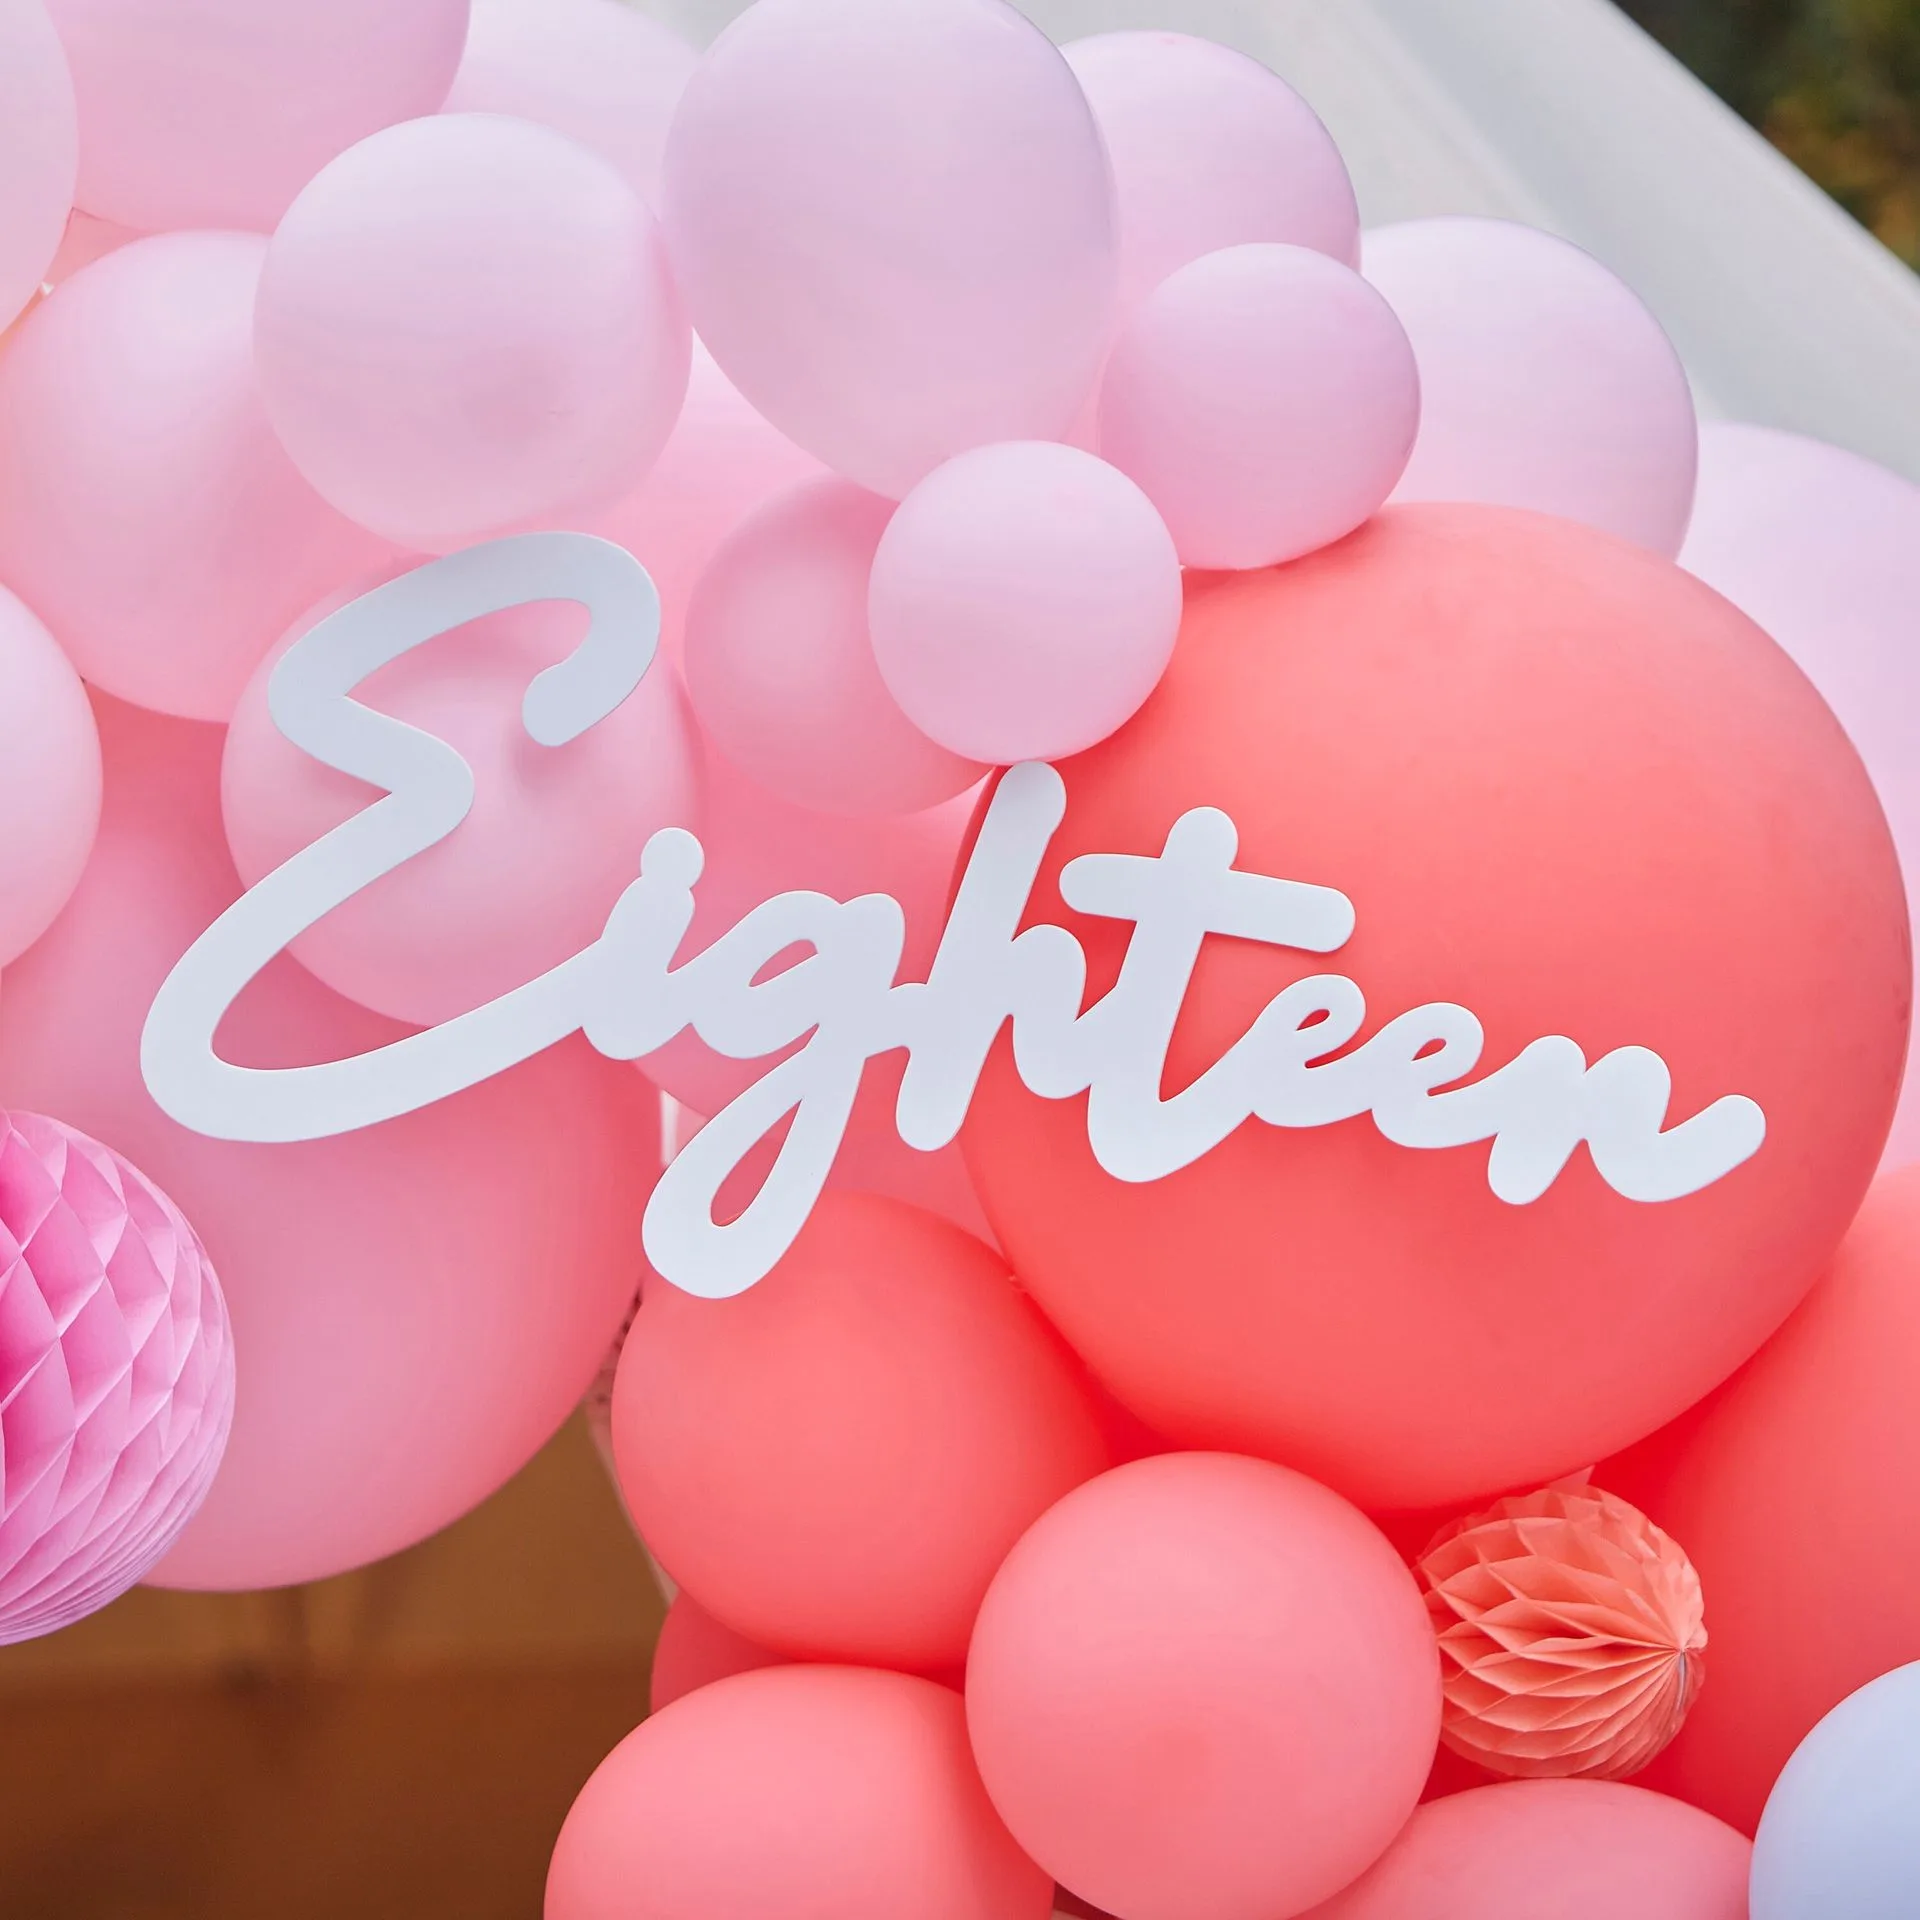
18th Birthday Balloon Arch Sign