A smokey eye is the ultimate sultry makeup look—versatile enough for a night out, a special event, or even a bold daytime statement. While many associate it with complicated blending and multiple shadows, the truth is you can achieve a flawless smokey eye using just one versatile palette. Whether you're a beginner or a seasoned pro, mastering this technique opens up endless possibilities for your eye makeup.
In this tutorial, we'll walk you through every step of creating a classic smokey eye with a palette. You'll learn how to choose the right shades, prep your eyelids, blend like a pro, and finish with a polished look that lasts. Plus, we'll highlight a few must-have products from Patrick Ta Beauty to elevate your routine, including the Major Skin Hydra-Luxe Luminous Skin Perfecting Foundation for a flawless base and the Dual-Ended Complexion Brush № 2 for seamless blending.
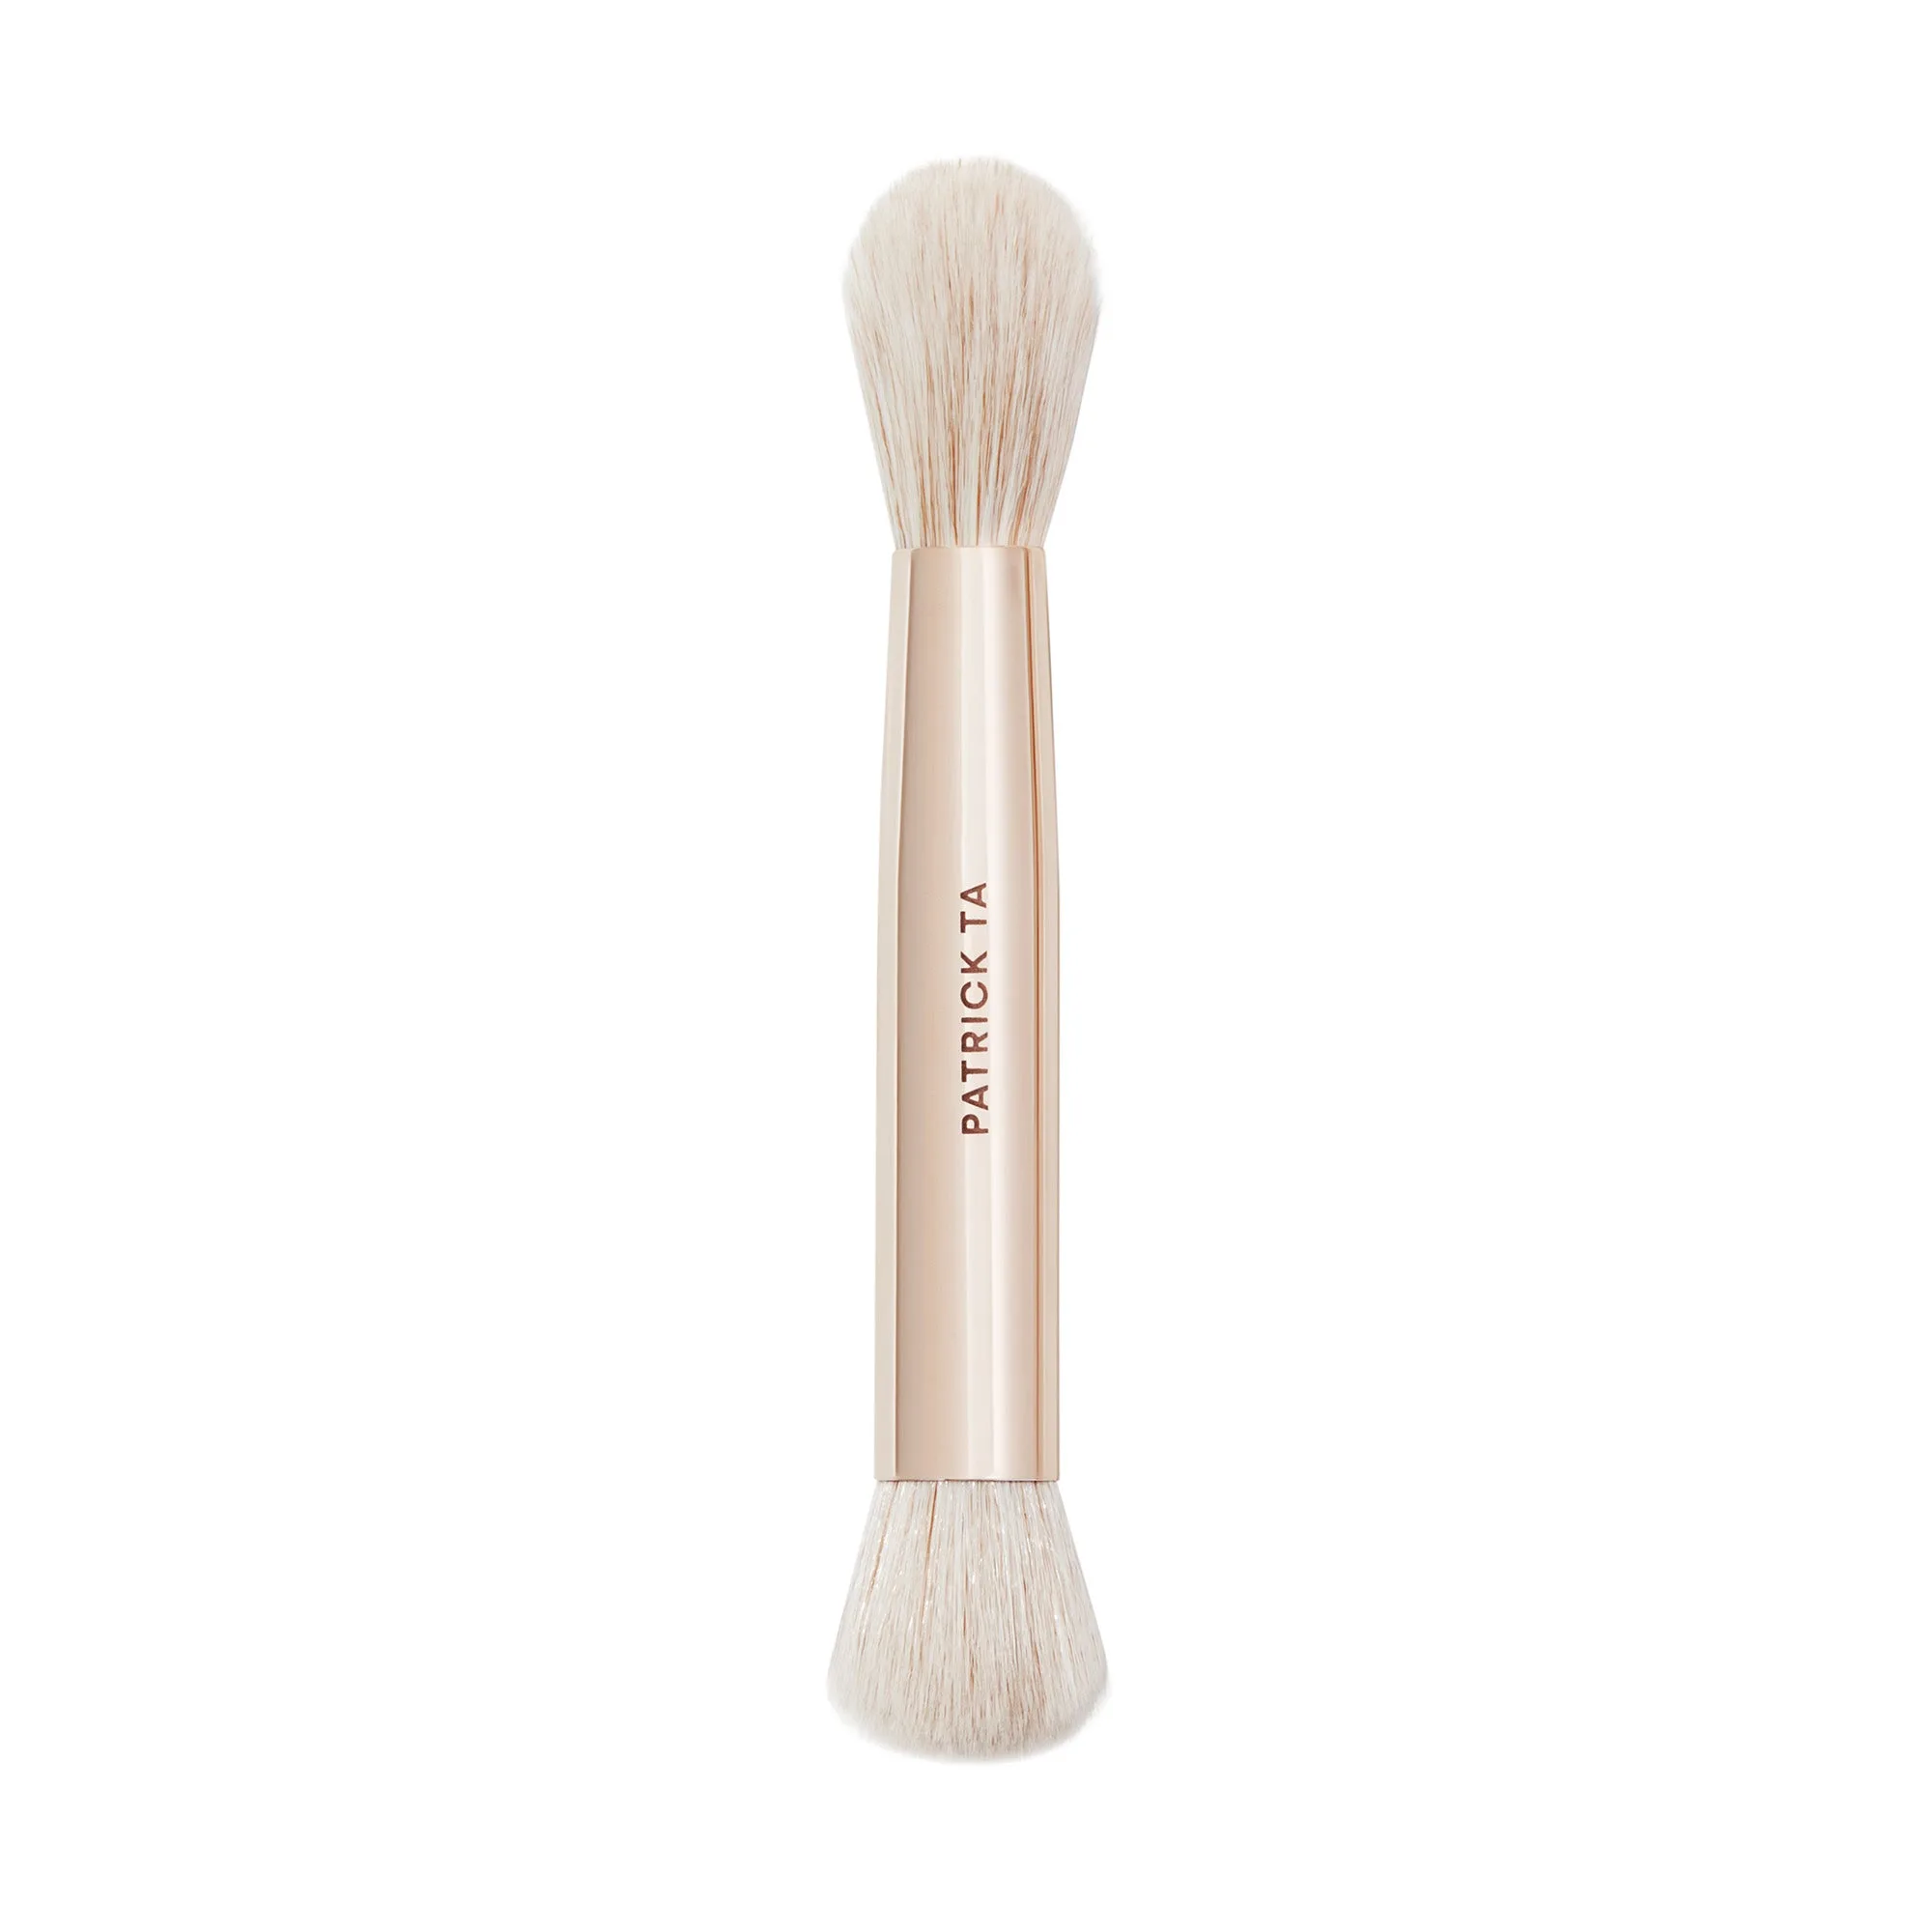
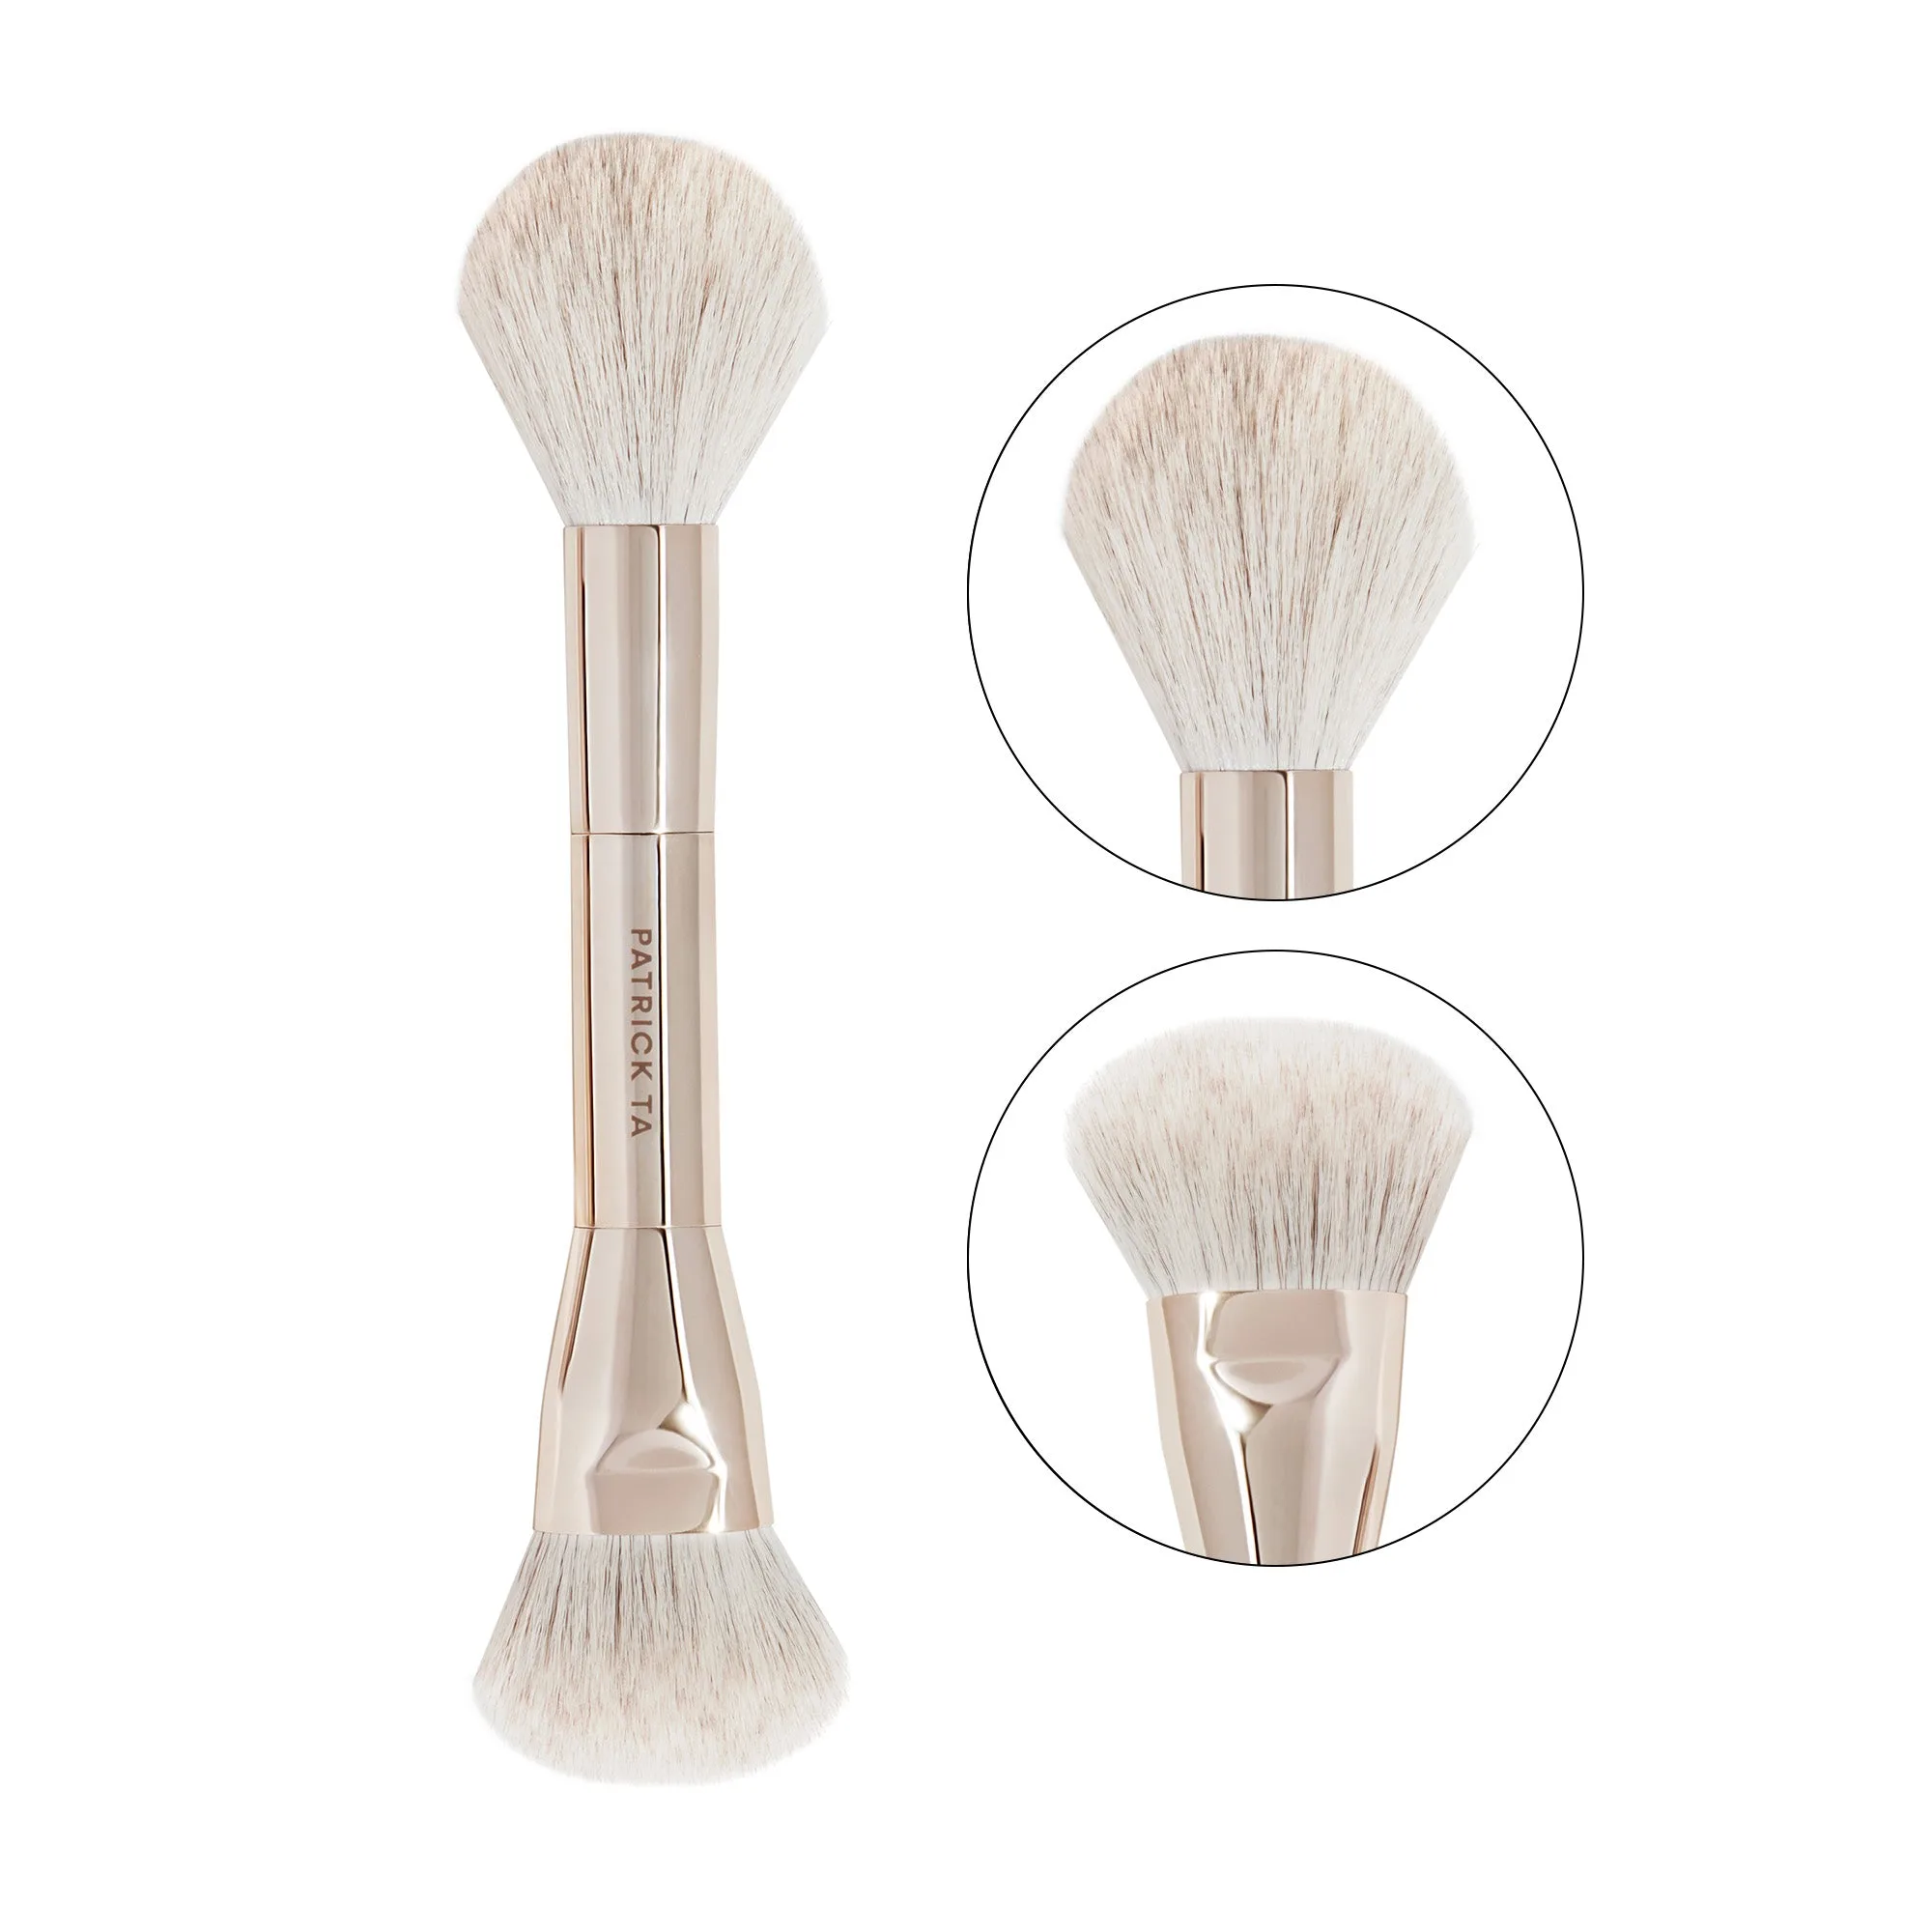
Dual-Ended Complexion Brush № 2
Why Use a Palette for a Smokey Eye?
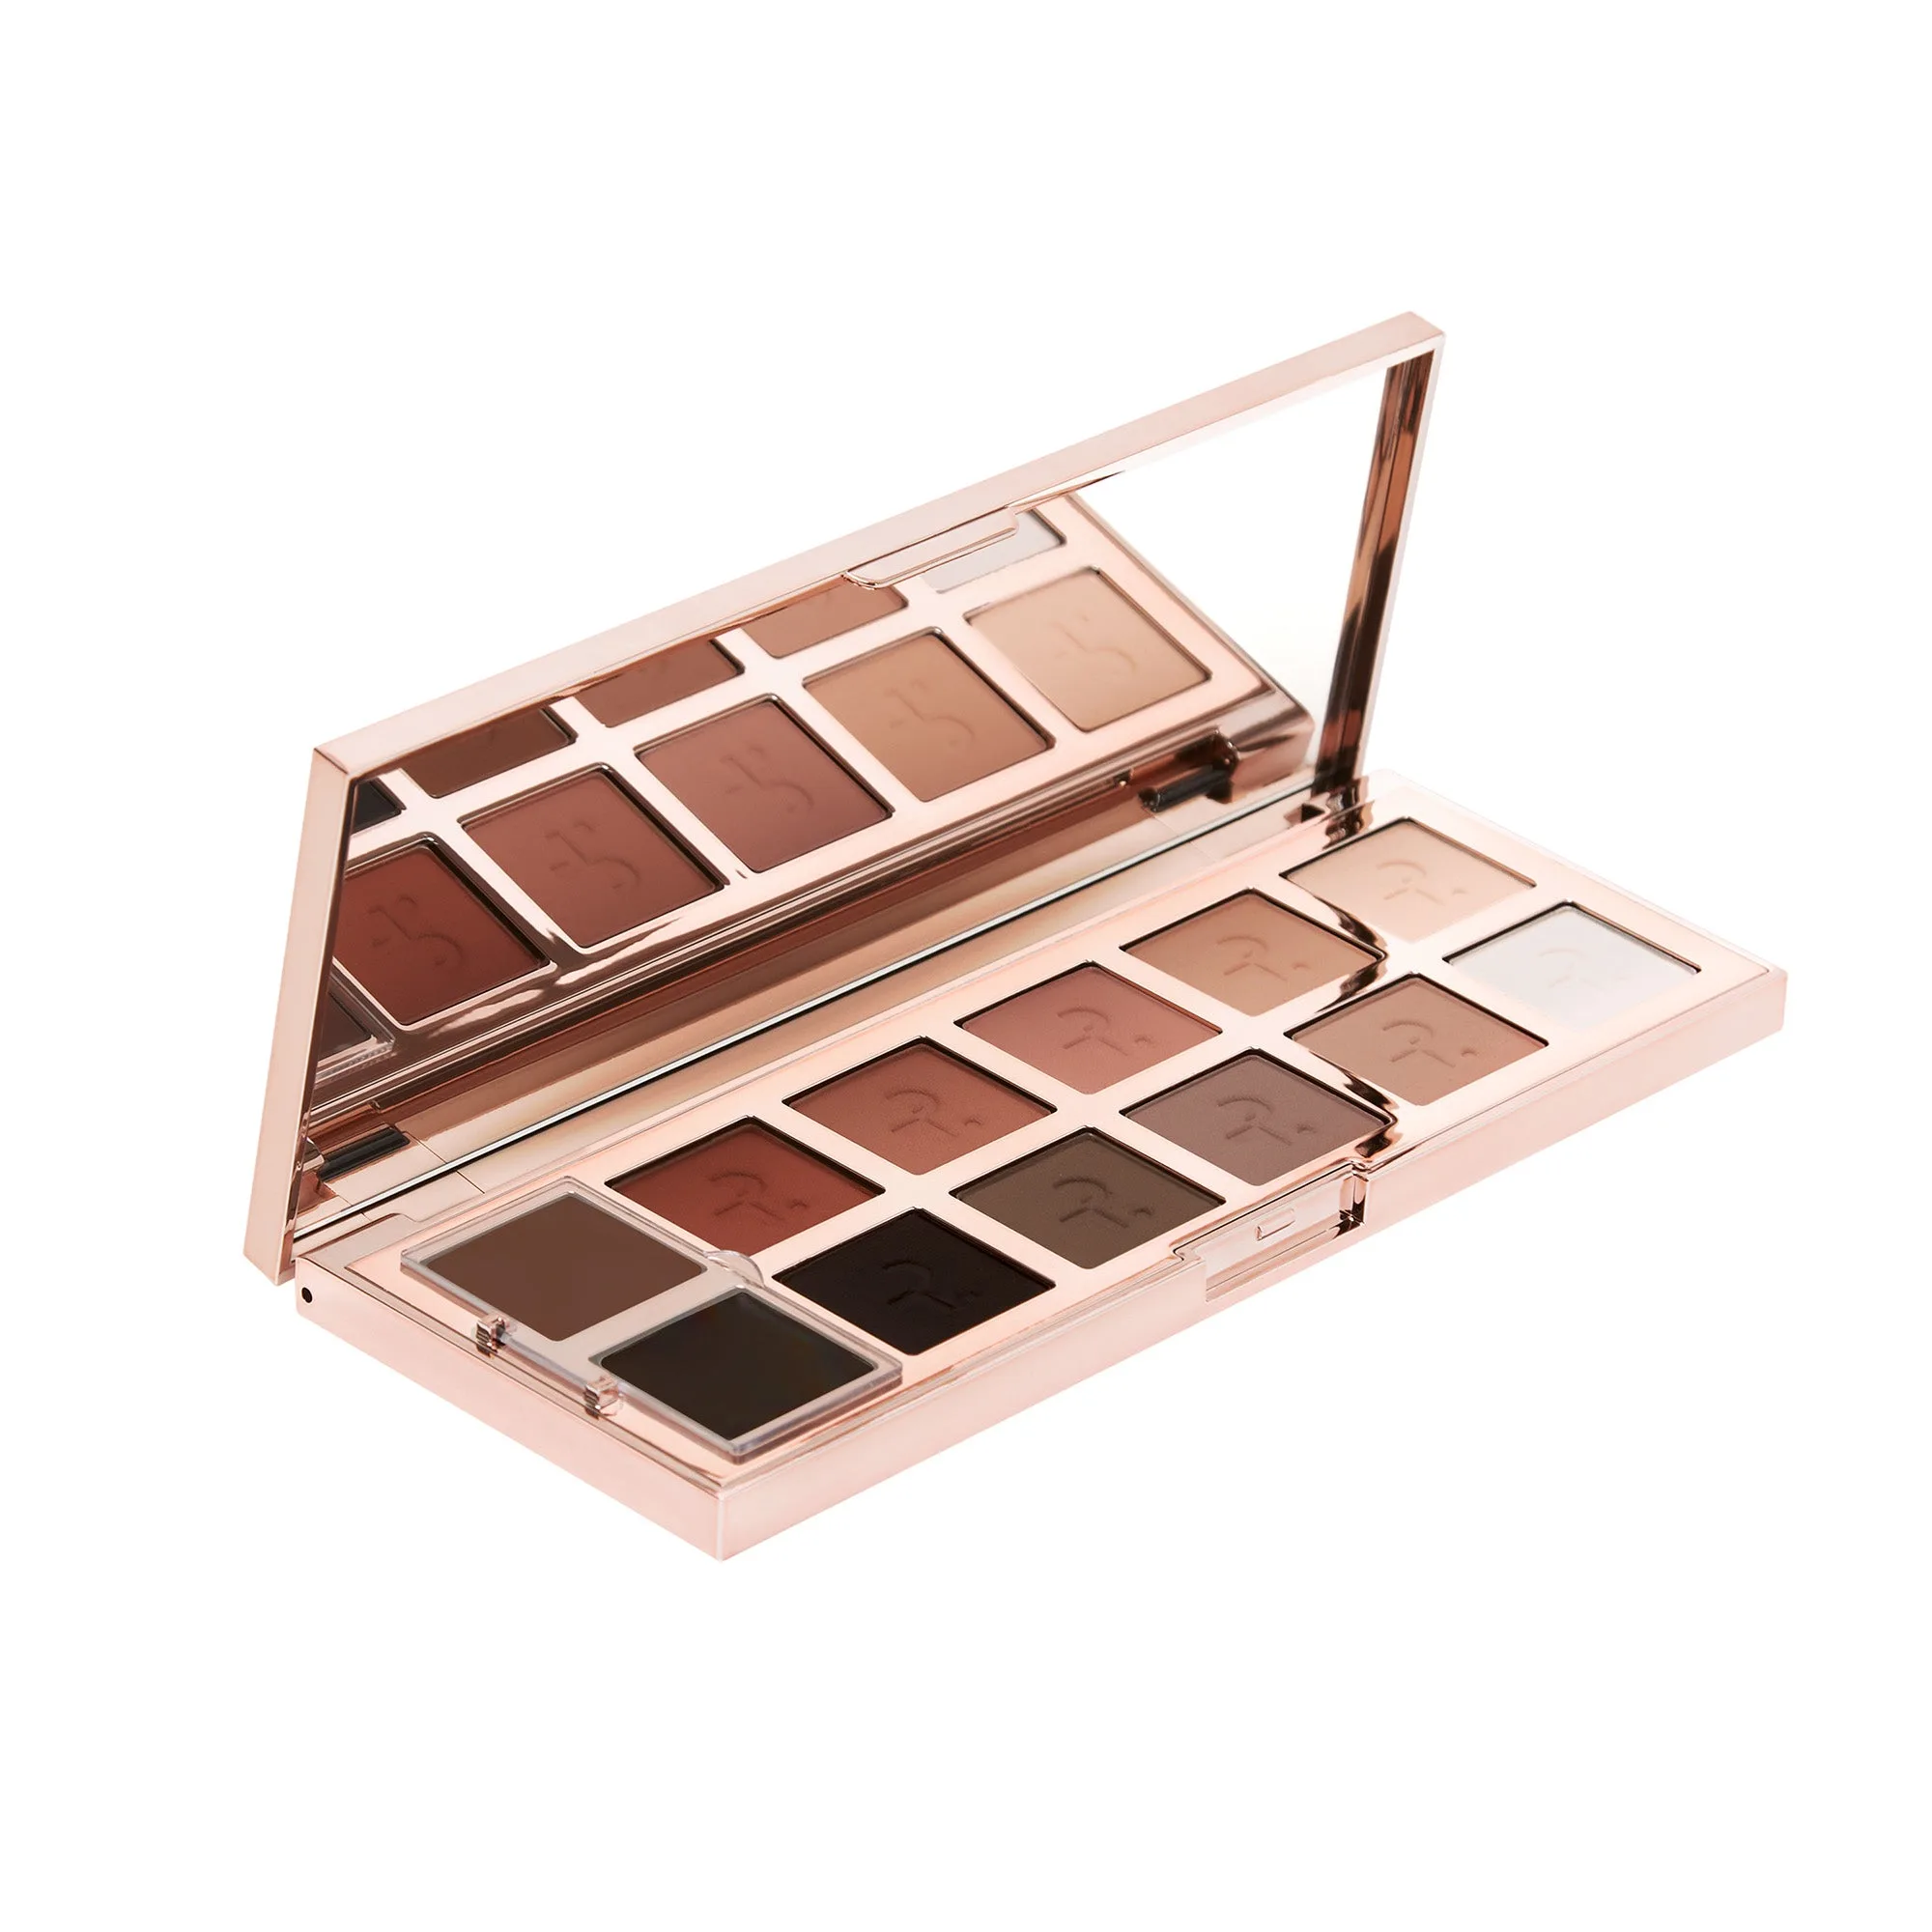
Using a palette gives you everything you need in one compact kit—coordinating shades, complementary textures, and often a mix of mattes and shimmers. This makes it easier to build depth and dimension without guessing which colors work together. A well-curated palette takes the guesswork out of shade selection, ensuring your smokey eye looks cohesive and professional.
Palettes also allow for easy layering. You can start with a light base shade, deepen the crease with a mid-tone, and then use the darkest shade to define the lash line and outer corner. Many palettes even include a shimmer or glitter for that signature smokey eye pop. Plus, they're travel-friendly and versatile for multiple looks.
- Look for palettes with a mix of matte and shimmer finishes for versatility.
- Neutral and cool-toned shades (charcoal, taupe, black) are classic for smokey eyes.
- A palette with a mirror and dual-ended brush can simplify application on the go.
Step 1: Prep Your Eyelids for Long-Lasting Color
Before you even touch eyeshadow, prep your eyelids. Apply a thin layer of eye primer to create a smooth, oil-free canvas. This prevents creasing and helps the pigments adhere better. If you don't have a dedicated primer, a tiny bit of concealer set with translucent powder works as a great alternative.
For a truly luminous base, consider using the Major Skin Hydra-Luxe Luminous Skin Perfecting Foundation as an all-over base—it adds a subtle glow that peeks through the eyeshadow. Blend a small amount onto your eyelids with your ring finger or a flat brush for a soft, radiant finish. Then, set with a light dusting of translucent powder to lock it in.
- Use a dedicated eye primer for best results.
- Set primer with a neutral shadow to prevent patchiness.
- Avoid heavy creams on the lids—they can cause shadow to slide.
Step 2: Choose Your Smokey Eye Shades from the Palette
A classic smokey eye typically uses three to four shades: a light base, a medium transition, a dark outer corner, and a shimmer for the lid. Pick a matte cream or beige shade for the base, a taupe or gray for the crease, a deep charcoal or black for the outer V, and a silver or champagne shimmer for the center of the lid.
If your palette includes a warm brown or bronze, you can also create a warmer smokey eye that's more daytime-friendly. The key is to keep the darkest shade concentrated at the outer corner and blend outward. For a softer look, skip the black and use a deep brown or plum instead.
- Start with the lightest shade all over the lid up to the brow bone.
- Apply the transition shade in the crease with a fluffy brush.
- Use a small pencil brush for precise placement of the darkest shade.
Step 3: Apply and Blend Like a Pro
Using a fluffy blending brush, apply your transition shade in windshield-wiper motions along the crease. This creates a soft gradient. Then, with a smaller brush, pack the darkest shade onto the outer third of the lid and blend inward. Don't worry about perfection—smokey eyes thrive on soft, diffused edges.
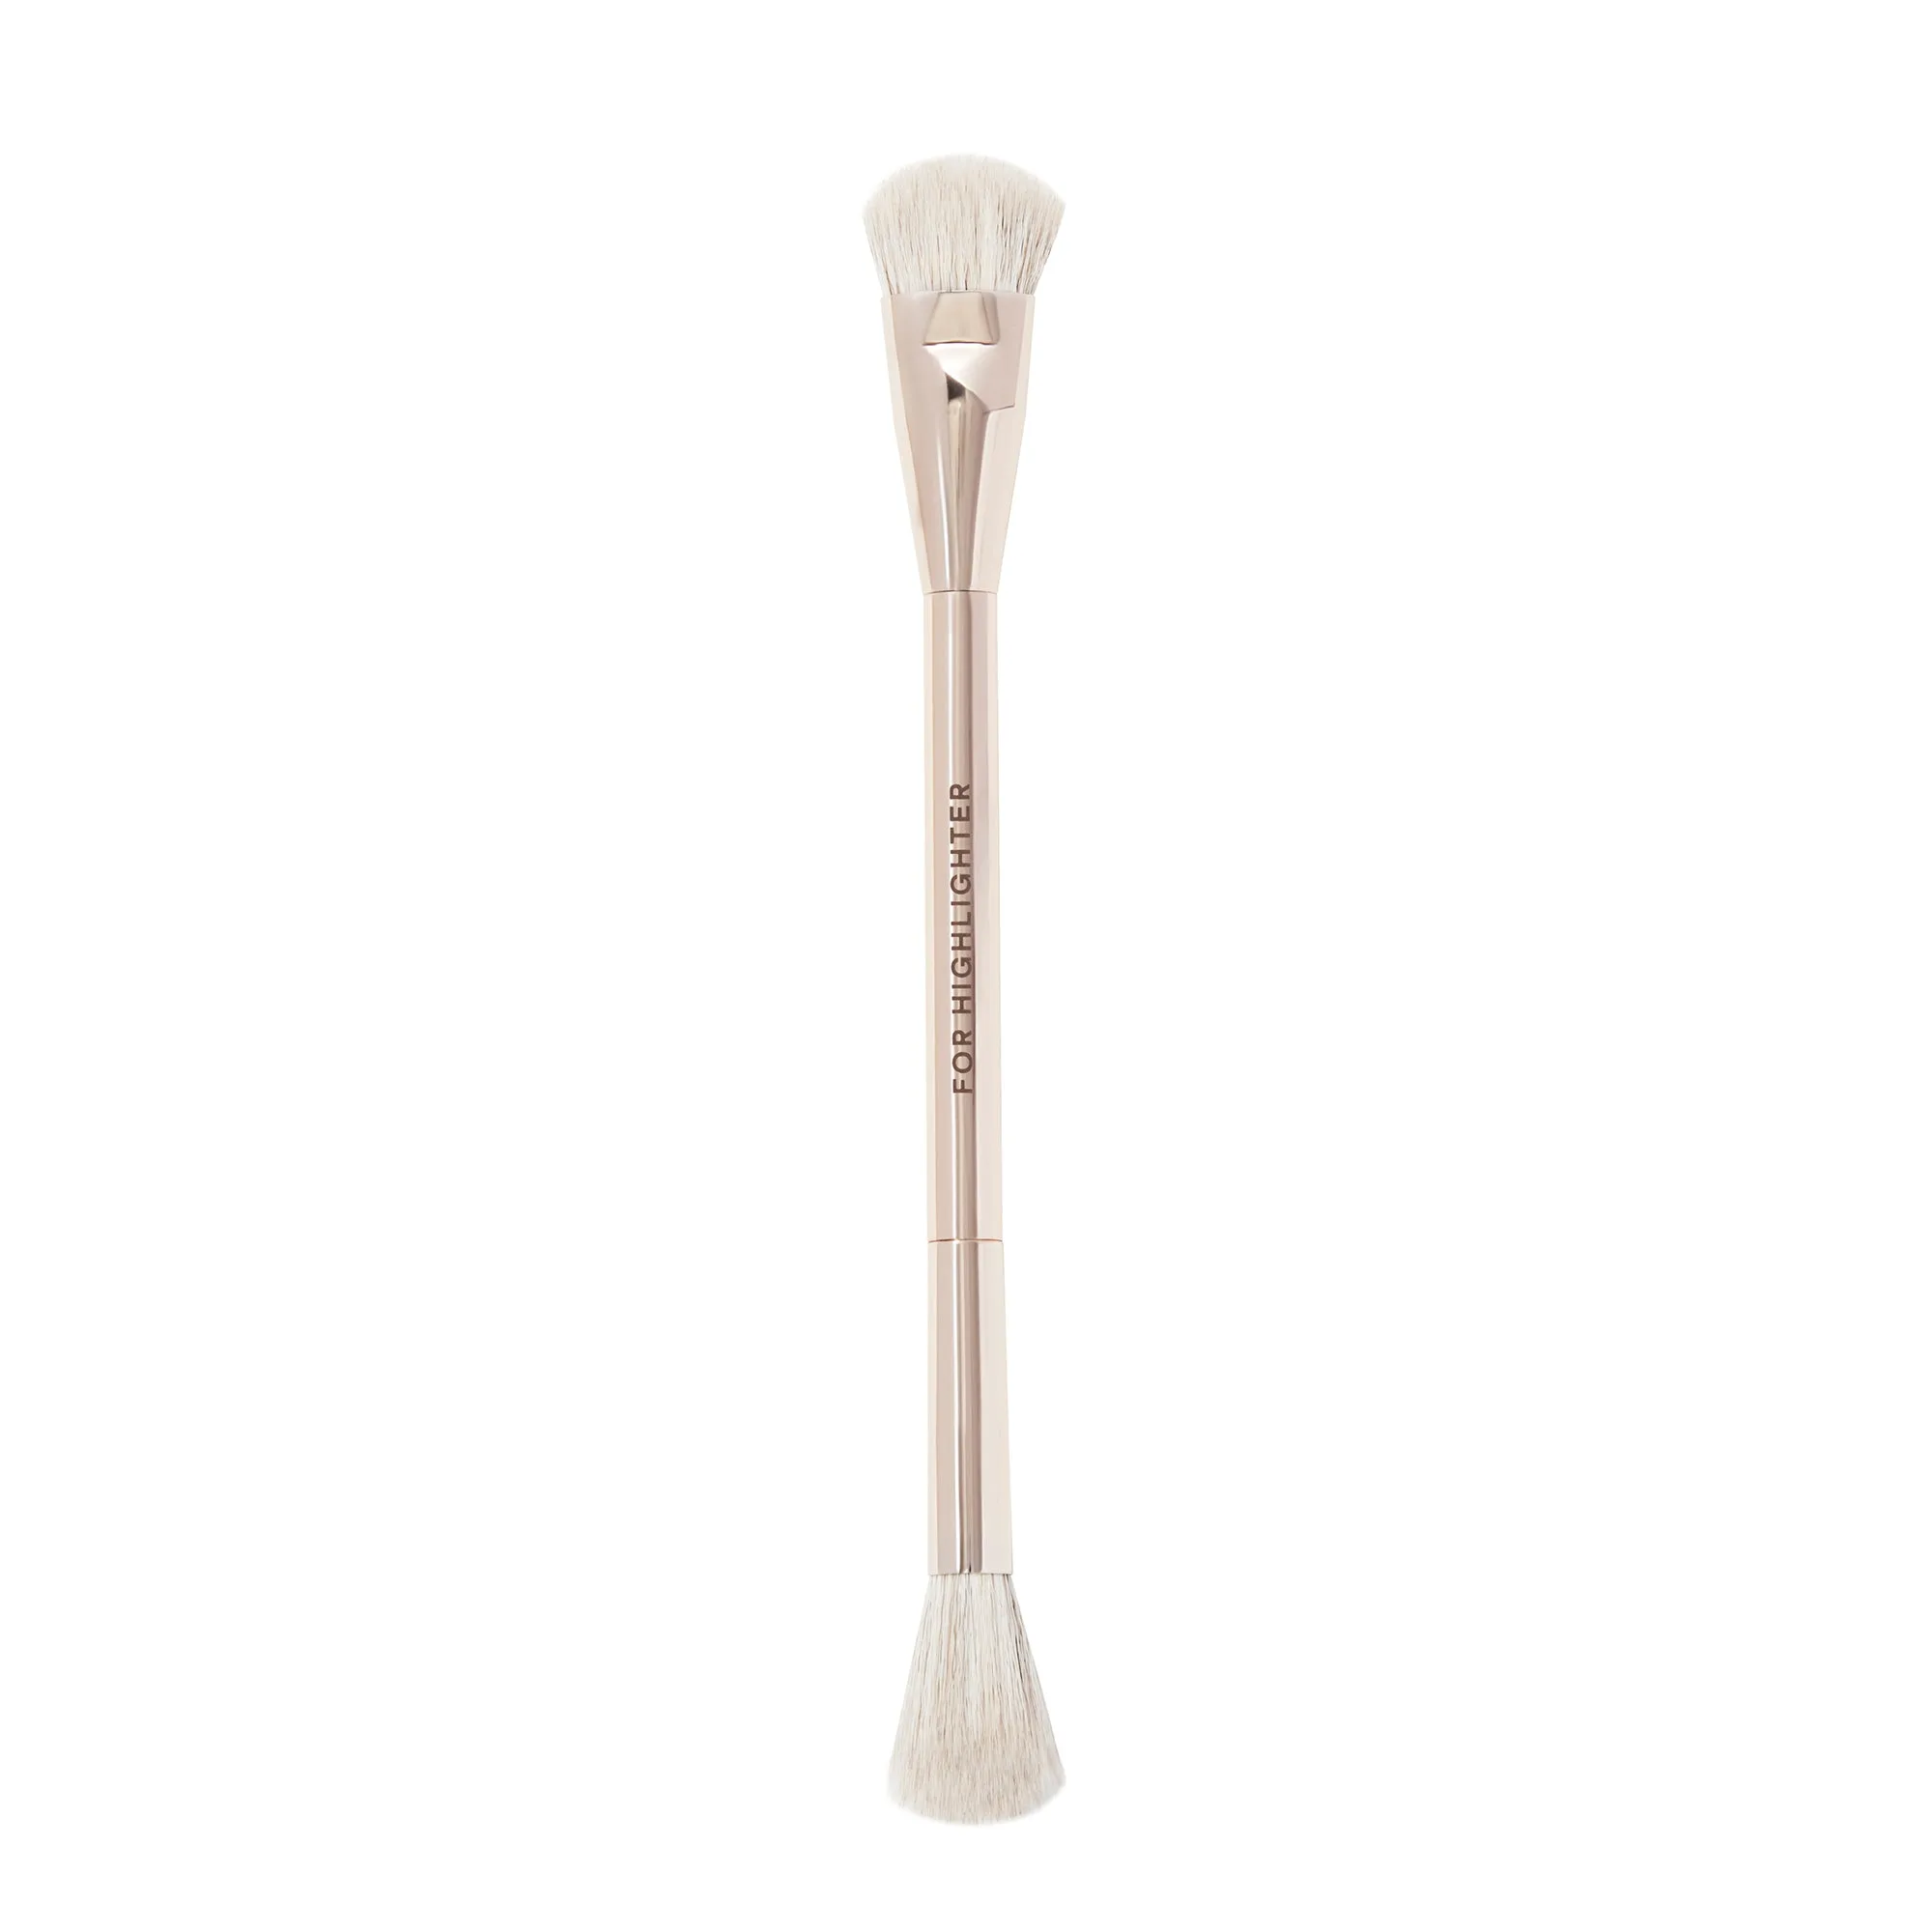
For the shimmer, use a flat shader brush or your fingertip to press it onto the center of the lid. This adds dimension and catches the light. Blend the edges where the shimmer meets the matte shades using a clean brush. The Dual-Ended Complexion Brush № 2 is excellent for this—its precise tip can blend small areas while the larger side softens harsh lines.
- Always blend in small, circular motions for a seamless look.
- Tap off excess powder from your brush to avoid fallout.
- Use a clean brush to blend the edges of the shimmer for a smooth transition.
Step 4: Define the Lower Lash Line and Inner Corner
A true smokey eye isn't complete without definition on the lower lash line. Use a small angled brush or pencil brush to apply the darkest shade along the outer half of the lower lashes. Smudge it out for a soft, lived-in effect. This connects the upper and lower eye for a cohesive look.
For a brightening touch, apply a light shimmer or champagne shade to the inner corner of the eye. This opens up the eye and adds a fresh contrast to the dark tones. You can also highlight the brow bone with the lightest matte shade for extra lift.
- Keep the lower lash line soft—avoid harsh lines.
- Use a tiny amount of product to prevent fallout under the eyes.
- A shimmer in the inner corner instantly makes eyes look more awake.
Step 5: Finish with Liner, Lashes, and Brows
Line your upper lash line with a black or dark brown gel or pencil liner. Tightline the upper waterline for added depth. Then, apply two coats of volumizing mascara to the top and bottom lashes. For a dramatic effect, add half lashes or individual clusters at the outer corners.
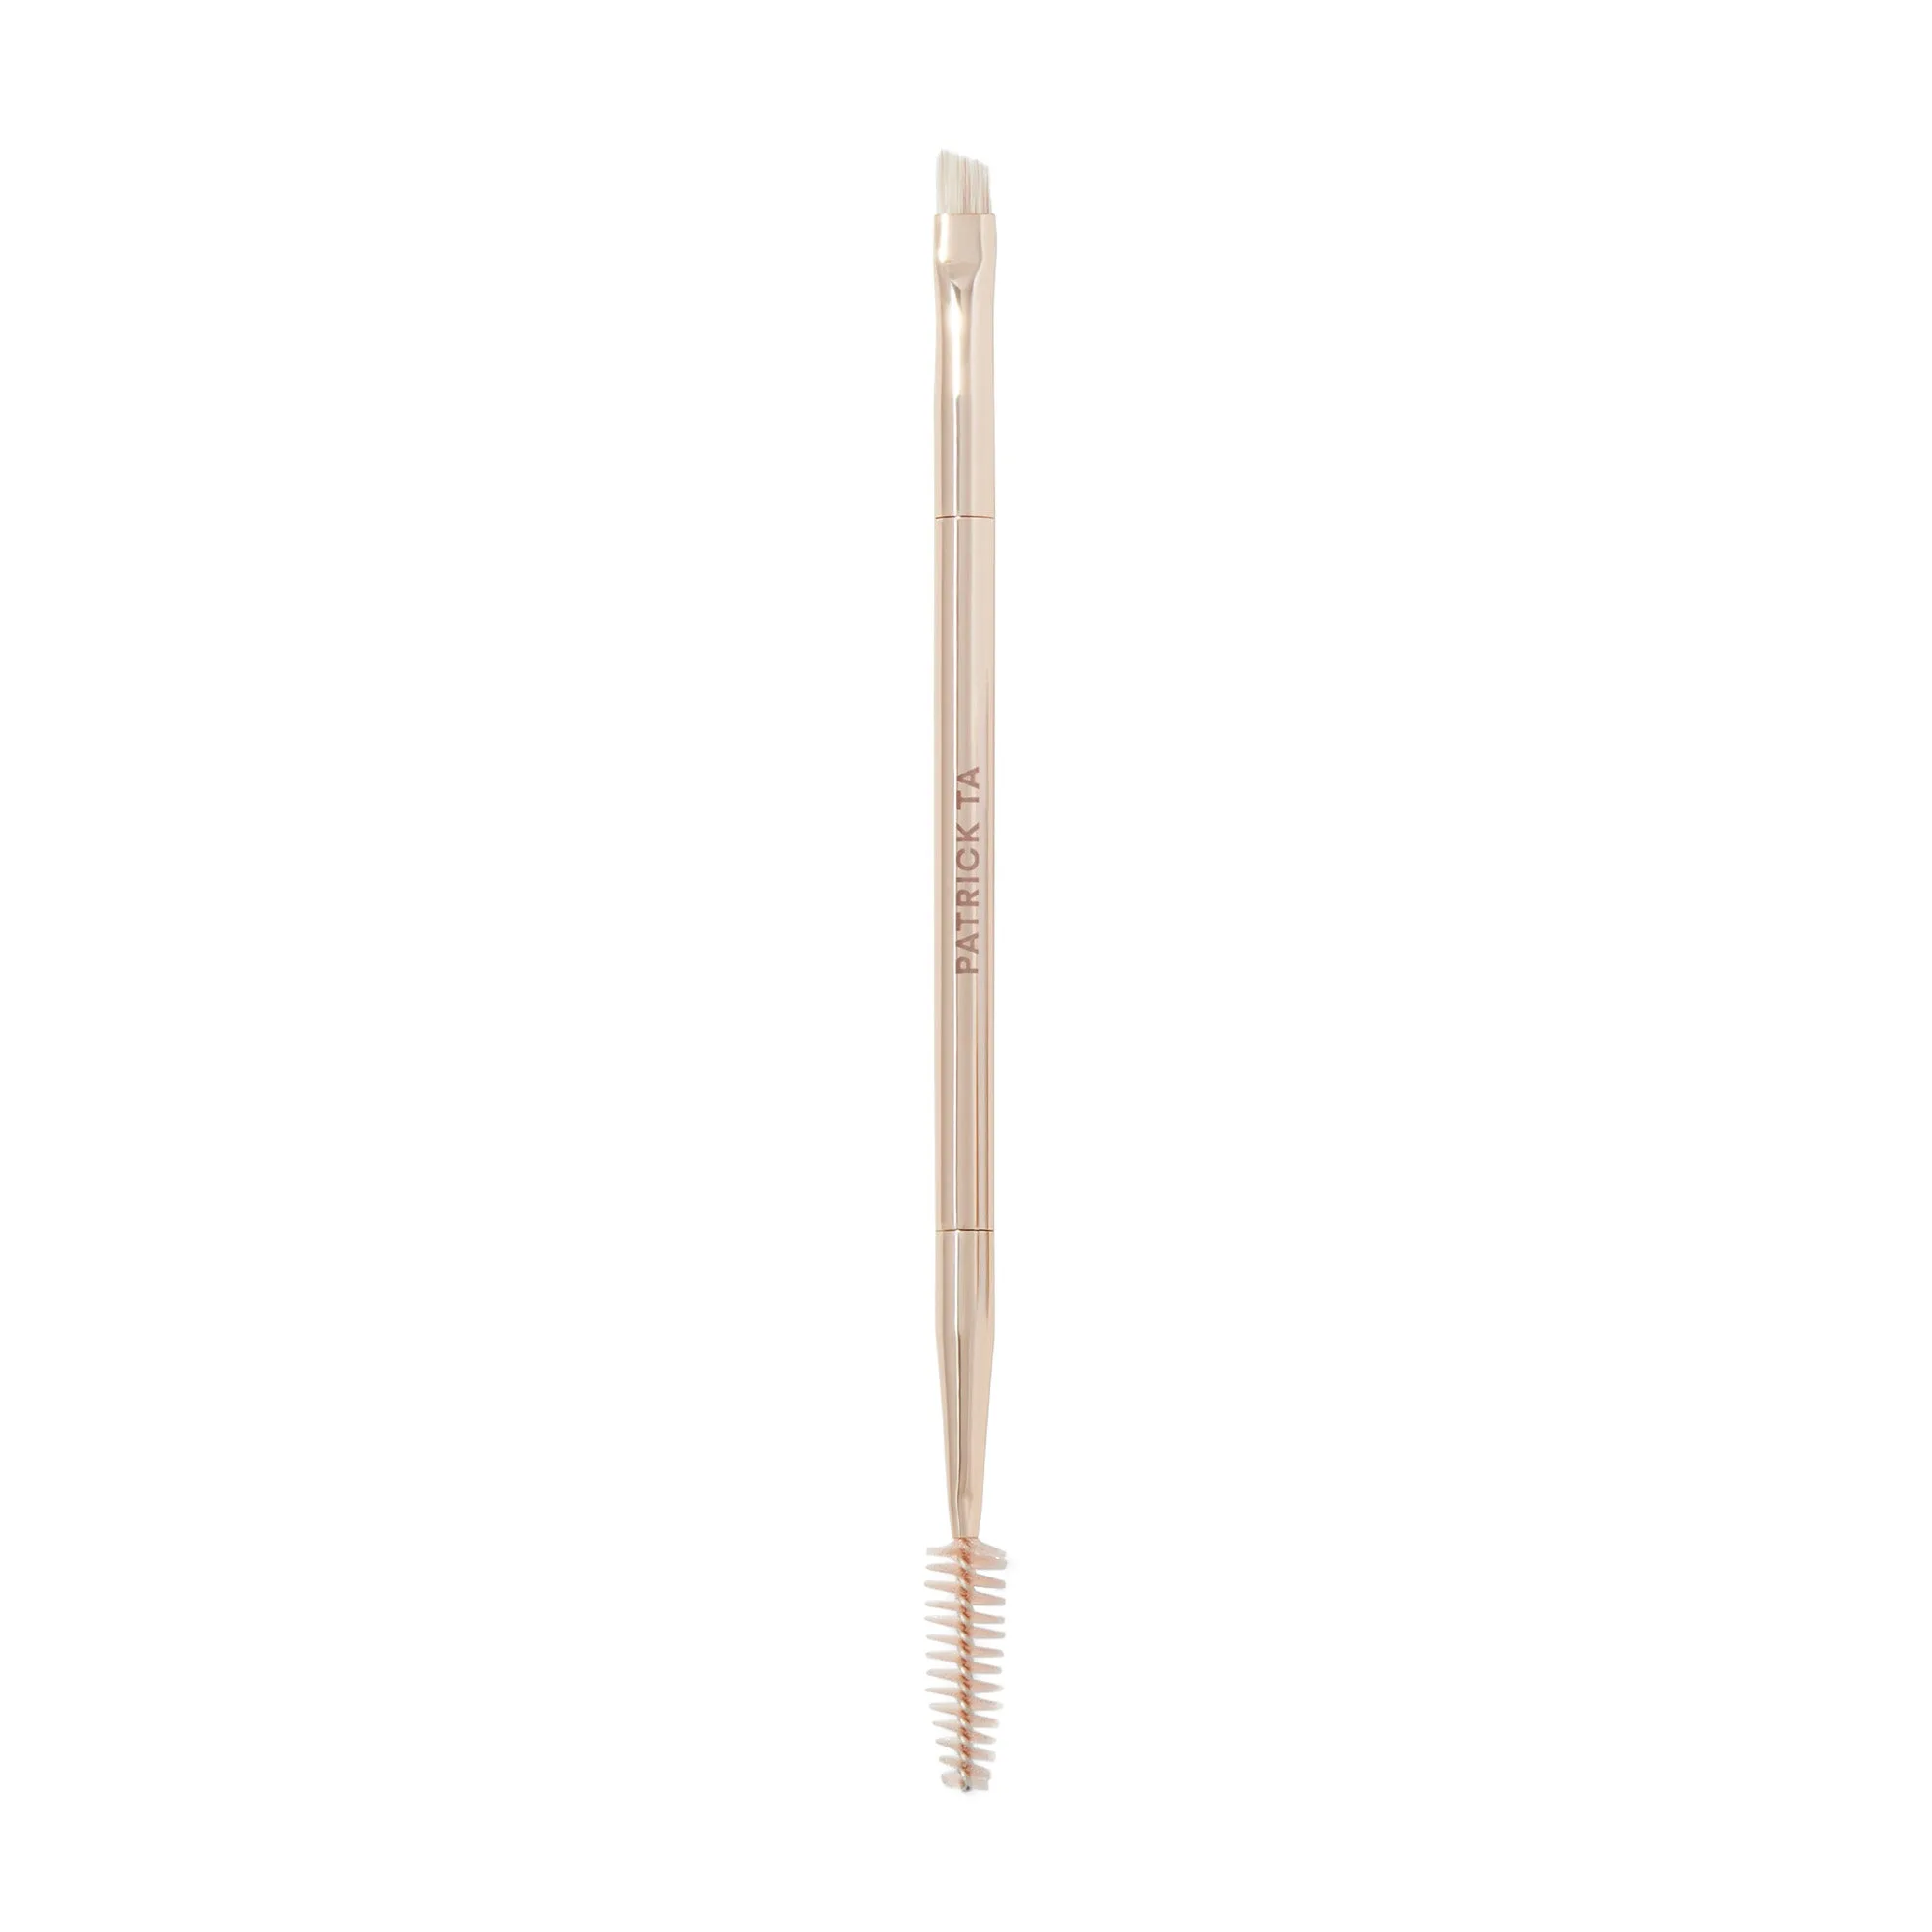
Don't forget your brows—a defined brow frames the smokey eye beautifully. Use a brow pencil or powder to fill in sparse areas and set with a clear gel. The Major Brow Dual Ended Brow Brush is a handy tool for precise application and grooming.
- Tightlining makes lashes look fuller without heavy liner.
- Curling your lashes before mascara opens up the eye.
- Keep brows natural but groomed—they balance the bold eye look.
Pro Tips for a Flawless Smokey Eye Every Time
Less is more when it comes to product—you can always add more, but removing excess is tricky. Start with a light hand and build intensity gradually. Use a clean brush to blend any harsh lines, and always tap off excess powder before applying to avoid fallout.
If you have hooded or deep-set eyes, focus the darkest shade slightly above the crease so it's visible when your eyes are open. For monolids, blend the dark shade upward and outward for a lifted effect. Practice makes perfect, so don't be discouraged if your first attempt isn't gallery-worthy.
- Use a setting spray to lock in your look and reduce fallout.
- Clean up any shadow dust with concealer on a flat brush.
- Smokey eyes look great with a nude lip—let your eyes do the talking.
A smokey eye created with a palette is a timeless skill that elevates any makeup routine. With the right tools and techniques, you can achieve a sultry, blendable look that lasts all night. For a flawless base that enhances your eye makeup, try the Major Skin Hydra-Luxe Luminous Skin Perfecting Foundation—it adds a radiant glow that makes your smokey eye pop even more. Explore the full collection at Patrick Ta Beauty to find your perfect palette and brushes.