Quick answer
Start with a theme and a two-to-three color palette, place one large sticker as the anchor, then layer smaller stickers around it before you draw any lines. Keep at least 60 percent of the page open for writing. If you are new to sticker journaling, one anchor sticker, three accent stickers, and a short quote sticker is enough for a full spread.
A sticker-themed bullet journal spread works best when the stickers do a job, not just fill space. The fastest way to get there is to treat the page like a layout: one focal point, a few supporting pieces, and room left for actual planning.
This guide walks through a six-step process you can repeat every month or week. It also covers the mistakes that make sticker spreads look cluttered, and which sticker types hold up best on journal pages.
Step 1: Choose a theme and a two-to-three color palette
Pick a theme that matches the month, a mood, or a phrase you keep repeating. A theme narrows your choices so you are not sorting through every sticker you own. It also makes the spread look intentional instead of random.
Limit yourself to two or three colors. Pull them from one anchor sticker so everything else has something to match. If you are using purple, blue, and orange stickers, keep your pen colors in that same family.
- Common mistake: choosing five or more colors because each sticker is cute on its own. More colors rarely look better on one page.
Step 2: Place the anchor sticker first
The anchor is the largest sticker on the page. Place it off-center, usually in a top corner or along one edge, so it does not compete with your writing space. Press it down fully before adding anything else.
Once the anchor is set, the rest of the page has a reference point. You can match colors, repeat shapes, or balance the empty space on the opposite side.
- Checkpoint: step back and look at the page. If the anchor already feels crowded, it is too big for the spread.
Step 3: Add small accent stickers around the edges
Accent stickers are the small pieces that frame the page: tiny icons, dots, or mini illustrations. Place them near the anchor and along the outer edges, not in the middle where you will write.
Grouping accents in odd numbers, like three or five, tends to look more balanced than pairs. Leave gaps between them so the page can breathe.
- Common mistake: covering the center of the page. That is where your daily log, habit tracker, or notes need to go.
Step 4: Add one quote or phrase sticker
A single phrase sticker gives the spread a voice and a title. Place it near the top or beside the anchor so it reads as a header rather than decoration.
If the phrase sticker is hand lettered, let it be the only text-heavy sticker on the page. Two phrase stickers usually fight for attention.
- Checkpoint: read the phrase out loud. If it does not match your theme, save it for another spread.
Step 5: Draw your layout lines last
Only after the stickers are placed should you draw boxes, headers, or trackers. Working in this order prevents lines from running under stickers and keeps the layout functional.
Measure your writing space before you commit. A spread with a habit tracker, a weekly log, and a notes section usually needs at least half the page.
- Common mistake: drawing the full layout first, then squeezing stickers into leftover gaps. The stickers end up looking like afterthoughts.
Step 6: Test durability and finish the page
Run your hand over the stickers to check they are fully adhered, especially near the spine. If a sticker lifts at the edge, press it down again before you write over or near it.
Waterproof vinyl stickers hold up better on journal covers and inserts that get carried around. Paper stickers are fine for pages that stay on a desk.
- Checkpoint: flip the page and make sure no sticker edge catches on the next page.
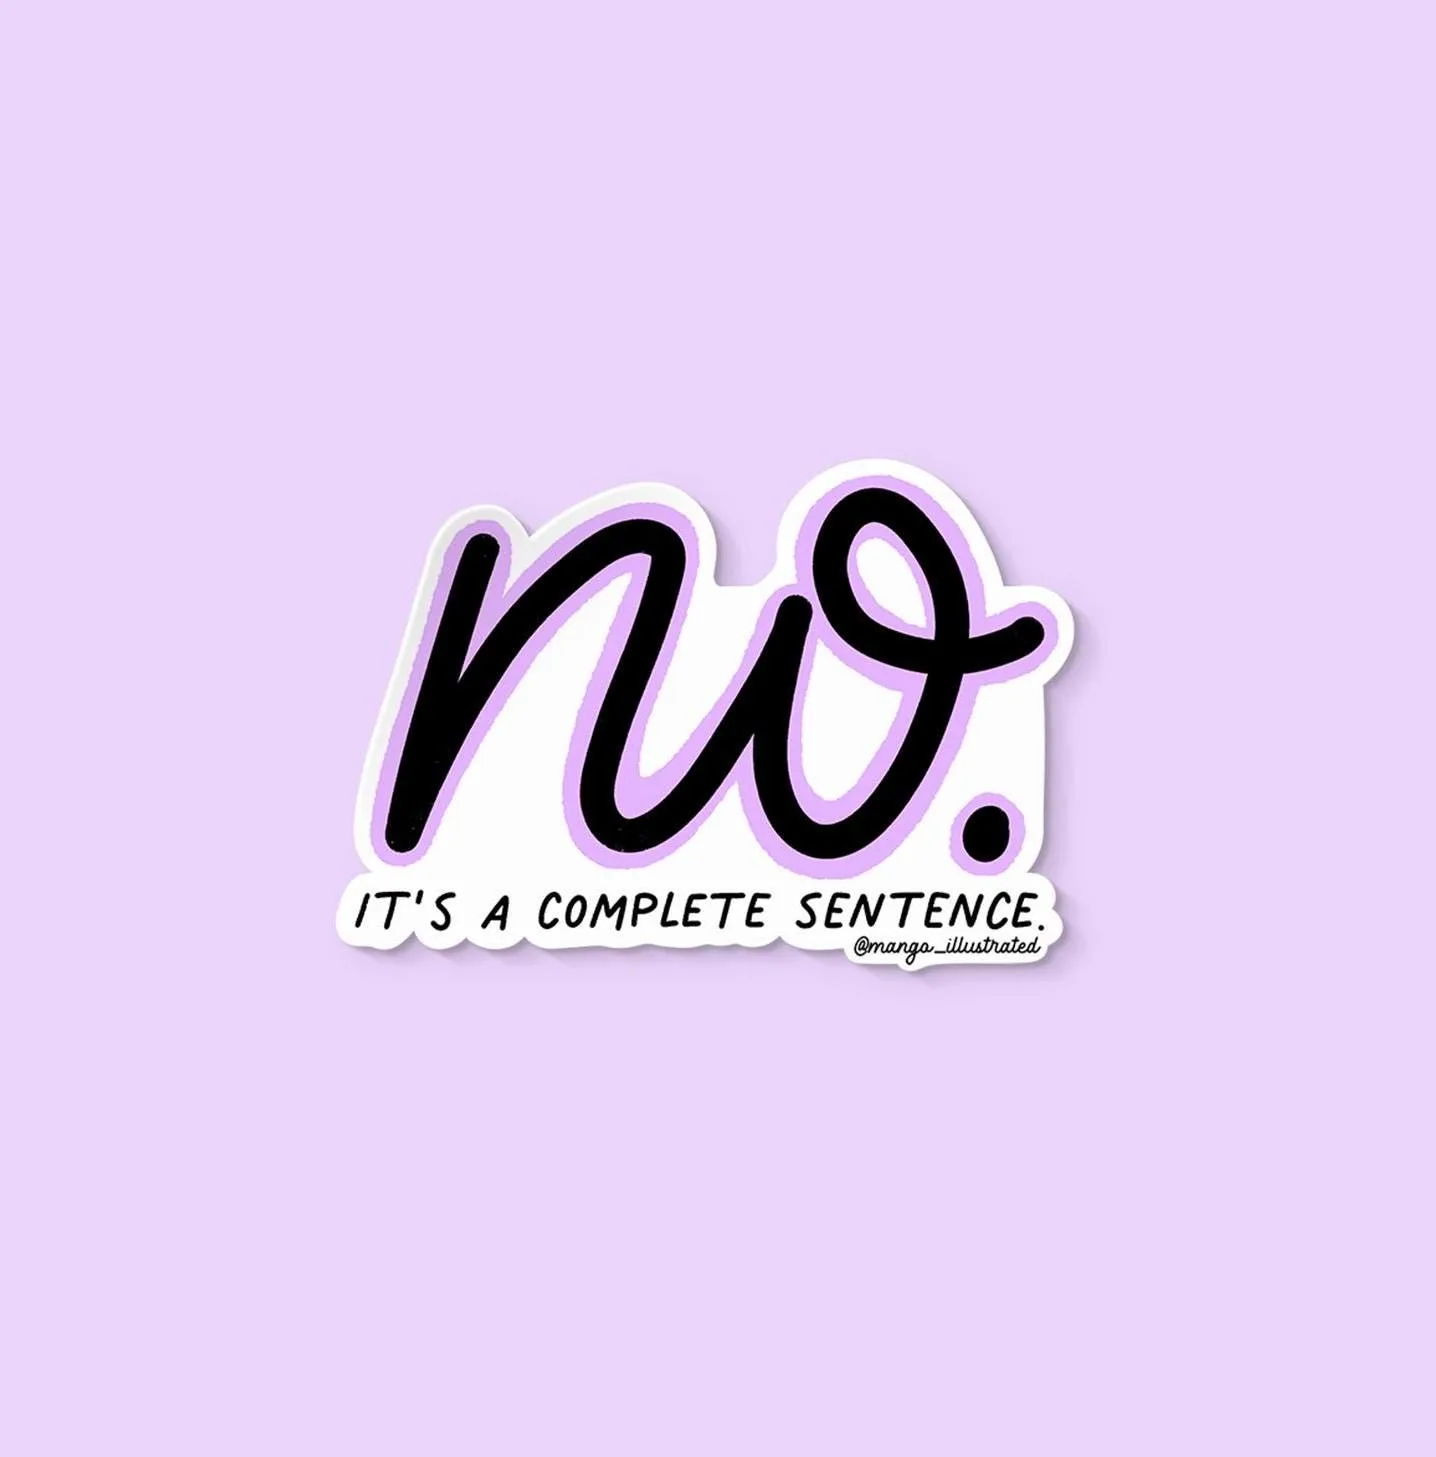
no sticker
Six-step sticker spread checklist
- Pick theme and palette: Choose one theme and two or three colors pulled from your anchor sticker. Checkpoint: if you cannot name the theme in one sentence, simplify it.
- Place the anchor: Put the largest sticker off-center in a corner or along one edge, and press it down fully. Checkpoint: the anchor should not cover more than a quarter of the page.
- Add accents in odd numbers: Place three or five small stickers near the anchor and along the outer edges. Common mistake: filling the center, which is where you write.
- Add one phrase sticker: Use a single quote or phrase sticker as a header near the top. Checkpoint: one phrase sticker per spread.
- Draw layout lines last: Add boxes, headers, and trackers after stickers are placed, leaving at least half the page open. Checkpoint: measure writing space before committing to the layout.
- Press and test edges: Run your hand over each sticker and check the spine edge before closing the journal. Waterproof vinyl is the safer choice for journals that get carried around.
Sticker types that work well in a bullet journal
- Overwhelmed overstimulated potentially about to cry sticker: Hand lettered in mixed script in shades of purple, blue, orange, and green, on durable waterproof and weatherproof vinyl. The multi-color lettering gives you a ready-made palette, and the vinyl holds up on planners and journals that travel.
- Doing my best award sticker: A hand drawn award ribbon, hand lettered, 3 x 3 inches, on durable waterproof and weatherproof vinyl. At 3 x 3 inches it works as an anchor sticker, and the ribbon shape fits neatly in a corner without blocking writing space.
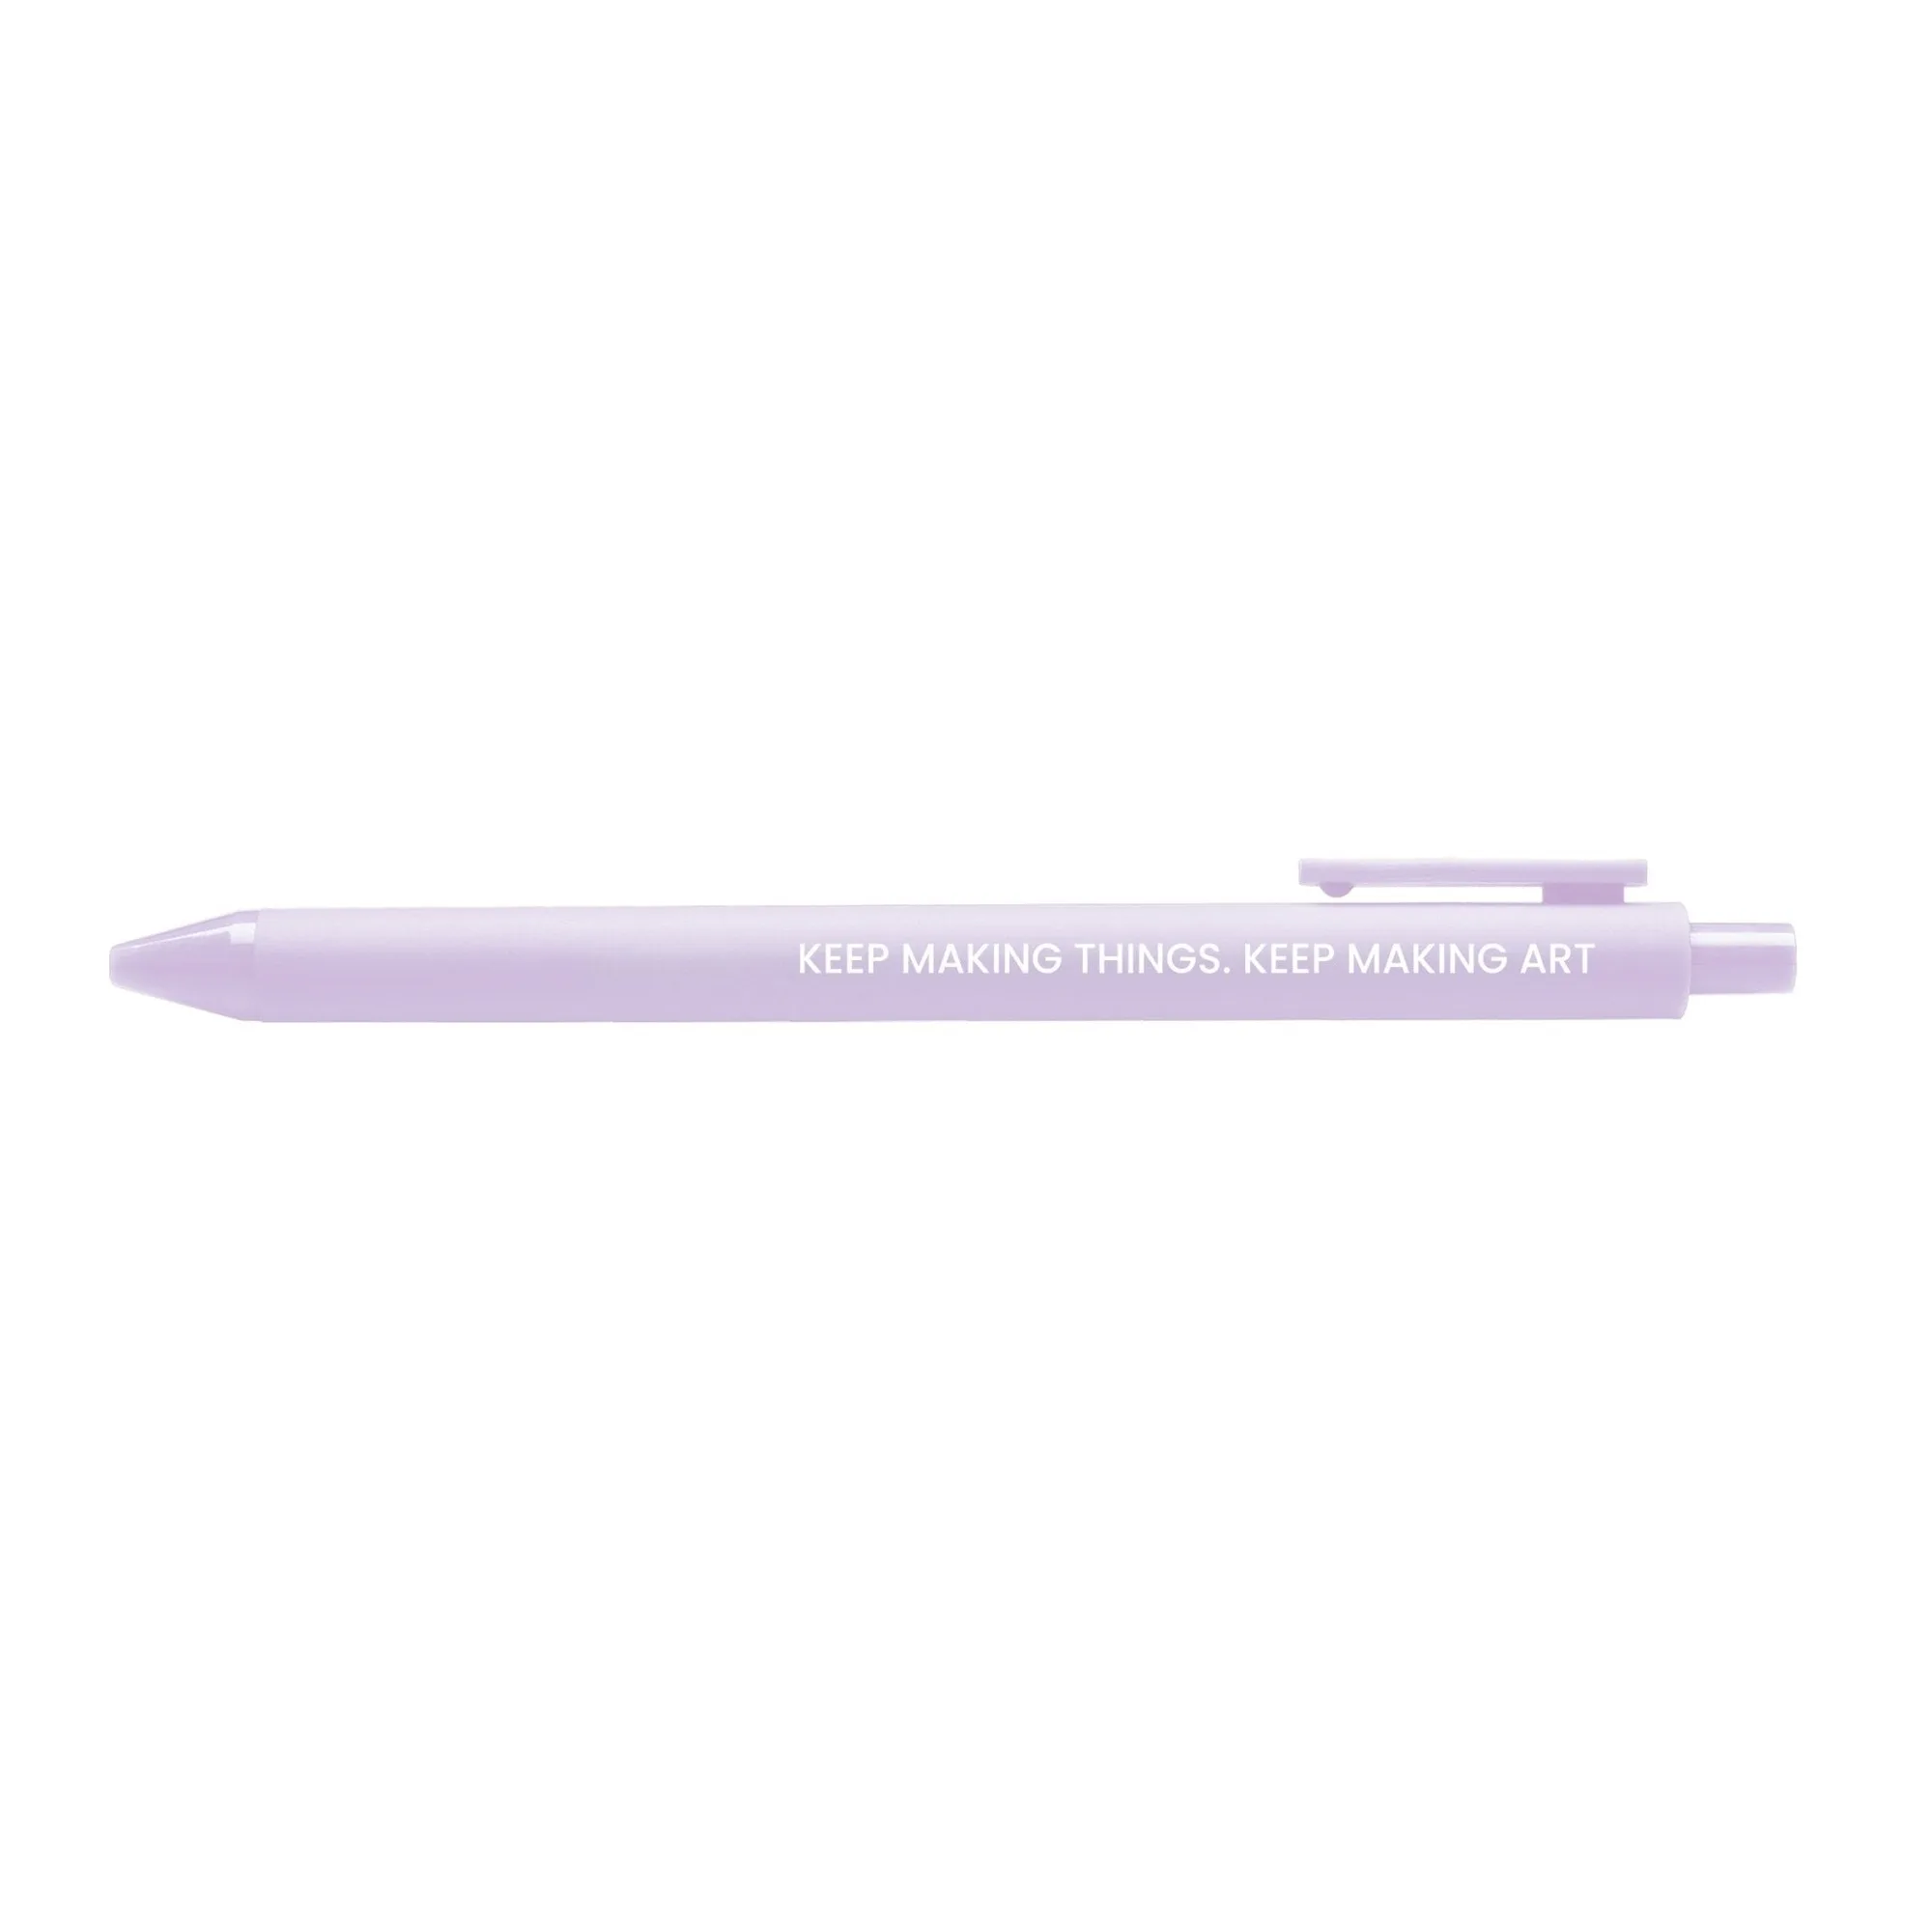
- Keep Making Art pen: A lilac gel pen with white lettering printed with 'Keep making things. Keep making art.' Black ink, 0.5mm fine point. The 0.5mm fine point keeps layout lines and small tracker boxes clean, and the lilac barrel matches purple and blue sticker palettes.
A sticker-themed bullet journal spread does not need many stickers, just a clear order: theme, anchor, accents, phrase, then lines. Build one spread with that sequence and you will have a repeatable layout you can adapt every month.