Quick answer
Curl lashes without heat by using a clean lash curler on clean, dry lashes, then sealing the lift with a transparent styling formula like The Ordinary Lash Curl Finisher. This avoids heat damage while keeping lashes defined all day.
Why skip heat on lashes?
Heated curlers or blow-dryer tricks can weaken lash proteins over time, leading to brittleness and breakage. A mechanical curler paired with a holding formula gives the same visible lift without thermal stress.
The trade-off: mechanical curling may need a touch-up if your lashes are naturally straight or resistant. A styling product helps lock the curve longer.
Heat-free lash curling steps
- Step 1: Start with clean, dry lashes: Remove any mascara or oil-based residue. Lashes must be completely dry—any moisture will flatten the curl immediately. Common mistake: curling after applying moisturizer or eye cream can cause lashes to stick and break.
- Step 2: Use a clean mechanical curler: Position the curler at the base of your lashes and gently squeeze for 5–10 seconds. Avoid pumping or tugging. Move the curler outward in sections for a natural curve. Checkpoint: Replace curler pads every 2–3 months to prevent pinching or uneven crimps.
- Step 3: Apply a lash styling formula immediately: Brush The Ordinary Lash Curl Finisher from root to tip while the curl is still fresh. The transparent film holds the lift without adding weight or heat. Common mistake: waiting too long after curling—the lift starts to drop within seconds. Apply the formula right away.
- Step 4: Let the formula set undisturbed: Avoid touching or blinking hard for about 30 seconds. The hold improves as the formula dries clear. Checkpoint: If you want more volume, layer a water-based mascara on top once the finisher is fully dry.
Product used in this routine
-
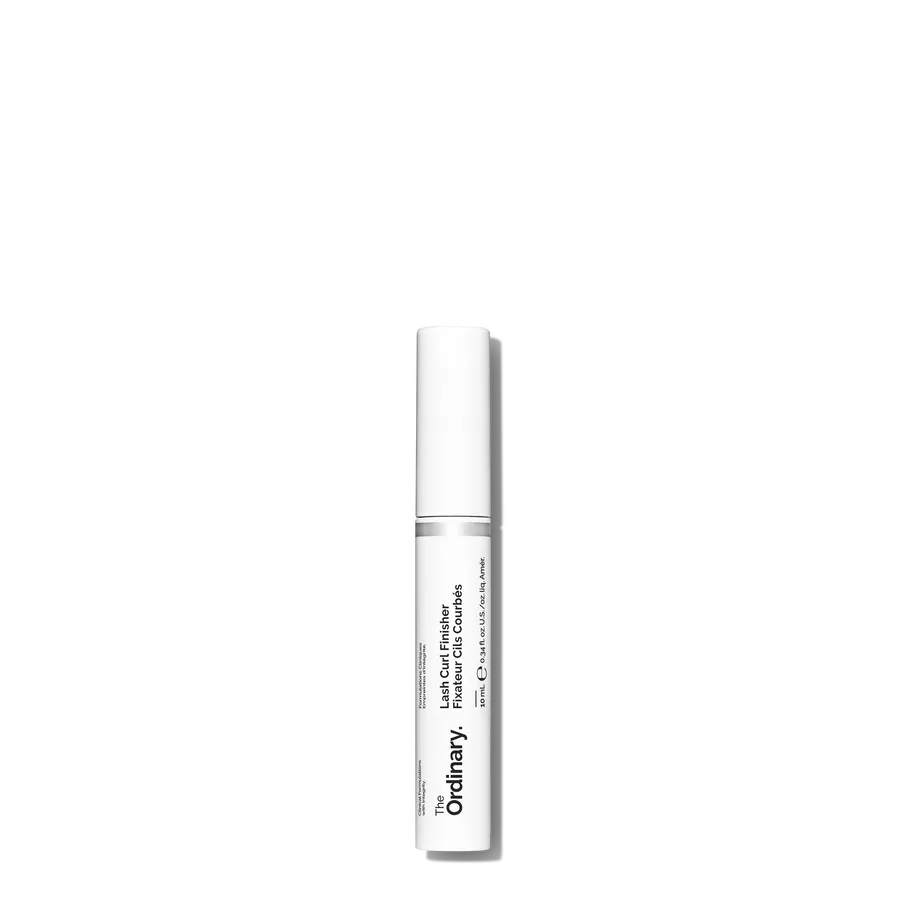
Lash Curl Finisher: Transparent formula designed to hold lifted lashes in place. It replaces the need for heat or waterproof mascara, keeping your curl intact without stiff or crunchy lashes.
Lash Curl Finisher