The 30 Minute Missions (30MM) line from Bandai has revolutionized mecha kit customization. With its interchangeable parts and endless possibilities, it's no wonder hobbyists love building and customizing these kits. Whether you're a beginner or a seasoned builder, this guide will walk you through the process of customizing your 30MM kit with option parts, helping you create a unique mecha that stands out.
From planning your build to applying the final touches, we'll cover everything you need to know. We'll also highlight some useful products from Hobby Gundam USA that can enhance your customization experience.
Why Customize Your 30MM Kit?
30MM kits are designed with customization in mind. The standard kits are great on their own, but option parts allow you to change the silhouette, add weapons, and create a mecha that truly reflects your style. Customizing also adds to the fun and longevity of the hobby, as you can constantly tweak and improve your builds.
Moreover, customization helps you develop valuable modeling skills. You'll learn about part fitting, painting, and even kitbashing. These skills translate to other model kits, making you a more versatile builder.
- Endless possibilities for unique designs
- Improves your modeling skills
- Adds replay value to your kits
Planning Your Custom Build
Before you start snapping parts together, take some time to plan your build. Consider the type of mecha you want to create. Do you want a heavy weapons platform, a sleek scout unit, or something in between? Look at reference images or sketch your ideas. This will help you decide which option parts you need.
When planning, think about color schemes. A cohesive color palette can make your custom build look professional. You might want to paint certain parts to match your vision. If you're using multiple option parts from different sets, ensure they have a unified look.
- Decide on a concept (e.g., heavy assault, sniper, etc.)
- Sketch or list the parts you'll need
- Choose a color scheme and plan painting
Essential Option Parts for Customization
30MM option parts come in various forms: weapons, armor, extra limbs, and even entire body options. For a basic customization, you might want to start with weapon sets or armor packs. These can dramatically change the look of your kit without requiring complex modifications.
For more advanced customization, consider using option body parts. For example, the 30MS OPTION BODY PARTS TYPE G03 [COLOR B] is designed for the 30 Minute Sisters line but can be adapted for 30MM kits with some creativity. This set provides additional articulation and a different body type, allowing for more dynamic poses.
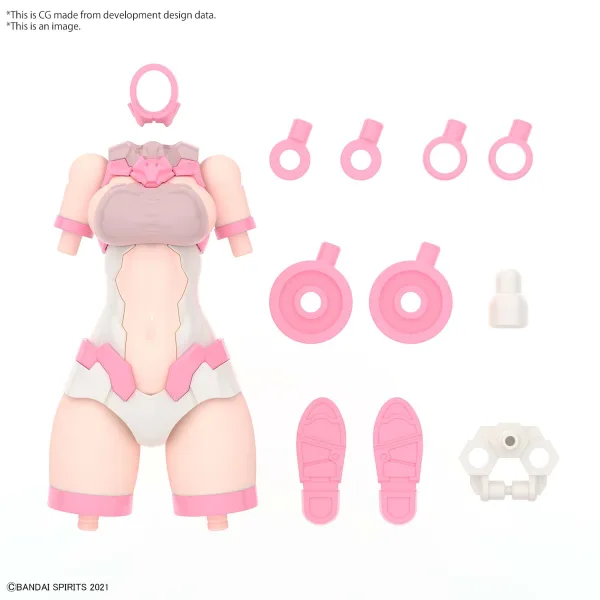
30MS OPTION BODY PARTS TYPE G03 [COLOR B]
- Weapon sets: add firepower and style
- Armor packs: increase bulk and protection
- Option body parts: change the frame and articulation
Step-by-Step Assembly Tips
When assembling your customized 30MM kit, it's important to test-fit parts before gluing or painting. Dry-fitting allows you to see how parts interact and make adjustments. Use a hobby knife to clean up nubs and sand any rough edges for a seamless fit.
For parts that require painting, it's best to paint before final assembly. This ensures even coverage and avoids paint buildup in joints. Use a primer first, then apply your chosen colors. For a durable finish, consider using a topcoat.
- Dry-fit parts to check compatibility
- Clean nubs with a hobby knife or sandpaper
- Paint parts separately before assembly
Painting and Detailing Your Custom Mecha
Painting is where your custom build truly comes to life. Choose high-quality paints like the AQUEOUS HOBBY COLOR line. For example, AQUEOUS HOBBY COLOR - H48 GLOSS FIELD GRAY(2) (GERMAN ARMY UNIFORM) is perfect for military-style mecha, while AQUEOUS HOBBY COLOR - H43 GLOSS WINE RED (PRIMARY) can add a striking accent color.
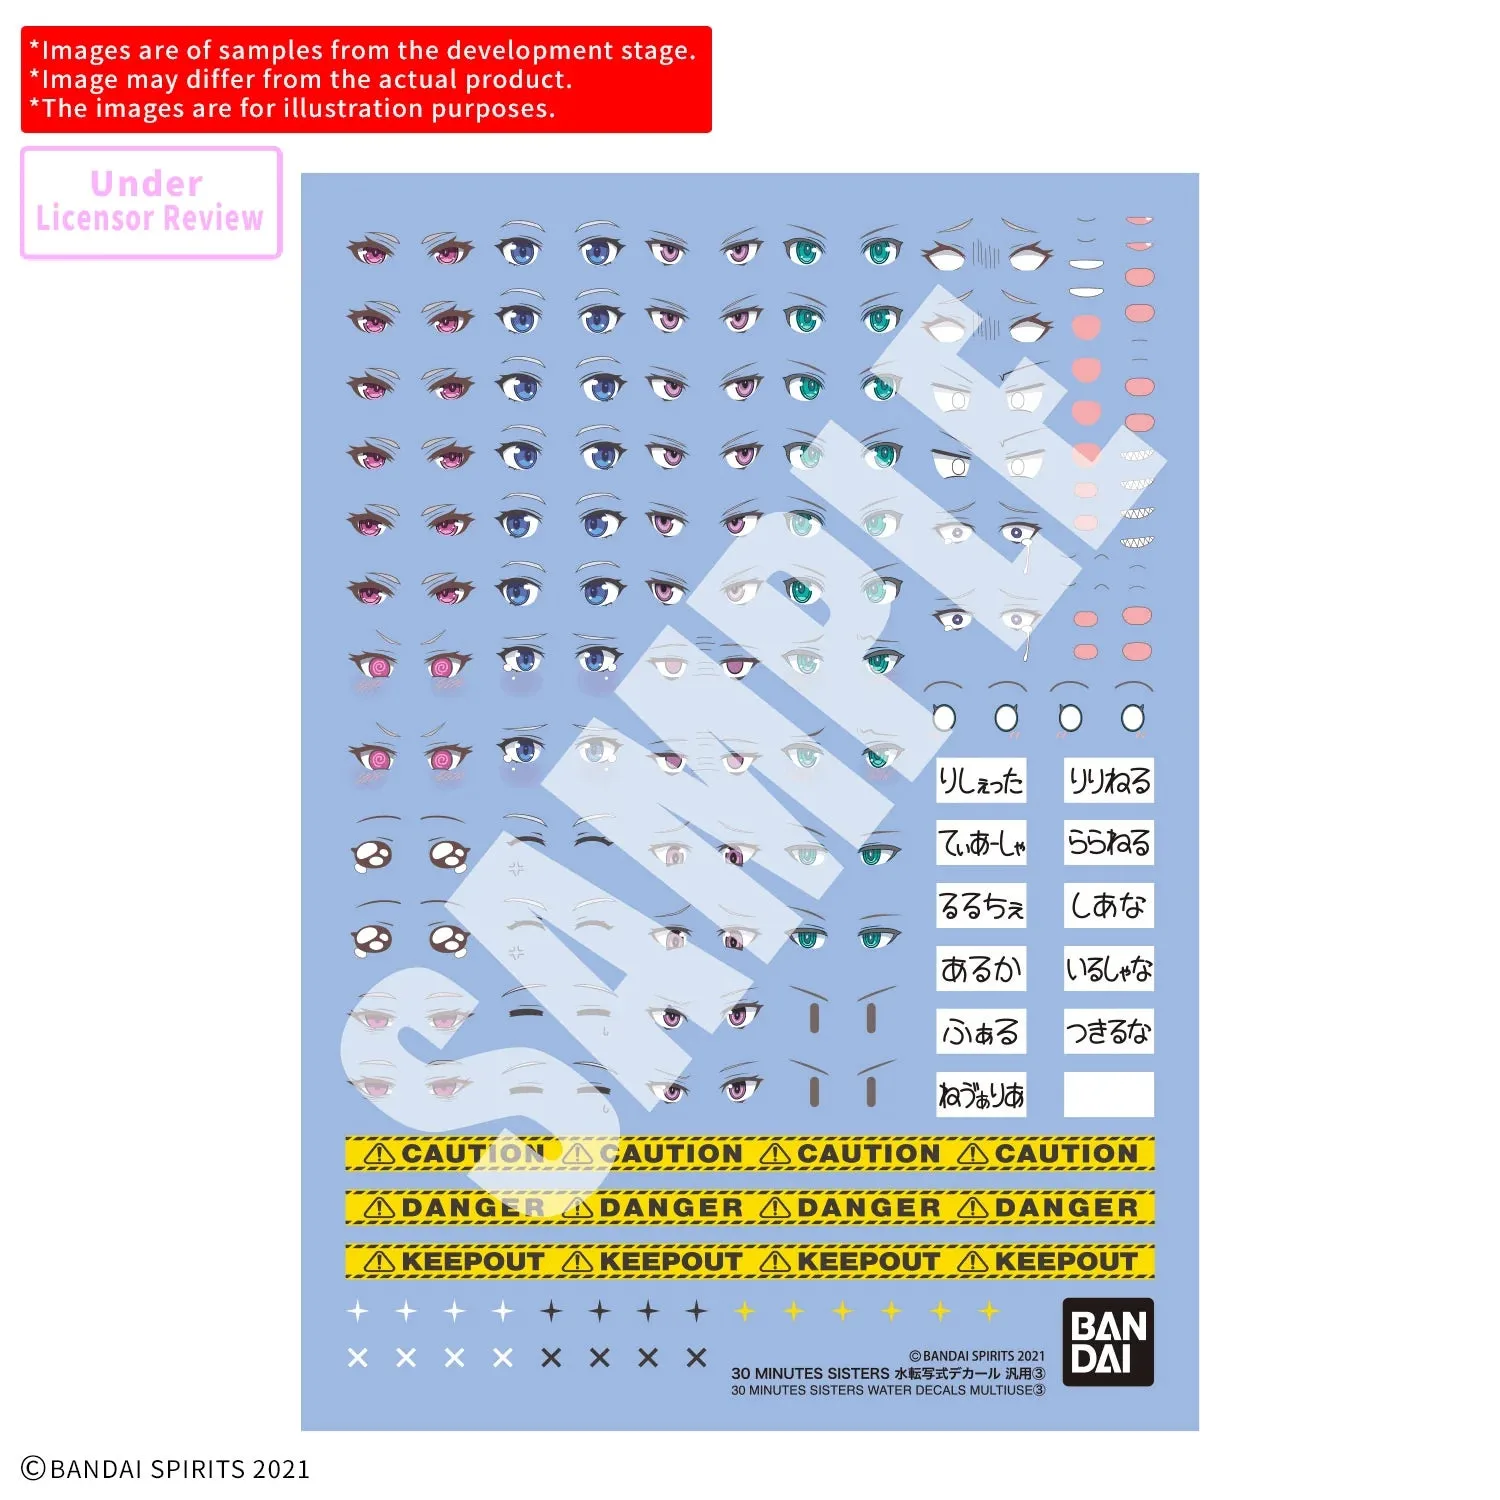
When painting, use thin, even coats. Build up the color gradually to avoid brush strokes or pooling. For panel lines, use a fine-tip marker or panel line accent to add depth. Decals and water-slide transfers can further enhance the realism of your build.
- Use quality paints for better results
- Apply thin coats and let each dry
- Add panel lines and decals for detail
Showcasing Your Finished Custom Build
Once your custom 30MM kit is complete, it's time to show it off. Pose your mecha in dynamic stances and take photos from different angles. You can also display it in a glass case or on a shelf. Sharing your work online can inspire others and get you feedback from the community.
If you're looking for a unique display piece, consider adding a figure to accompany your mecha. For example, the "OSHI NO KO" PM Perching Figure "Ruby" -Uniform- can add a touch of anime charm to your collection. However, for a pure mecha display, you might prefer a prize figure like Asuka Langley Shikinami (Evangelion 2.22) to stand alongside your creation.
- Pose and photograph your build
- Display in a prominent spot
- Share on social media and forums
Customizing your 30MM kit with option parts is a rewarding experience that allows you to express your creativity and improve your modeling skills. With careful planning, the right parts, and some painting techniques, you can create a mecha that is uniquely yours. So, what are you waiting for? Start your next customization project today!