Start with a straight cut, not a steady hand
Printable stickers only look professional when the edges are clean. A sliding-blade paper cutter removes the guesswork: you line up the paper against a guide, hold it flat, and let the blade travel in a fixed track. The A4 Paper Cutter is built for this kind of trimming, with a built-in ruler and grid for straight edges, angled cuts, and custom sizing. That makes it a practical tool for journaling, scrapbooking, and paper crafting—especially when you are cutting a full sheet of stickers at once.
What the A4 Paper Cutter gives you for sticker trimming
-
A4 Paper Cutter: Cuts paper up to 274 mm wide (A4 size) Most printable sticker sheets are designed for A4 or US Letter paper; this width covers A4 sheets so you can trim across the full page without folding or rotating.
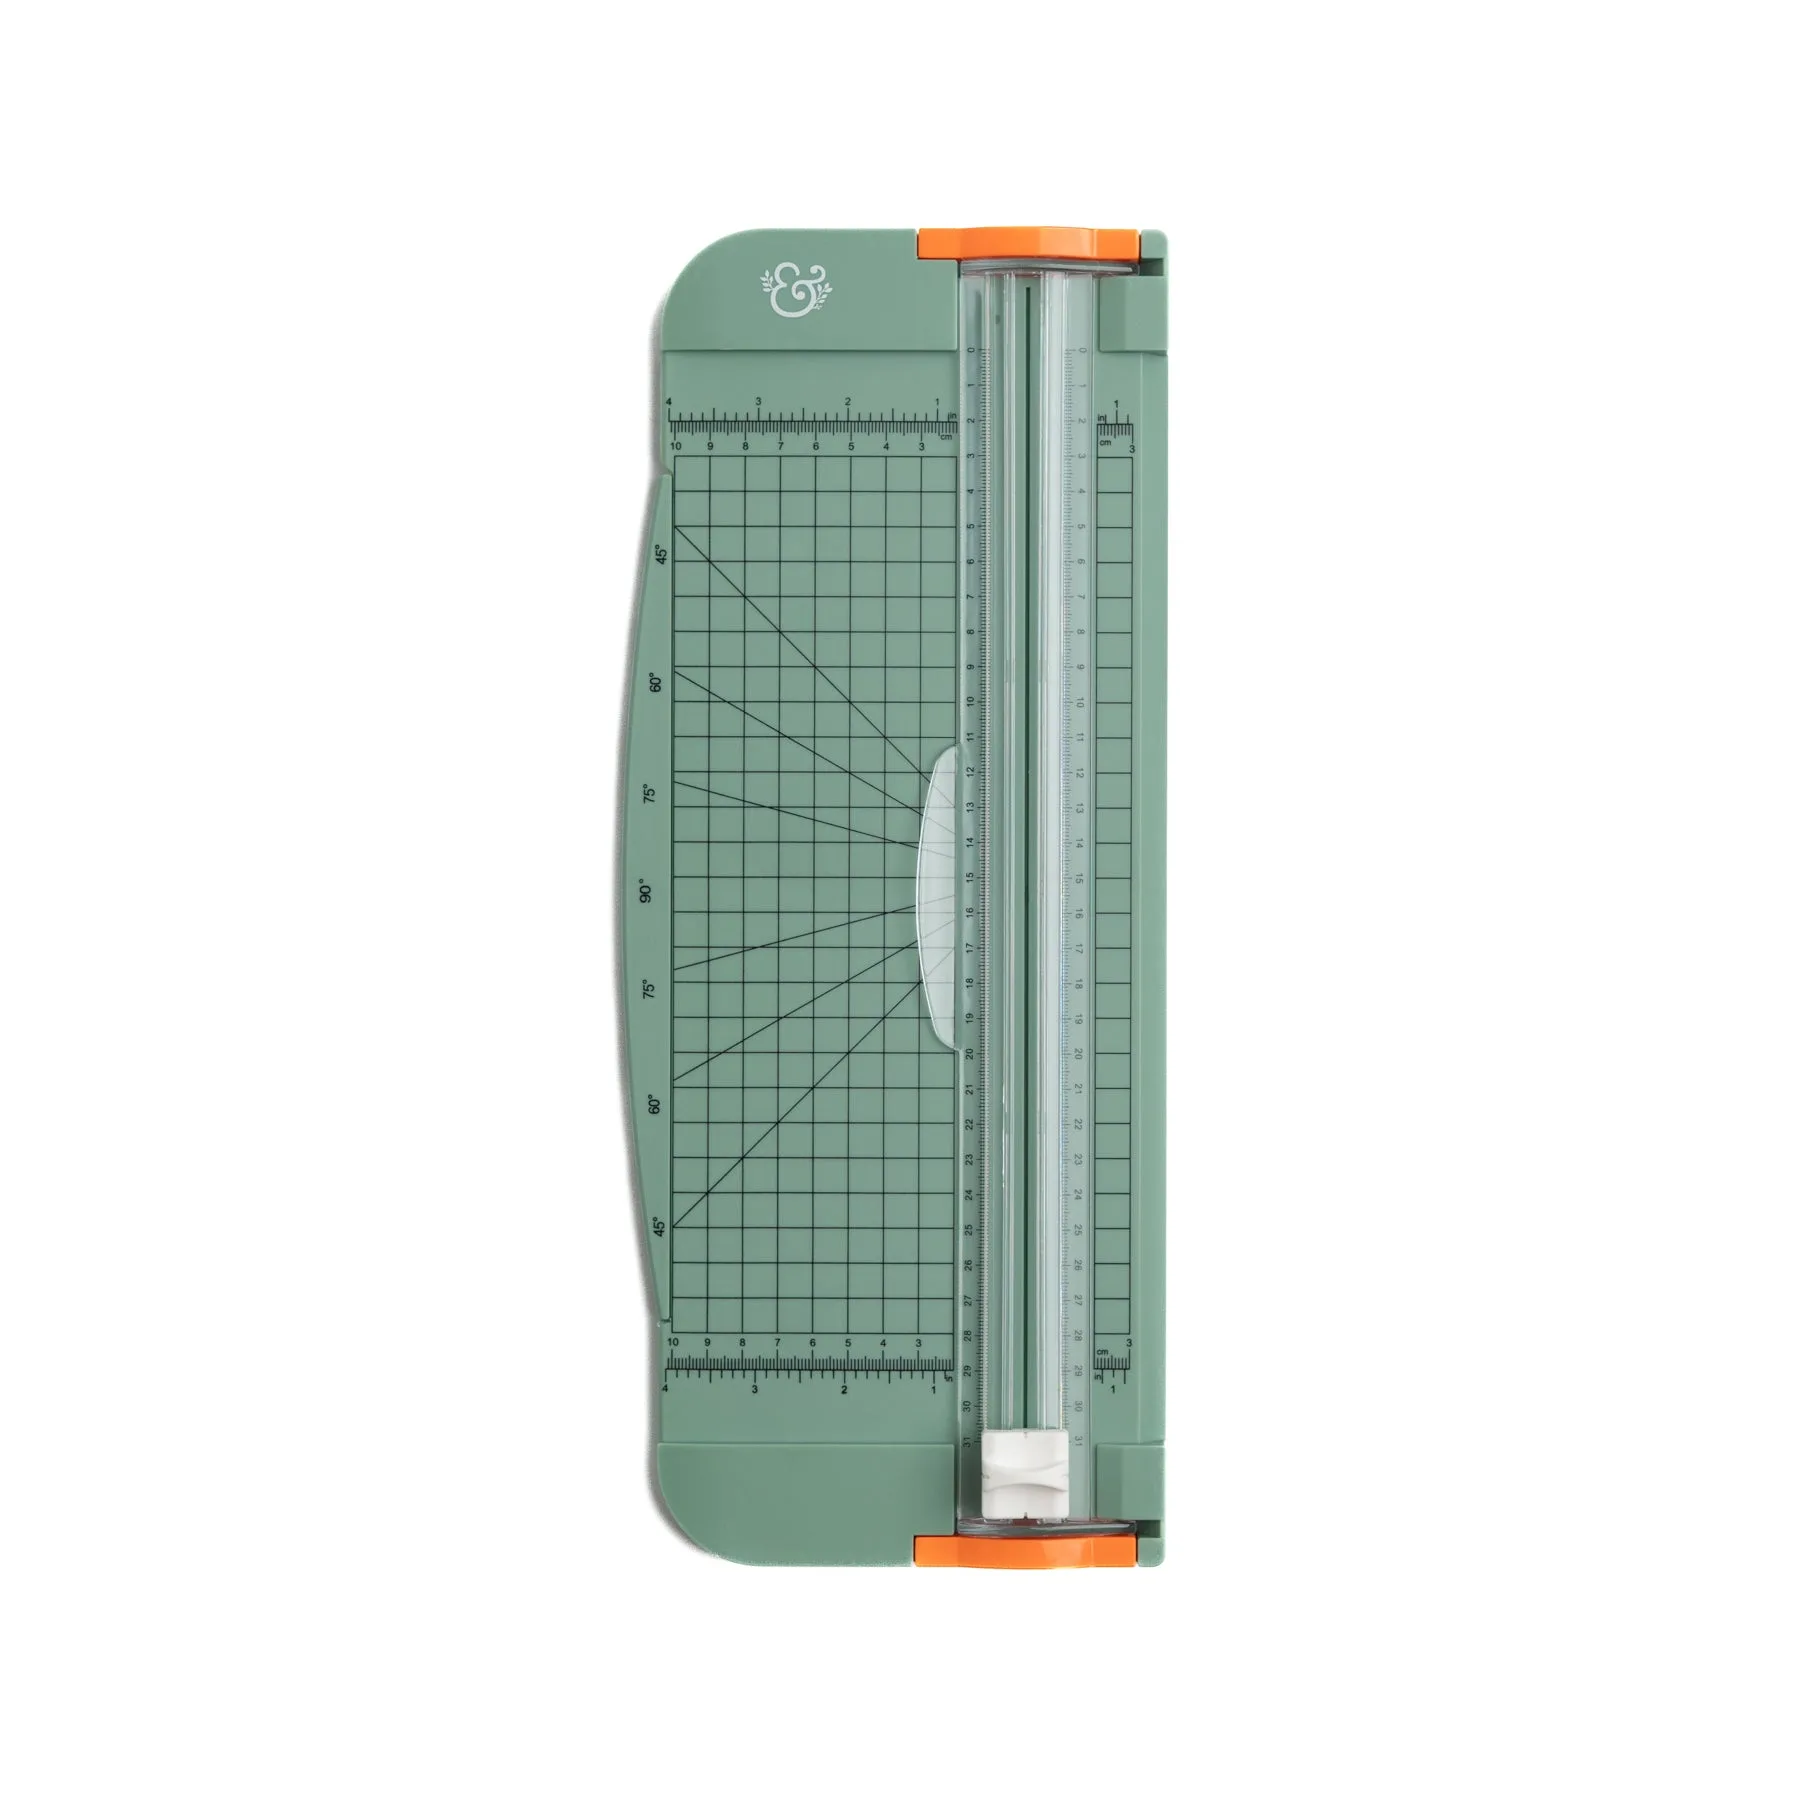
A4 Paper Cutter
-
A4 Paper Cutter: Sliding blade creates crisp, clean lines A sliding blade travels along a track, which helps produce consistent edges on sticker sheets compared with freehand scissors.
-
A4 Paper Cutter: Built-in ruler + grid guides for precision The ruler and grid let you align sticker borders and cut uniform strips or custom shapes without measuring separately.
A repeatable process for clean sticker edges
Work on a flat, stable surface and keep the cutter closed when not in use. The steps below assume you have already printed your sticker sheet on your chosen paper and allowed the ink to dry completely.
- 1. Print and prepare the sheet: Print your sticker designs on a full A4 sheet. Let the ink dry fully before cutting—wet ink can smudge or transfer to the blade. If you are using sticker paper with a backing, keep the backing intact until after cutting.
- 2. Align the sheet with the ruler and grid: Place the sheet on the cutter bed and use the built-in ruler and grid to line up the first cut. For straight borders, align the edge of your sticker design with a grid line. For angled cuts, use the ruler markings to set the angle consistently.
- 3. Hold the paper flat and away from the blade path: Press down on the paper with your non-cutting hand, keeping fingers clear of the blade track. The sliding blade works best when the sheet lies flat and does not shift during the cut.
- 4. Slide the blade smoothly through the sheet: Move the blade along its track in one steady motion. The sliding blade is designed to create crisp, clean lines; rushing or stopping mid-cut can leave a ragged edge. For thick sticker sheets, make sure the sheet is within the cutter’s capacity—this model cuts paper up to 274 mm wide (A4 size).
- 5. Rotate and repeat for remaining cuts: Turn the sheet and repeat the alignment and cutting steps for each side of your stickers. The grid helps you keep parallel cuts even when trimming multiple stickers from one sheet.
Printable sticker cutting tips that make a visible difference
- Cut from the back if your sticker paper has a backing: If your sticker sheet has a peel-off backing, you can cut through both layers or score the backing and peel away the waste. The A4 Paper Cutter’s sliding blade cuts paper cleanly; test on a scrap piece first to see how your specific sticker paper behaves.
- Use the grid for uniform borders: When cutting a set of stickers that should have equal margins, align each cut to the same grid line. This is faster and more consistent than measuring each sticker individually.
- Keep the blade track clear: Paper dust and adhesive residue can build up in the blade track. Wipe the track and blade area according to the cutter’s instructions (not supplied here) to maintain smooth sliding. Replacement blades are available separately for this model.
- Plan your cuts before you start: Arrange stickers on your printable sheet with cutting in mind: leave enough space between designs for the blade path, and group stickers that share the same cut line. This reduces the number of passes and lowers the risk of misalignment.
When the A4 Paper Cutter is the right tool—and when it isn’t
The A4 Paper Cutter suits crafters who print full sheets of planner stickers and want straight, repeatable cuts without relying on scissors. Its built-in ruler and grid make it especially helpful for rectangular stickers, borders, and custom sizing. However, if your sticker designs are highly intricate or very small, a die-cut sticker sheet or precision scissors may still be necessary for tight curves. The cutter’s sliding blade is designed for straight and angled cuts, not detailed shape cutting. Also note that the supplied information does not specify a maximum paper thickness beyond the width capacity, so test thicker sticker sheets on a scrap piece first.