Pulling a great espresso shot at home can feel like chasing a ghost. One day your coffee tastes rich and sweet, the next it's sour or bitter. The difference often comes down to one crucial skill: knowing how to dial in your espresso. Dialing in is the process of fine-tuning your grinder and espresso machine to achieve a balanced, delicious extraction. It’s the secret that separates a good home barista from a great one.
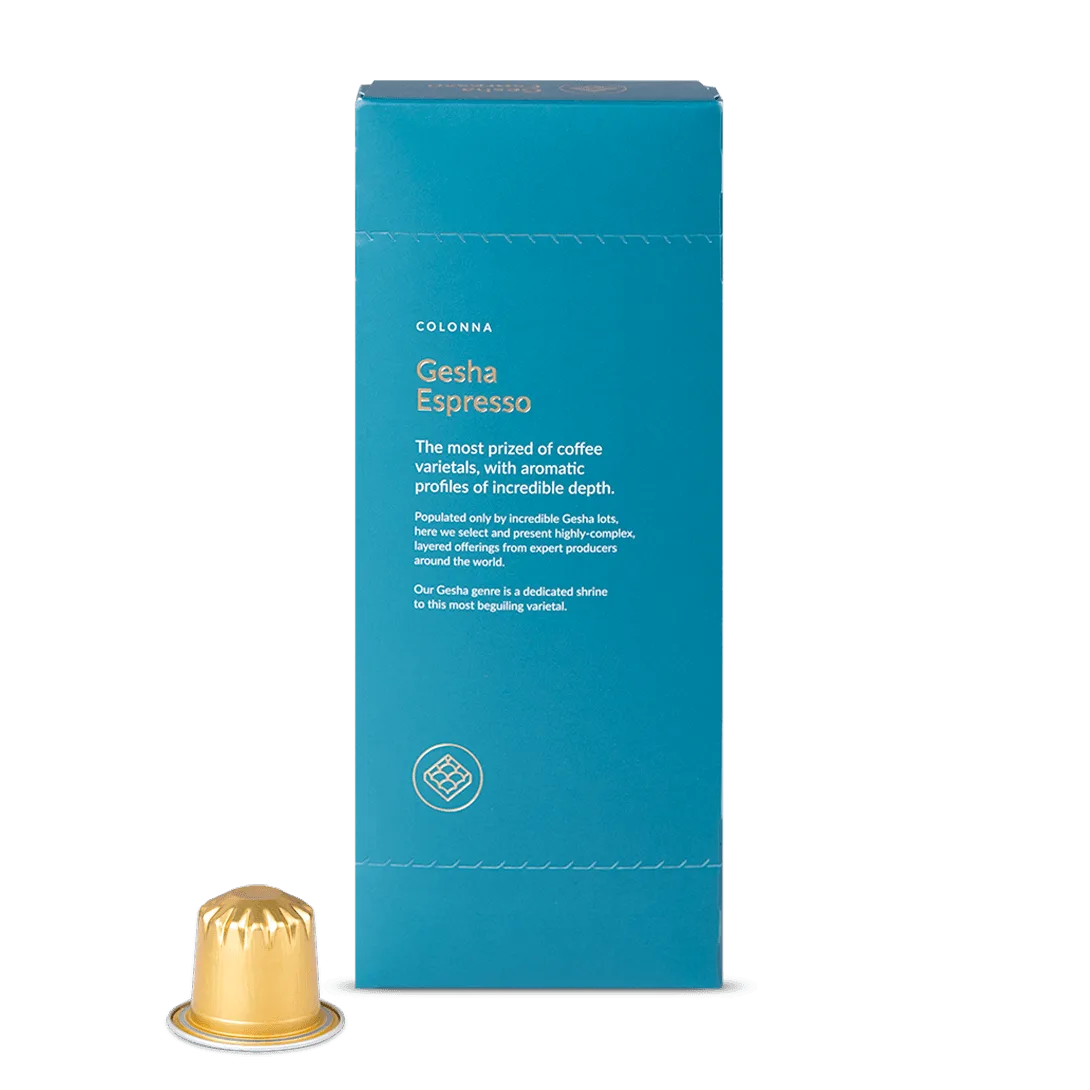
Whether you're using a top-tier single-origin like the 015 - Esmeralda Special Washed Gesha or a reliable daily driver, understanding the variables of espresso extraction will transform your morning ritual. In this guide, we’ll walk you through the exact steps to dial in your espresso shot like a professional, covering grind size, dose, yield, and time. By the end, you’ll have the confidence to pull consistently excellent shots.
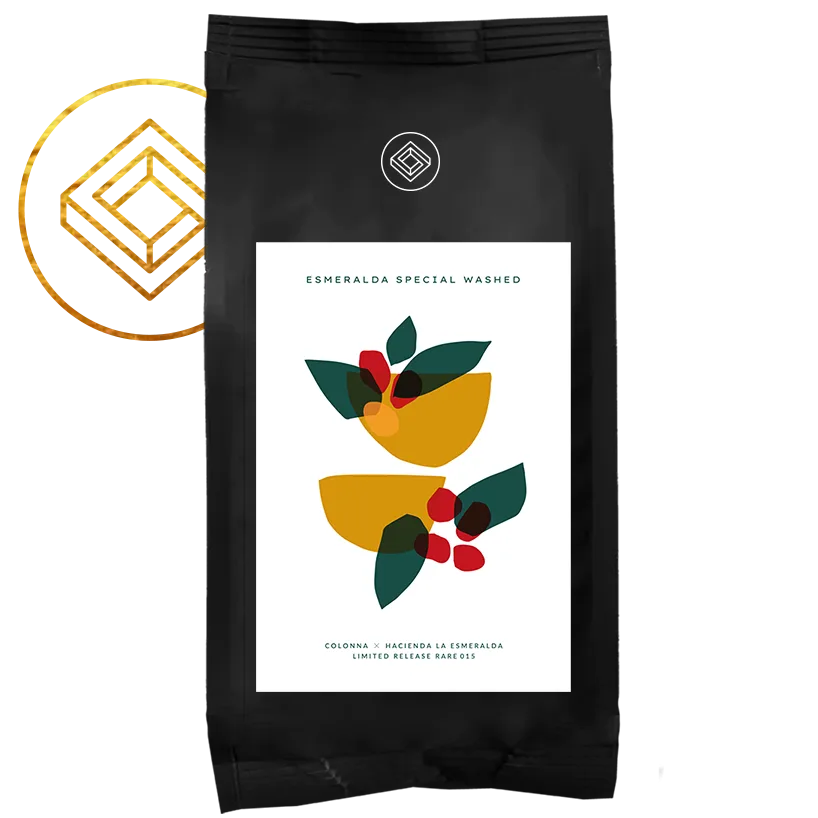
015 - Esmeralda Special Washed Gesha
Why Dialing In Matters for Espresso Extraction
Espresso is a concentrated brew made by forcing hot water through finely-ground coffee under pressure. The goal is to extract the right amount of soluble compounds—acids, sugars, and oils—in about 25 to 30 seconds. If your extraction is too fast (under-extracted), you’ll get sour, weak coffee. If it’s too slow (over-extracted), you’ll get bitter, harsh flavors. Dialing in your espresso shot ensures you hit the sweet spot where flavor is balanced and complex.
Every coffee bean behaves differently. A light roast from Ethiopia might need a finer grind and higher temperature, while a darker roast from Brazil might be more forgiving. Even humidity and bean freshness affect how water flows through the puck. That’s why learning to dial in is not a one-time task but an ongoing skill. It empowers you to adapt to any coffee, from a classic espresso blend to a delicate microlot like the 007 - Esmeralda Special.

007 - Esmeralda Special
- Consistency: A dialed-in shot ensures repeatable results cup after cup.
- Flavor control: Adjusting variables lets you highlight sweetness or tame acidity.
- Cost efficiency: Proper extraction gets the most flavor from your beans, reducing waste.
Step 1: Start with the Right Dose and Grind Size
Begin by selecting a dose that matches your portafilter basket. Most home espresso machines use 18 to 20 grams for a double shot. Weigh your coffee precisely—don’t rely on scoops. For your first attempt, use a medium-fine grind setting. If you have a grinder with numbered adjustments, start in the middle range. The goal is to achieve a flow rate where the first drops appear after 5 to 7 seconds and the shot finishes in 25 to 30 seconds.
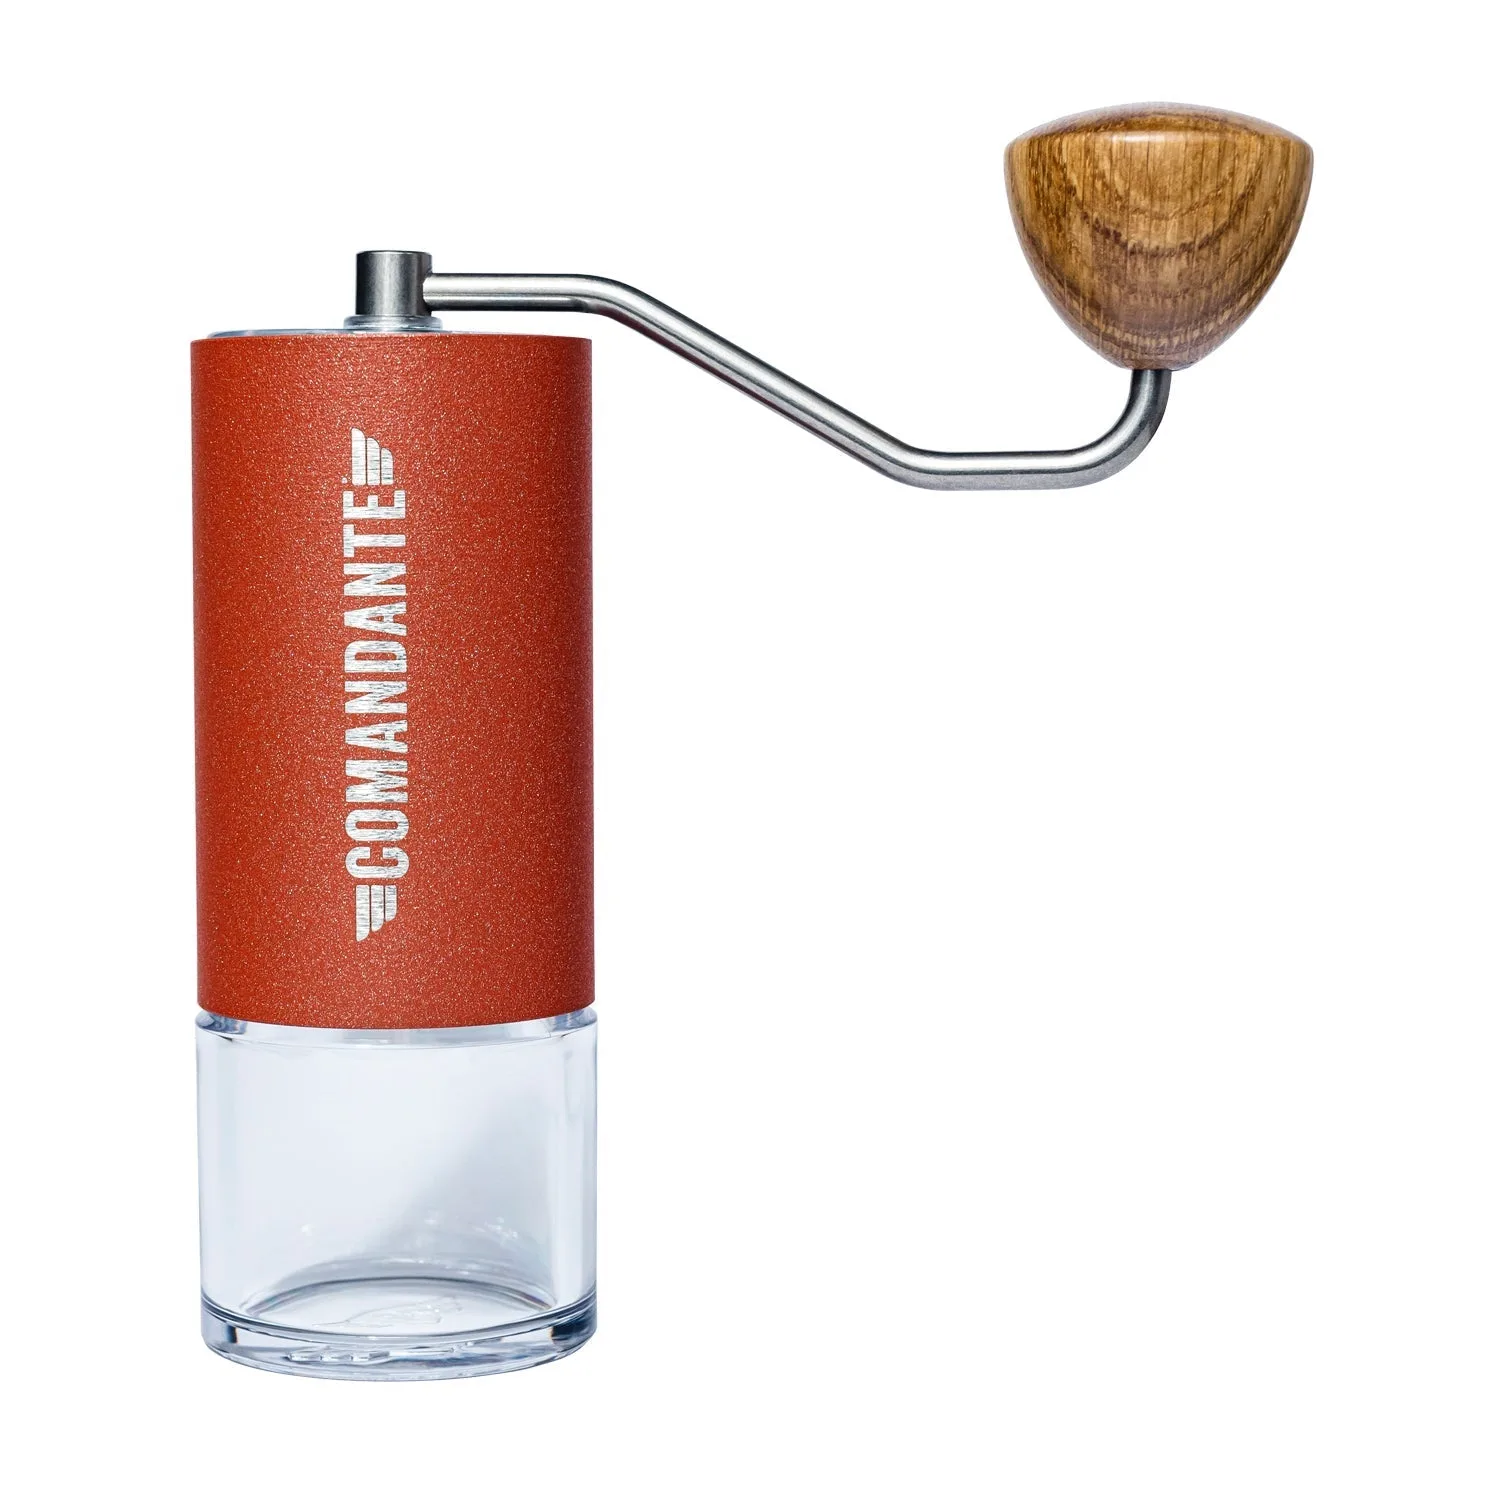
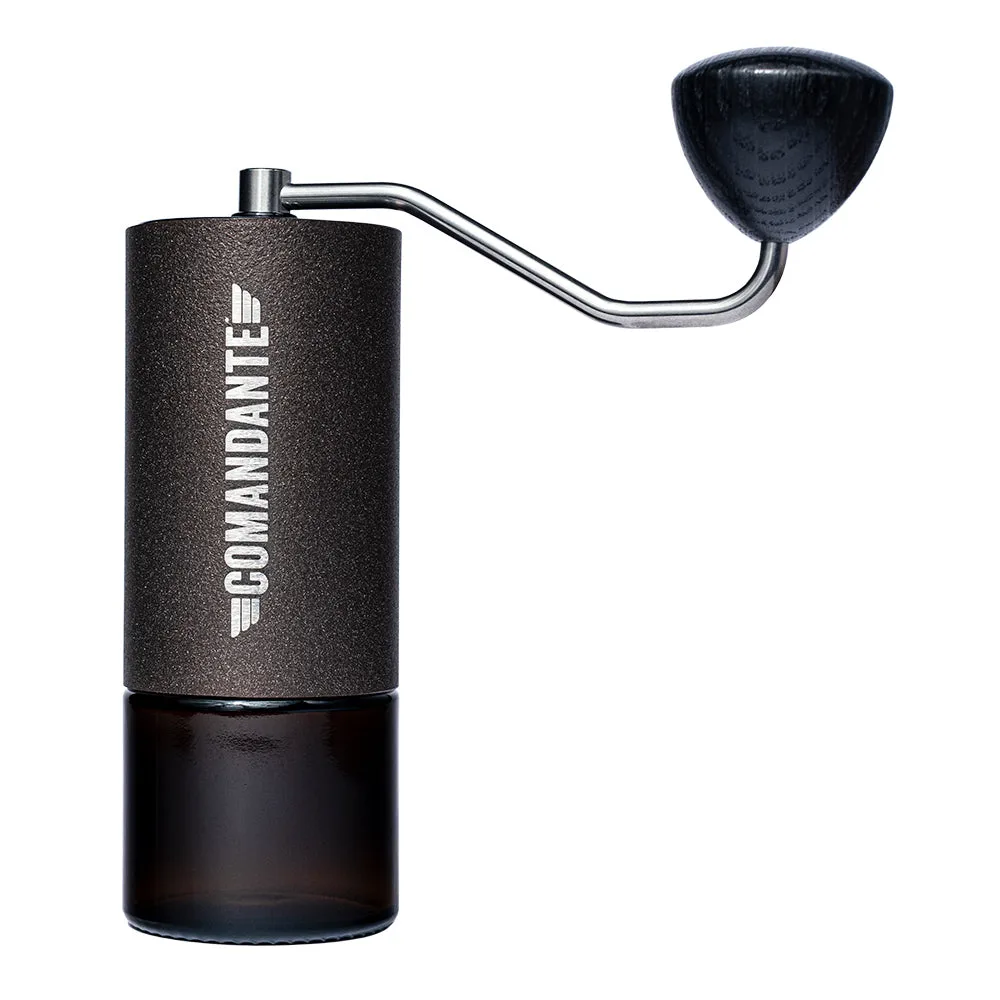
If your shot runs too fast (under 20 seconds), the grind is too coarse. Tighten the grind setting finer. If it chokes or drips slowly (over 35 seconds), the grind is too fine. Coarsen it slightly. This is the core of dialing in: adjusting coffee grind size to control extraction time. Make small changes—one or two clicks at a time—and taste each adjustment. Keep notes on your settings for future reference.
- Use a scale to measure dose and yield for accuracy.
- Distribute coffee evenly in the basket before tamping to prevent channeling.
- Aim for a flat, level tamp with about 30 pounds of pressure.
Step 2: Dial In by Yield and Time
Once your grind size is in the ballpark, focus on yield—the amount of liquid espresso in the cup. A standard ratio is 1:2 (e.g., 18 grams of coffee yields 36 grams of espresso). If the shot tastes sour, try a slightly longer yield (1:2.5) to extract more sugars. If it tastes bitter, shorten the yield (1:1.5) to cut off harsh compounds. Always time your shot from the moment you press the brew button.
Remember that yield and time work together. A 30-second shot with a 1:2 ratio might taste great, but the same ratio in 20 seconds could be sour. Use the taste as your guide. For premium beans like the 025 - SL-09 Washed, you might find that a slightly longer ratio unlocks floral notes. Don’t be afraid to experiment within the 25-to-35-second window. Over time, you’ll develop an intuition for how each variable affects flavor.
- Use a timer and scale simultaneously for precision.
- Taste your shot immediately after brewing—flavors change as it cools.
- Keep a log of your settings for different coffees.
Step 3: Fine-Tune with Temperature and Distribution
Temperature is often overlooked but critical for espresso extraction. Most machines are set to 93°C (200°F), but lighter roasts benefit from slightly higher temperatures (94-96°C) to extract fully, while darker roasts do better at lower temps (90-92°C) to avoid bitterness. If your machine has PID control, adjust by 1°C increments. If not, you can influence temperature by flushing the group head before brewing.
Distribution is equally important. Use a distribution tool or a simple needle tool to break up clumps and level the coffee bed before tamping. Uneven distribution leads to channeling—where water finds a path through the puck, causing uneven extraction. A level puck ensures water flows evenly through all the coffee, giving you a cleaner, more balanced shot. This step alone can elevate your espresso from average to exceptional.
- Preheat your portafilter and cup to maintain stable temperature.
- Consider using a WDT (Weiss Distribution Technique) tool for evenness.
- Clean your grinder burrs regularly to avoid stale coffee buildup.
Dialing in your espresso shot is a rewarding skill that turns coffee brewing into a craft. By mastering grind size, dose, yield, and temperature, you’ll unlock the full potential of any bean. Start with a high-quality coffee like the 015 - Esmeralda Special Washed Gesha to experience the difference a perfectly dialed-in shot makes. Explore our selection of specialty beans and tools to take your home espresso to the next level.