Pulling a great espresso shot at home is one of the most rewarding experiences for any coffee lover. But if you've ever ended up with a bitter, sour, or watery shot, you know it's not always easy. The secret lies in one crucial skill: dialing in your espresso grinder. This process of fine-tuning your grind size and dose ensures you extract the perfect balance of flavors from your coffee beans.
Whether you're a beginner with a new home espresso setup or a seasoned enthusiast looking to refine your technique, this guide will walk you through every step. We'll cover the tools you need, the variables to adjust, and how to troubleshoot common issues. By the end, you'll be pulling consistent, delicious shots that rival your favorite café.
Why Dialing In Matters: The Science of Espresso Extraction
Espresso is a concentrated brew made by forcing hot water through finely-ground coffee under pressure. The goal is to extract the right amount of soluble compounds—oils, acids, and sugars—in about 25–30 seconds. If the water flows too fast (under-extraction), you get sour, thin coffee. Too slow (over-extraction), and you get bitter, harsh flavors. Dialing in means finding the sweet spot where extraction is balanced.
The grind size is the most powerful variable you control. A finer grind increases resistance, slowing the flow and boosting extraction. A coarser grind does the opposite. But dose (the amount of coffee) and tamp pressure also matter. The key is to change only one variable at a time and taste the results. This methodical approach saves time and beans, helping you learn how your grinder and machine behave together.
- Aim for a 1:2 ratio of coffee to liquid espresso (e.g., 18g coffee → 36g liquid) in 25–30 seconds.
- Use a scale and timer for precision—guessing leads to inconsistency.
- Fresh beans are essential; stale coffee will never dial in properly.
Step 1: Set Up Your Equipment and Gather Your Tools
Before you start, make sure you have the right tools. You'll need a quality espresso machine with a stable pressure and temperature, a burr grinder (preferably stepless for fine adjustments), a tamper, a scale accurate to 0.1g, and a timer. A distribution tool or WDT (Weiss Distribution Technique) tool can also help ensure even extraction. For those serious about temperature control, a precision kettle like the Fellow Stagg EKG Electric Kettle can be useful for pre-heating your portafilter or brewing pour-over alongside your espresso practice.
Start with fresh, whole-bean coffee. Choose a roast profile that suits your taste—medium roasts are often the most forgiving for dialing in. Weigh your dose: a common starting point is 18g for a double basket. Grind the coffee slightly finer than table salt, then distribute evenly in the portafilter and tamp with consistent pressure (about 15–20 kg). Lock the portafilter and immediately start your shot.
- Preheat your machine and portafilter by running water through the group head.
- Use a dosing ring to avoid spills when grinding directly into the basket.
- Clean your grinder burrs regularly to prevent stale coffee buildup.
Step 2: The First Shot—Diagnose Your Starting Point
Pull your first shot and watch the flow. Ideally, the stream should start as a thick, syrupy drip after 5–7 seconds and then flow steadily like warm honey. If it drips slowly or doesn't start at all, your grind is too fine. If it gushes out in under 15 seconds, it's too coarse. Note the time and yield: if you hit 36g in 20 seconds, you need a finer grind. If it takes 40 seconds, go coarser.
Taste the shot. Sourness indicates under-extraction (grind finer or increase dose). Bitterness means over-extraction (grind coarser or reduce dose). A balanced shot will have sweetness, acidity, and a pleasant aftertaste. Don't be discouraged if the first few shots are off—dialing in is a learning process. Keep a notebook to track your adjustments and results.
- Sour shot? Grind finer by one small step and repeat.
- Bitter shot? Grind coarser by one step and reduce dose slightly.
- Use the same bean weight and tamp pressure for every test shot.
Step 3: Fine-Tuning with Small Adjustments
Once you're in the ballpark (25–35 seconds for your target yield), make micro-adjustments. On a stepless grinder, turn the dial by just 1–2 numbers. On stepped grinders, move one click at a time. Pull another shot and compare. If the flow is still slightly fast, grind finer. If it's a bit slow, go coarser. The goal is consistency: three shots in a row with similar time and taste signal you've dialed in.
Remember that humidity, bean freshness, and even temperature can affect extraction. If you switch to a different coffee, like a decaf option such as Páramo Decaf, you'll need to dial in again because decaf beans behave differently (they often require a slightly finer grind). Similarly, if you're using single-origin beans from the Horizons collection, their density may demand a different grind setting than a blend. Patience and practice are your best tools.
- Change only one variable (grind size, dose, or temperature) per test.
- Let your machine warm up for at least 15–20 minutes before dialing in.
- If you're stuck, try adjusting the dose by 0.5g before changing grind.
Troubleshooting Common Espresso Problems
Even with careful dialing, issues can arise. Channeling (uneven flow) often results from poor distribution or tamping. Use a distribution tool or needle tool to break up clumps. If your shots are always sour, your water temperature might be too low—check your machine's setting. If they're always bitter, consider a lower brew temperature or a coarser grind. Stale beans can also cause flat, lifeless shots; always use coffee roasted within the last 2–4 weeks.
If you're using a pod-based system for convenience, remember that the grind is fixed, so you can't dial in. But for those who love the ritual of manual espresso, investing in quality equipment pays off. A tool like the Kinto Travel Tumbler isn't just for takeaway coffee—it's perfect for bringing your carefully dialed-in espresso to work or on a trip. And if you're exploring different brew methods, the Sibarist Wave FAST - S/M filter papers can help you achieve consistent pour-over results alongside your espresso practice.
- Channeling? Improve distribution with a WDT tool before tamping.
- Inconsistent pressure? Practice tamping with a level, steady motion.
- Always purge the grinder with a few beans before your first shot to clear old grounds.
How to Maintain Your Dialed-In Setting
Once you've found the perfect grind setting, it won't last forever. As beans age, they lose moisture and become more brittle, causing the grind to behave differently. You may need to grind slightly finer every few days to maintain the same extraction time. Also, temperature and humidity changes in your kitchen can shift the grind. Keep tasting and adjusting—it's part of the craft.
Regular grinder maintenance is key. Clean the burrs every few weeks with a brush or grinder cleaning tablets. This prevents oil buildup that can alter grind size and impart rancid flavors. Check your machine's group head gasket and shower screen for cleanliness. A well-maintained setup makes dialing in easier and more consistent. For those who want to explore beyond espresso, consider a subscription like the 3 Month Coffee Gift Subscription to sample different roasts and practice your skills.
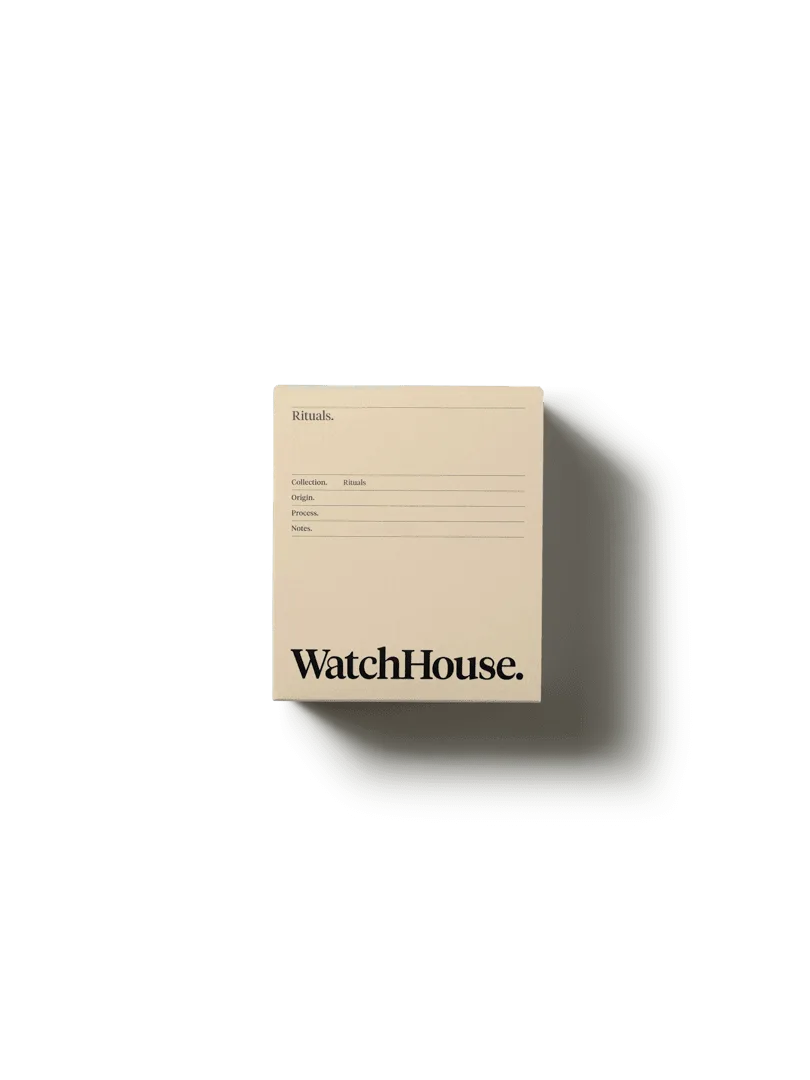
3 Month Coffee Gift Subscription
- Write down your dialed-in settings (grind number, dose, yield, time) for each coffee.
- Re-dial when you open a new bag of beans, even if it's the same roast.
- Store beans in an airtight container away from light and heat.
Dialing in your espresso grinder is a skill that transforms good coffee into great coffee. With practice, you'll learn to read the flow, taste the extraction, and adjust with confidence. Start your journey today with fresh beans and the right tools—explore our selection of coffee and equipment to elevate your home espresso setup. Whether you're a beginner or a pro, the perfect shot is just a grind away.