Quick answer
Display enamel pins on a fabric-covered cork or felt board, push each pin through the fabric only until the post clears the back, and secure it with a rubber clutch rather than forcing a metal one. If you rotate pins often, use a shadow box or a strip of felt on the wall so you never pry a pin out of tight foam. Damage almost always comes from how you remove a pin, not from how long it stays on display.
Enamel pins are small, heavy for their size, and usually plated. That combination means most damage happens in two places: the post, which bends when you pull a pin straight out of a tight surface, and the plated face, which scratches against other pins when they are stored loose in a jar.
The fix is not a single product. It is matching the display surface to how often you move your pins. Below, work through the symptom you are seeing, the cause behind it, and the point where a different method makes more sense than trying to repair what you have.
Start with the surface, not the pin
A pin board for enamel pins needs to do three things: hold the post firmly, release it without a fight, and keep the pin face from touching anything hard. Cork is the most common choice because it grips well, but fine-grain cork can crumble around a post that is pushed in and pulled out repeatedly. Felt over foam is gentler on the post but sags if the pins are heavy. Fabric over cork is the middle ground most collectors settle on.
If your pins are decorative and rarely moved, a shadow box with a felt backing works because the pins sit against fabric and you handle them once when you arrange the layout. If you swap pins weekly, a fabric strip or a canvas panel lets you pull a post out with two fingers instead of a tool.
- Push the post in only until the clutch catches. Extra depth adds friction you will have to overcome later.
- Leave a finger-width between pins so clutches do not scratch neighboring faces.
- Keep the board out of direct sun if any pin has a printed or painted insert.
Symptom: the post bends or the pin will not sit flat
A bent post is almost always a removal problem. Pulling a pin straight away from a tight board levers the post sideways. The correct motion is a small twist while you ease the pin forward, which breaks the friction before the post takes any load. If the post is already bent, do not bend it back repeatedly. Metal fatigues, and a post that has been straightened twice will snap the third time.
If the pin will not sit flat against the board, check the clutch rather than the post. A metal clutch that has been squeezed too hard grips unevenly and holds one side of the pin away from the surface. Rubber clutches are more forgiving and less likely to deform the post over time.
- Twist gently, then pull. Never pry with a fingernail under the pin face.
- Replace metal clutches with rubber ones if you remove pins often.
- Retire a pin to a display-only spot once its post has been straightened.
Symptom: scratches and dull spots on the plated face
Plating scratches when pins touch each other, not when they touch fabric. The usual culprit is loose storage: a jar, a tin, or a drawer where pins slide against one another. If you want to display enamel pins and also keep them pristine, the display itself should separate them. A board with spacing does that. A crowded cluster does not.
Soft enamel pins with recessed color and raised metal lines are more vulnerable than hard enamel, because the raised lines catch on anything nearby. Give those pins more room, and avoid stacking them face-to-face even briefly during a move.
- Space pins at least a finger-width apart on the board.
- Never store pins loose in a tin if you care about the plating.
- Handle pins by the edges, not the face, to avoid oils and grit.
Symptom: adhesive fails and the board falls
Command strips and foam tape fail for a predictable reason: the wall surface, not the tape. Painted drywall, textured plaster, and cold exterior walls all reduce adhesion. Clean the wall, let it dry fully, and press the strip for the full recommended time before hanging anything. If the board is more than a few ounces, use a nail or a screw instead of adhesive.
Weight adds up faster than people expect. A dozen enamel pins plus a cork board can exceed what a single adhesive strip holds, especially in humid rooms. If you have already had one board fall, switch to a mechanical fastener rather than adding more tape.
- Clean and dry the wall before applying any adhesive.
- Use a screw or nail for boards holding more than a handful of pins.
- Check adhesive mounts after seasonal humidity changes.
When to stop repairing and change the method
If a post has snapped, the pin is no longer a wearable item. It can still be displayed, but only if you stop putting load on the broken post. A small dab of adhesive on the back, or a pin back replacement that grips the rim rather than the post, will hold it in place on a board. Do not keep a snapped pin in a rotation where it gets handled.
If the plating is already scratched through to the base metal, no display method will restore it. At that point, decide whether the pin is a display piece or a user. Display pieces belong on a board where they are not touched. Users belong in a spot where you accept that wear is part of owning them.
- Snapped post: display only, no rotation.
- Scratched plating: keep it, but stop handling it.
- Repeated adhesive failure: switch to a screw or nail.
Pin damage diagnosis
- Bent or loose post: Caused by pulling a pin straight out of a tight board or over-tightening a metal clutch. Twist gently before pulling, and switch to rubber clutches for pins you handle often. If the post has been straightened twice, stop wearing that pin and display it only.
- Scratched or dull face: Caused by pins touching each other in loose storage or in a crowded cluster. Space pins a finger-width apart and never store them loose in a tin. If the plating is scratched through to the base metal, no display method will restore it. Keep it as a display piece.
- Board falls off the wall: Caused by adhesive on a dirty, textured, or humid wall, or by more weight than the strip can hold. Clean and dry the wall, and use a screw or nail for boards with more than a handful of pins. After one adhesive failure, switch to a mechanical fastener instead of adding more tape.
Pin-adjacent stationery that helps you keep track
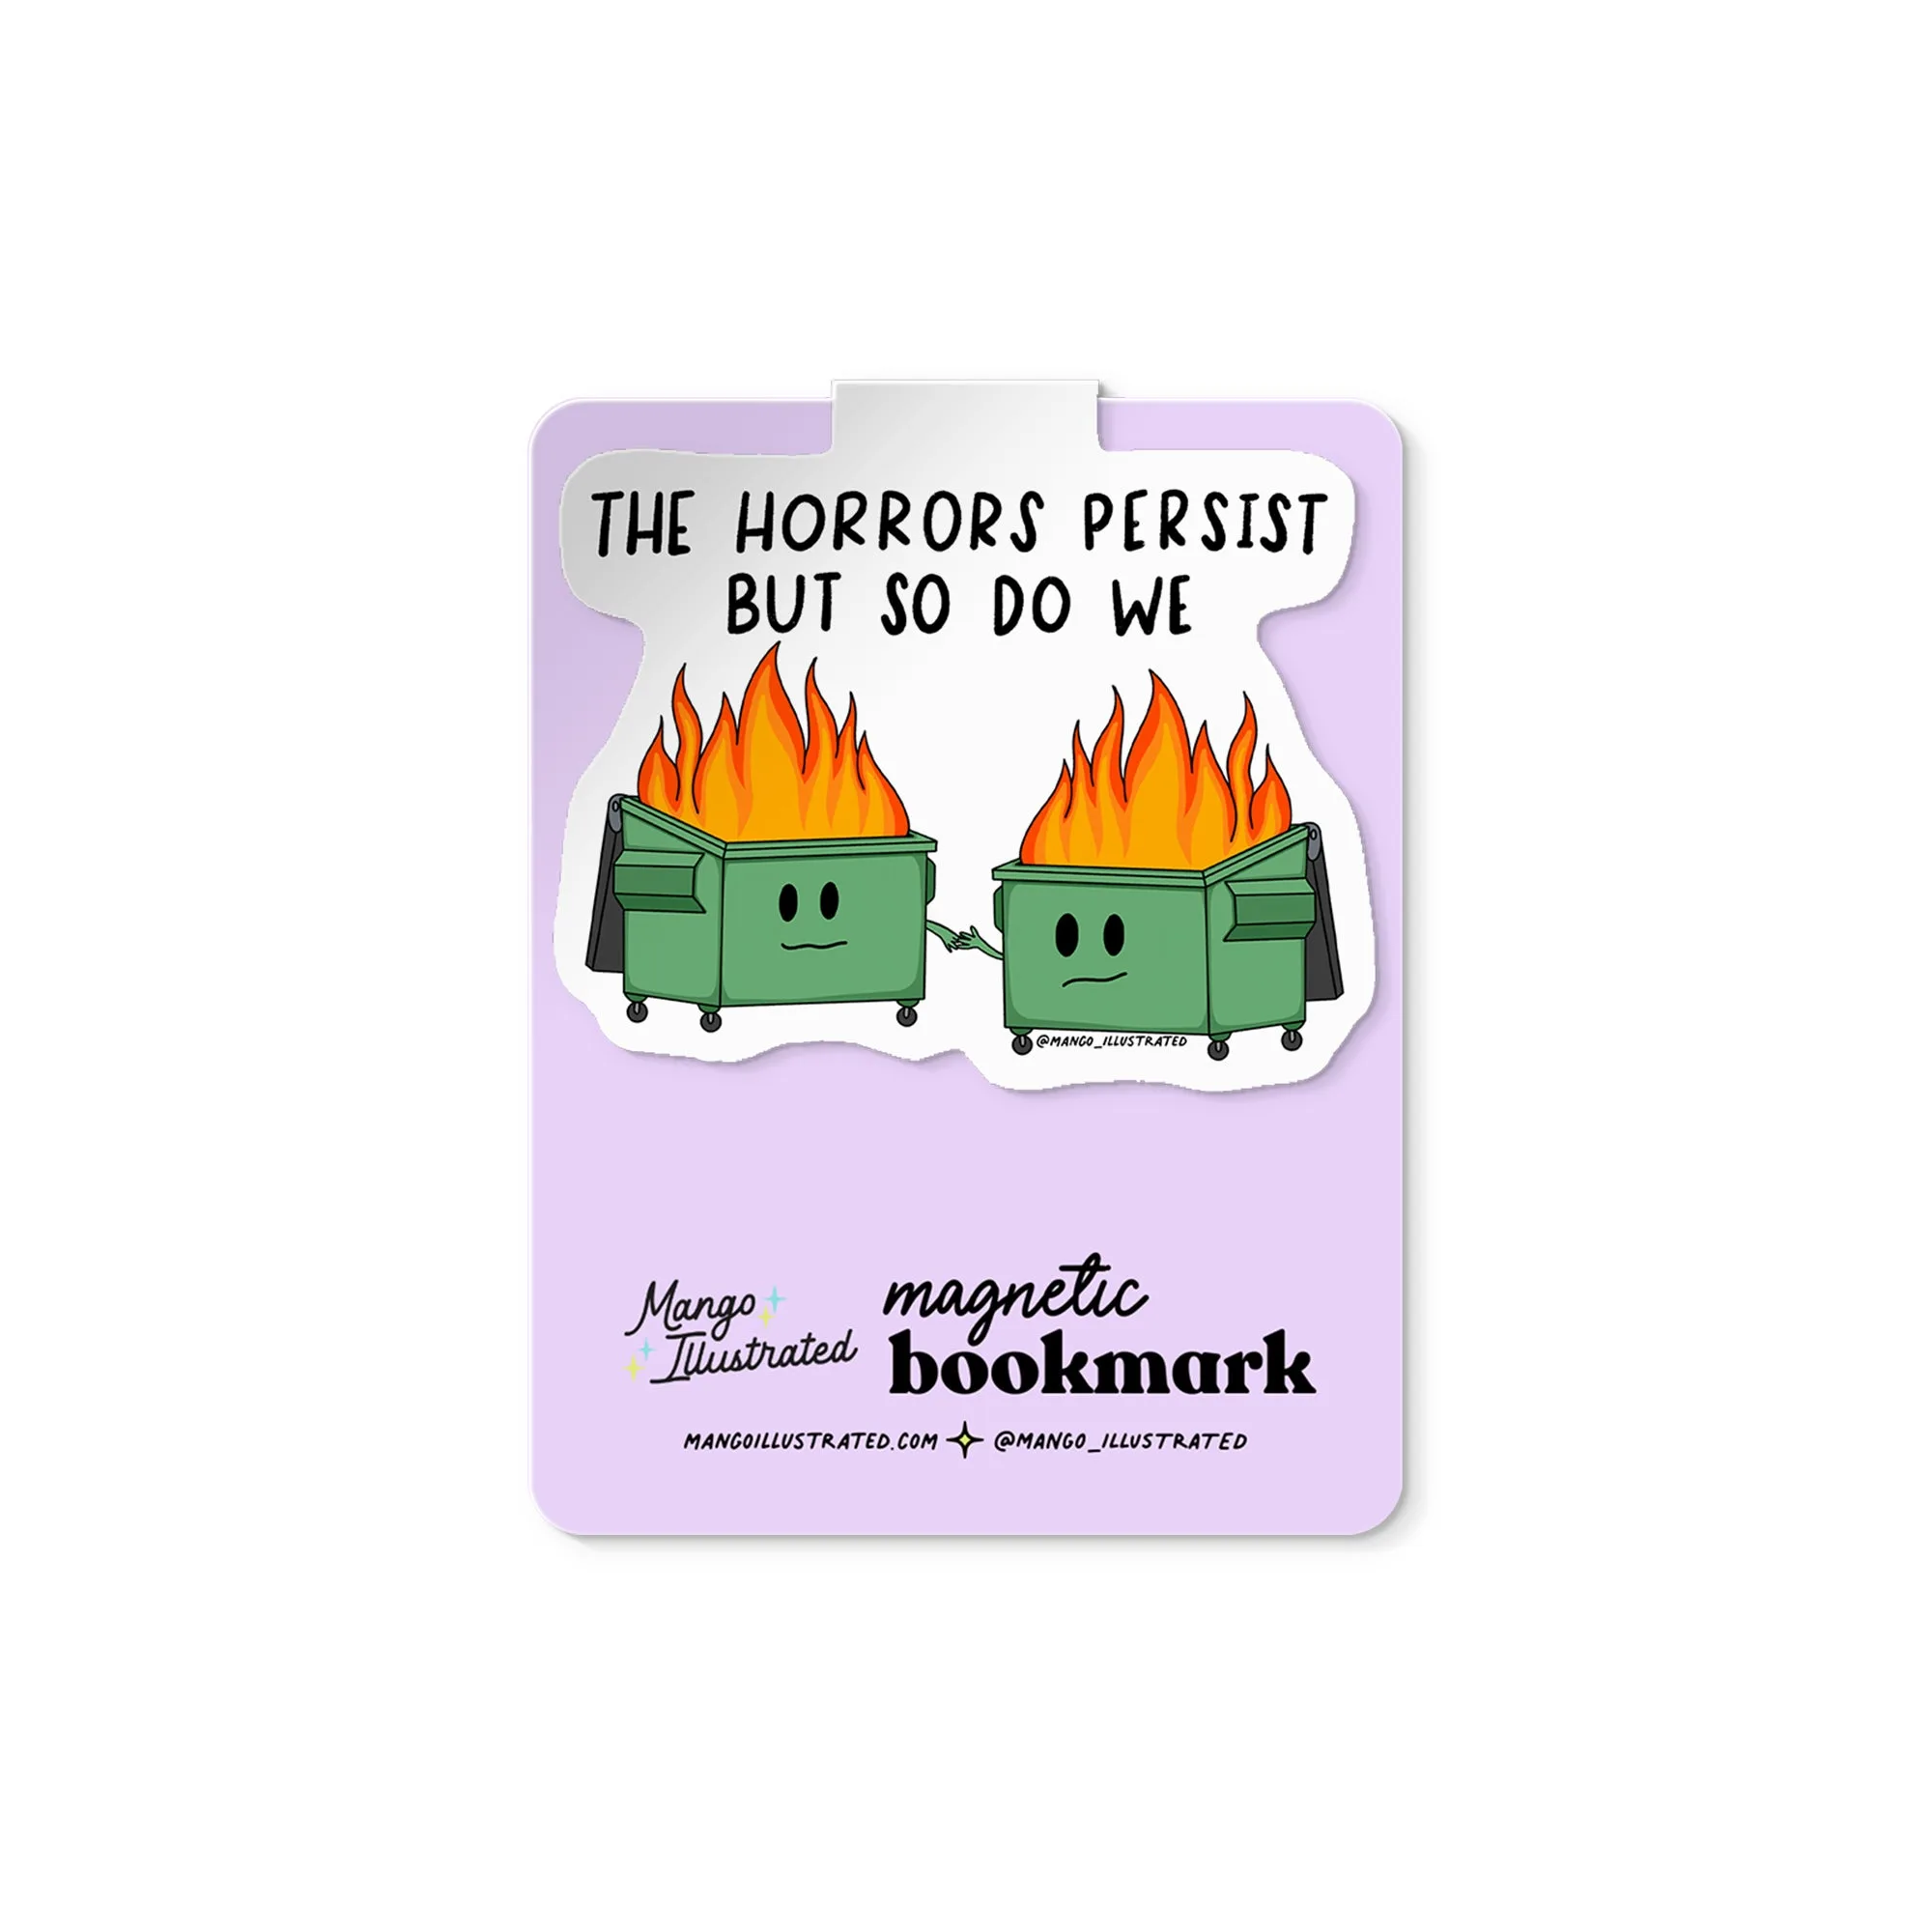
- Horrors Persist magnetic bookmark: Made from thick cardstock with durable matte laminate on the outside and inside, measures 2.5 x 2 in, and is affixed to a 3.37 x 2.5 in backing card in a clear cello sleeve. The backing card is the useful part here. It is a ready-made flat surface for storing a pin or two while you rearrange a board, and the laminate keeps the card from absorbing moisture if it sits in a drawer.
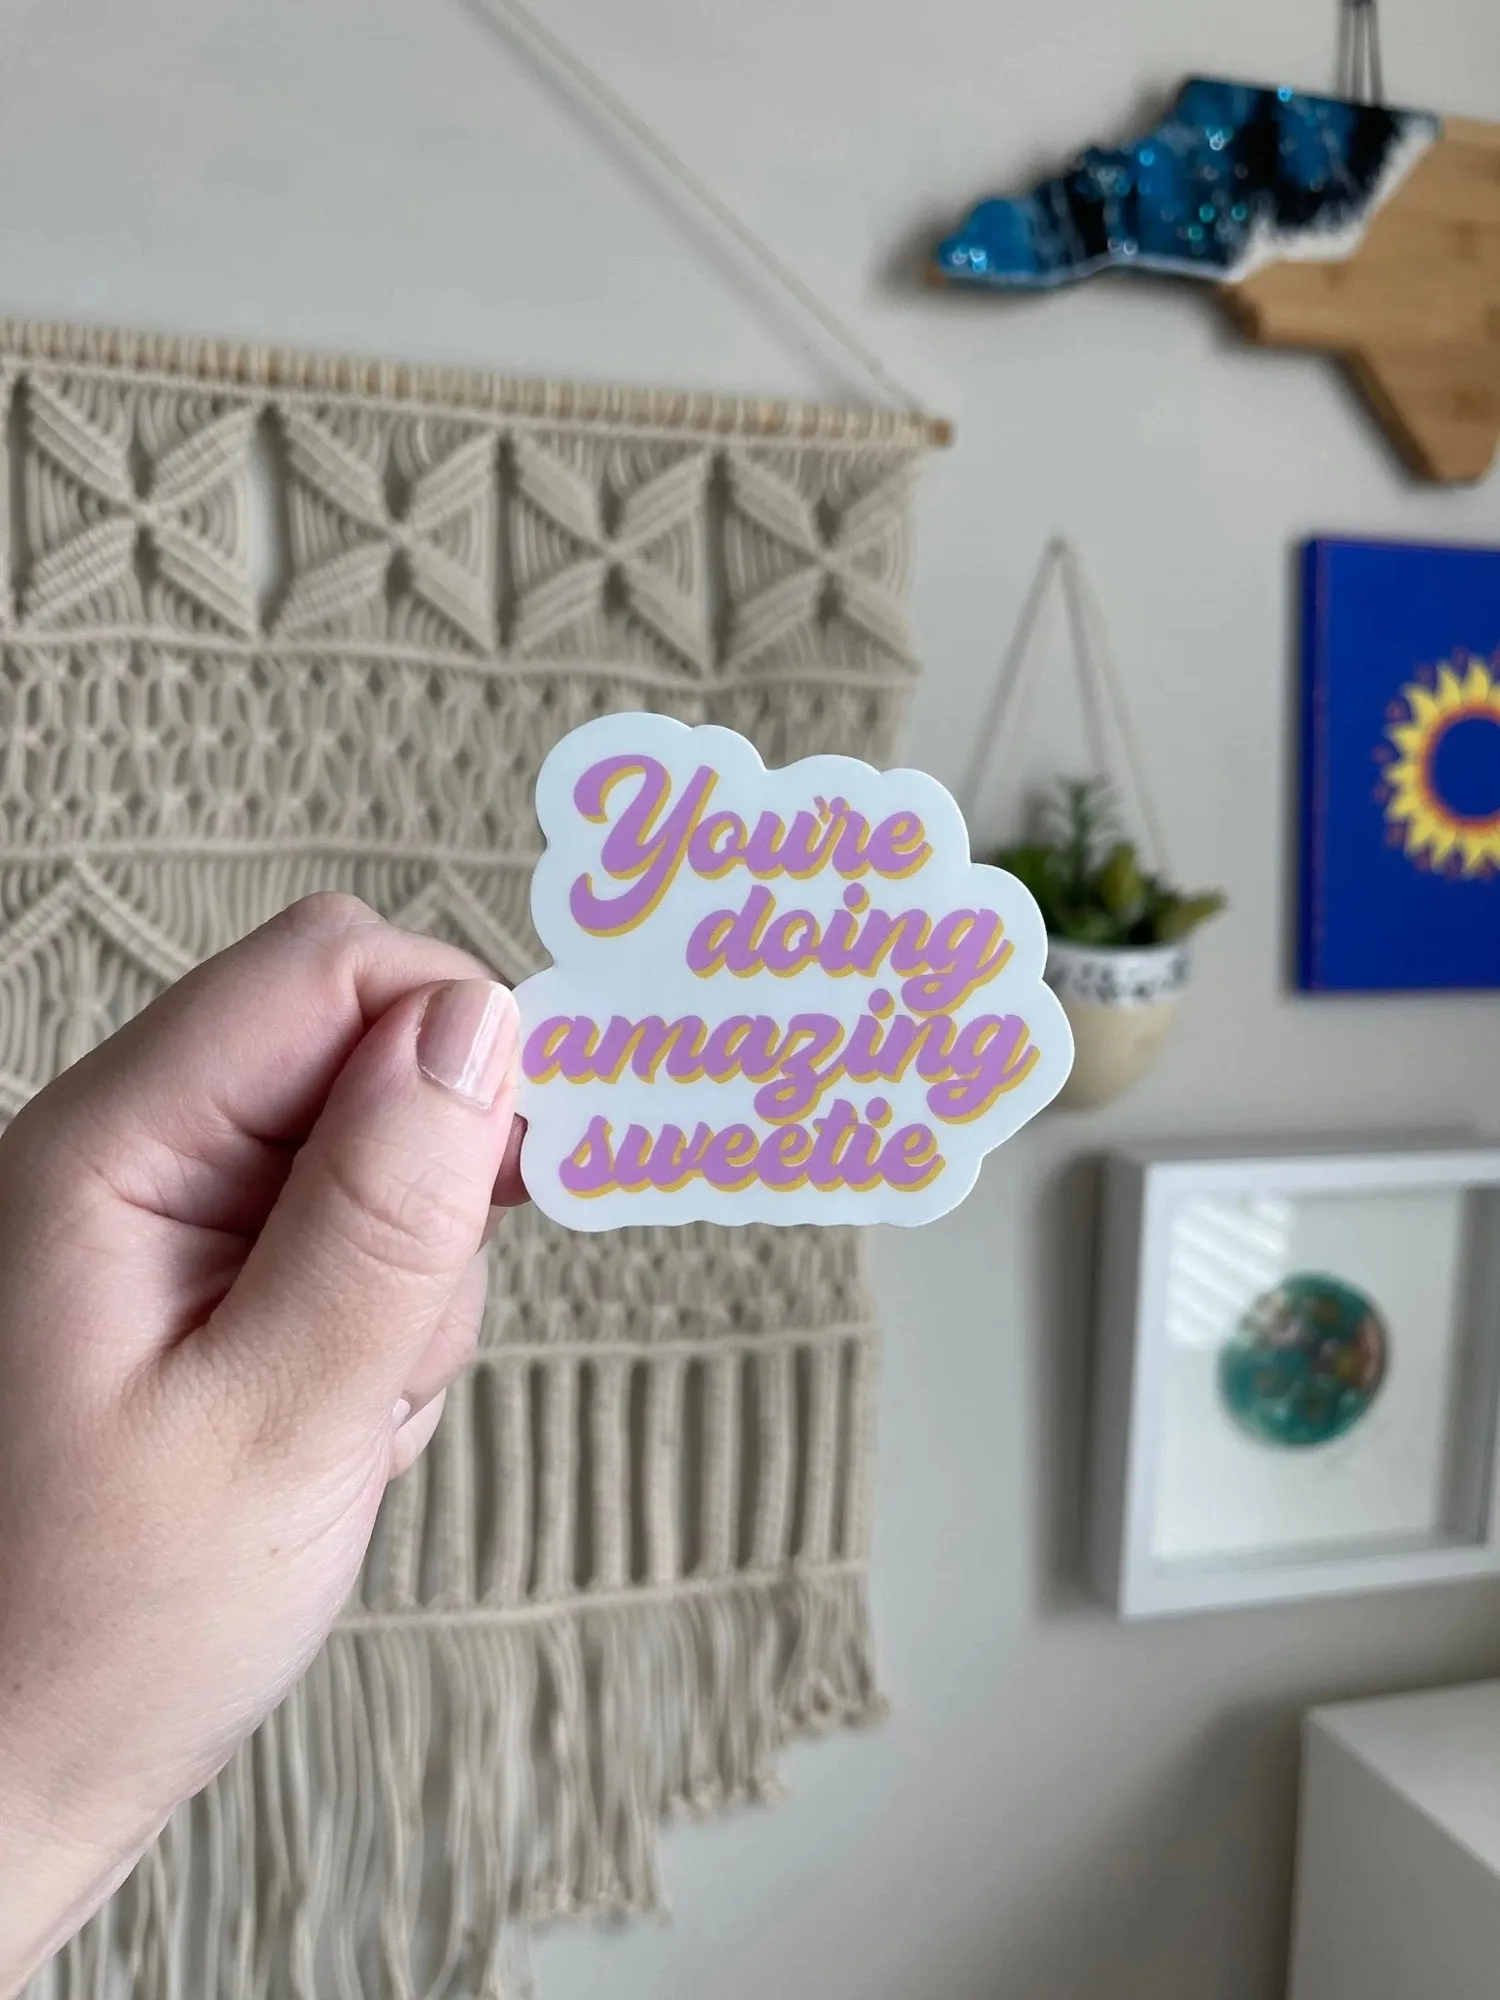
- You’re doing amazing sweetie sticker: Approximately 3 in x 2.25 in, durable waterproof and weatherproof vinyl. If you keep a pin journal or a small storage box, a waterproof vinyl sticker on the lid survives handling and humidity better than paper labels, so your storage stays organized without peeling.
Display enamel pins in a way that matches how often you move them. If you rotate often, choose a fabric surface that releases the post easily. If you rarely touch them, a shadow box protects the face. The pins you wear regularly will show wear eventually, and that is normal. The ones you want to keep sharp belong on a board, spaced out, out of the sun, and handled by the edges only.