Quick Answer
Place your herbs and flowers on a 30 cm drying rack in a well‑ventilated, low‑light area. Spread them in a single layer, avoid crowding, and let them air‑dry 1–3 weeks. Check regularly for moisture and flip larger pieces halfway through.
Drying herbs and flowers at home is a rewarding way to preserve flavor, fragrance, and colour for months. With a compact 30 cm drying rack, you can set up a dedicated drying zone on a balcony, pantry shelf, or sunny windowsill.
This diy herb preservation guide walks you through every step, from gathering materials to checking moisture levels, so you can confidently follow herb drying rack instructions and achieve beautiful, long‑lasting results.
Set Up Your Drying Space
Choose a spot with good airflow but out of direct sunlight; excessive heat can fade colour and reduce potency. A kitchen doorway, unused bookshelf, or garage shelf works well. If humidity is high, add a small fan on low speed to improve circulation.
Lay the 30 cm drying rack flat and ensure it is stable. For delicate flowers, consider placing a clean sheet of cheesecloth on the rack to protect petals while still allowing air to pass through.
- Tip: Rotate the rack 180° after a week to promote even drying.
Drying Process and Maintenance
Arrange herbs and flowers in single layers, leaving at least an inch between stems. Overcrowding traps moisture and can cause mold. For thicker herbs like rosemary, tie stems loosely to keep them upright.
Check the material daily. When the leaves feel crisp and the stems are brittle, the drying is complete. For flowers, gently bend a petal; if it snaps cleanly, it’s ready. Store dried items in airtight containers away from light.
- Flower drying tips: Harvest blooms early in the morning when they are fully open for the best colour retention.
Step‑by‑Step Checklist
- Gather Materials: Collect your 30 cm drying rack, fresh herbs or flowers, clean scissors, and optional slate labels. Everything ready ensures a smooth start without interruptions.
- Arrange on Rack: Spread the plant material in single layers, leaving space for airflow; tie thicker stems if needed. Avoid crowding – a common mistake that leads to mold.
- Monitor & Finish: Check daily, flip larger pieces after a week, and store once crisp in airtight containers. Proper timing preserves aroma and colour; premature storage reduces quality.
Products That Help Your Drying Project
- Penstemon 'Norgate's Scarlet': A stunning, pollinator‑friendly perennial that thrives in tough conditions! Penstemon barbatus, or 'Norgate's Scarlet', erupts with elegant spikes of fiery red, tubular flowers from late spring through autumn, luring bees and hummingbirds with its nectar‑rich blooms. Its long, sturdy stems and vivid spikes dry well, creating striking dried‑flower arrangements that add colour to wreaths and potpourri.
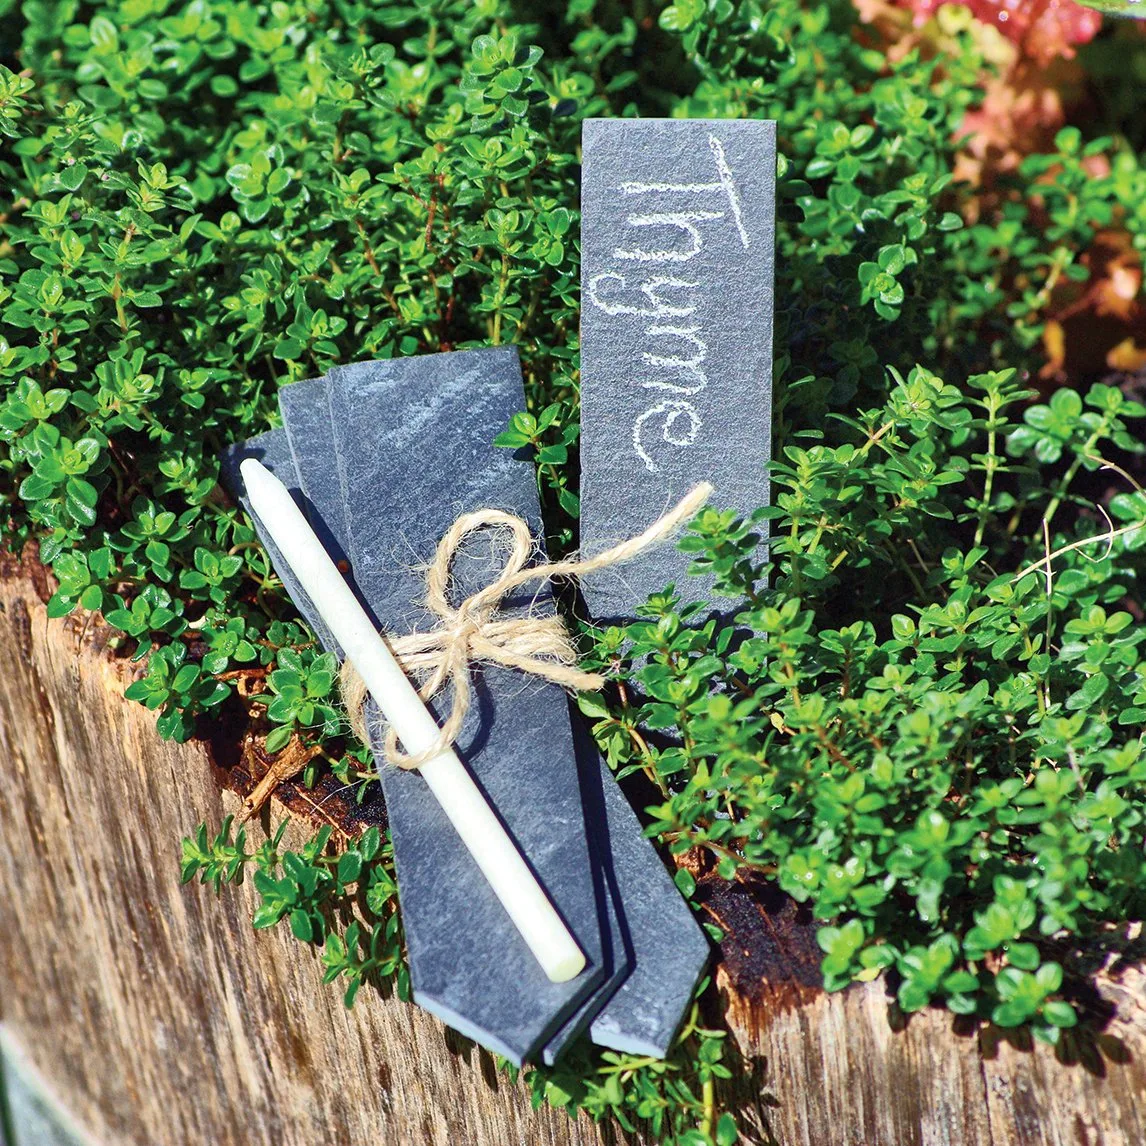
- 5 Pack Of Slate Labels With White Chalk: A set of 5 slate labels that will add that touch of sophistication to your vegetable patch or herb garden. The labels come with a white chalk marker for non‑permanent plant description, allowing the label to be used over and over again. Label each herb before drying to keep track of varieties and harvest dates, preventing mix‑ups when you store the dried bundles.
With a little patience and the right setup, air‑drying herbs and flowers on a 30 cm rack becomes an easy, rewarding routine. Follow these steps, label your batches, and enjoy fresh‑scented, long‑lasting garden treasures year‑round.