Quick Answer
Use the Kilner 1 Litre Fermentation Set to make small batches of lacto-fermented vegetables: prepare a 2-3% salt brine, pack the jar, and let it sit at room temperature for 3-7 days until pleasantly tangy.
Why the Kilner Fermentation Set Works Well
The Kilner 1 Litre Fermentation Set is designed for smaller batches, making it ideal for trying new vegetable combinations without committing to large quantities. The included glass weights and airlock lid help keep vegetables submerged and allow carbon dioxide to escape, which supports successful fermentation.
Lacto-fermentation relies on beneficial bacteria that thrive in a salty, oxygen-free environment. Keeping vegetables below the brine prevents mold and ensures even fermentation, which is why the set's design matters.
Choosing the Right Vegetables and Brine
Firm vegetables like carrots, cauliflower, green beans, and cucumbers hold up best. Softer vegetables like zucchini can become mushy, so use them in small amounts or add a tannin-rich leaf (grape, oak, or black tea) to help maintain crunch.
A 2-3% salt brine is the sweet spot for most vegetables. Use non-iodized salt (like pickling or sea salt) because iodine and anti-caking agents can inhibit fermentation. Weigh the vegetables and water to calculate the correct salt percentage.
Step-by-Step Fermentation Process
- Sterilize your equipment: Wash the Kilner jar, lid, and glass weights in hot, soapy water and rinse well. You can also run them through a dishwasher cycle. Avoid using harsh chemicals that could leave residues. Checkpoint: Ensure everything is fully dry before use to prevent unwanted bacteria.
- Prepare the brine: Dissolve 20-30 grams of non-iodized salt per liter of filtered or unchlorinated water. Stir until fully dissolved. Chlorine can kill the beneficial bacteria, so use filtered water if your tap water is heavily chlorinated. Checkpoint: Taste the brine – it should be pleasantly salty, not overpowering.
- Prep and pack the vegetables: Cut vegetables into uniform pieces (e.g., sticks or coins) so they ferment evenly. Pack them tightly into the Kilner jar, leaving about 2-3 cm of headspace. Add aromatics like garlic, dill, or peppercorns for flavor. Checkpoint: Don't overpack – you need room for the brine and the glass weight.
- Add the brine and weight: Pour the brine over the vegetables until they are fully submerged. Place the glass weight on top to keep everything under the liquid. Attach the airlock lid and fill the airlock with water to the indicated line. Checkpoint: The airlock should bubble during fermentation – if not, check the seal.
- Ferment at room temperature: Place the jar in a cool, dark spot (around 18-22°C / 64-72°F). Let it ferment for 3-7 days. Taste daily after day 3 – you're looking for a tangy, slightly sour flavor. The bubbles in the airlock indicate active fermentation. Checkpoint: If you see mold or an off smell, discard the batch and start over.
- Move to cold storage: Once the vegetables reach your preferred tanginess, replace the airlock lid with a regular lid and refrigerate. Cold temperatures slow fermentation, preserving the flavor and texture for several months. Checkpoint: Always use a clean utensil when removing vegetables to avoid contamination.
Product Fact
-
Kilner 1 Litre Fermentation Set: The Kilner Fermentation Set provides an easy way to create smaller batches of your own delicious, fermented foods packed with vitamins and probiotic cultures. It's a complete starter kit that simplifies the process, so you can focus on flavor and technique without needing extra equipment.
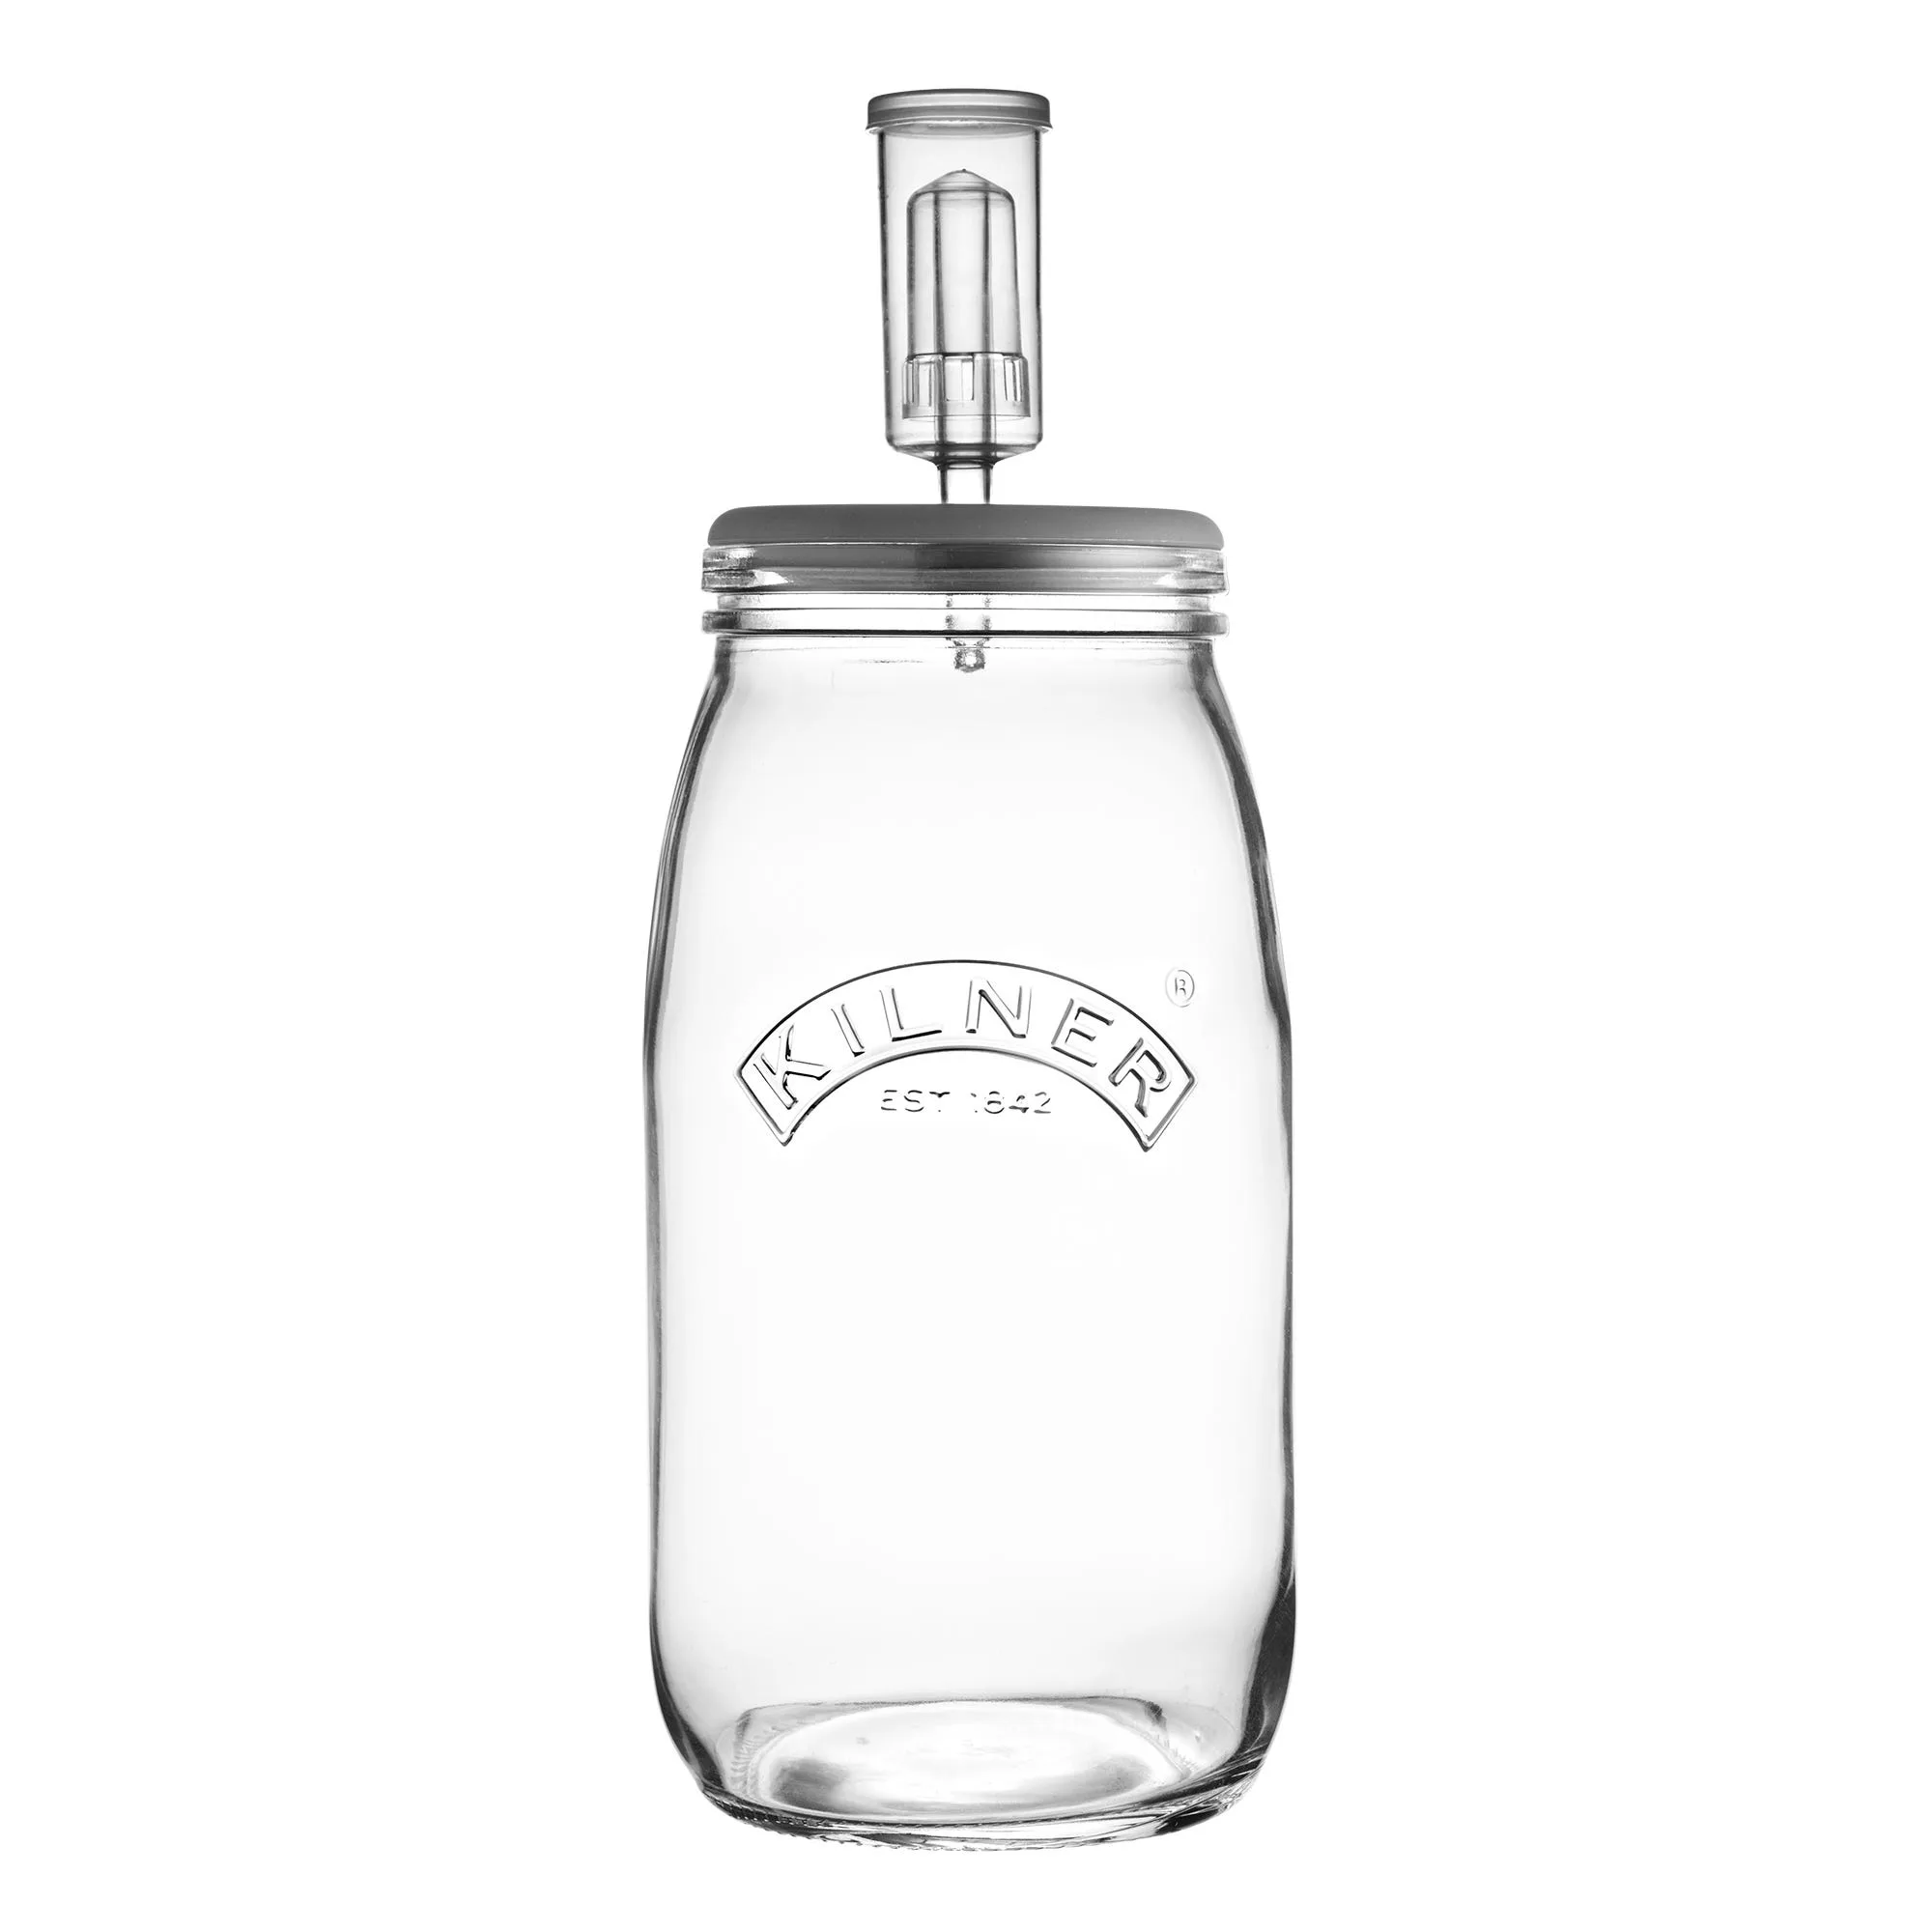
Kilner 1 Litre Fermentation Set