Quick answer
To find your true bra size at home, wear an unlined bra, measure your underbust snugly for band size, then measure the fullest part of your bust for cup size. The difference in inches determines your cup: 1 inch = A, 2 = B, 3 = C, 4 = D, 5 = DD/E. Always round the band to the nearest even number and re-measure if you are between sizes.
Most bra-fit problems start with a tape measure that is too loose or a cup calculation that ignores your shape. You can get a reliable starting size at home in about five minutes with a soft tape, a mirror, and a bra that does not add volume.
This guide walks through each measurement in order, flags the mistakes that skew results, and shows how to test the size on real bras. It also explains why two bras in the same size can feel different depending on cup construction and strap design.
Before you measure: set up for accuracy
Put on a non-padded bra that covers your bust without compressing it. A molded or push-up cup adds volume and will inflate your cup measurement. If you do not own an unlined bra, a thin camisole or bare bust works, but keep the tape snug and level.
Stand in front of a mirror with your arms relaxed. Keep the tape parallel to the floor around your ribcage and back. A tape that dips at the back will read too large; a tape that rides up will read too small. Write down each number immediately so you do not rely on memory.
- Use a soft, non-stretch tape measure; a metal builder's tape will not follow your curves.
- Measure over bare skin or a thin bra, not over a padded or push-up style.
- Keep a notepad or phone nearby to record inches or centimeters consistently.
Step 1: Measure your band size
Wrap the tape around your ribcage, directly under your bust, keeping it snug and level. Breathe out normally and read the number where the tape meets. This is your underbust measurement. If the number is odd, round down to the nearest even number for your band size in most sizing systems.
For example, an underbust of 31 inches rounds to a 30 band; 33 inches rounds to a 32 band. If you are between sizes or prefer a looser band, size up one band and adjust the cup accordingly. A band that feels tight on the loosest hook is usually too small.
- Checkpoint: the tape should sit flat against your ribcage, not dig in or gap away.
- Common mistake: measuring over a thick bra band or clothing, which adds inches.
Step 2: Measure your bust size
Wrap the tape around the fullest part of your bust, usually across the nipple line. Keep the tape level and snug but not tight. Stand straight and relax your arms. Read the number at the center front. This is your bust measurement.
Do not pull the tape tight to flatten your bust; that reduces the cup size and leads to a too-small cup. If your breasts are fuller at the sides, make sure the tape covers the widest point. Record the number to the nearest half inch if possible.
- Checkpoint: the tape should touch your bust without compressing it.
- Common mistake: letting the tape slide down at the back, which undercounts the bust.
Step 3: Calculate your cup size
Subtract your band measurement from your bust measurement. The difference in inches determines your cup letter: 1 inch = A, 2 = B, 3 = C, 4 = D, 5 = DD/E, 6 = DDD/F, 7 = G. For example, a 34 band with a 37 bust gives a 3-inch difference, so 34C.
If the difference is less than 1 inch, you may need an AA or A cup. If it is more than 7 inches, you may need a specialist size. Remember that cup size is not static: it changes with band size. A 34C has a different cup volume than a 36C.
- Checkpoint: recalculate if your difference lands on a half inch; round to the nearest whole number.
- Common mistake: using your band size as your bust size, which always gives an A cup.
Step 4: Test the size on real bras
Try on a bra in your calculated size and check the band first. The band should feel snug on the loosest hook and stay level all the way around. If it rides up at the back, go down a band size and up a cup size. If it digs in, go up a band size and down a cup size.
Next, check the cups. The center gore should sit flat against your sternum, and the underwire should encase your breast tissue without poking. If you spill over the top, the cup is too small; if the cup wrinkles, it is too large or the wrong shape. Adjust the straps last.
- Checkpoint: the band provides most of the support, not the straps.
- Common mistake: judging fit only by the cup and ignoring a band that climbs up your back.
Step 5: Adjust for shape and style
Your calculated size is a starting point, not a verdict. Breast shape, density, and bra construction all affect fit. A balconette bra with seamed cups may fit differently than a seamless padded bra in the same size. If you are between cup sizes, choose the larger cup for full-on-top shapes and the smaller cup for shallow shapes.
Strap design also matters. A J-hook or racerback conversion can change how the band feels and where the straps sit. If you have sloping shoulders, look for a bra with a leotard back or convertible straps. Always assess fit after moving around, raising your arms, and sitting down.
- Try the same size in two different cup constructions to see which shape suits you.
- Re-measure every six months or after any weight change of more than a few pounds.
Your at-home measuring checklist
- 1. Wear the right base layer: Put on an unlined, non-padded bra or go bare. A padded bra adds volume and will make your cup measurement too large. Checkpoint: if you can see the cup adding shape, it is not the right measuring bra.
- 2. Measure your underbust for band size: Wrap the tape snugly under your bust, keep it level, and round down to the nearest even number. This is your band size. Common mistake: measuring too loose, which gives a band that rides up later.
- 3. Measure your bust at the fullest point: Run the tape across the fullest part of your bust, keeping it level and snug without compressing. Record the number. Common mistake: pulling the tape tight and flattening your bust, which shrinks the cup size.
- 4. Subtract band from bust for cup size: Use the difference in inches: 1=A, 2=B, 3=C, 4=D, 5=DD/E, 6=DDD/F, 7=G. Write down your calculated size before trying bras. Checkpoint: if the difference is a half inch, round to the nearest whole number.
- 5. Try on and adjust band first, then cup: Fasten on the loosest hook. If the band rides up, go down a band and up a cup. If it digs in, go up a band and down a cup. Then check the gore and underwire. Verdict: the band should stay level and provide most of the support.
- 6. Re-check after five minutes of movement: Raise your arms, sit down, and bend forward. If the band shifts or the cups gap, adjust the size or try a different cup construction. Next step: re-measure every six months or after any significant weight change.
Bras that put these measurements to work
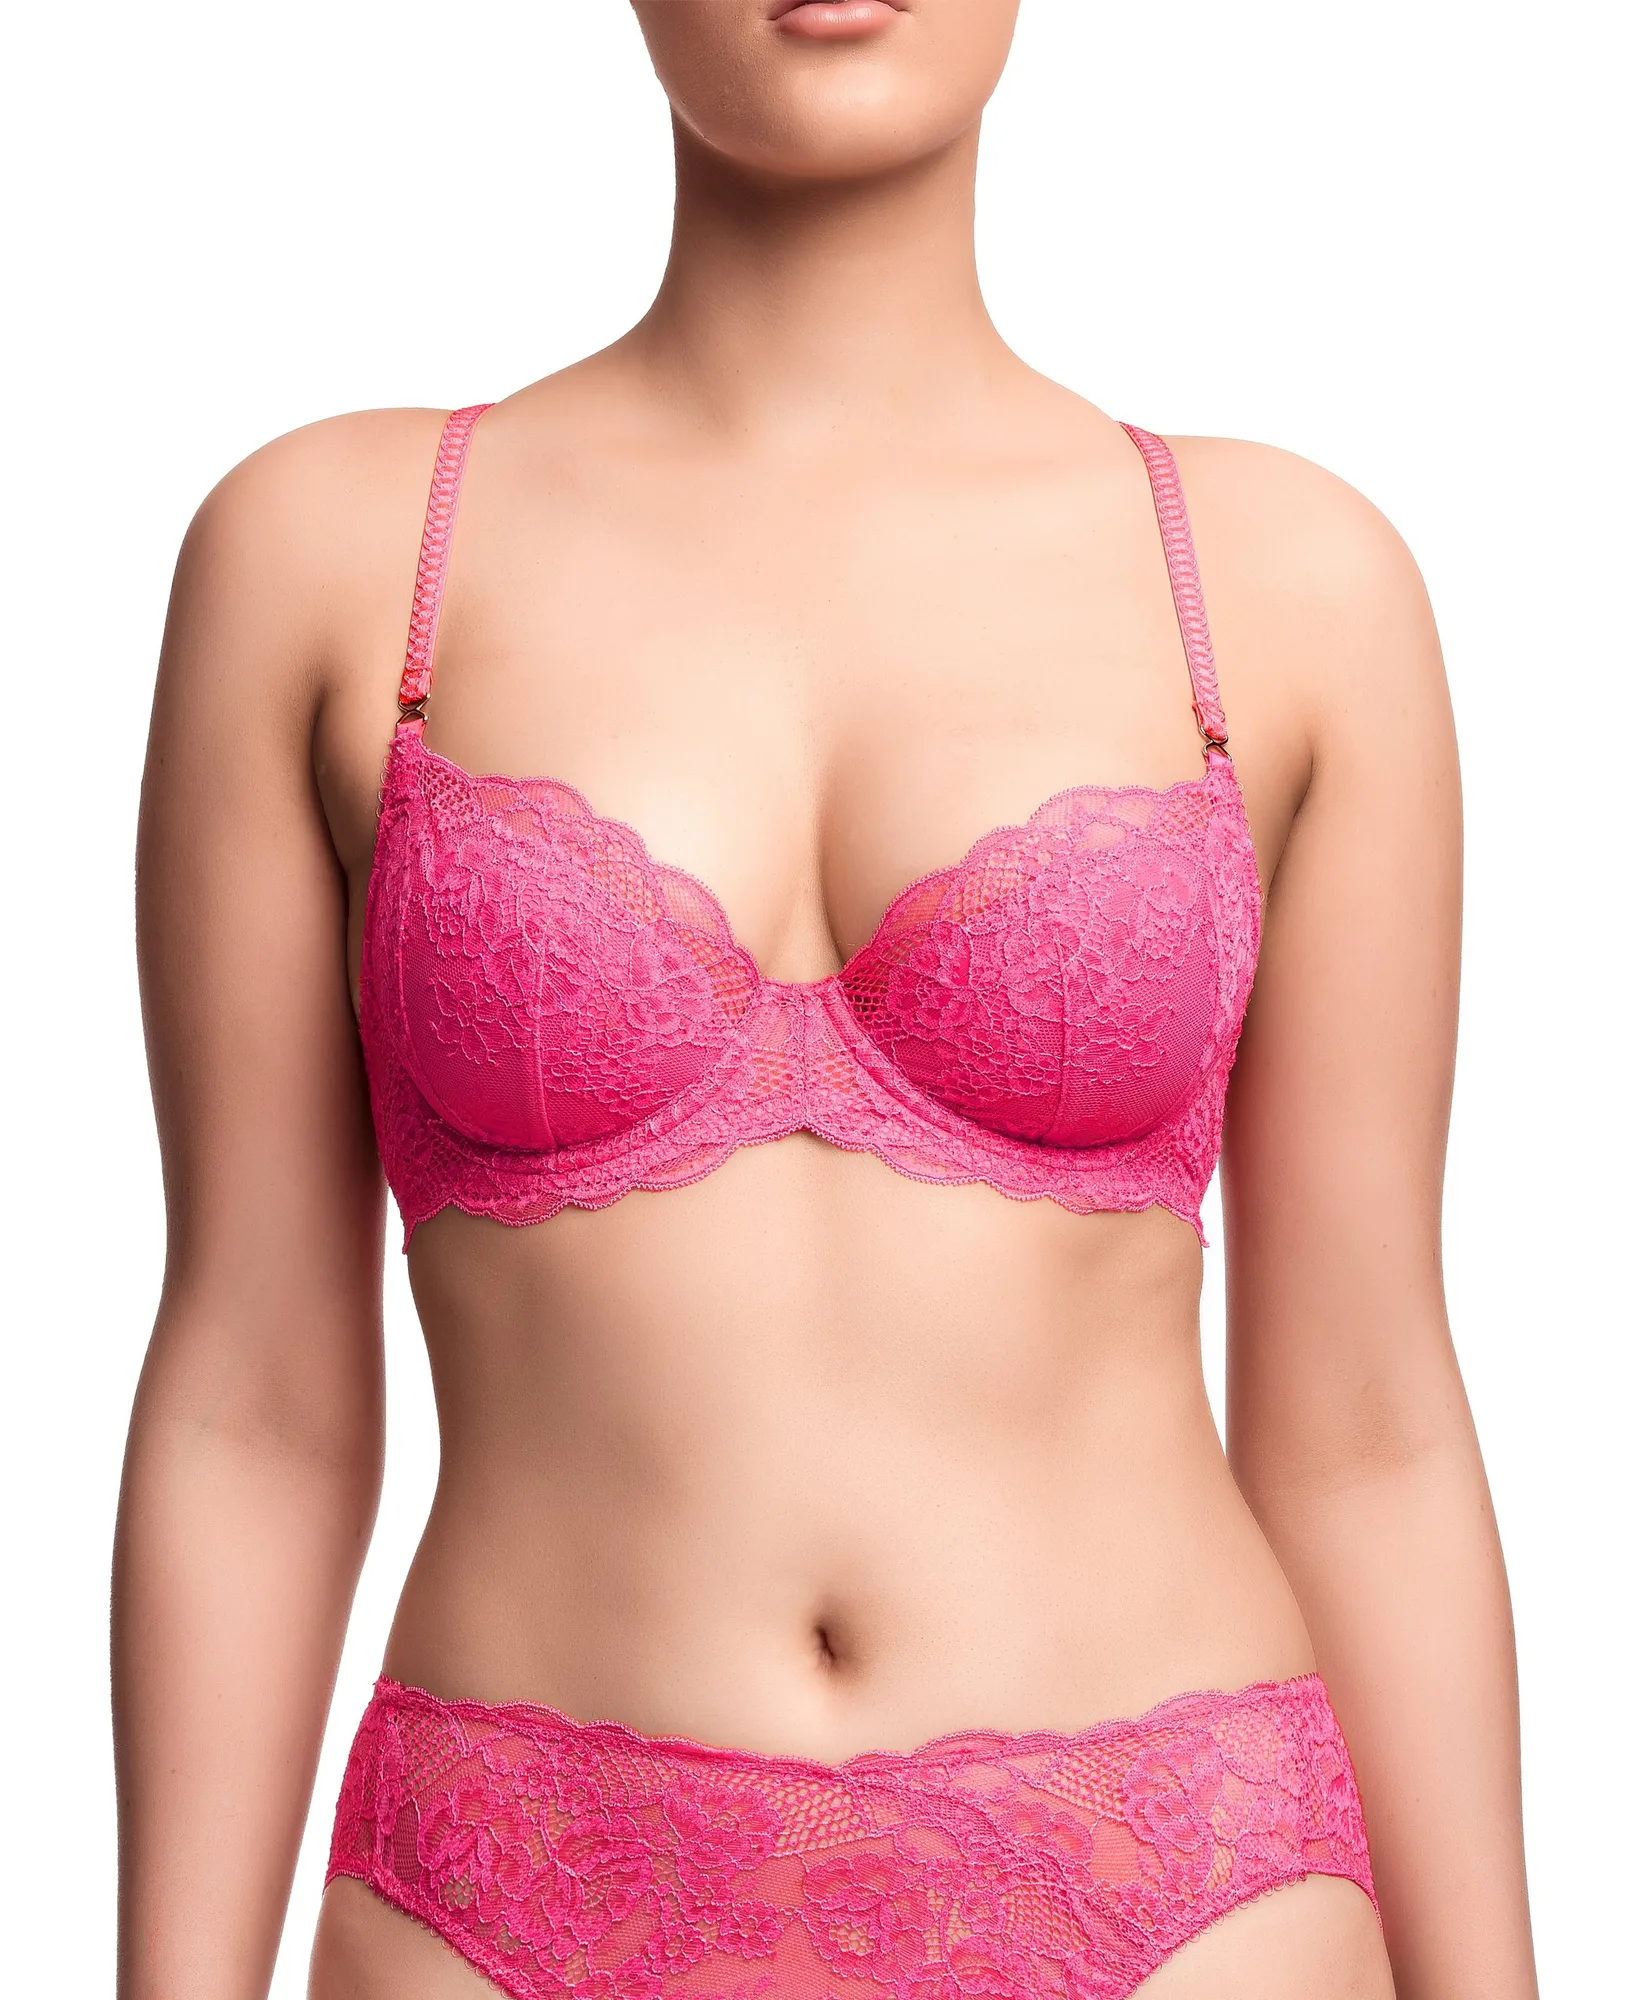
- Isabella Balconette Bra: The Isabella Balconette Bra is a lightly padded bra featuring floral stretch lace, with seam-free padded cups made with Sainted Sisters' Flex Lux padding that has multi-way stretch and moulds to your bust shape without restriction. The shoulder straps feature a J-hook for racer back or tank styles. The multi-way stretch padding adapts to your shape, so if you are between cup sizes, this style can accommodate slight fluctuations. The J-hook lets you convert to a racerback, which changes strap positioning and can help if your straps usually slip.
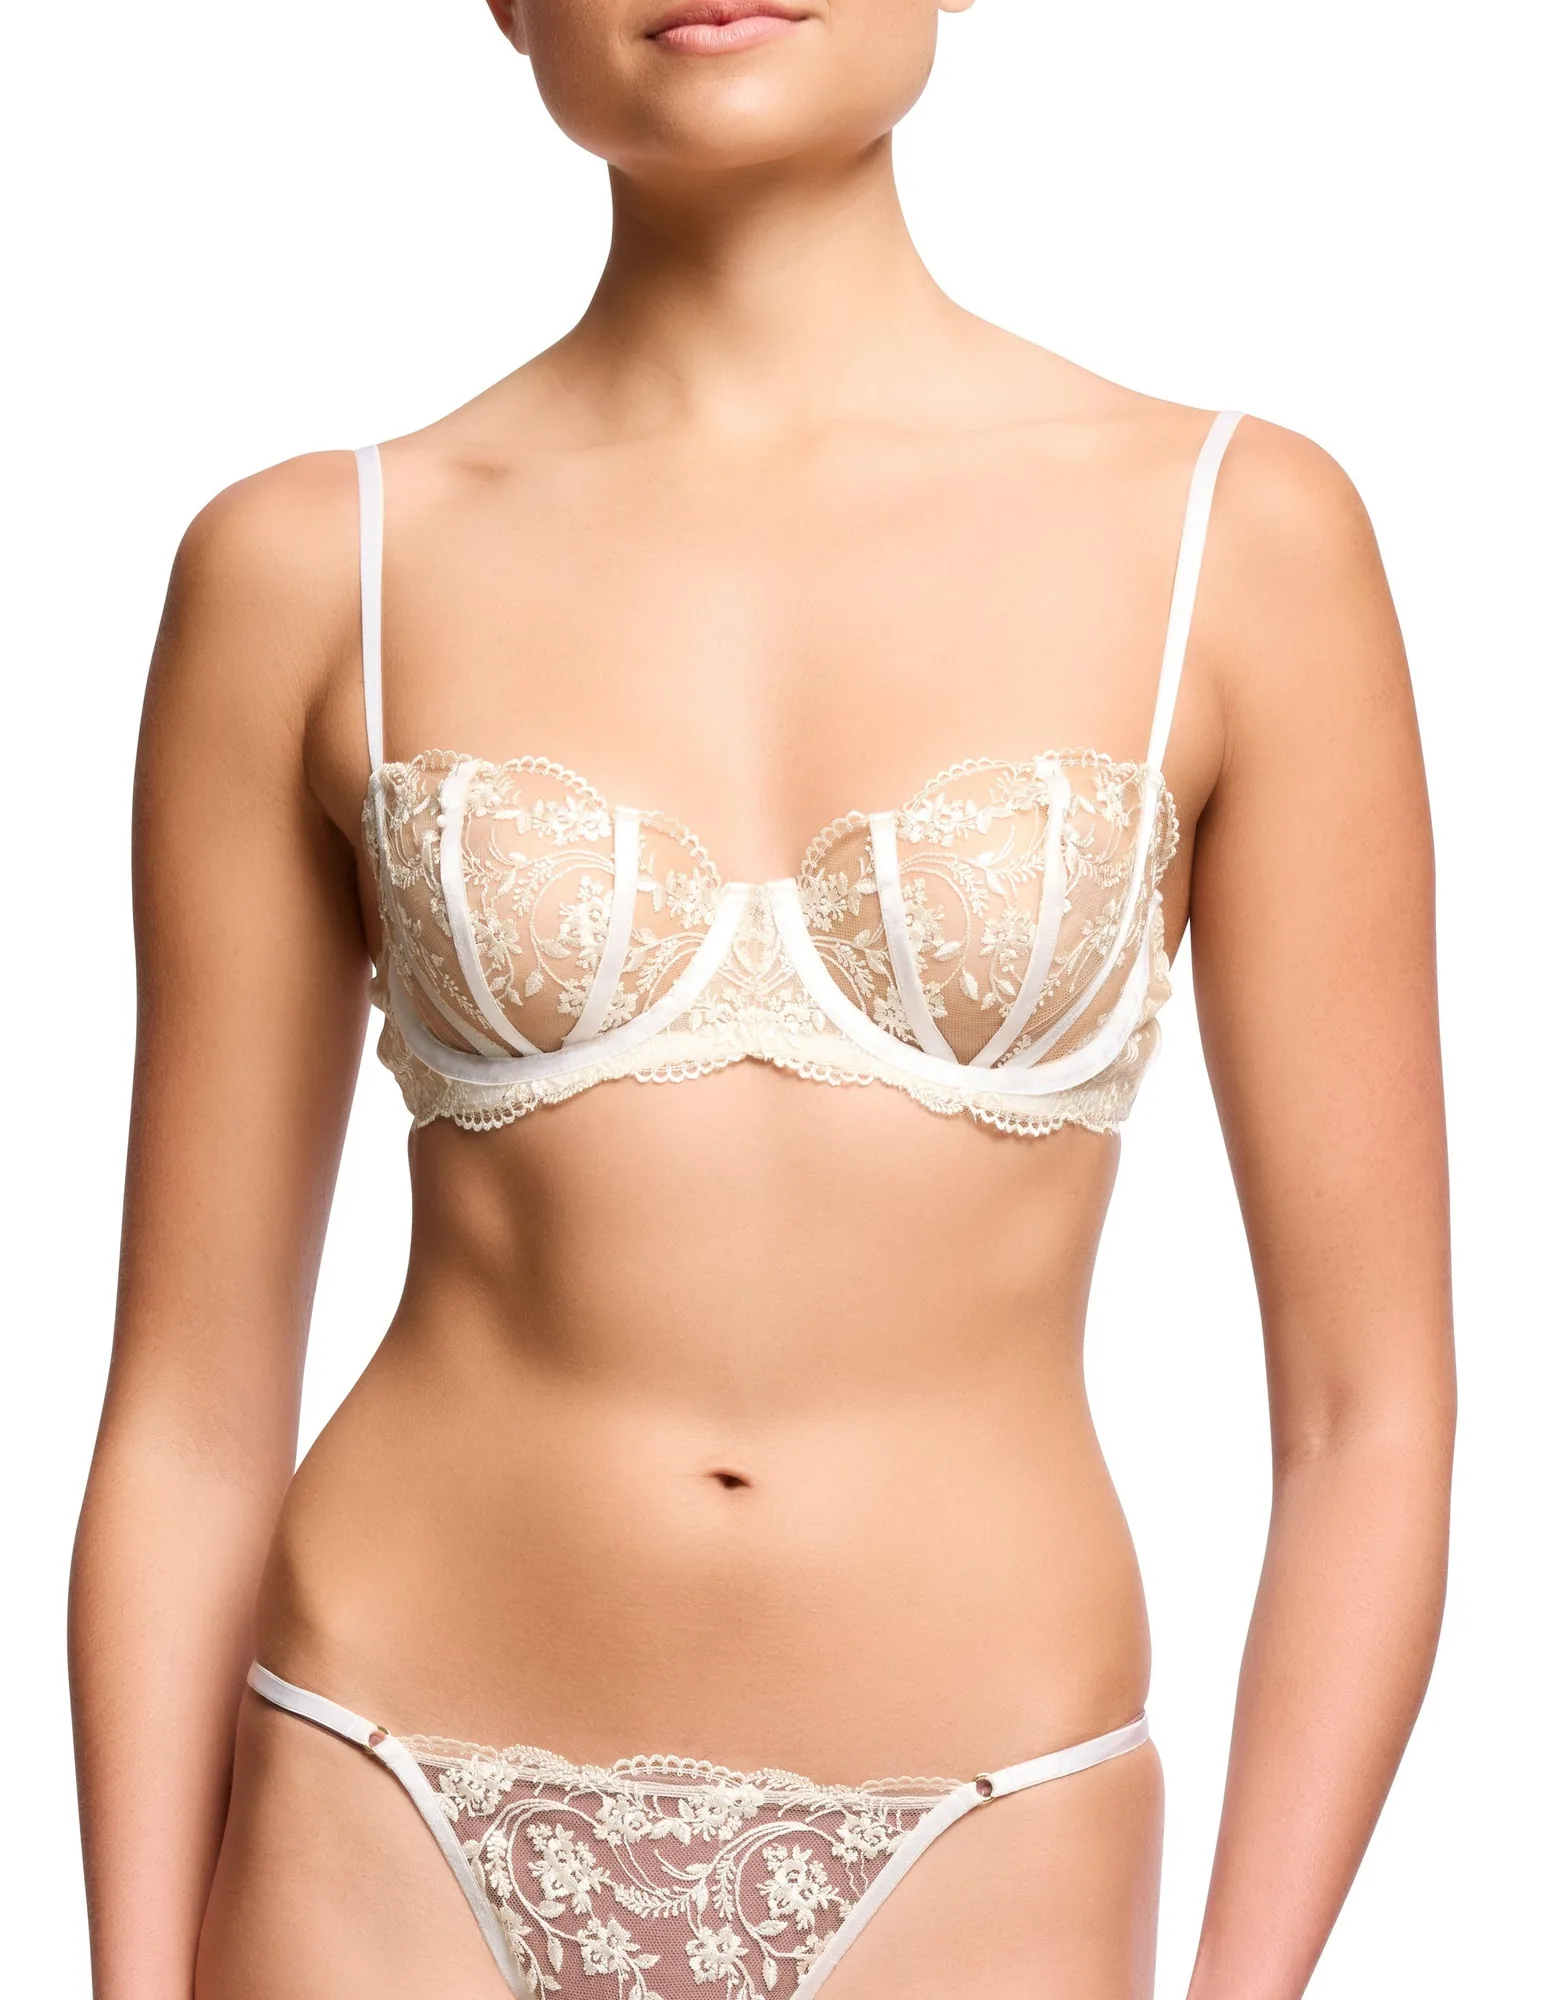
- Arianna Balconette Bra - Ivory: The Arianna sheer balconette bra has sheer, embroidered cups with ribbon detail and a 3-piece design for added shape, plus adjustable straps. A 3-piece cup is often more forgiving for projected shapes than a molded cup, so it is a useful style to test after measuring. The sheer fabric will not hide fit issues, making it a good diagnostic bra for checking gore and cup coverage.
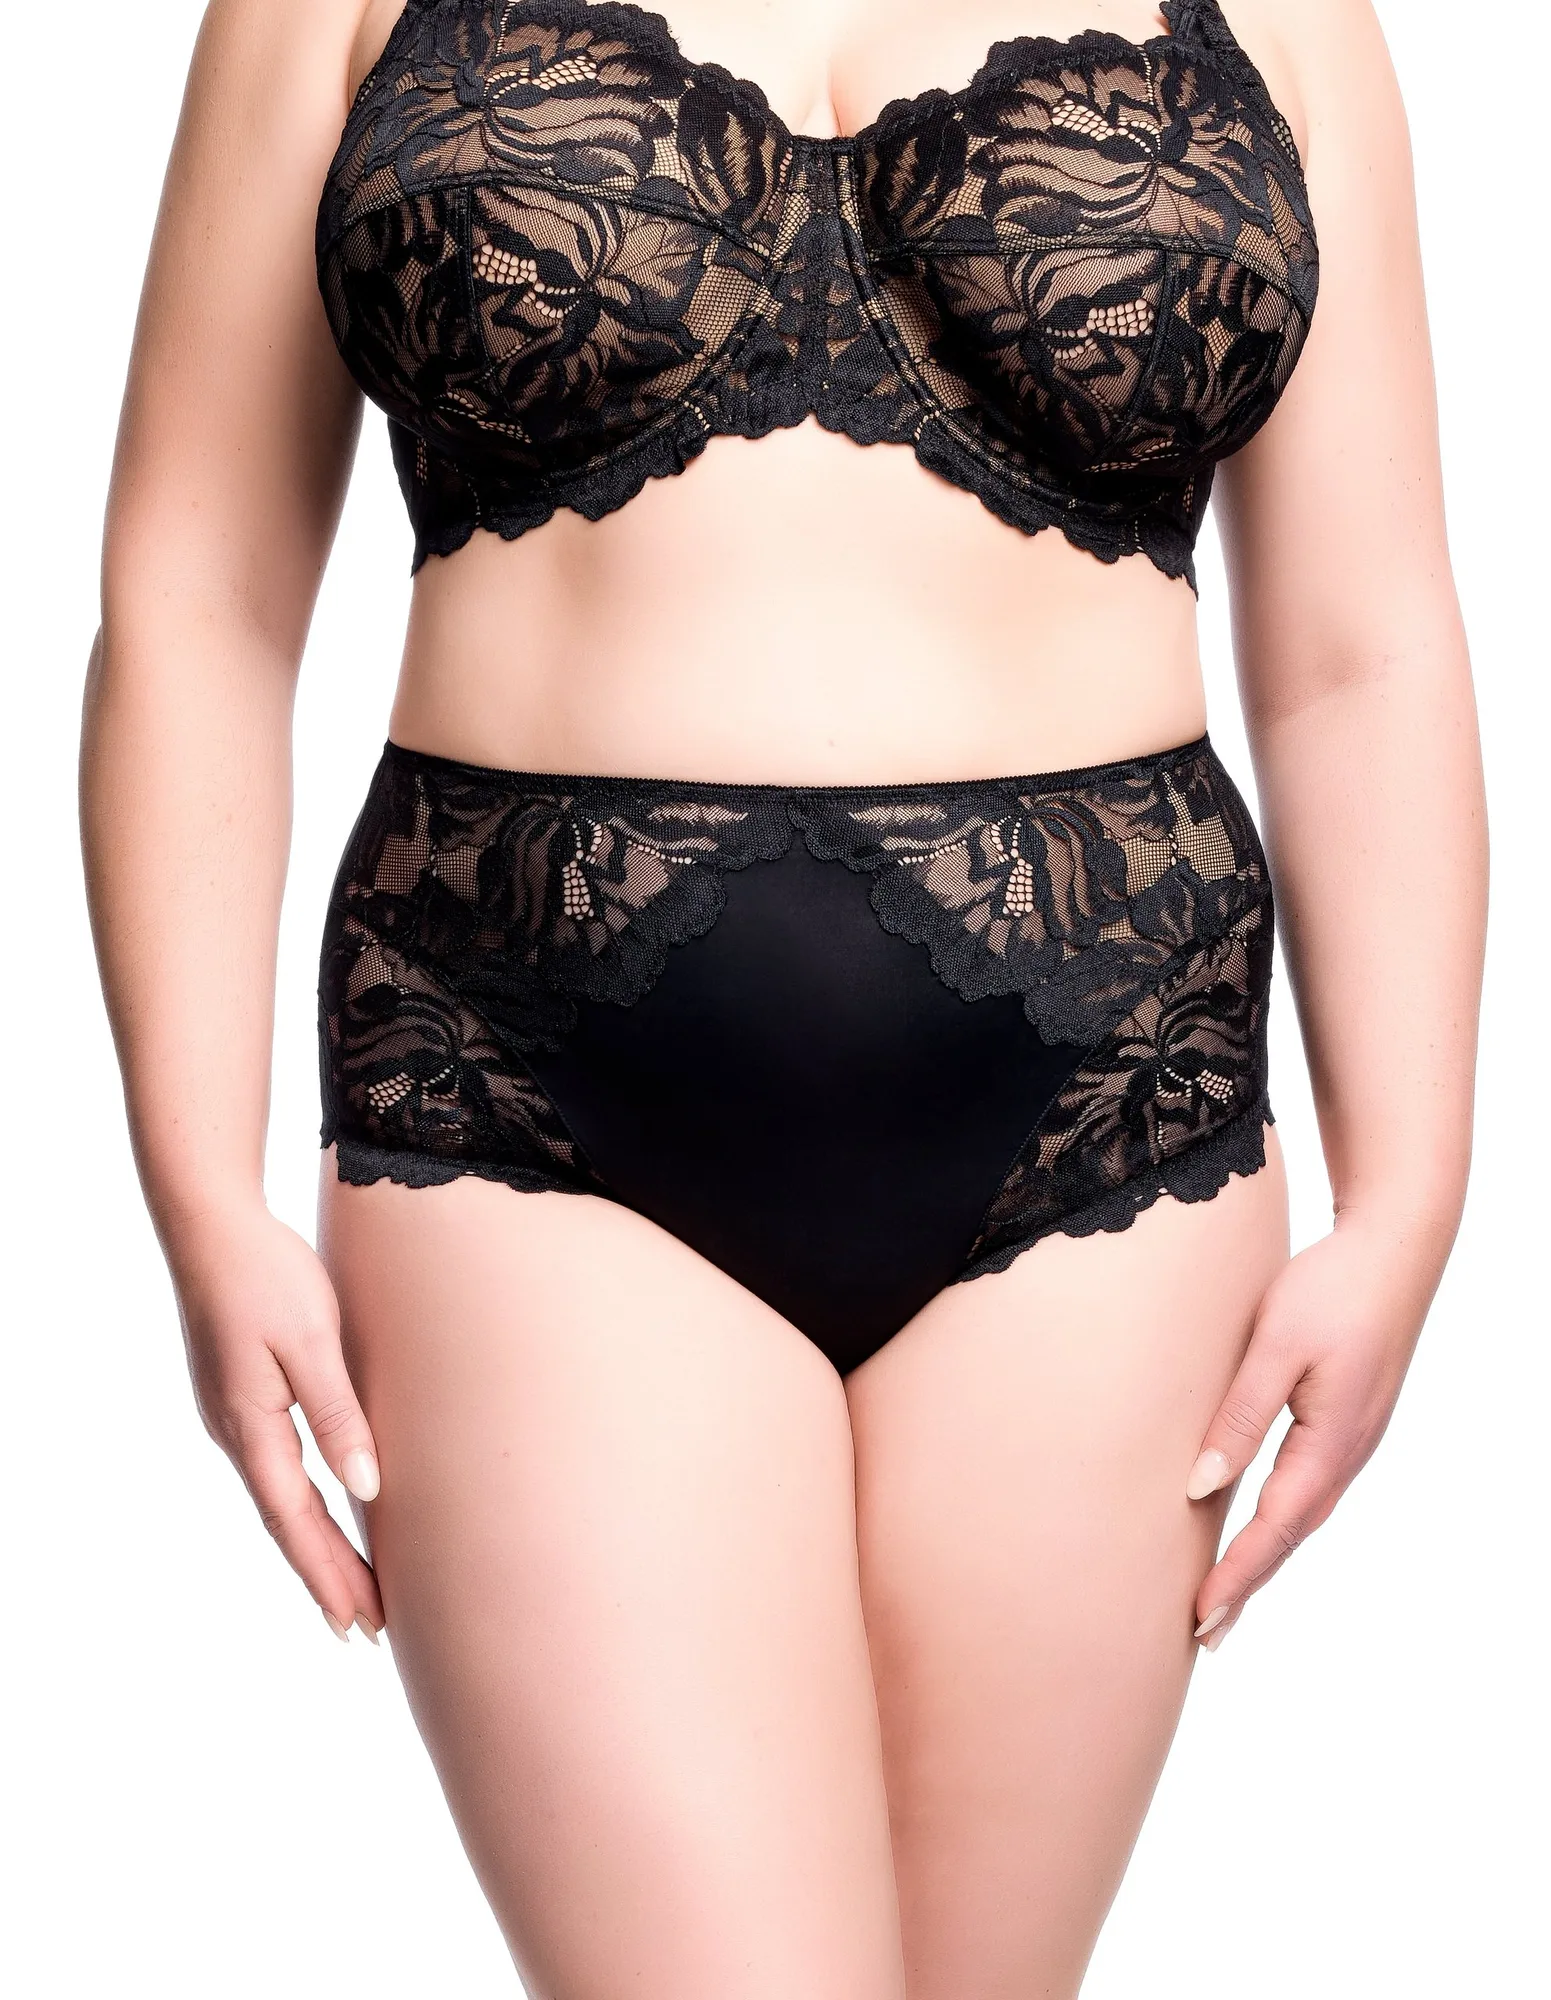
- Zhara Full Brief: The Zhara Full Brief sits over the waist with a flattering comfort leg line, using a soft, stretchy microfibre front with lace detailing at sides and leg and a cotton gusset. Once your bra size is set, matching bottoms in a consistent size helps you build a reliable fit baseline. This full-coverage brief is a practical everyday option if you prefer more coverage while you dial in your bra size.
A tape measure gives you a starting size, but the real test is how the bra feels after five minutes of normal movement. Measure carefully, adjust one variable at a time, and trust the band to do the work. If you are between sizes, try the same style in two sizes and keep the one that stays level without constant tugging.