Quick answer
Fit a 2G dimmer plate by first isolating the power, removing the old plate, connecting the dimmer module, and then securing the new plate with even screws—checking alignment before tightening fully.
Why a 2G dimmer plate needs careful alignment
A 2G dimmer plate covers two modules, so any misalignment becomes twice as obvious. The plate's screw holes must line up with the back box, and the dimmer knobs need to sit level. Taking a few extra seconds to align before tightening prevents a crooked finish that’s hard to correct later.
Trade-off: metal plates and wiring space
Decorative plates often have a metal base, which looks refined but can be less forgiving if the back box is shallow. You may need to fold wires neatly to fit everything behind the plate. If you’re replacing an existing plate, check that the back box depth is sufficient for the dimmer module and wiring—otherwise, you might need a deeper box.
Step-by-step fitting process
- Isolate the power: Turn off the circuit at the consumer unit and use a voltage tester to confirm the wires are dead. Never rely on the wall switch alone. Double-check with a tester even if the switch is off.
- Remove the old plate: Unscrew the existing plate and gently pull it forward. Take a photo of the wiring before disconnecting anything—this is your reference for reconnection. The photo will save you from guesswork later.
- Connect the dimmer module: Follow the manufacturer's wiring diagram for the dimmer module. Typically, you'll connect the live and switched live wires to the correct terminals, and ensure the earth is connected to the metal plate if required. Tighten screws securely. Ensure earth continuity if the plate is metal—this is a safety must.
- Fold wires and seat the plate: Carefully fold the wires into the back box, ensuring no bare conductors touch the metal plate. Offer the plate up to the wall, aligning the screw holes with the back box lugs. Avoid pinching wires between the plate and the wall.
- Secure and align: Insert the screws but do not tighten fully. Check that the plate is level and the dimmer knobs are straight, then tighten the screws evenly. Over-tightening can crack the plate or strip the threads. Use a spirit level if available—eyeballing is often not accurate enough.
- Test the dimmer: Restore power and test the dimmer at both ends of its range. If the light flickers or the dimmer feels loose, turn off power and re-check the connections. A smooth dimming range indicates correct wiring and a properly seated module.
Products that help with this project
-
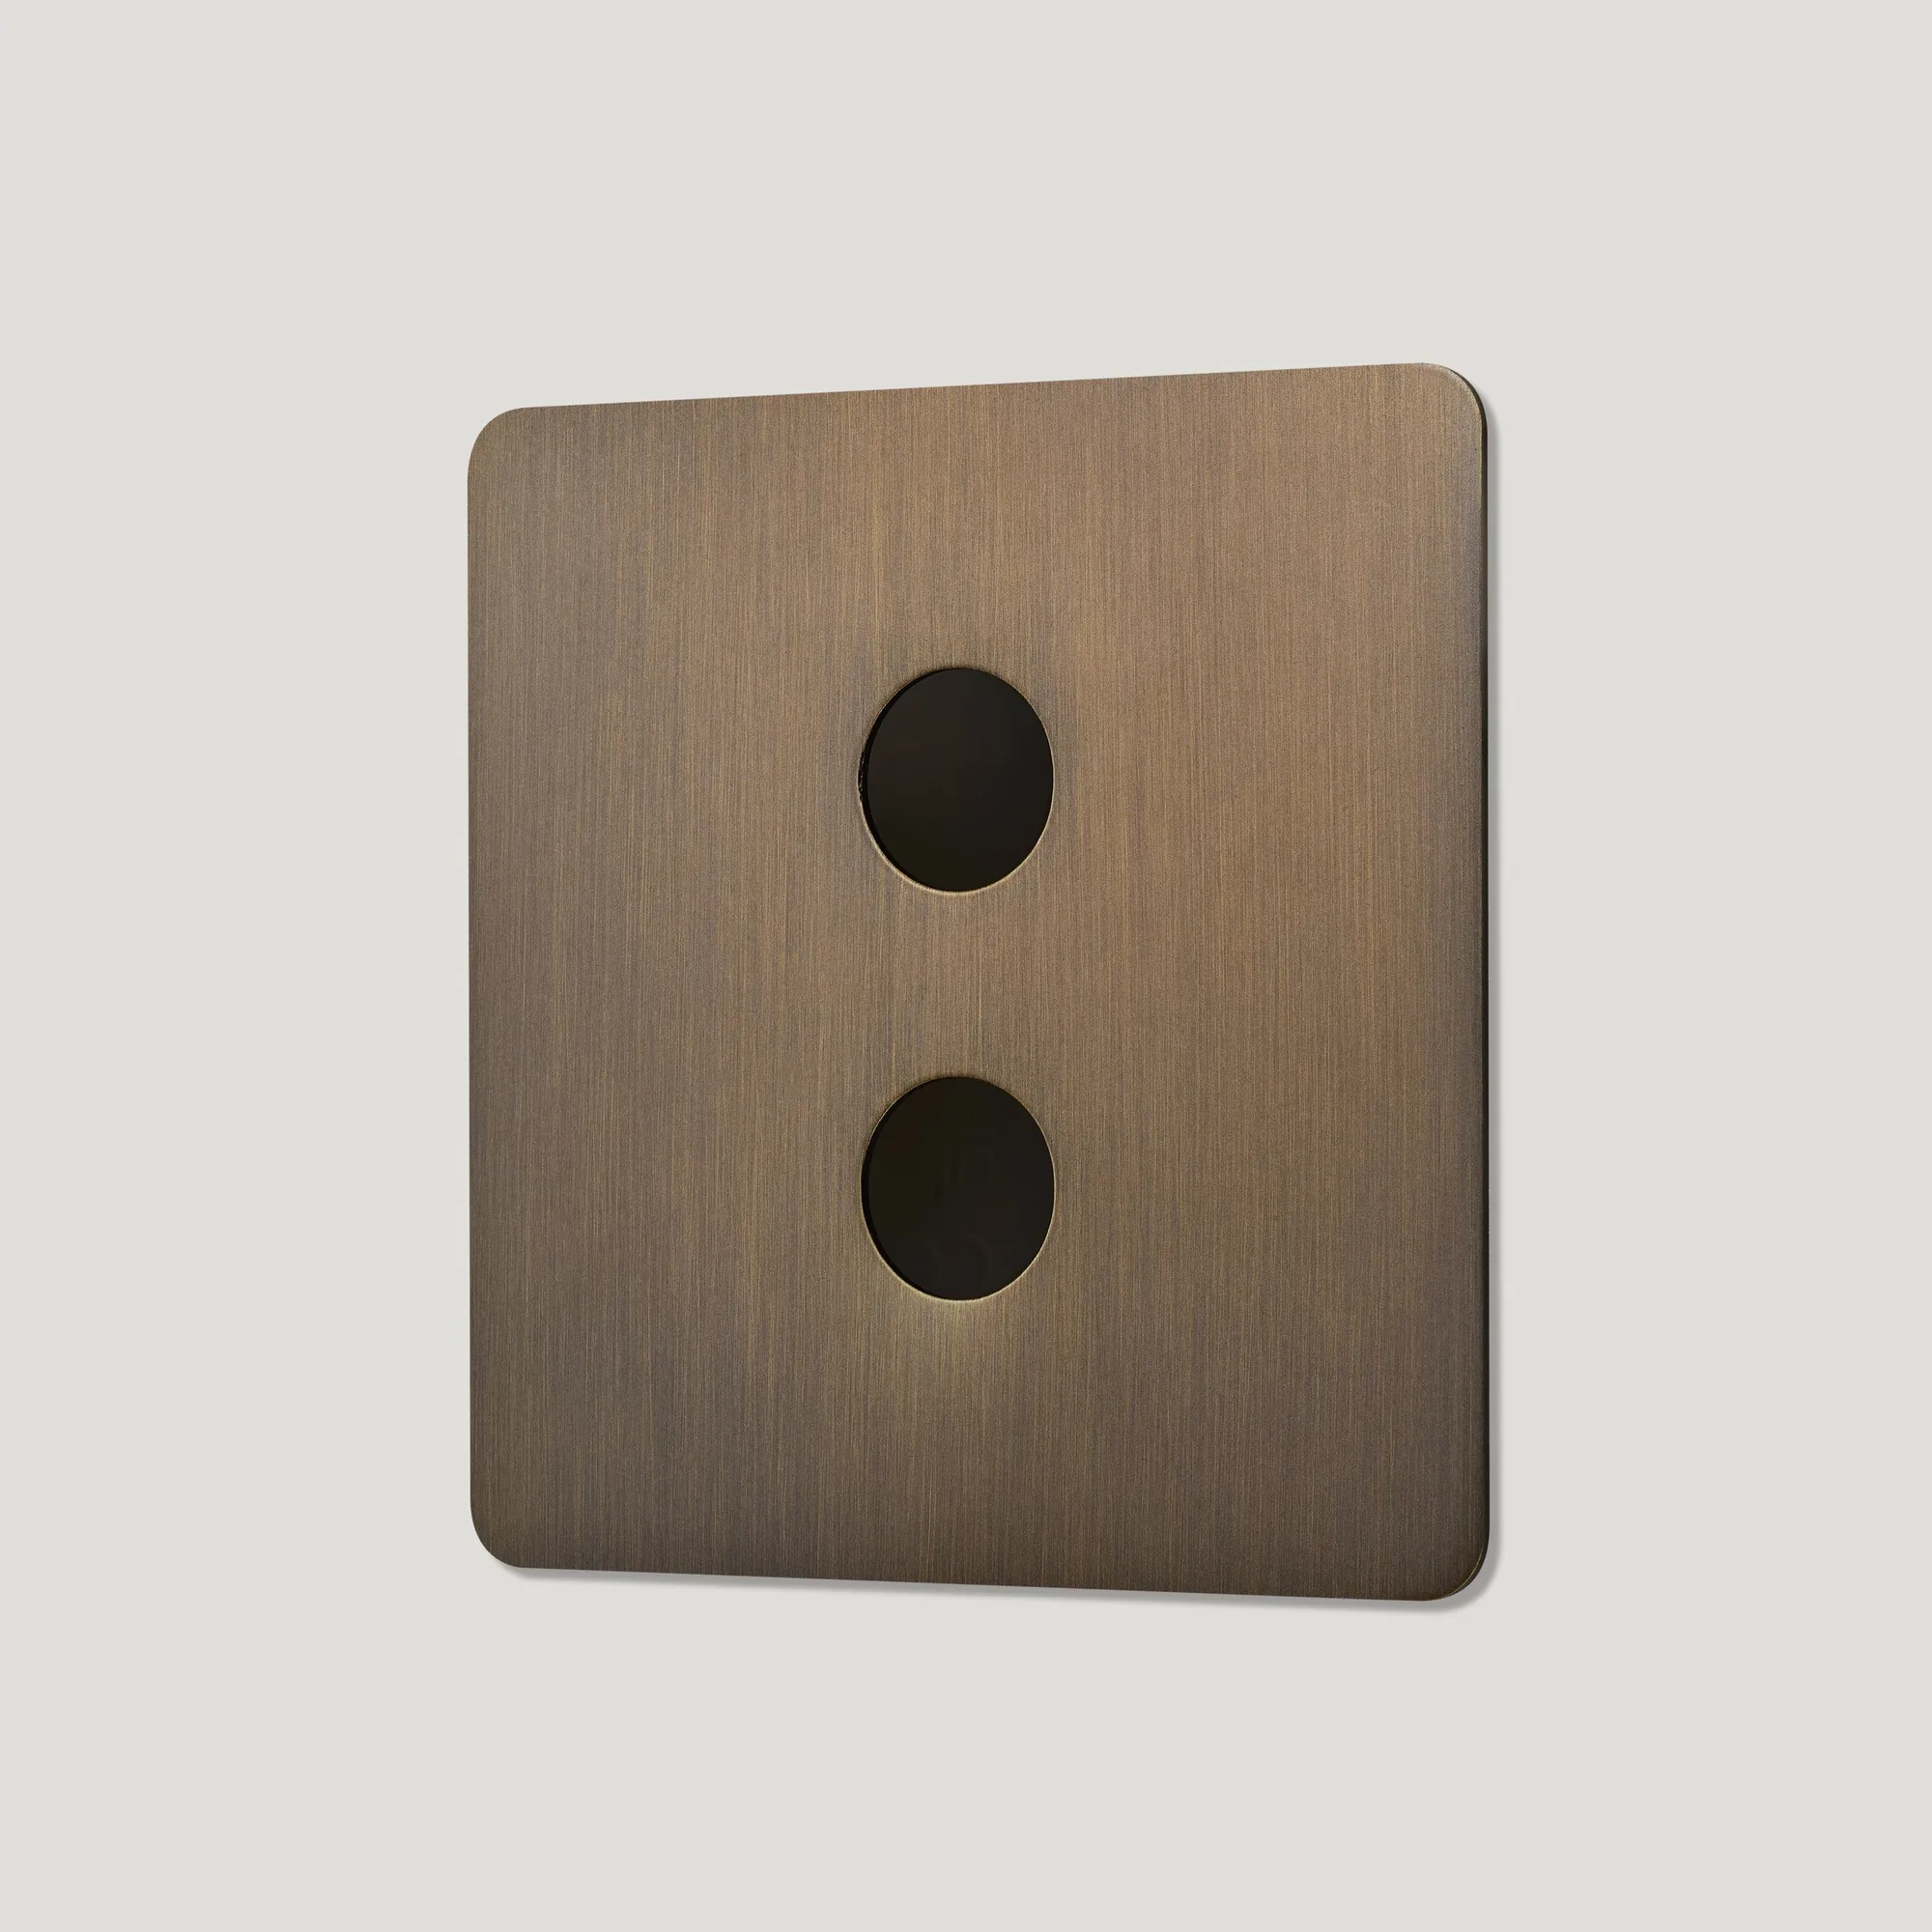
2G Dimmer Plate - Antique Brass: The 2G Dimmer Plate in Antique Brass features a stainless-steel base with a warm vintage finish, designed to accommodate two dimmer modules. Its sturdy metal construction and classic finish make it a durable, stylish choice for a two-gang installation, and the design ensures a clean fit once aligned properly.
2G Dimmer Plate - Antique Brass