Quick answer
To fit a dimmer module into a decorative switch plate, first confirm the module and your lamp are compatible, isolate the circuit, then wire the module to the plate's switch terminals and secure it behind the plate. If you are unsure about any wiring step, stop and use a qualified electrician.
Check dimmer module compatibility before you buy
Not every dimmer module suits every load or every decorative plate. Check three things: the module's load rating against the total wattage of the lamps it will control, whether it is designed for leading-edge or trailing-edge dimming, and whether it physically fits the plate's module aperture. If the module uses auto-detect leading or trailing edge, it will adapt to many dimmable LED and incandescent loads, but it still needs a minimum load to work reliably.
- Add up the wattage of all lamps on the circuit, not just one.
- Confirm the lamps are marked dimmable; non-dimmable LEDs often flicker or buzz.
- Check the plate's module cutout dimensions before ordering.
Isolate the circuit and prove it dead
Switch off the lighting circuit at the consumer unit, then prove the circuit is dead with a two-pole voltage tester at the switch terminals. Do not rely on the wall switch alone, because a dimmer module may still have live conductors present even when the switch is off. Lock off or label the consumer unit so no one restores power while you work.
- Test between live and neutral, and live and earth, at the switch.
- If you cannot isolate the circuit safely, stop and call an electrician.
Identify the conductors and plan the wiring
A dimmer module typically needs a permanent live, a switched live to the lamp, a neutral, and an earth where the plate is metal. Decorative switch plate wiring varies by plate and module, so follow the module's own diagram rather than assuming a standard layout. If your wall box has no neutral, choose a module rated for a two-wire installation, or run a neutral if the circuit allows it.
- Label each conductor before disconnecting anything.
- Photograph the existing wiring so you can refer back to it.
- Never assume a black or blue conductor is neutral without testing.
Fit the module to the plate and secure it
Clip or screw the module into the plate's module aperture, then connect the conductors to the module terminals and tighten each terminal to the torque stated in the instructions. A common mistake is overtightening stranded conductors, which can cut strands and create a poor connection. Once wired, fold the conductors neatly into the wall box and screw the plate back to the box without trapping any wire.
- Keep the module's antenna or sensor clear if it has one.
- Do not force the plate if the module is too deep for the box.
- Check the plate sits flat before final tightening.
Test the dimmer and adjust the minimum setting
Restore power and test the dimmer across its full range, from the lowest setting to full brightness. Many modules have a minimum brightness trim or a small adjustment screw; set it so the lamps do not flicker or drop out at the low end. If the dimmer buzzes, the cause is usually an incompatible lamp or module pairing rather than a wiring fault.
- Test with the lamps you will actually use, not a temporary bulb.
- If the dimmer flickers, recheck the lamp compatibility before rewiring.
- Run the dimmer for several minutes to check for excess heat.
Step-by-step: fitting the dimmer module
- Step 1: Confirm compatibility: Match the module's load rating and dimming type to your lamps and plate aperture before you start. Checkpoint: if the lamp is not marked dimmable, do not proceed.
- Step 2: Isolate and prove dead: Switch off at the consumer unit and test the switch terminals with a two-pole tester. Checkpoint: if any terminal is live, stop and find the correct circuit.
- Step 3: Identify conductors: Label permanent live, switched live, neutral, and earth, and follow the module's wiring diagram. Checkpoint: photograph the wiring before disconnecting anything.
- Step 4: Wire and mount the module: Connect conductors to the module terminals, tighten to the stated torque, and clip or screw the module into the plate. Checkpoint: give each conductor a gentle tug to confirm it is secure.
- Step 5: Secure the plate: Fold conductors into the wall box and screw the plate flat to the box without trapping wires. Checkpoint: if the plate will not sit flat, the module is likely too deep for the box.
- Step 6: Test and adjust: Restore power, run the dimmer through its full range, and set the minimum brightness trim if fitted. Checkpoint: flicker or buzz at low settings usually means a lamp or module mismatch.
Decorative plates and modules that work together
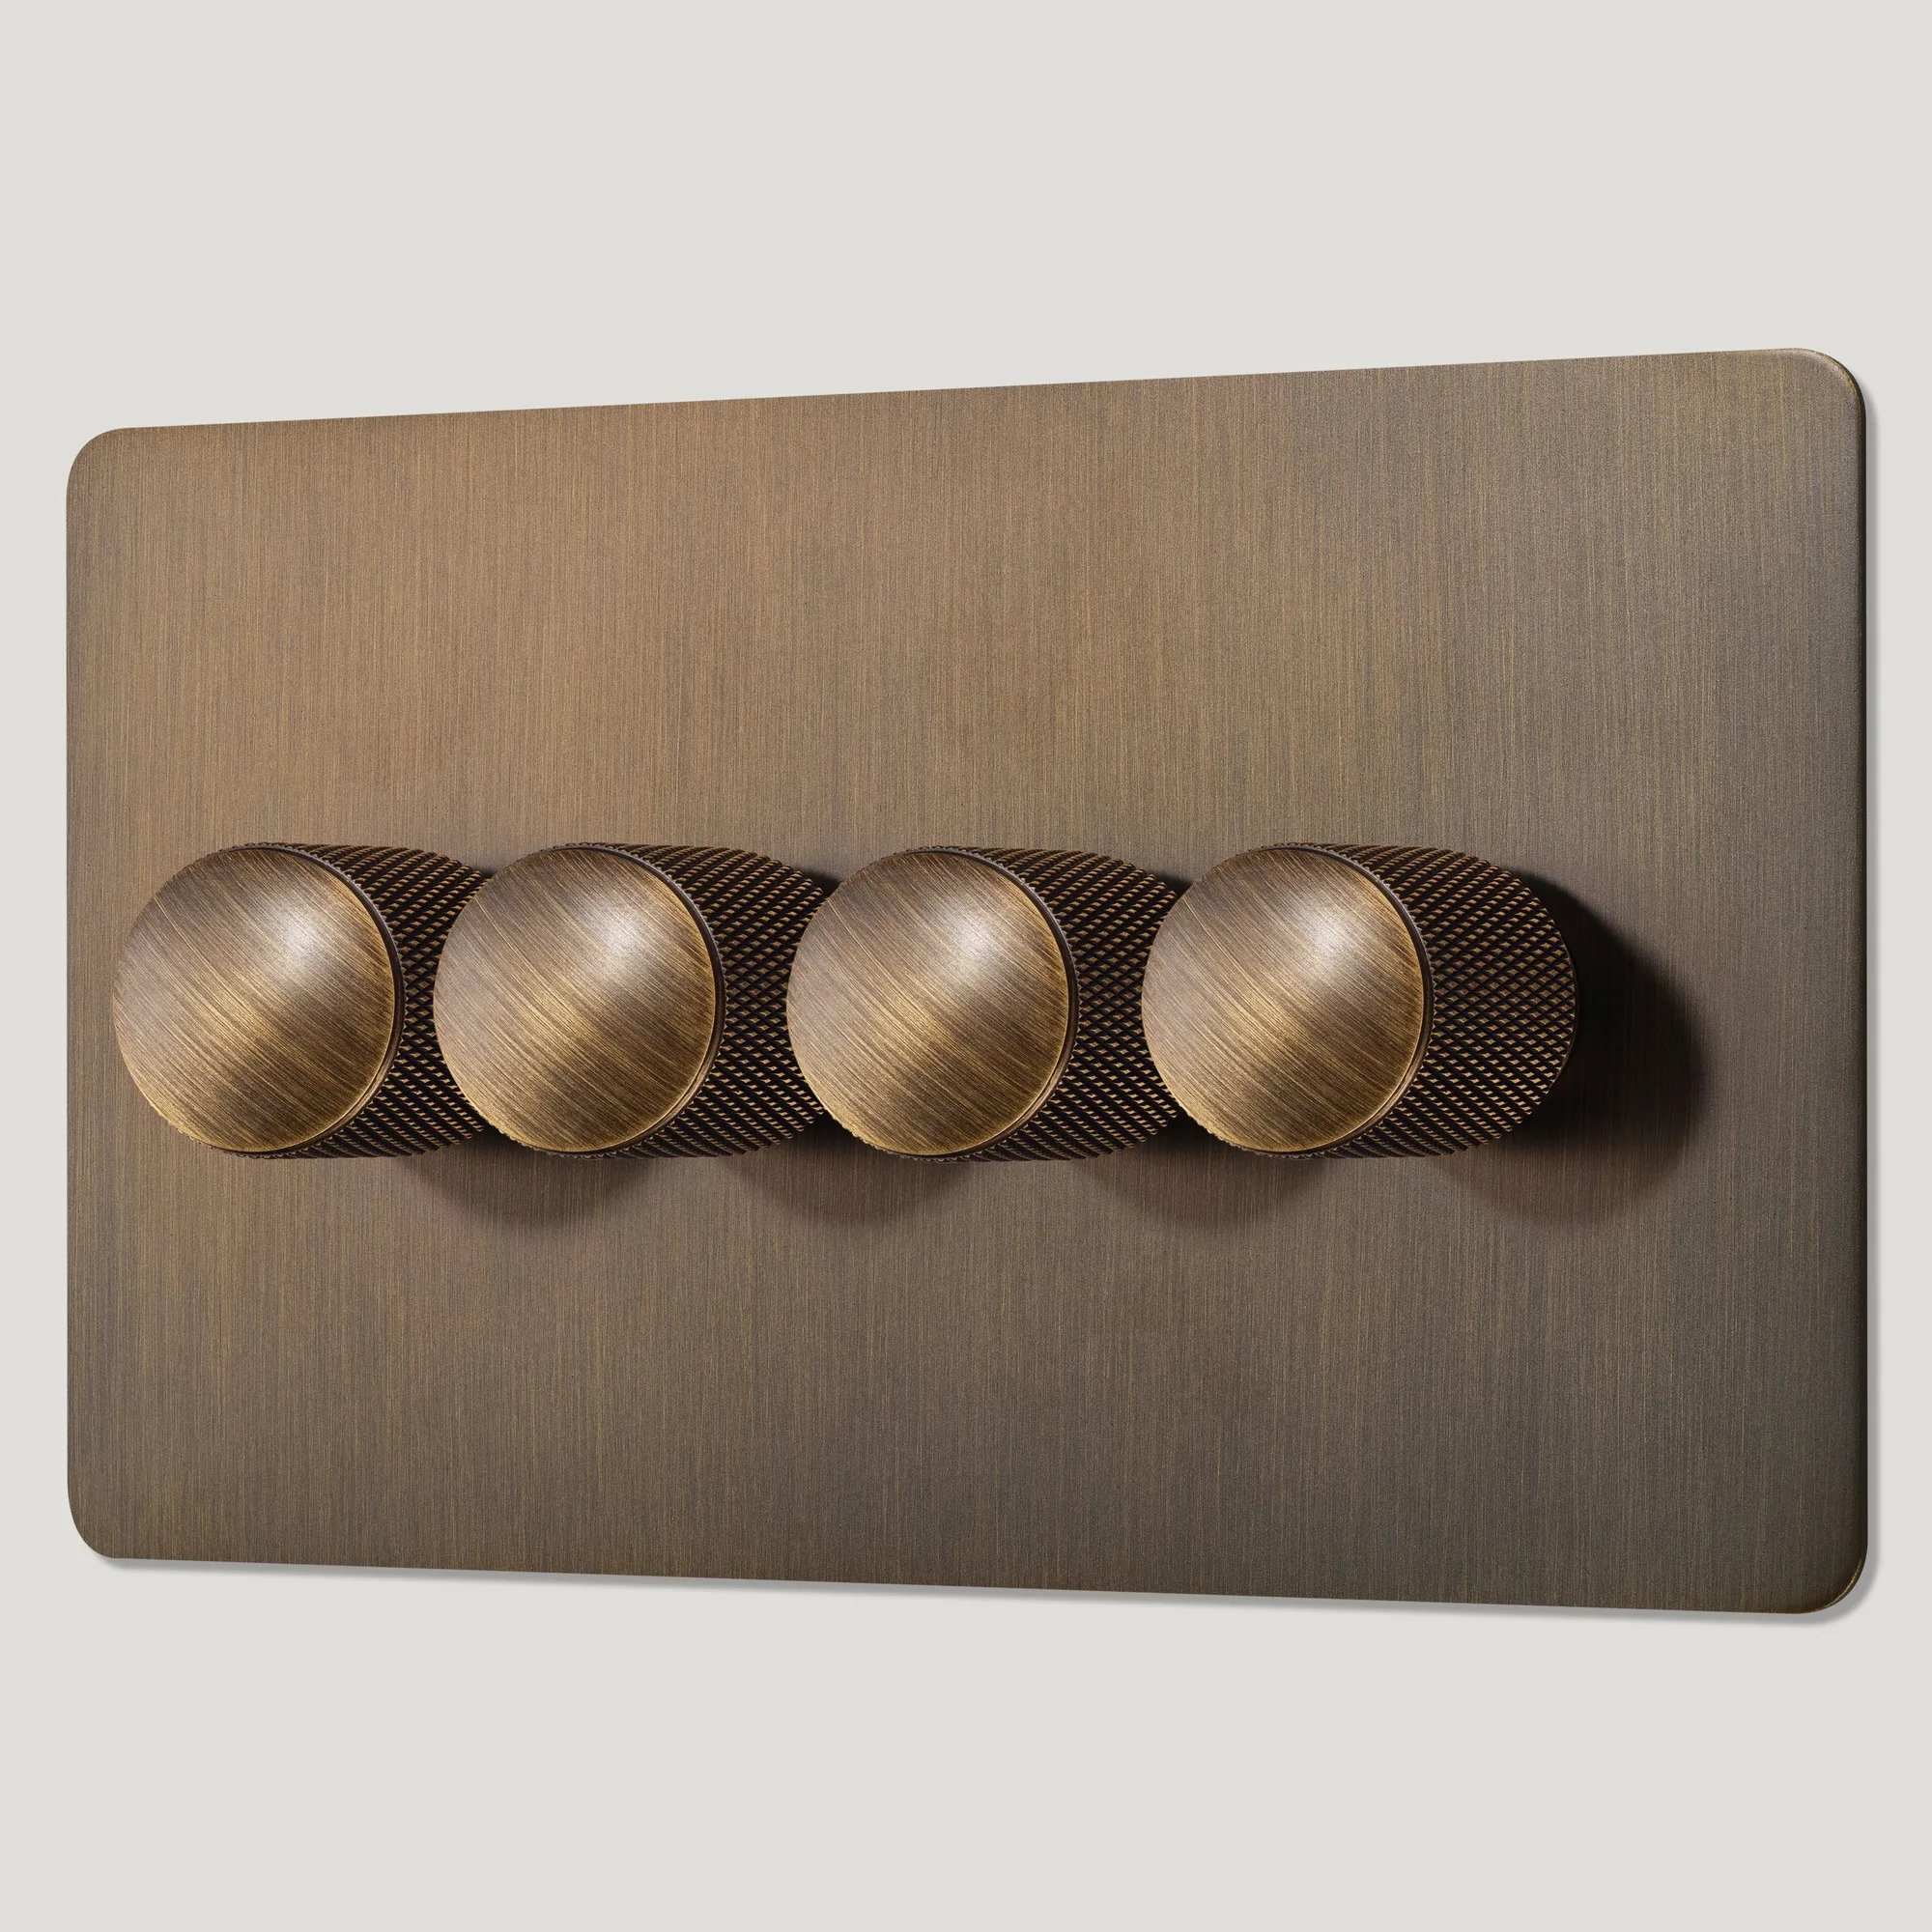
- KEPLER 4G Knurled Dimmer Light Switch - Antique Brass: A 4-gang antique brass dimmer light switch from the Kepler family, finish-matched to the brand's brass cabinet hardware, with a tactile knurled dial turned from solid brass on a slim, flat, low-profile plate. Useful when you want a ready-made dimmer plate that already matches your brass hardware, rather than fitting a separate module into a plain plate.
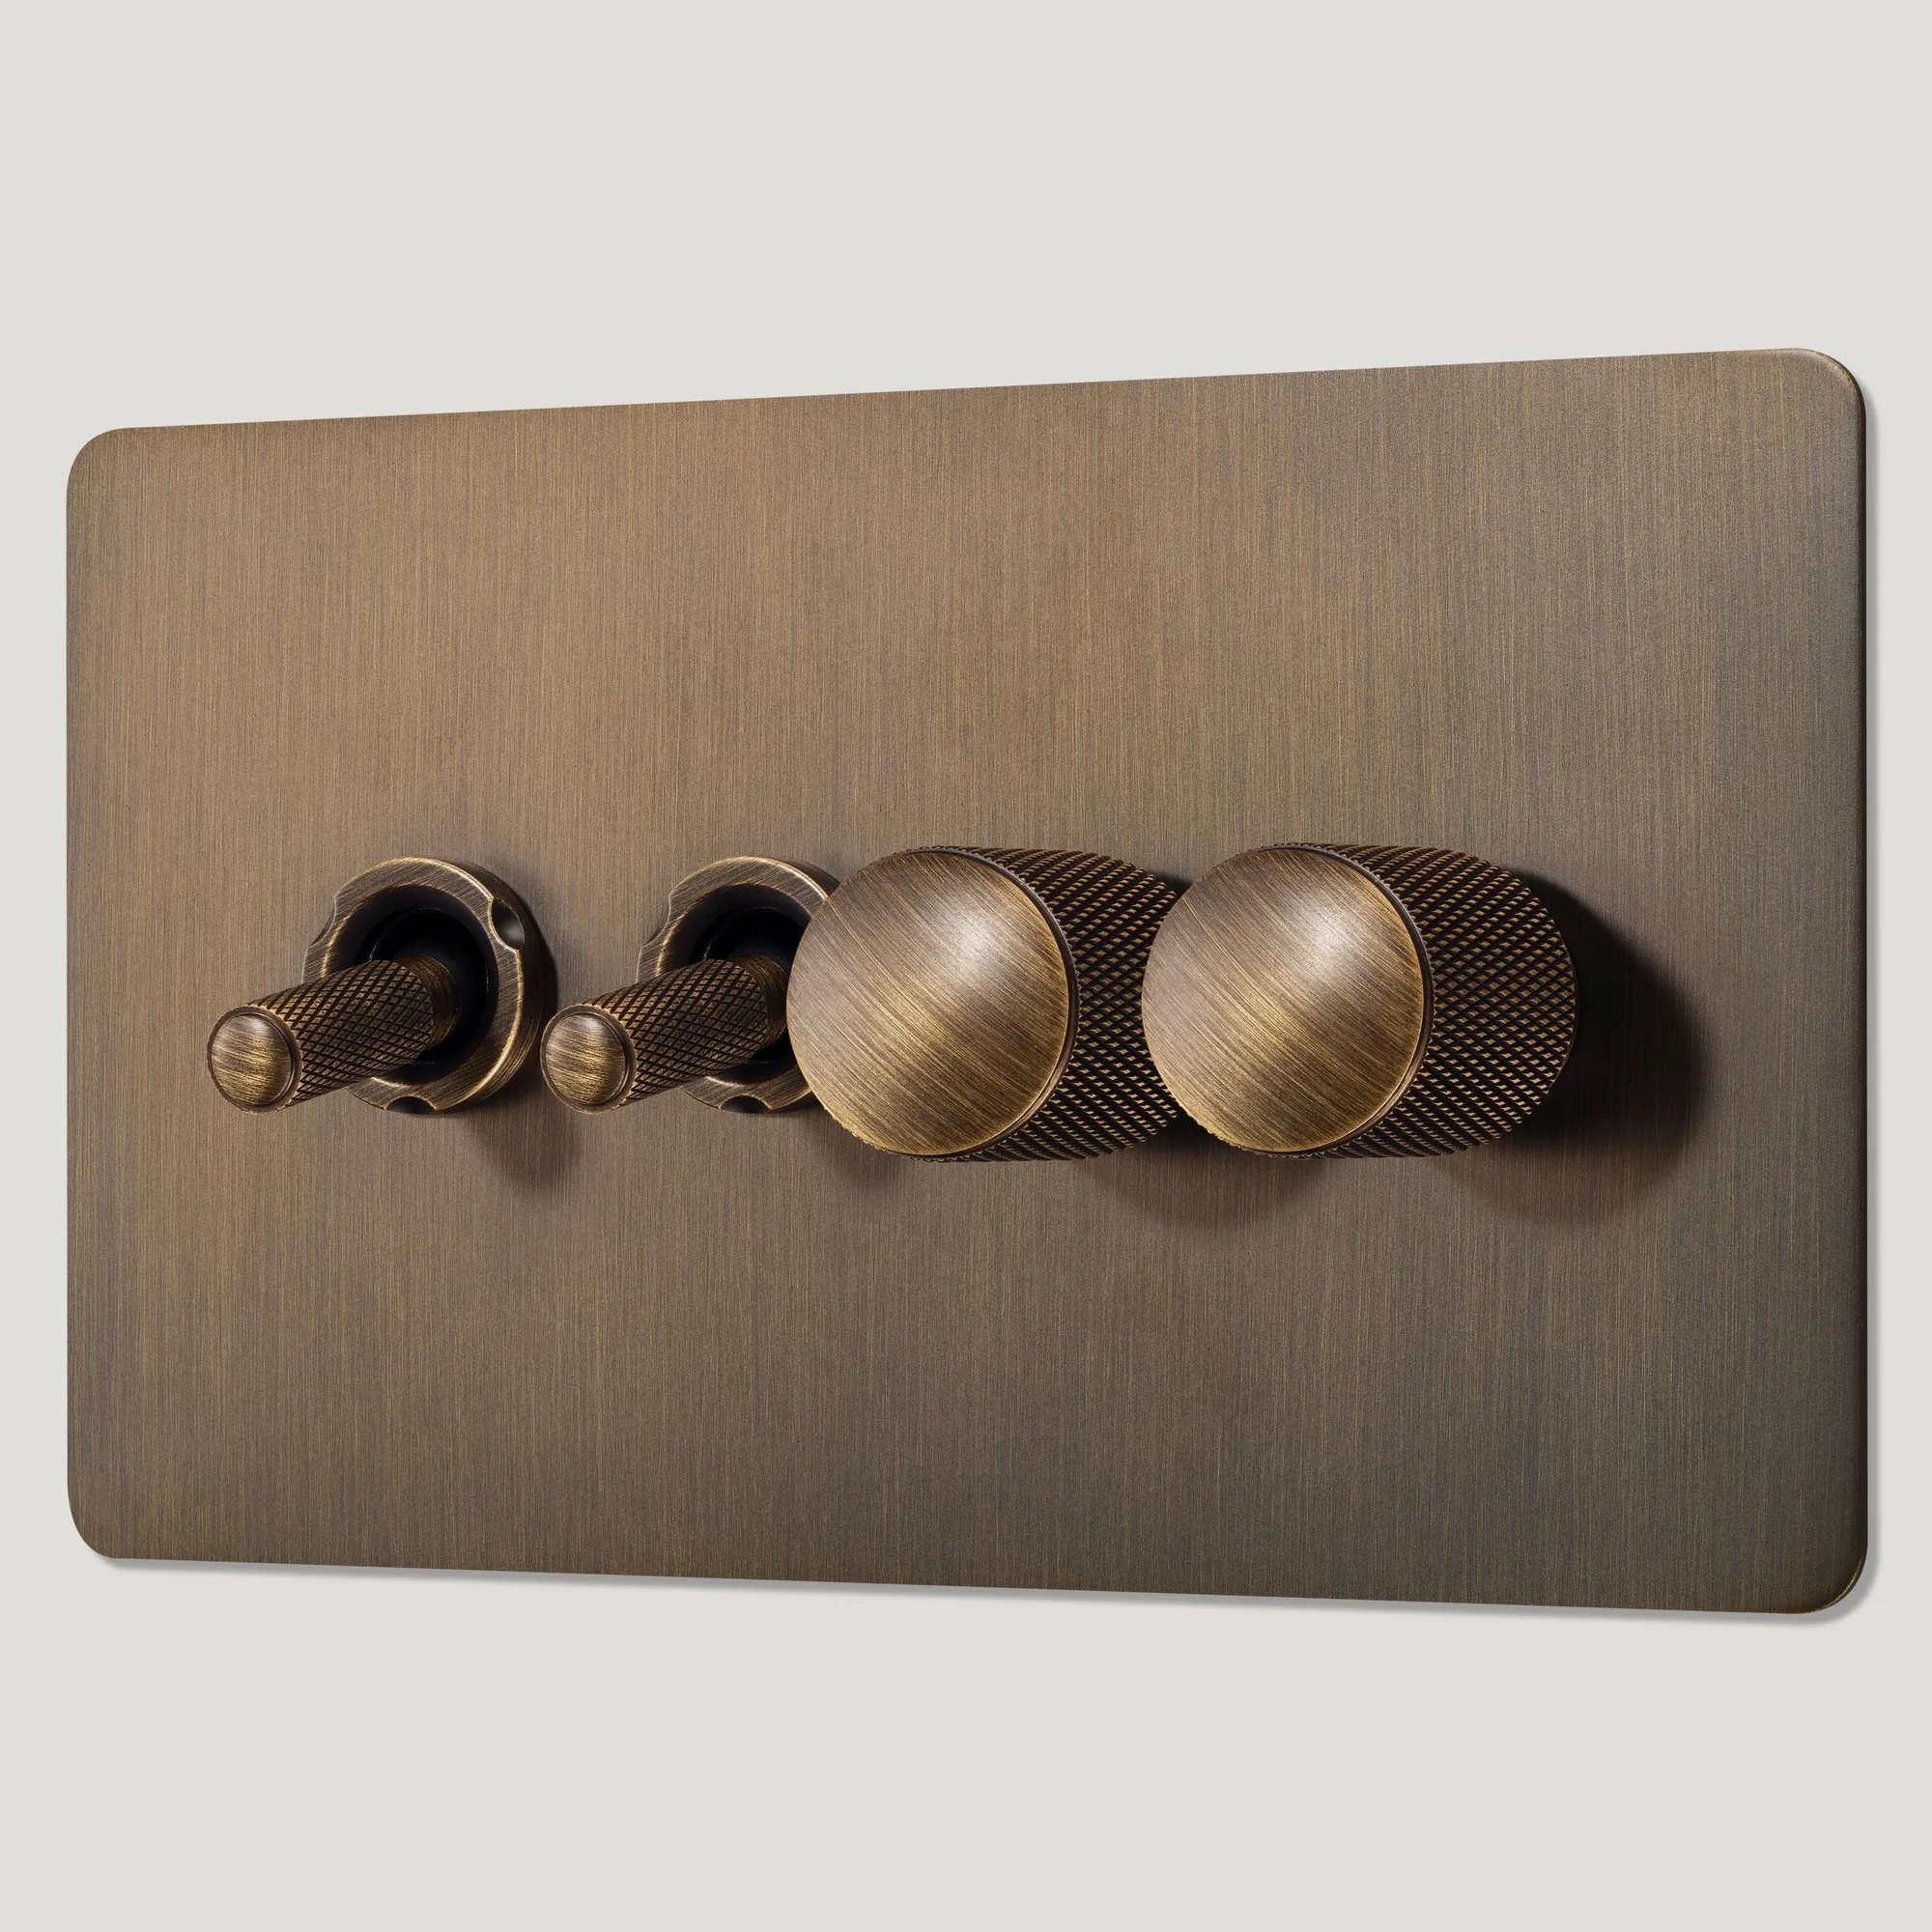
- KEPLER 4G Knurled Mixed Light Switch 2 Toggle / 2 Dimmer - Antique Brass: A 4-gang antique brass mixed light switch combining 2 toggle and 2 dimmer controls on one plate, with the dimmer using auto-detect leading or trailing edge operation. A practical choice when only some lights need dimming, and the auto-detect dimmer helps with mixed dimmable lamp types.
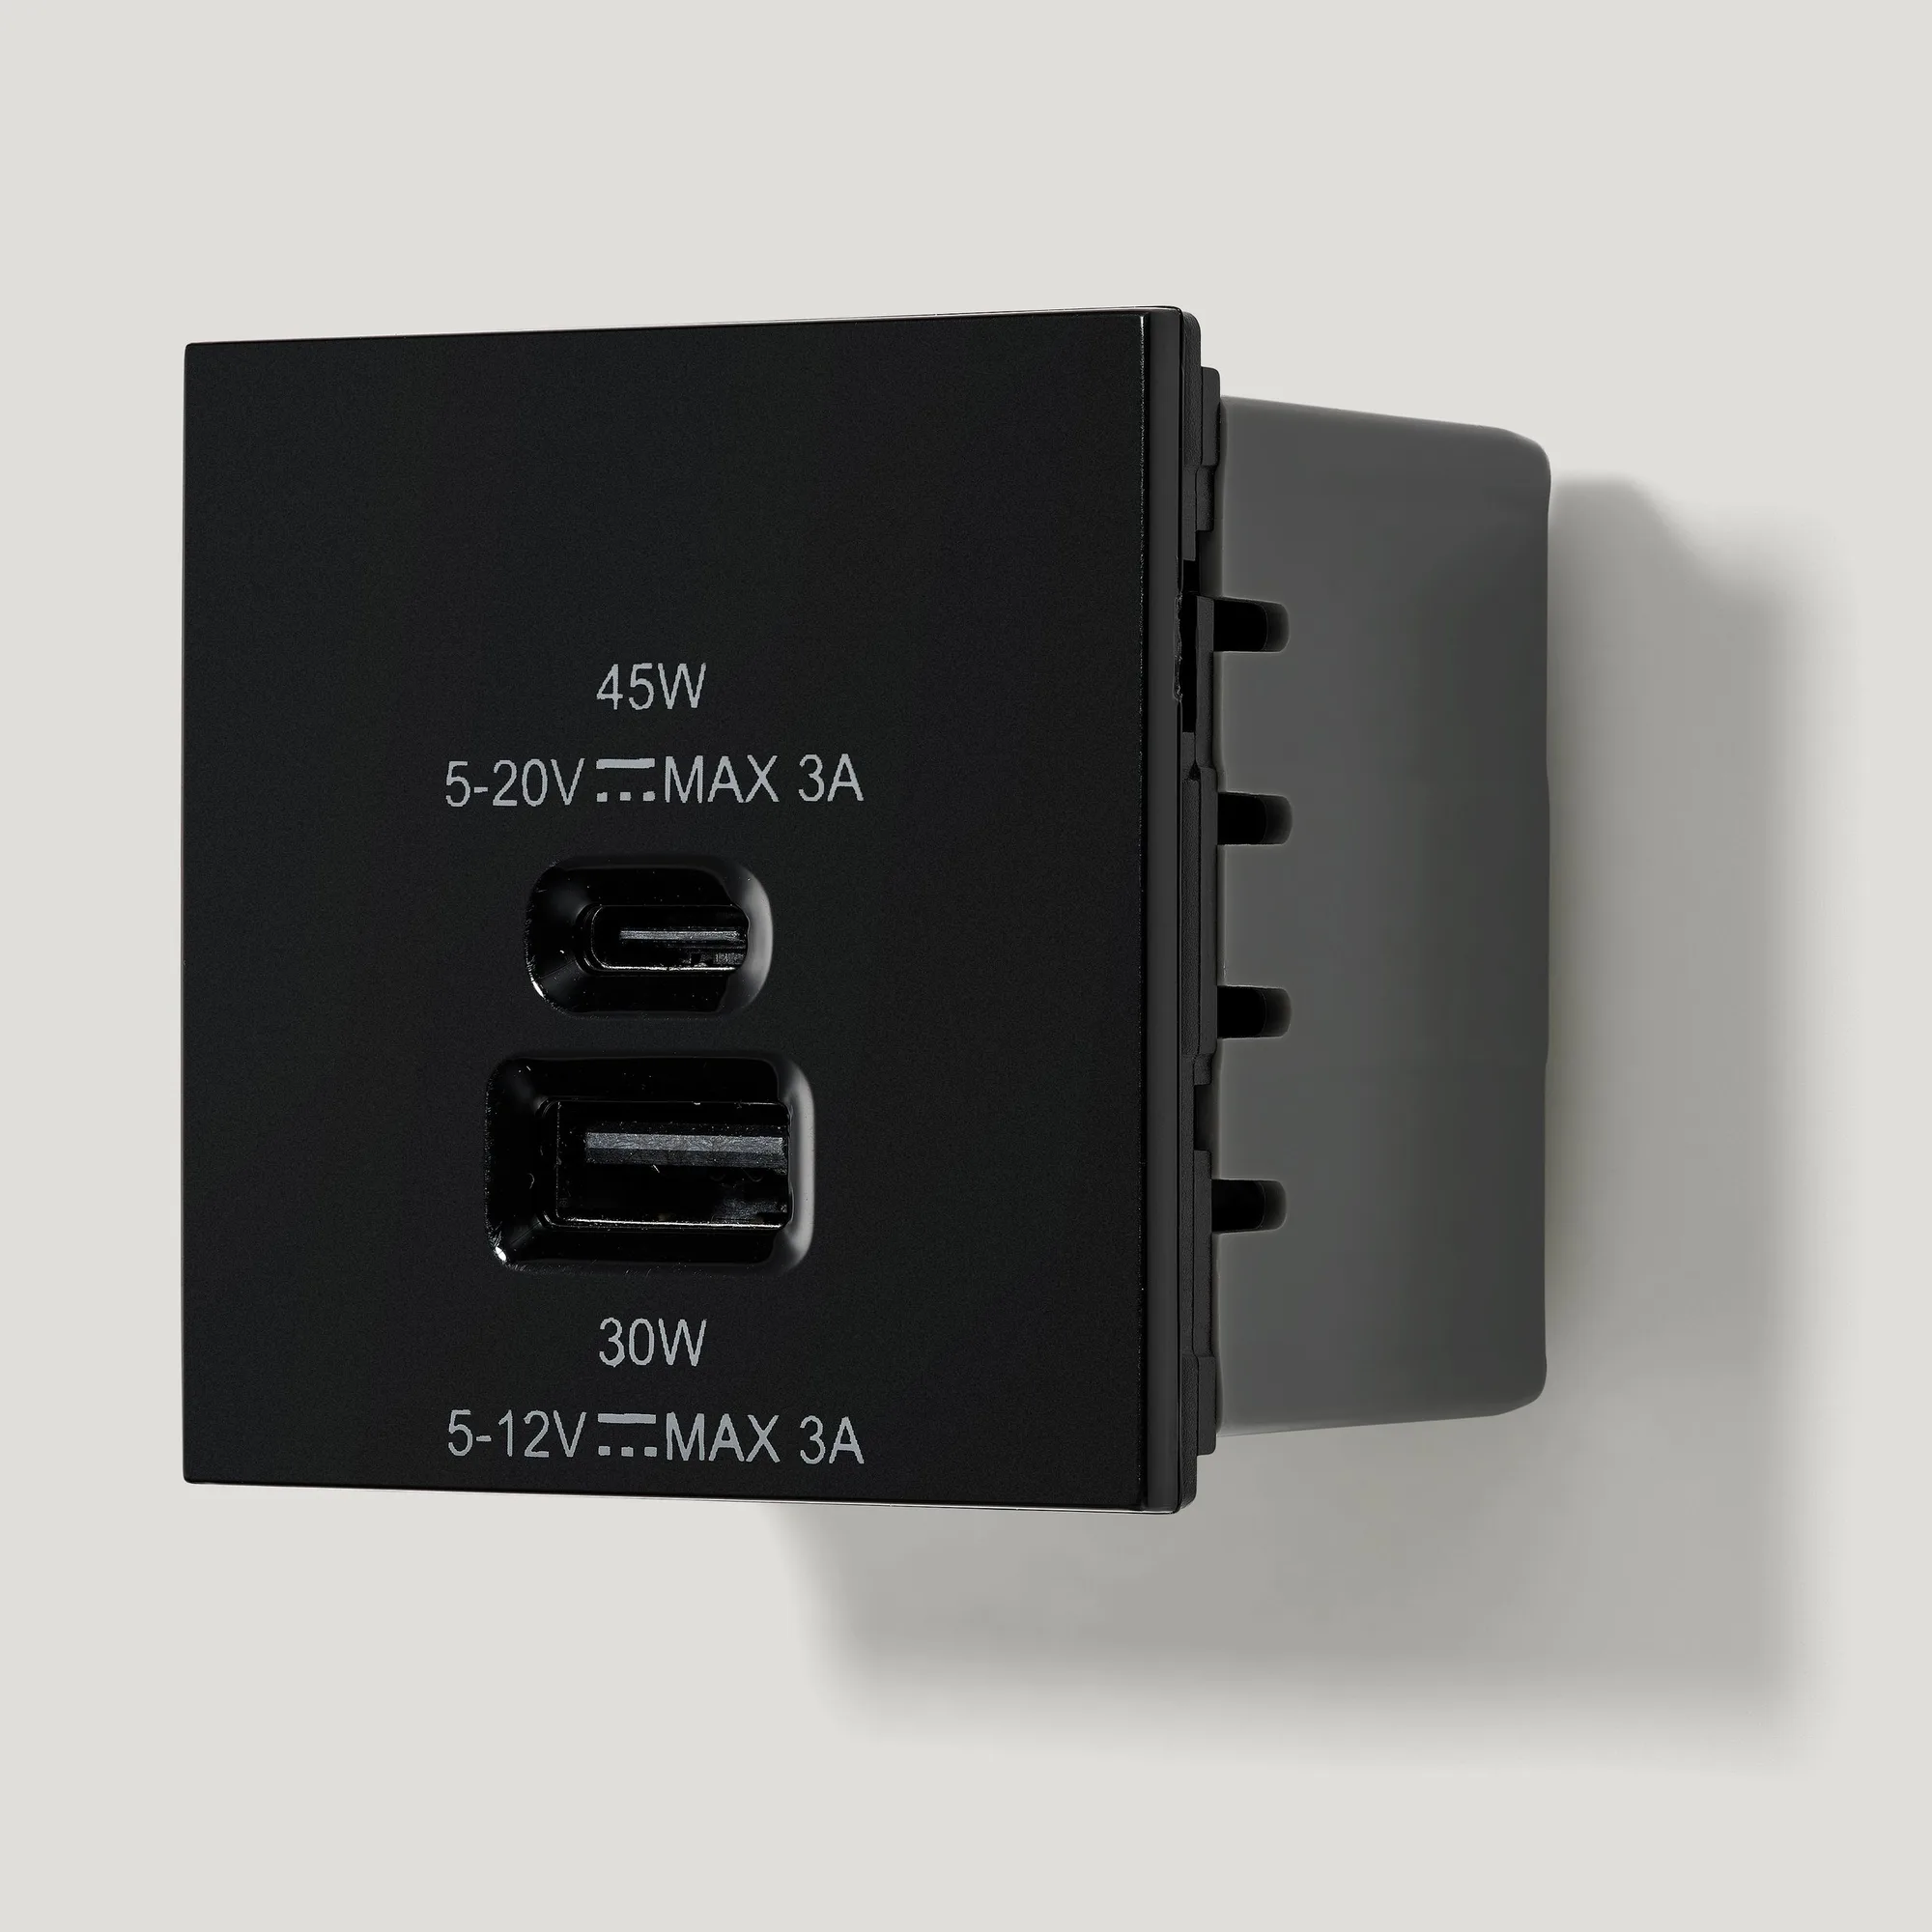
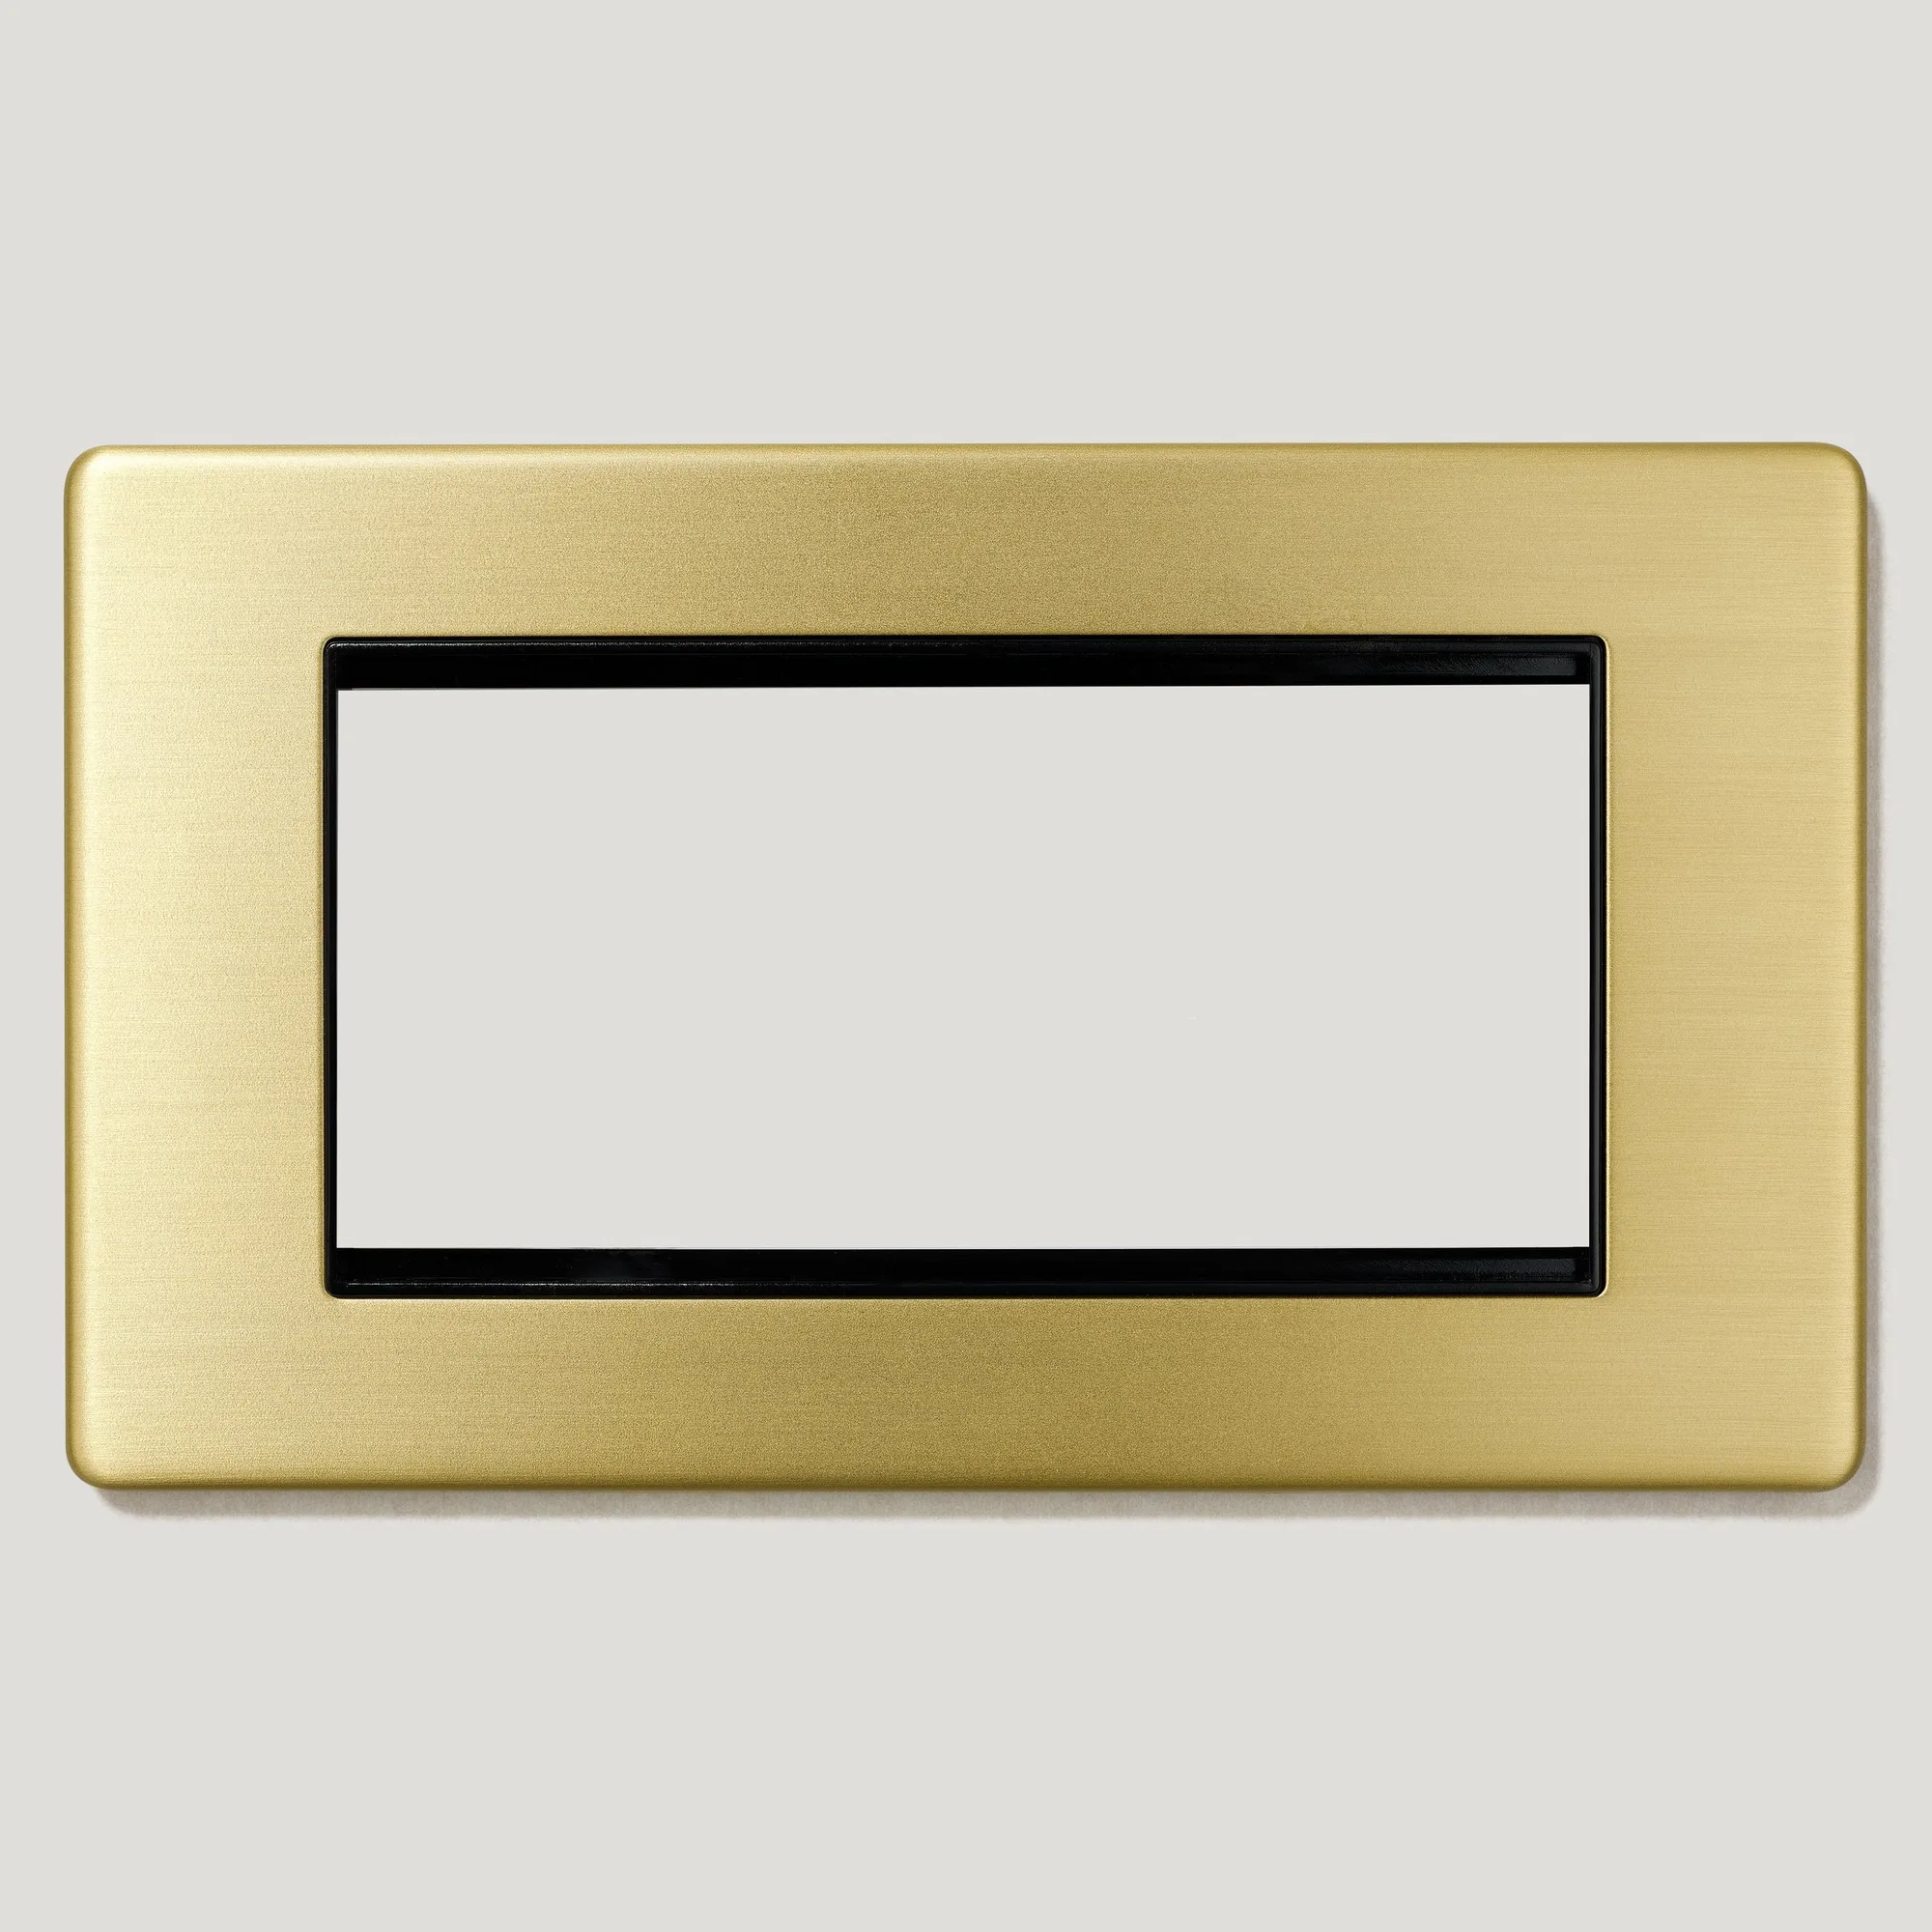
- 1G USB-A + USB-C Socket - Black: A black USB-A and USB-C fast-charge module that clips into the brand's Euro plates, so you can build your own socket and data layout, ordered with a 1- or 2-module Euro plate in your chosen finish. Shows the same clip-in module approach used for decorative plates, which is the principle you follow when fitting a dimmer module.