Quick answer
Use the Connects 2 CTKFD24 kit to replace your Ford's factory radio with a double DIN unit: disconnect the battery, remove the original stereo and trim, fit the new radio into the CTKFD24 fascia, connect the CAN-bus and antenna adapters, then reassemble and test every function before driving.
What the CTKFD24 kit includes and what it does not retain
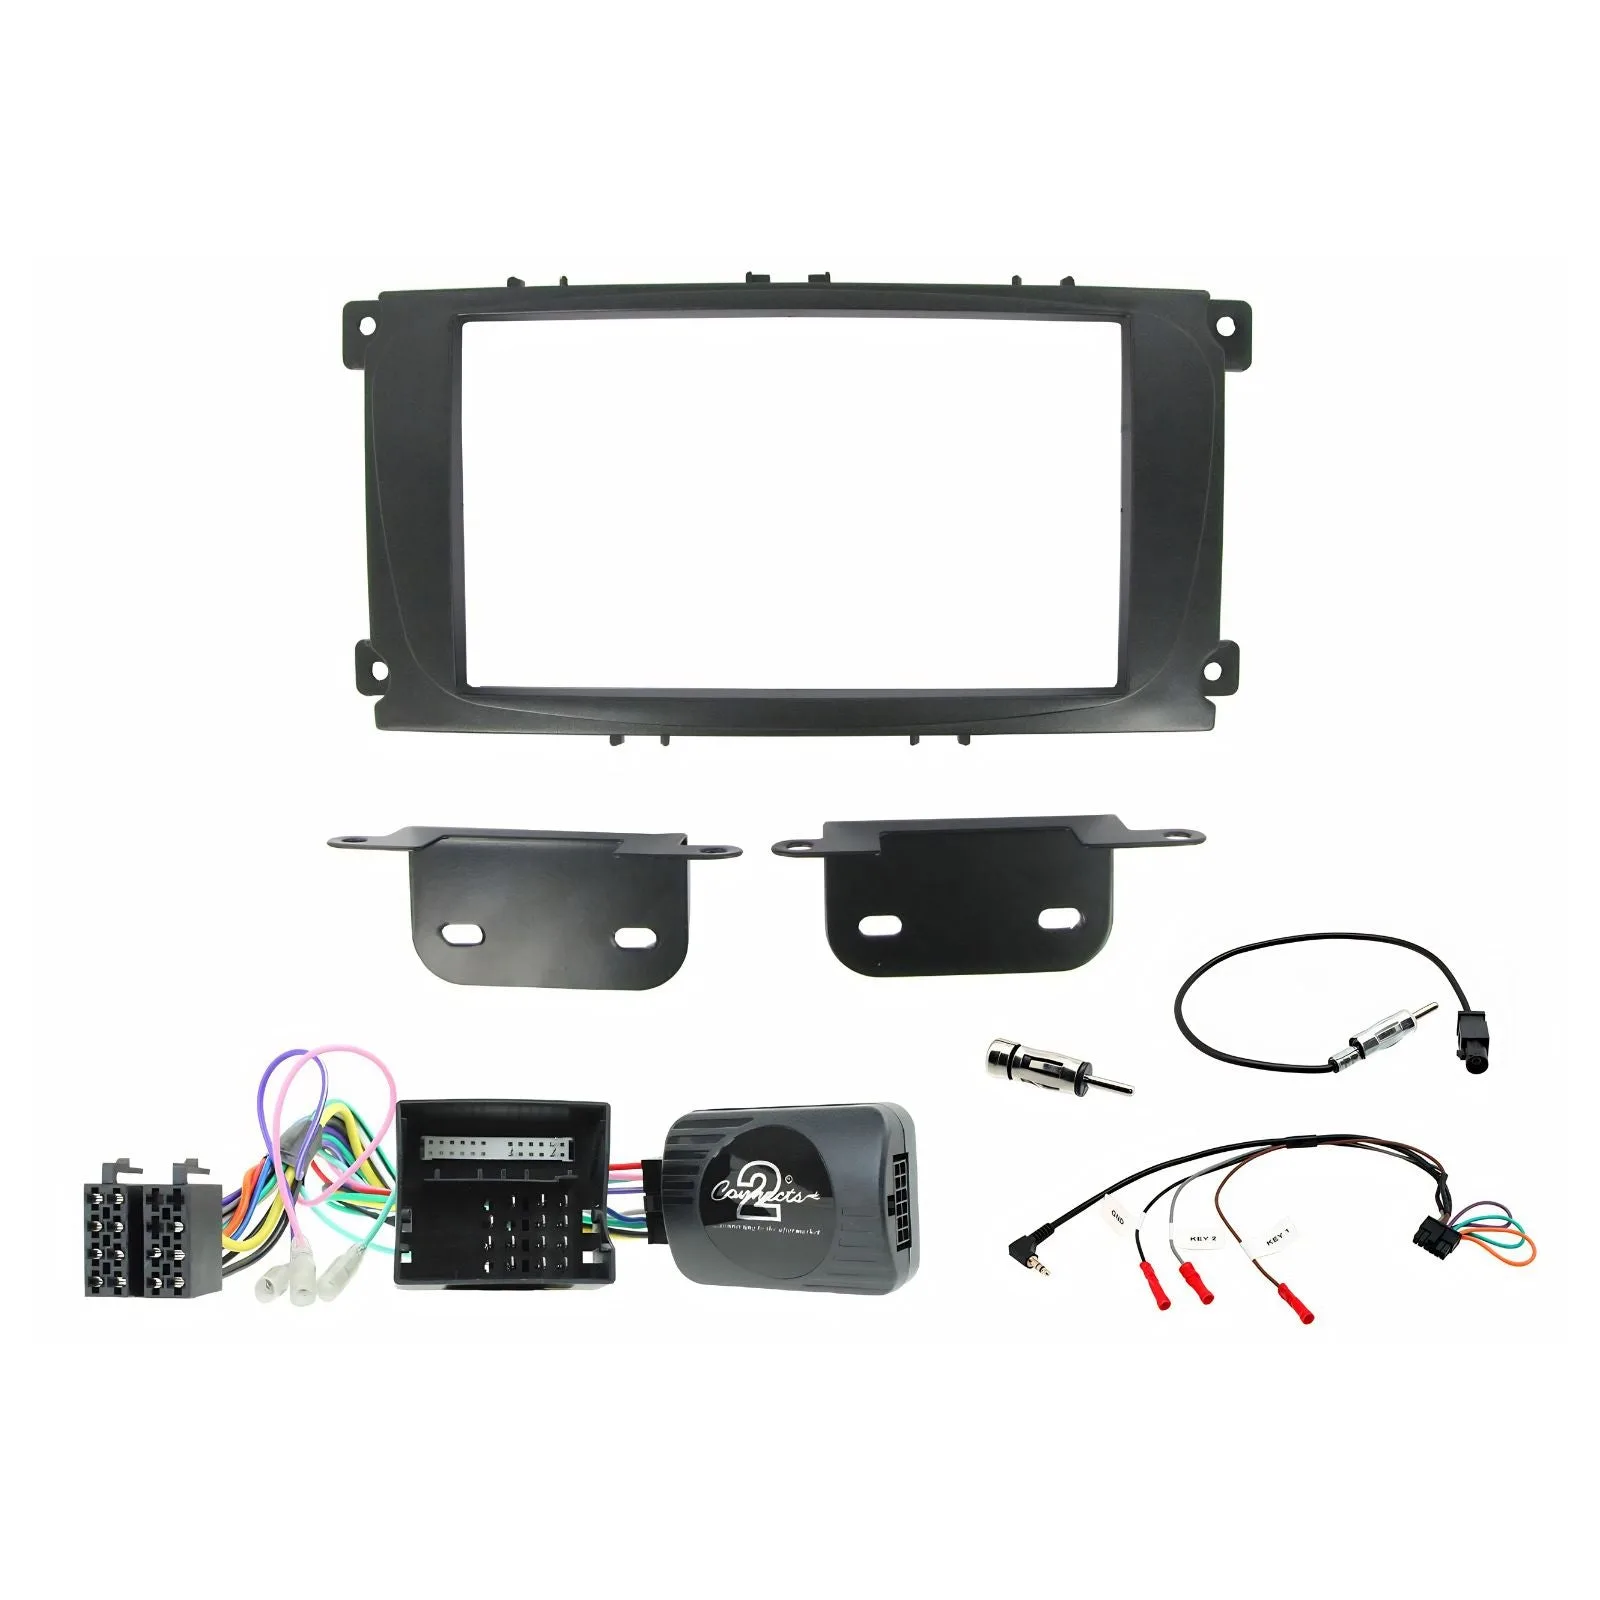
The CTKFD24 double DIN installation kit for Ford includes a black double DIN fascia, a CAN-bus steering wheel control interface, an antenna adapter and a universal patch lead. The CAN-bus interface is plug-and-play and USB-updateable, and it works with park brake, reverse gear, ignition, illumination and speed pulse signals.
One limitation to note before you buy: the kit does not retain the Ford factory amplifier. If your car has a separate factory amp, you will need a different interface or an amp retention lead. Also, the kit listing does not specify which Ford models or years it fits, so confirm compatibility with your exact vehicle before removing any trim.
Tools and preparation that save time
Gather plastic trim removal tools, a Phillips screwdriver, a socket set, electrical tape, and a USB stick if you plan to update the CAN-bus interface. Have the new radio's wiring diagram and the CTKFD24 instructions to hand. Work in a dry, well-lit space and allow the car to sit for a few minutes after disconnecting the battery so airbag circuits can discharge.
Step-by-step fitting process
- Disconnect the battery: With the ignition off, disconnect the negative battery terminal and wait a few minutes before touching any wiring. Common mistake: skipping this step can trigger airbag or stereo fault codes. Check that the negative terminal is fully isolated before you remove any trim.
- Remove the factory stereo and dashboard trim: Use plastic trim tools to unclip the surround around the radio, then remove the screws holding the factory head unit. Unplug the connectors and antenna lead. Common mistake: forcing trim clips can crack the plastic; work slowly around each clip. Keep screws and clips in a labelled container so they go back in the same places.
- Fit the new radio into the CTKFD24 fascia: Attach the double DIN radio to the CTKFD24 fascia using the supplied brackets or cage, following the kit instructions. Common mistake: over-tightening screws can distort the fascia and make the radio sit unevenly. Test-fit the assembly in the dash before final tightening.
- Connect the CTKFD24 wiring: Plug the vehicle harness into the CAN-bus interface, connect the universal patch lead to the new radio, and fit the antenna adapter. Make sure all plugs click home. Common mistake: a loose patch lead can cause intermittent steering wheel controls or no sound. Tug gently on each connector to confirm it is seated.
- Reassemble the dashboard: Slide the radio and fascia into the dash, refit the trim and screws, and reconnect the battery. Common mistake: trapping wires behind the fascia can damage insulation or block the radio from sitting flush. Before fully clipping the trim, check that no wires are pinched.
- Test all functions: Turn on the ignition and check radio power, sound, steering wheel controls, antenna reception, illumination, reverse camera trigger (if used) and park brake signal. Common mistake: assuming everything works without checking each input; test one function at a time. If a function fails, recheck the relevant connector before blaming the radio.
Product facts
-
Connects 2 CTKFD24 Ford Double DIN Stereo Installation Kit: CTKFD24 Double Din Installation Kit includes a double DIN fascia, CAN-bus steering controls, antenna adapter and universal patchlead. This gives you the main parts needed for a double DIN swap in one box, but you still need to confirm your Ford model is supported.
Connects 2 CTKFD24 Ford Double DIN Stereo Installation Kit