Quick answer
To fit a screen protector without bubbles or dust, work in a steamy bathroom to settle airborne particles, clean the screen with the supplied alcohol wipe, and use the tape hinge method for perfect alignment before peeling the backing. Press from the center outward with a squeegee, lifting the corner to remove any trapped dust with tape. This process works for any tempered glass protector, including those on Mous cases.
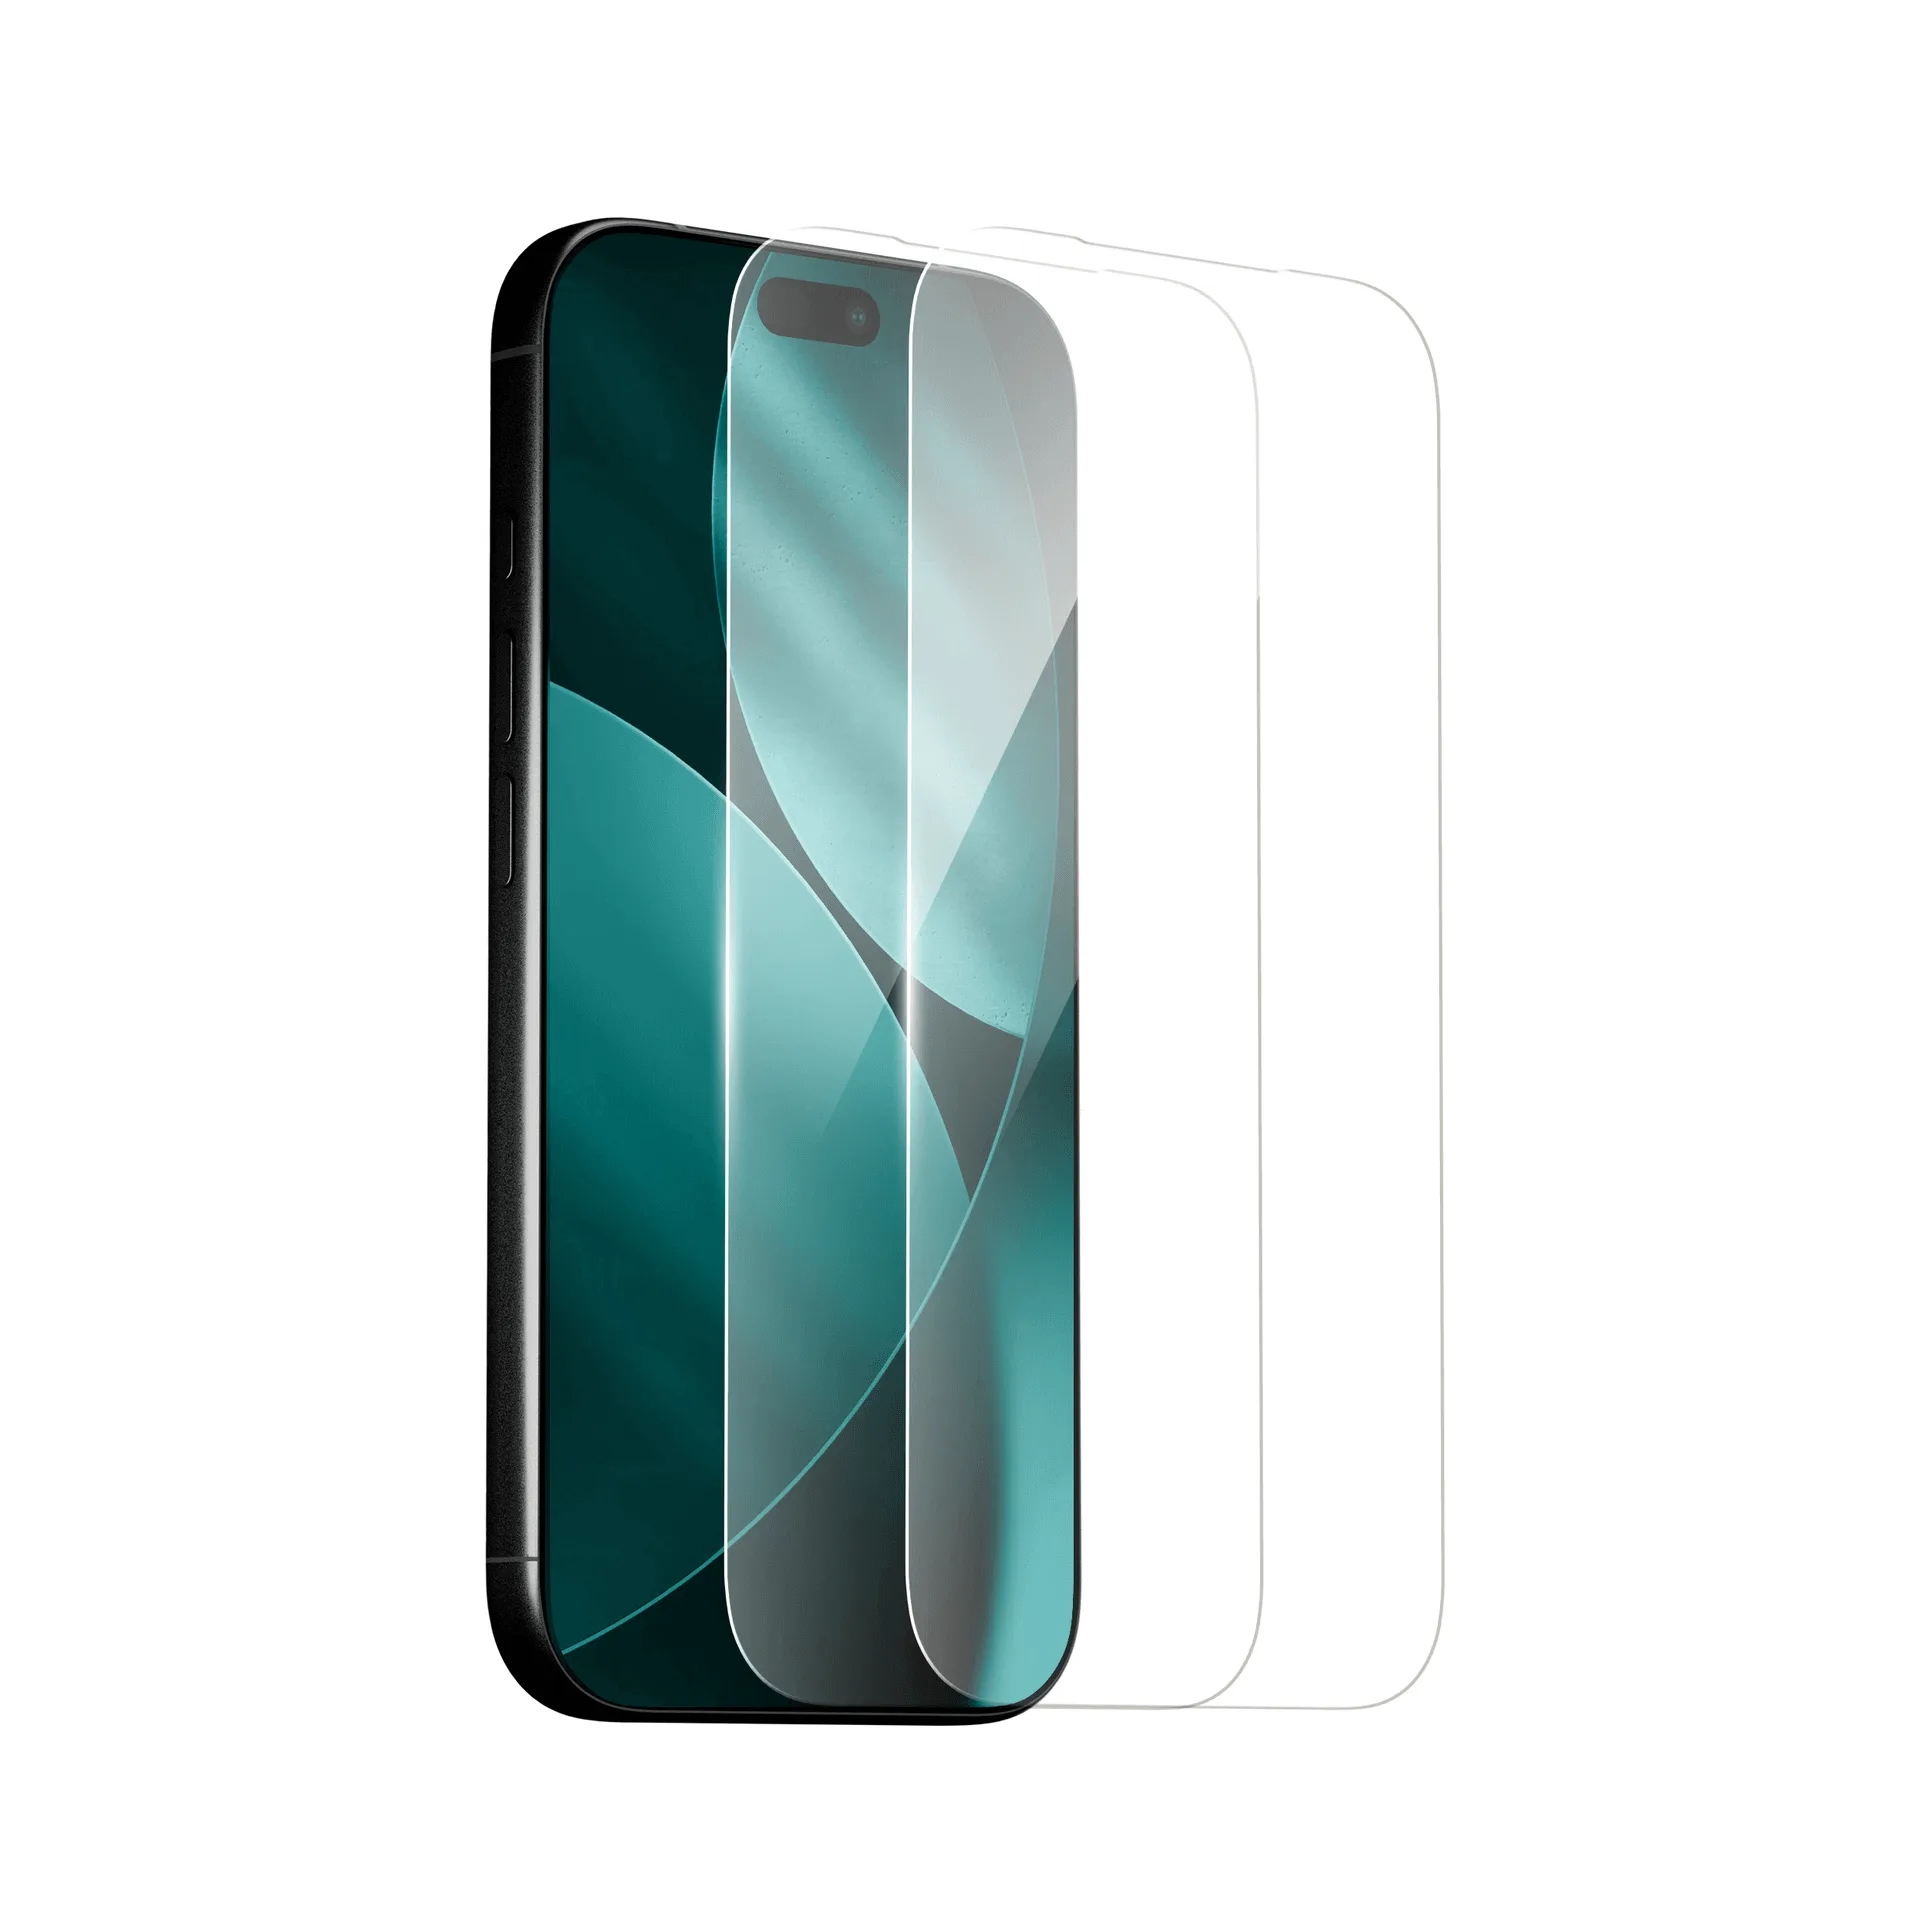
screen protector
Why bubbles and dust happen (and how to prevent them)
Bubbles form when air is trapped between the protector and the screen, often because the protector is laid down at an angle or pressed unevenly. Dust particles create raised bumps that look like bubbles but won't disappear with pressure. The two biggest prevention steps are working in a low-dust environment and never touching the adhesive side of the protector. A steamy bathroom works because humidity causes dust to settle, and a clean, lint-free workspace reduces the chance of particles landing on the screen. If you're applying a protector to a phone in a case, remove the case first to avoid the edges lifting the protector during alignment.
Step-by-step installation
Follow these steps in order for a bubble-free, dust-free result. Each step includes a common mistake to avoid.
Tools you'll need
Gather these before you start: the screen protector, alcohol prep wipe, microfiber cloth, dust removal sticker or tape, squeegee card (often included), and two strips of tape for the hinge method. A flashlight or bright lamp helps spot dust. If your protector didn't come with a squeegee, a credit card wrapped in a microfiber cloth works. For phones with curved edges, check that the protector is designed for your model; Mous cases are designed to work with screen protectors, but always confirm compatibility.
Installation steps with checkpoints
- Prepare your workspace: Run a hot shower for a few minutes to create steam, then let the room settle. This reduces airborne dust. Clean a table and lay out all tools. Checkpoint: The room should feel slightly humid but not dripping wet. Avoid working near fans or open windows.
- Clean the screen thoroughly: Use the alcohol wipe to remove fingerprints and oil, then dry with a microfiber cloth. Use a dust sticker or tape to lift any remaining particles. Shine a light at an angle to spot dust. Common mistake: Skipping the dust sticker. Even a tiny speck will create a bubble that won't press out.
- Align the protector with the tape hinge method: Peel back the protective film from the protector (adhesive side up) and place it on the phone without pressing down. Adjust until the edges are even. Apply two strips of tape to one long edge, creating a hinge. Lift the protector like a page in a book. Checkpoint: The protector should sit perfectly centered. If not, lift and reposition before taping.
- Remove the backing and lay the protector down: With the protector hinged open, peel off the remaining backing film. Slowly lower the protector onto the screen, starting from the taped edge and letting it settle naturally. Do not press yet. Common mistake: Dropping the protector from a height. Lower it gently to avoid trapping air.
- Press out bubbles from the center: Use the squeegee or a cloth-wrapped card to press from the center outward in smooth strokes. Work out any air pockets toward the edges. If a bubble persists, lift the nearest corner slightly and use tape to remove dust, then press down again. Checkpoint: Small bubbles may disappear within 24-48 hours. If they don't, lift and clean.
- Final check and case installation: Inspect the edges for lifting or dust. If all looks good, remove the tape hinge and press the edges firmly. Wait a few minutes before putting on a case to avoid shifting the protector. Common mistake: Putting the case on immediately. Give the adhesive time to bond.
Mous products that pair well with screen protectors
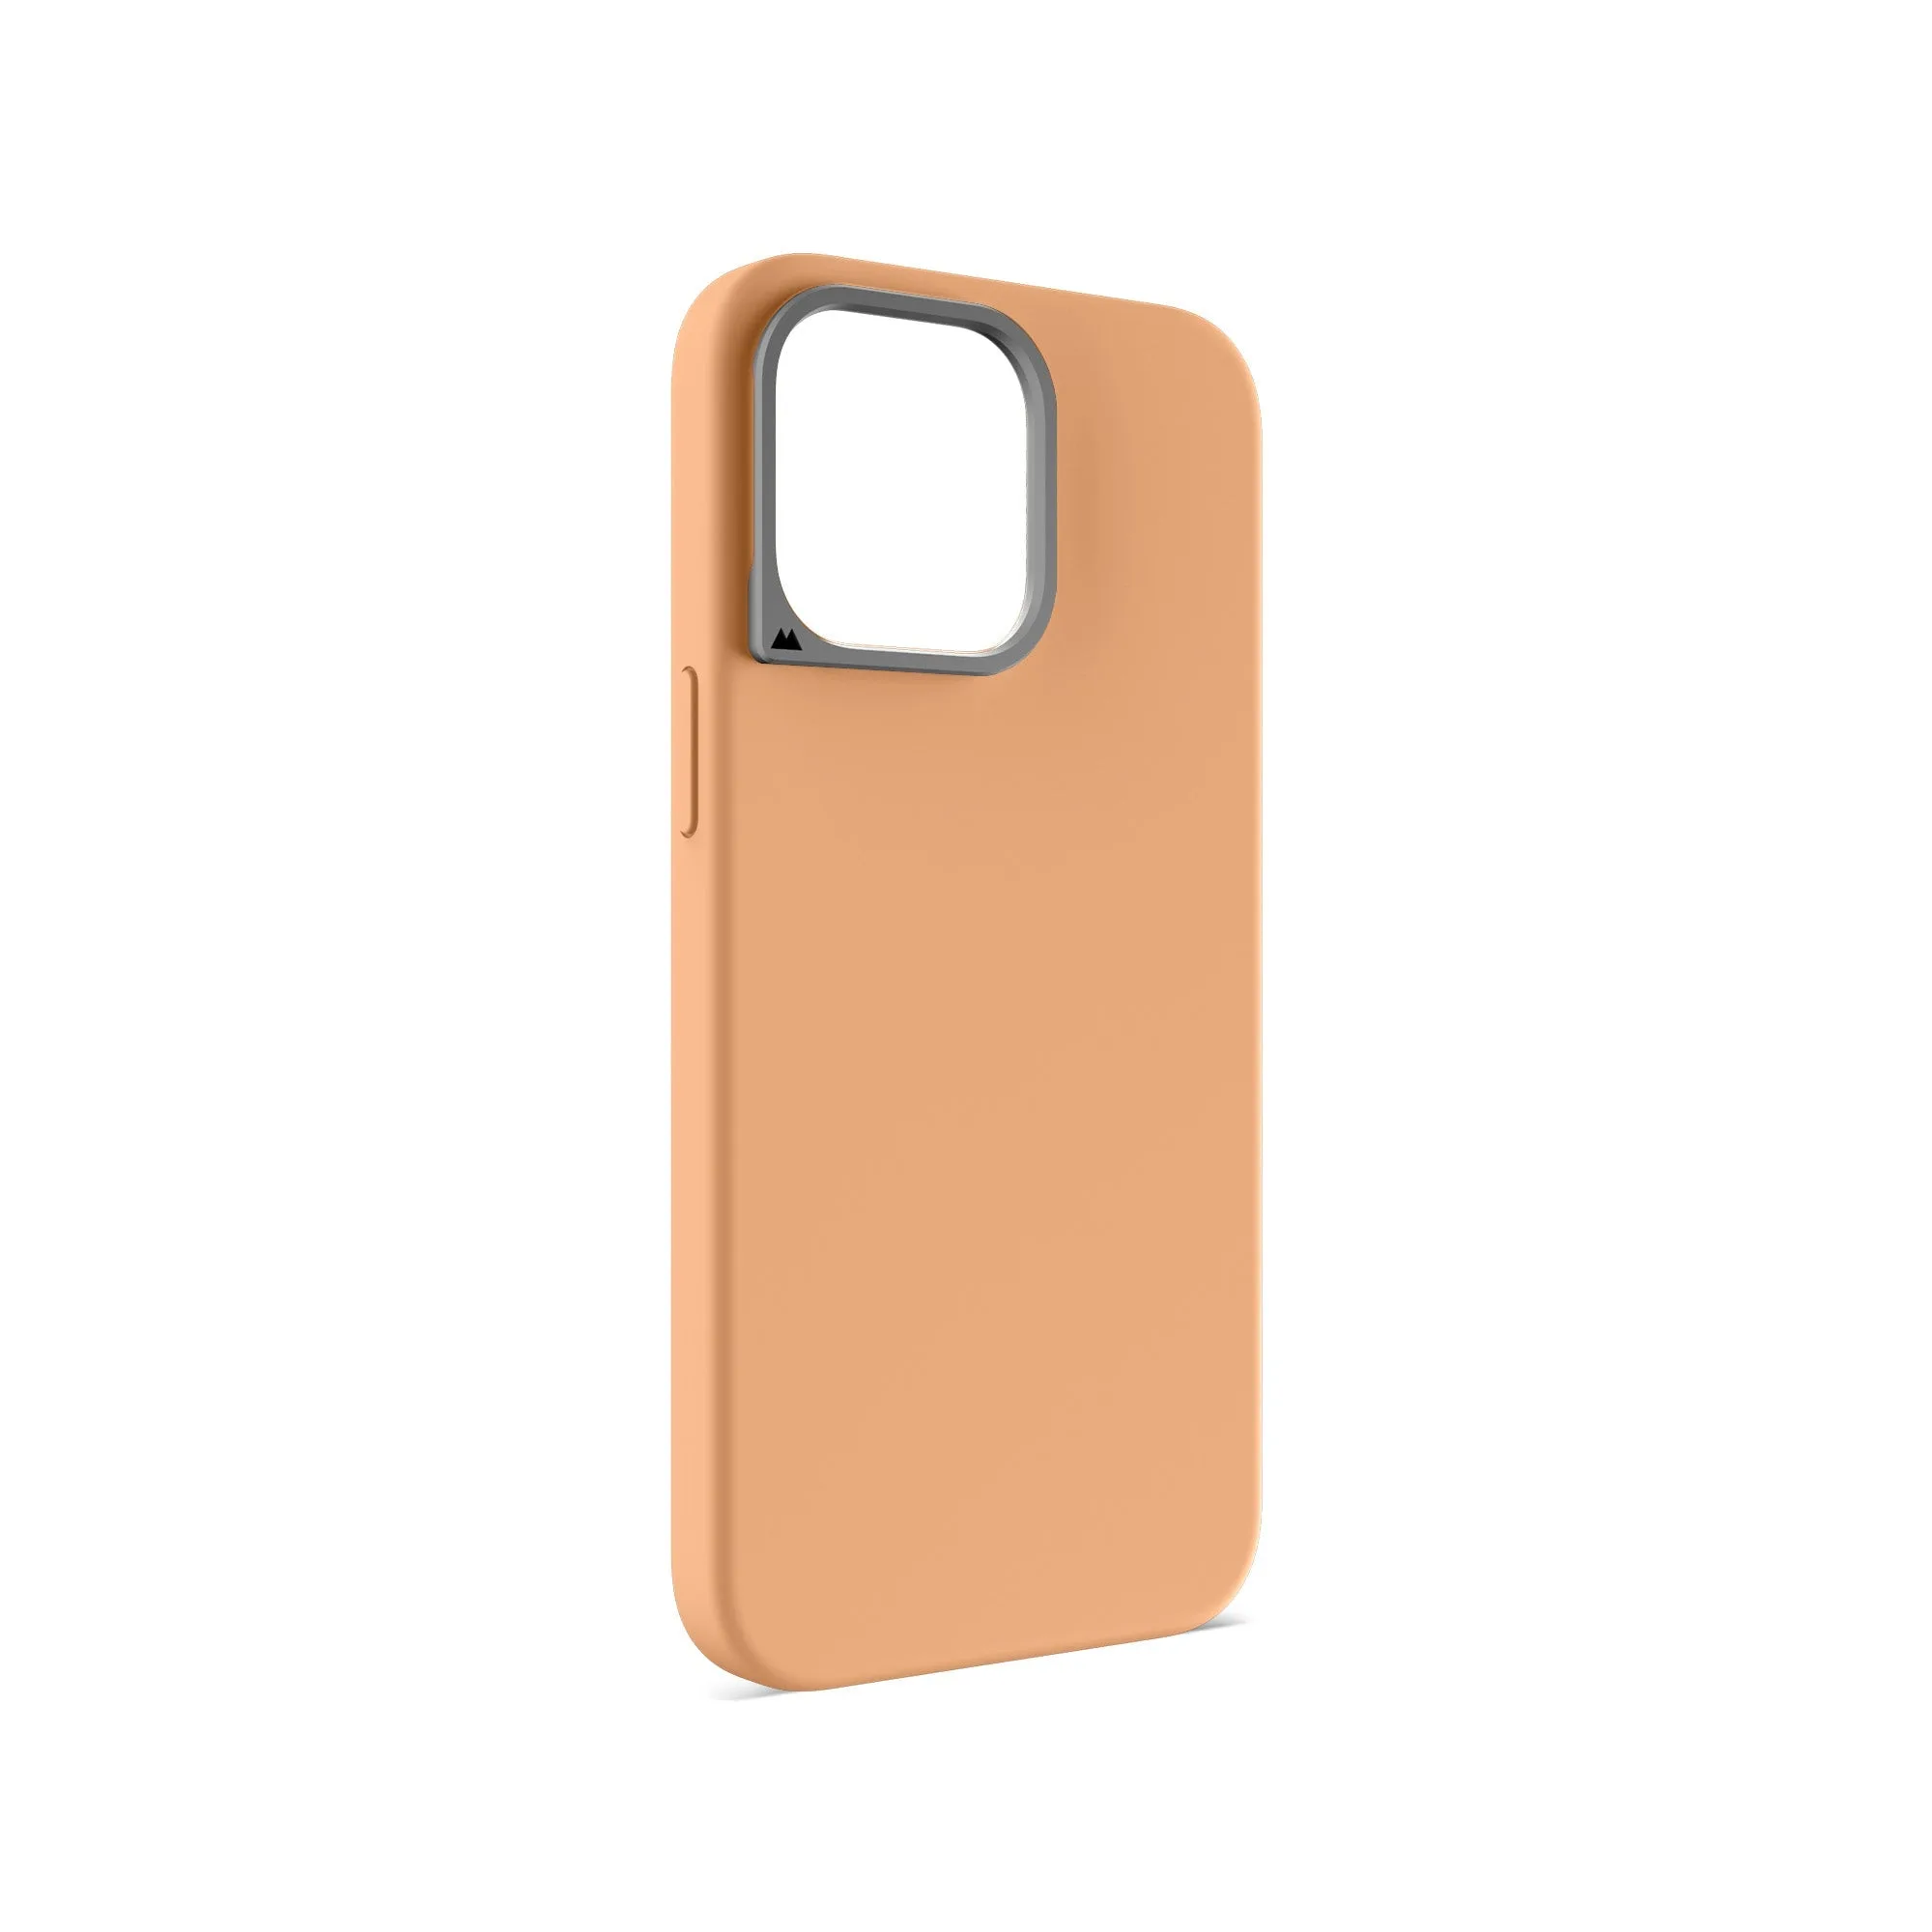
- MagSafe® Compatible Black Silicone Phone Case - Minimalist: MagSafe Compatible Black Silicone Phone Case - Minimalist: soft silicone case with full MagSafe compatibility in a slim, sleek design. A slim case like this won't interfere with screen protector edges, and MagSafe compatibility means you can still use magnetic accessories after installation.
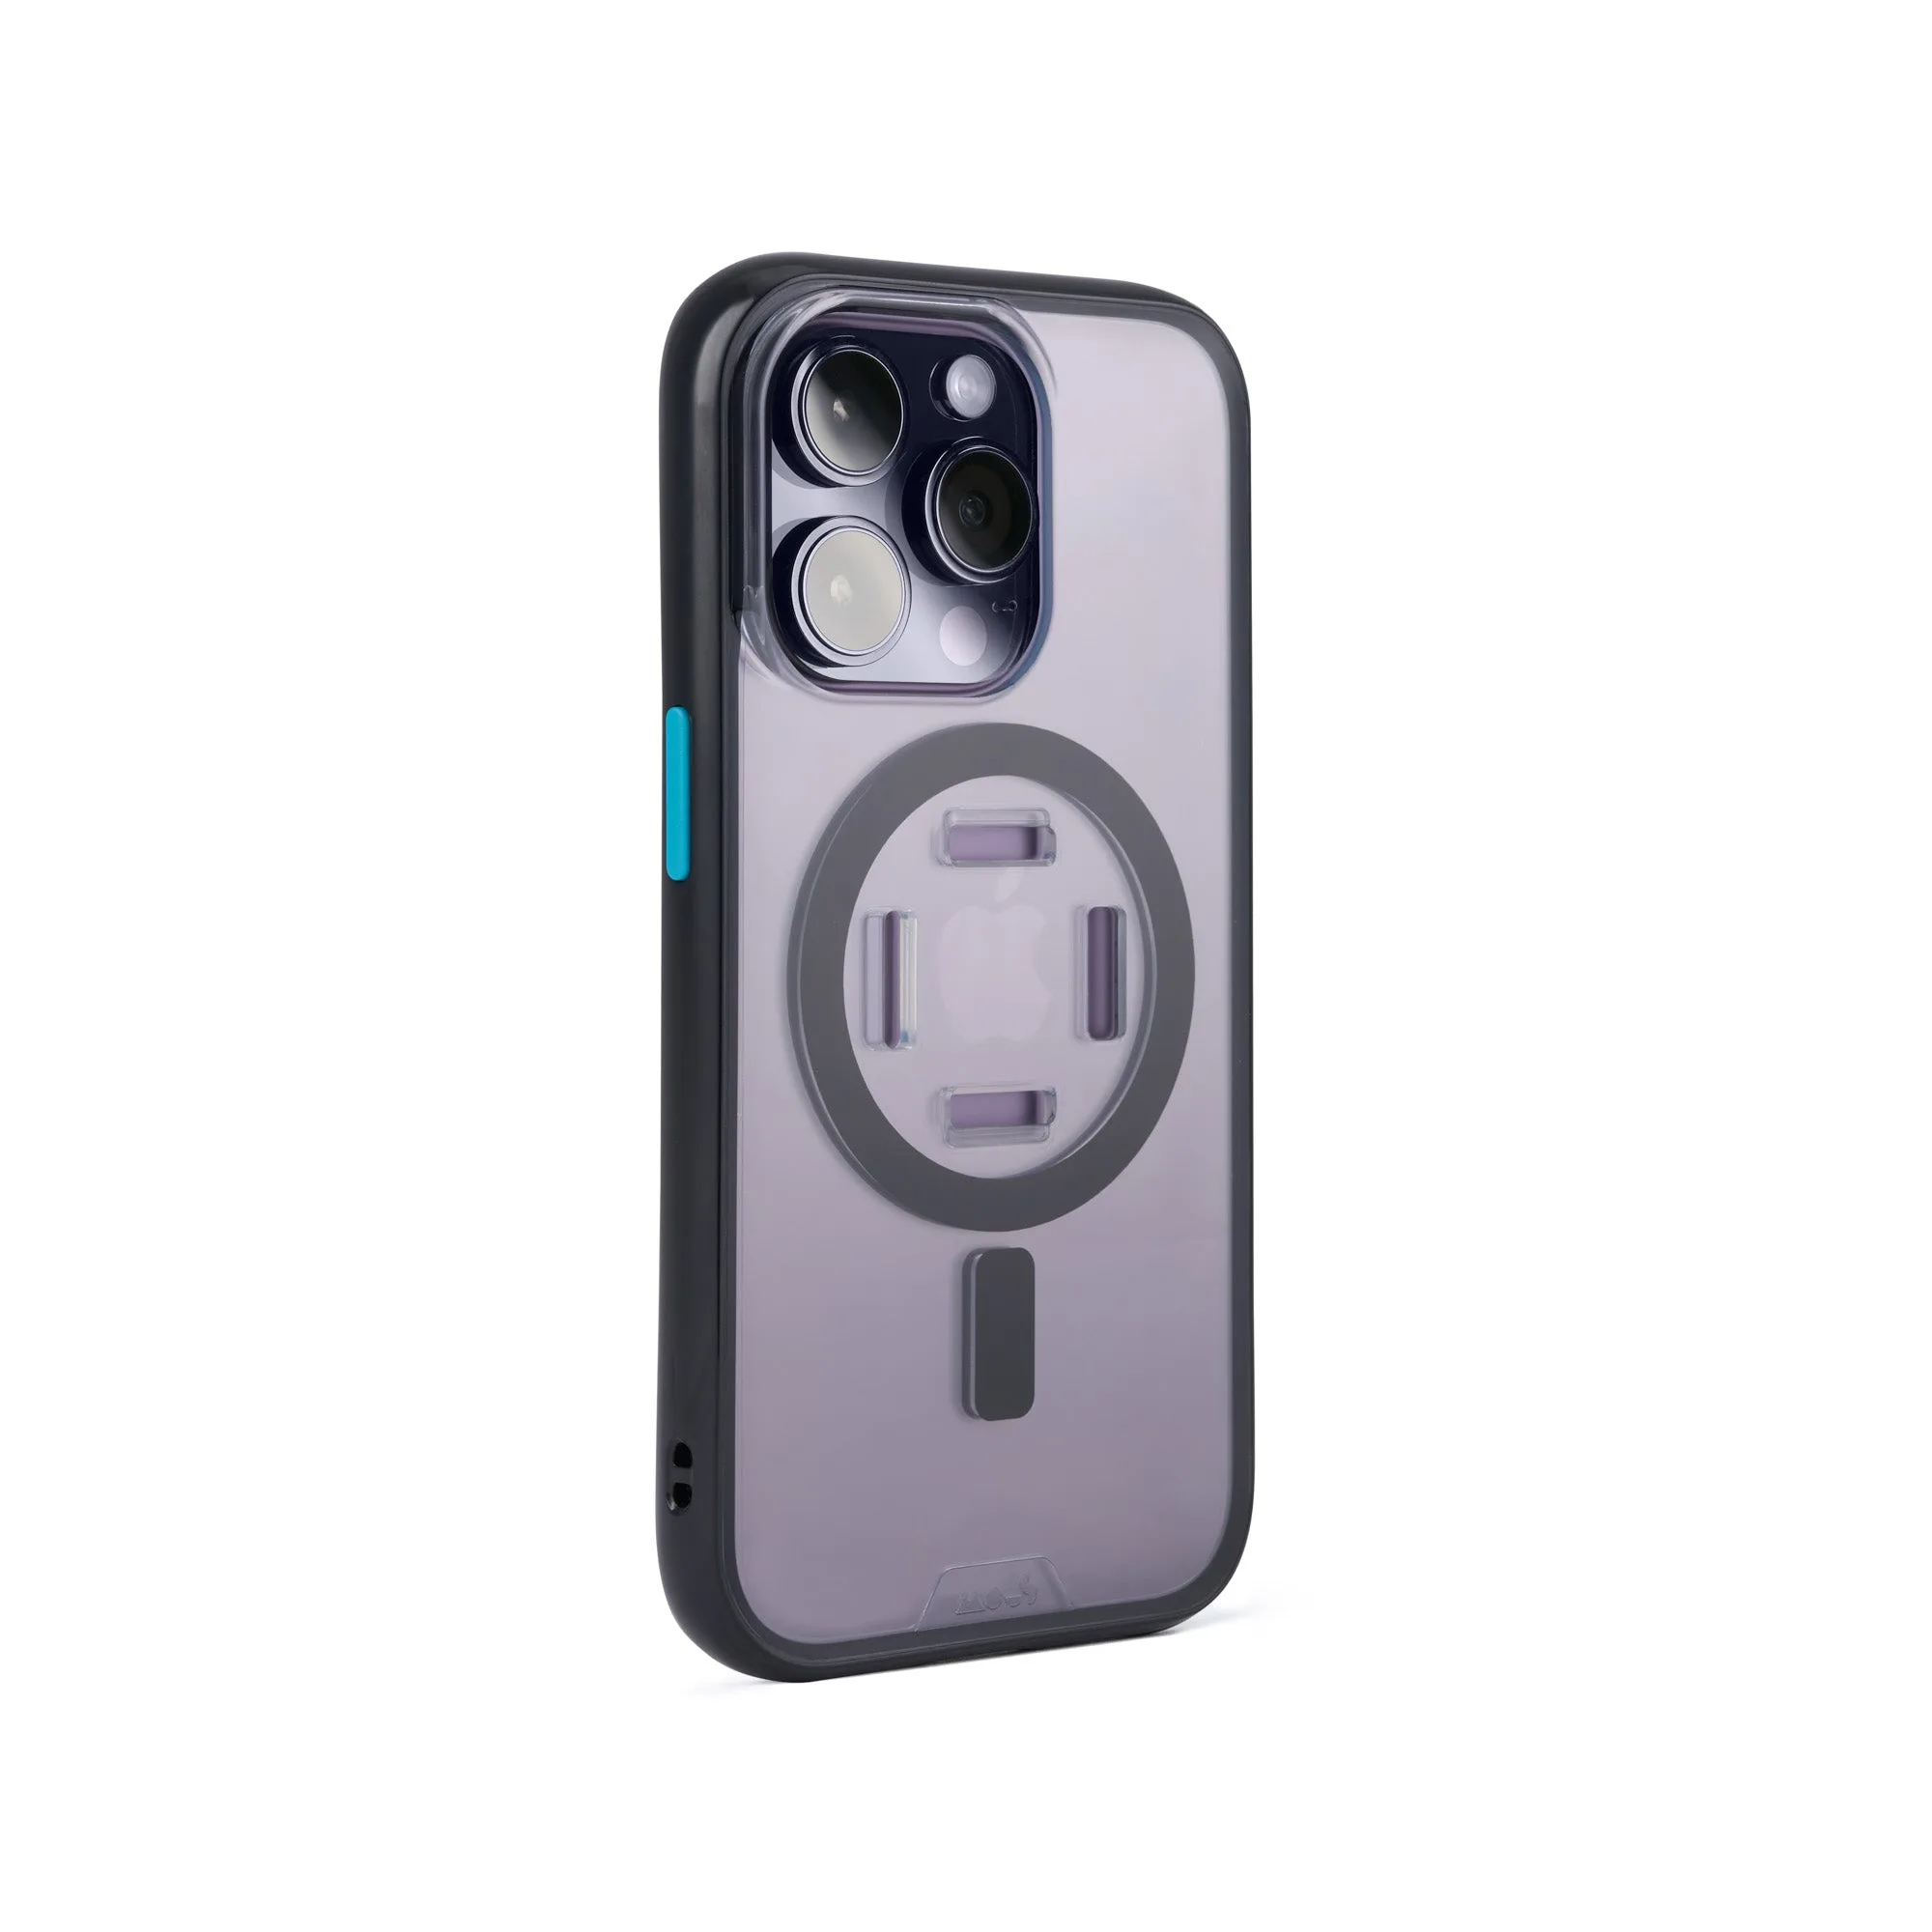
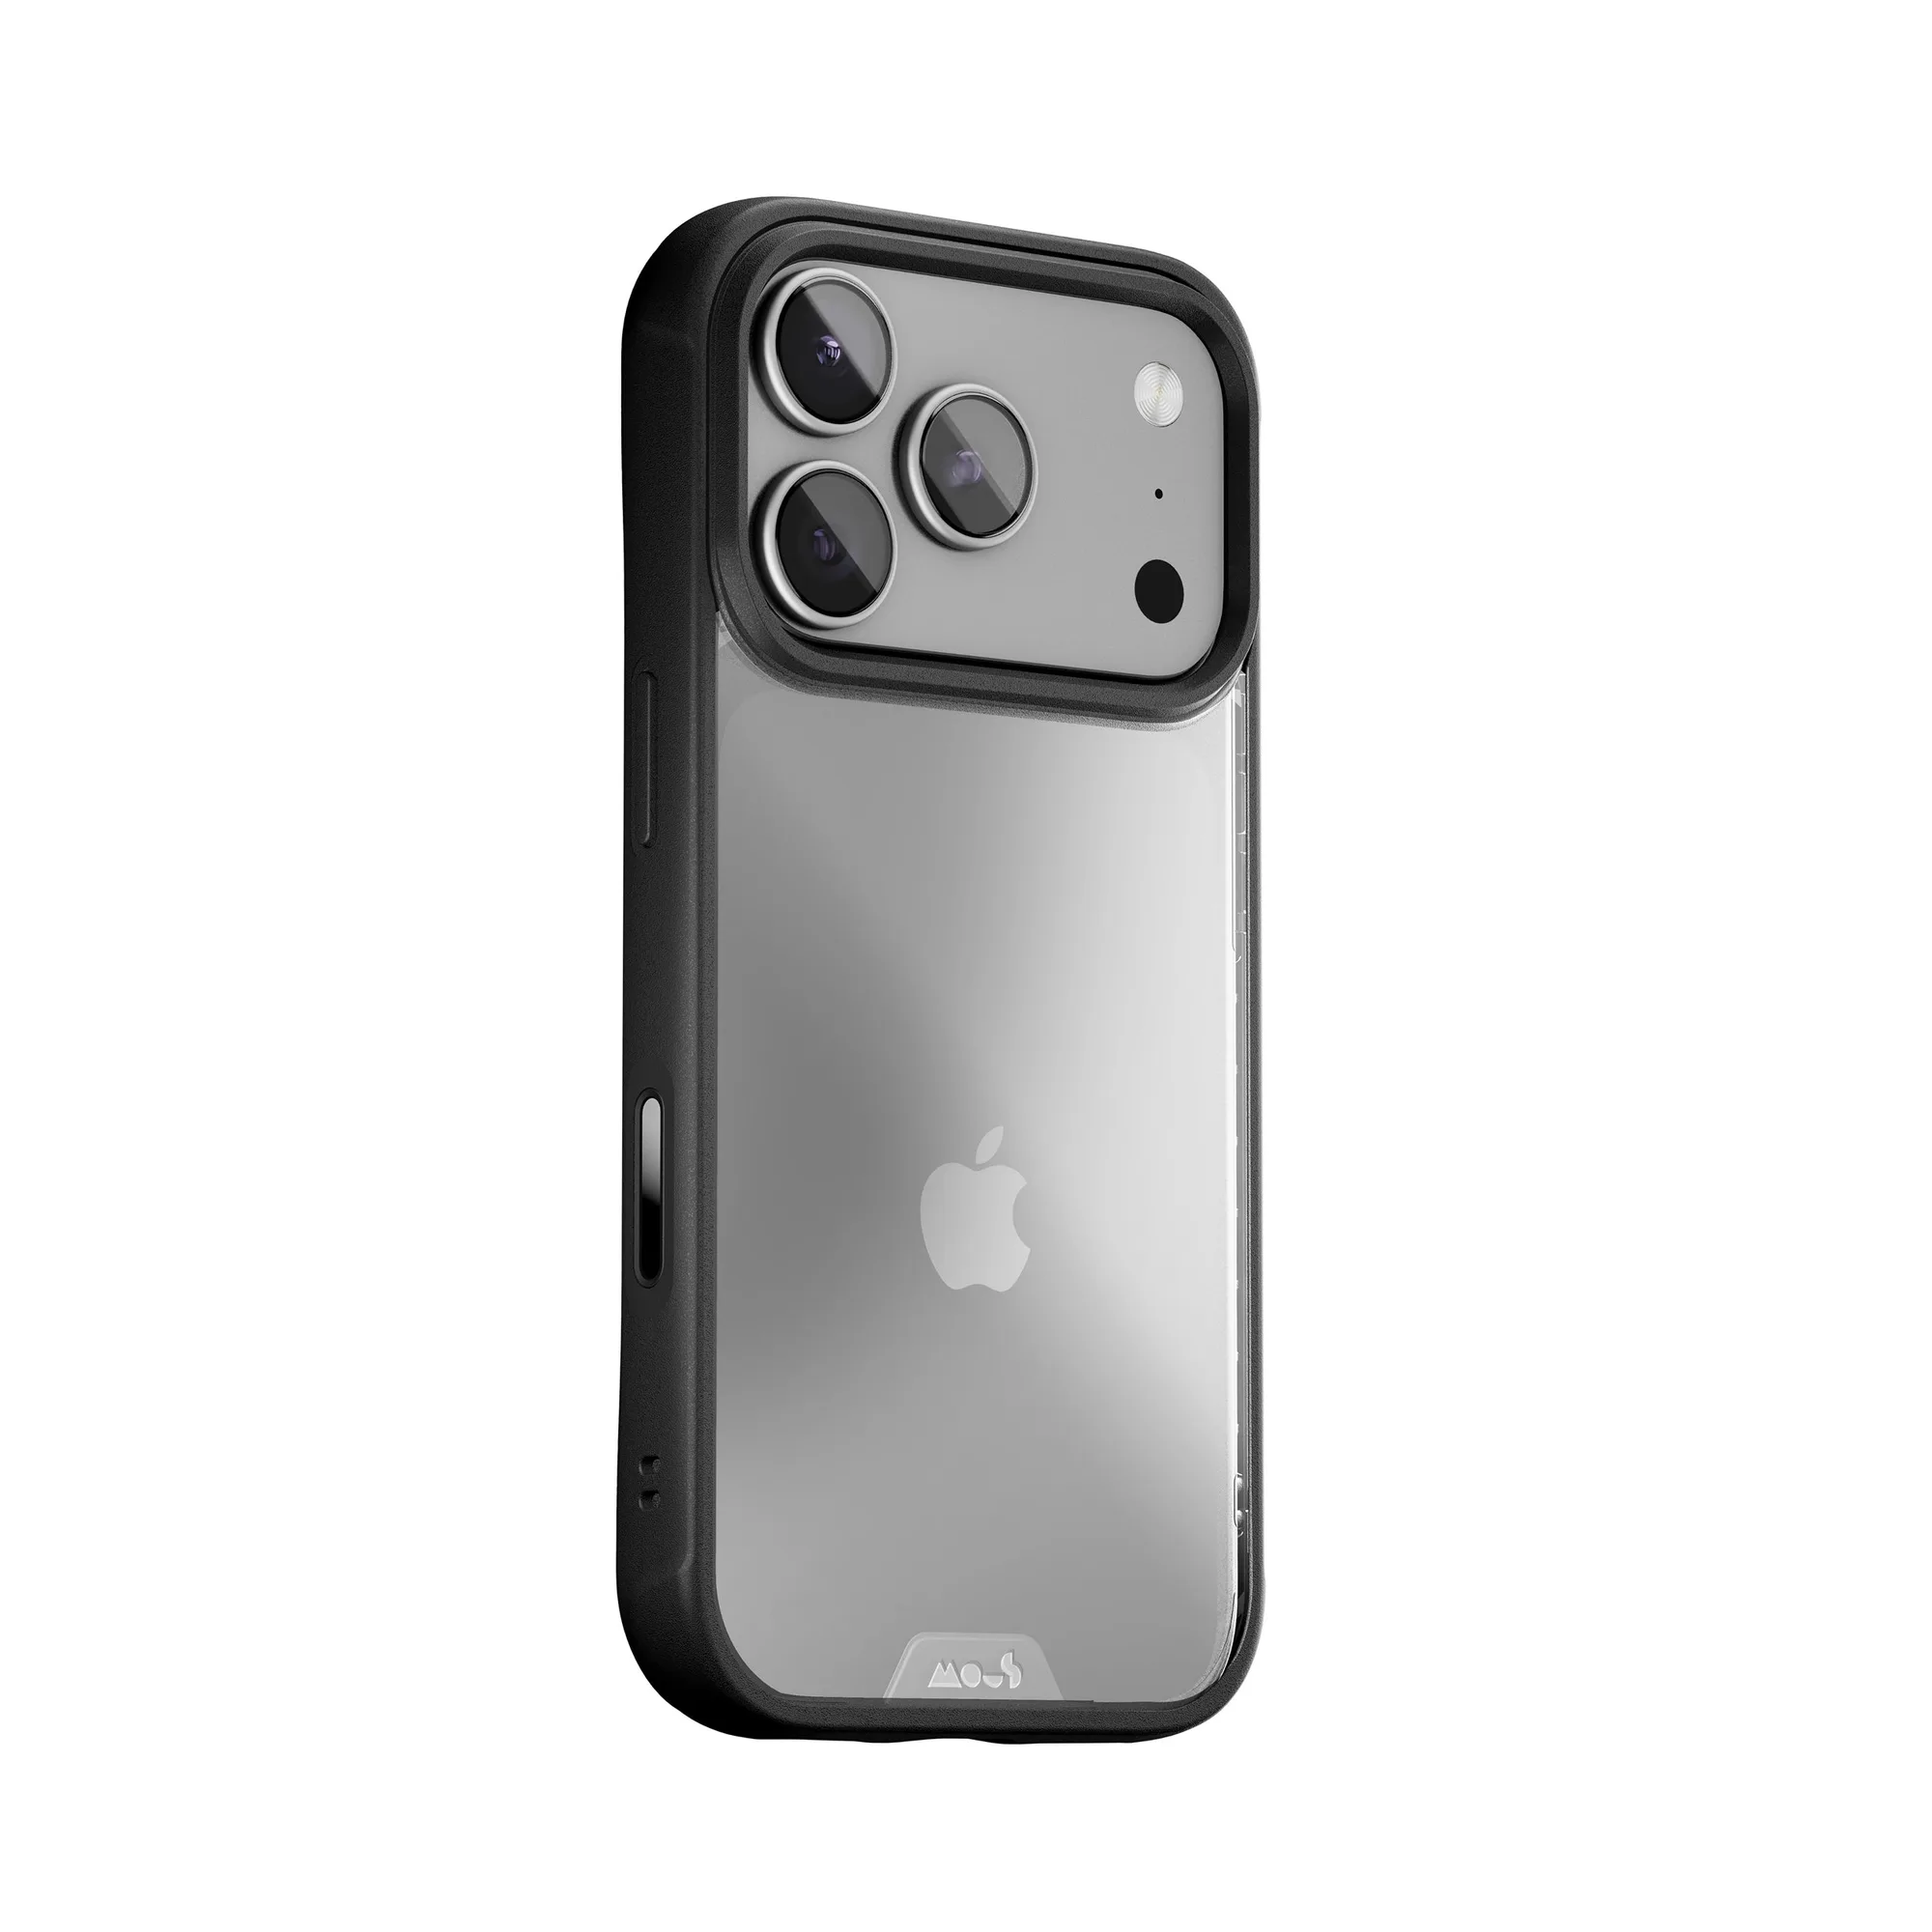
- Black Leather Protective Phone Case with Camera Control Button - Limitless: Black Leather Protective Phone Case with Camera Control Button - Limitless: impact-absorbing materials and MagSafe compatibility in a thinner design, with a responsive Camera Control button. If you use a protective case like this, apply the screen protector before putting the case on to avoid lifting the protector's edges during alignment.