What the TR-One Gen 2 Shifter Mount Does
The TR-One Gen 2 Two-Way Shifter Mount is a universal bracket designed to attach your shifter securely to 40mm wide, 8mm slotted aluminium extrusion — the standard profile used in most sim racing cockpits. It replaces improvised clamping or drilling with a pre-drilled, adjustable plate that lets you position your shifter exactly where it feels natural.
Because it's part of the TR-One modular system, you can later add a handbrake mount, flight sim mount, or a larger shifter/handbrake plate without replacing the whole assembly. This makes it a practical choice if you expect your rig to evolve over time.
Checking Compatibility Before You Start
The mount fits any rig that uses 40mm wide aluminium profile with an 8mm slot — that includes Trak Racer frames such as the TR120, TR80S, TR40S, and TRK, as well as many other branded extrusion rigs. If your rig isn't listed in the product specifications, contact Trak Racer to confirm fitment before ordering.
On the shifter side, the mount is pre-drilled for a wide range of brands: Heusinkveld, Fanatec, Thrustmaster, Moza, Simagic, Logitech, Asetek, and many more. If your shifter isn't listed, Trak Racer can also verify compatibility.
Key Specifications at a Glance
-
TR-One Gen 2 Universal Shifter Mount for 40mm Aluminium Profile Rigs: Designed for 40mm wide, 8mm slotted aluminium extrusion. This confirms the mount will fit the most common sim rig profile size without adapters.
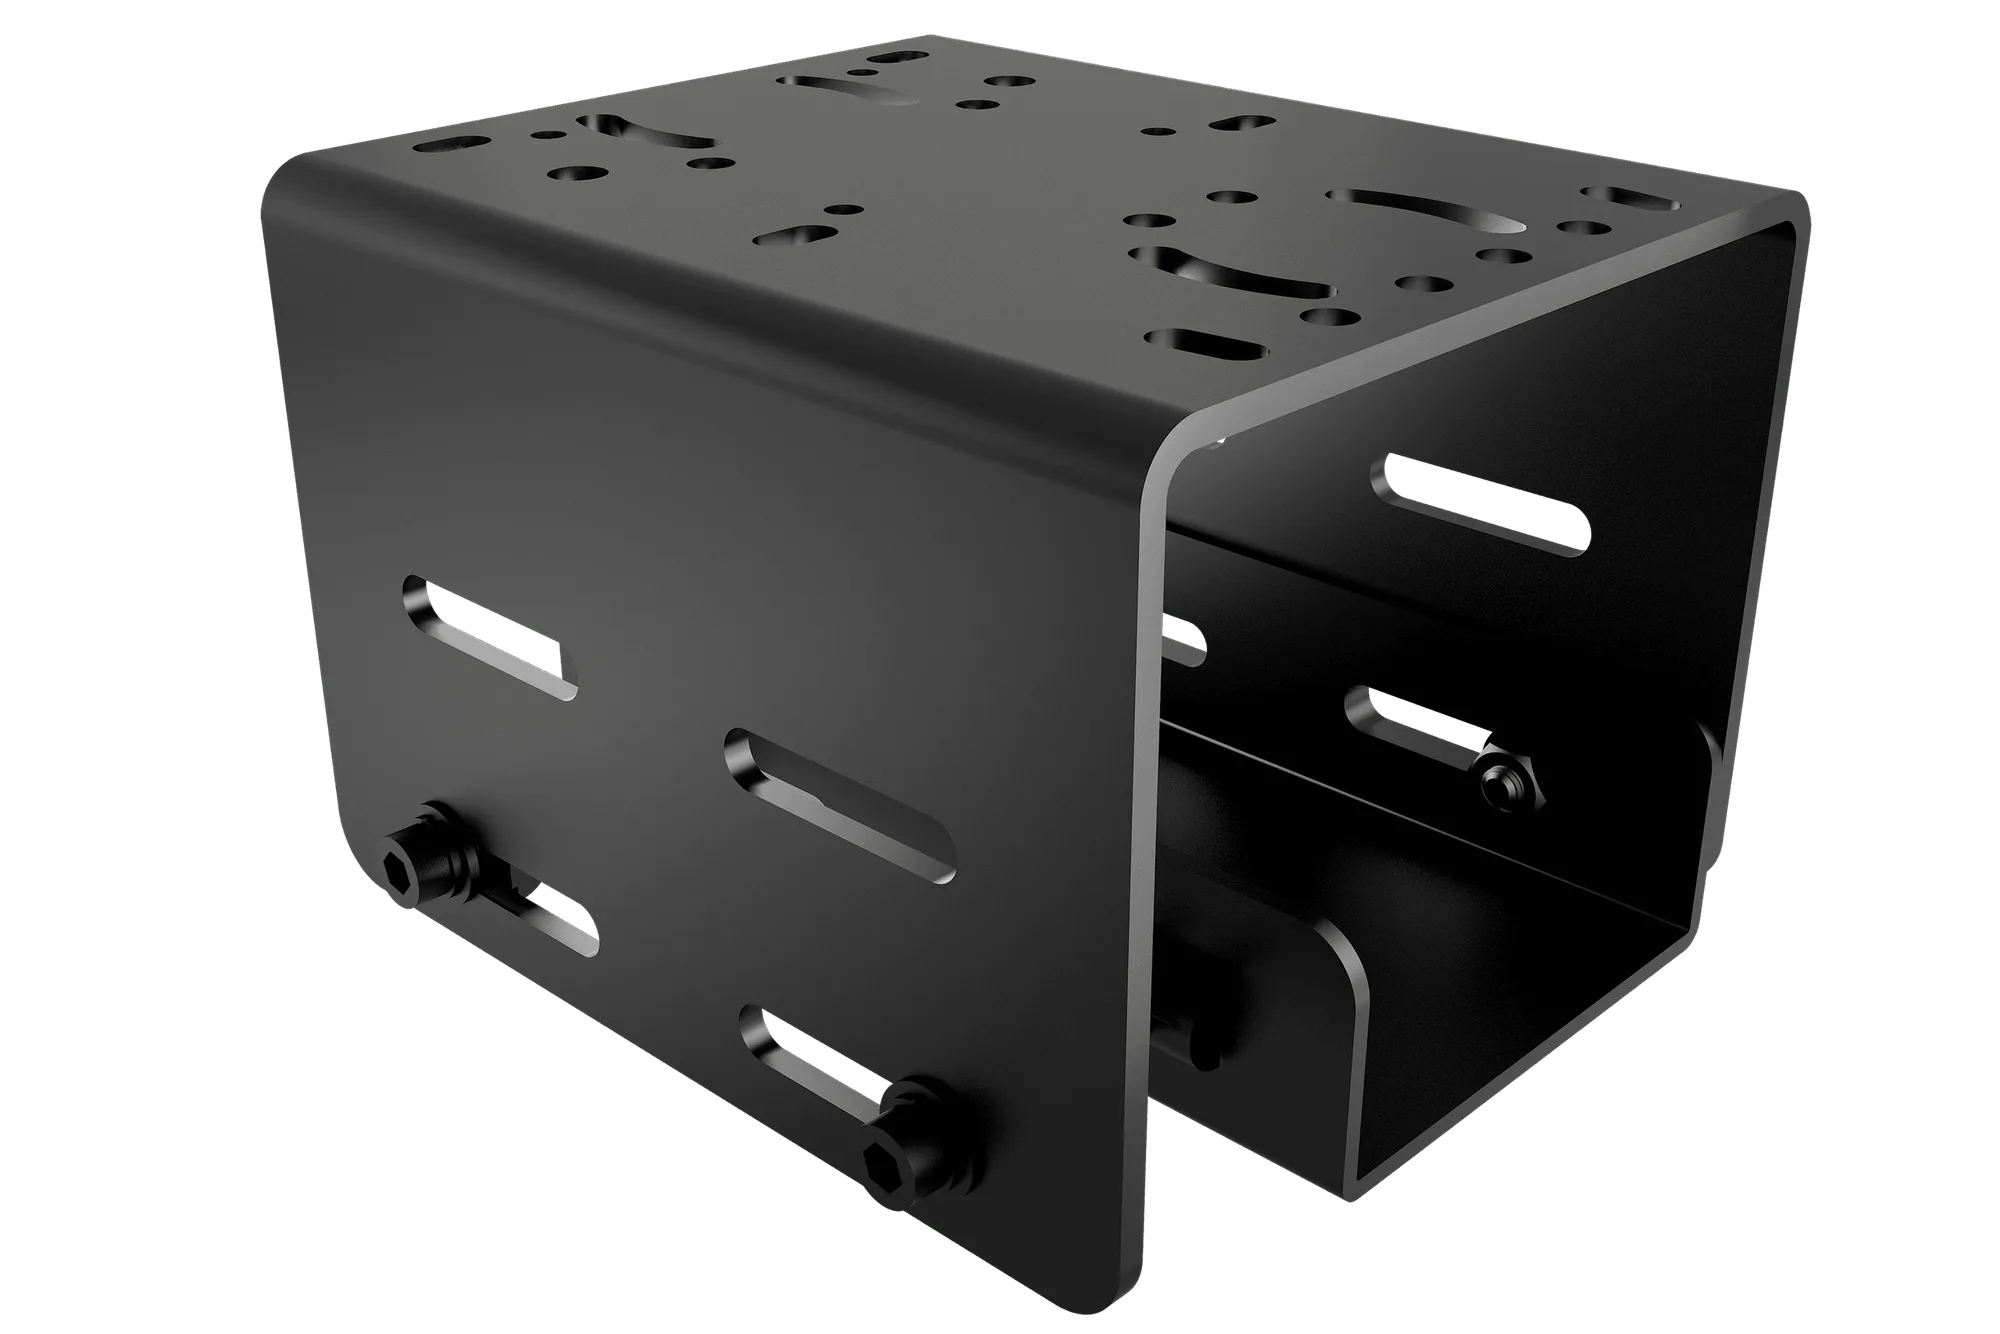
TR-One Gen 2 Universal Shifter Mount for 40mm Aluminium Profile Rigs
-
TR-One Gen 2 Universal Shifter Mount for 40mm Aluminium Profile Rigs: Adjustment uses a 2-slot slide plus a distance slider for fine-tuning position. You can shift the shifter forward/backward and fine-tune its distance from you for a comfortable reach.
-
TR-One Gen 2 Universal Shifter Mount for 40mm Aluminium Profile Rigs: Pre-drilled for Heusinkveld, Fanatec, Thrustmaster, Moza, Simagic, Logitech, Asetek, and more. No drilling or custom brackets are needed for most popular shifter models.
Installation Steps
The following steps are based on the mount's design features. Always refer to the product's included instructions for torque values and specific hardware details.
- 1. Prepare your rig profile: Locate the section of your 40mm aluminium extrusion where you want the shifter. Clean the slot area and ensure the T-nuts or slide-in hardware (supplied with the mount) are ready.
- 2. Attach the mount to the profile: Slide the mount's two slots onto the extrusion. Use the provided bolts and T-nuts to secure it loosely — you'll need some play for positioning.
- 3. Position the shifter: Place your shifter onto the pre-drilled holes that match its bolt pattern. Fasten it with the appropriate screws (not all shifter hardware may be included; check your shifter's package).
- 4. Fine-tune the position: Use the distance slider and the two-slot slide to adjust the shifter's reach and angle. Tighten all bolts once you're satisfied with the ergonomics.
- 5. Test and re-check: Cycle through all gears or modes to confirm the shifter operates freely without binding. Re-tighten any hardware that may have shifted during testing.
What the Supplied Information Leaves Open
The catalog does not specify exact bolt sizes or torque values for mounting. Use common sim racing hardware practices — hand-tighten with a suitable hex key and check periodically. If your shifter requires a specific bolt pitch, verify compatibility with Trak Racer before installation.
Also, while the mount is compatible with many shifters, the supplied list is not exhaustive. For unlisted models, contacting Trak Racer directly is the safest way to confirm fit.