There's nothing more frustrating than reaching for your favorite lip jelly only to find the pot cracked or the product melted into a mess. Whether it slipped off your vanity or got too warm in your bag, a broken Bisou Jelly pot doesn't have to mean the end of the product. With a few simple steps, you can salvage every last drop and get back to enjoying your glossy, hydrating lip treat.
In this guide, we'll walk you through how to fix a broken Bisou Jelly pot, restore its texture if it's melted, and share storage tips to prevent future mishaps. You'll also learn clever ways to reuse the pot if it's beyond repair, so nothing goes to waste.
Assessing the Damage: Cracked Pot or Melted Jelly?
Before you start any repair, take a close look at the damage. If the pot itself is cracked but the jelly is still intact, you can often transfer the product to a clean, empty container. If the jelly has melted or become runny, you'll need to restore its texture first. Both issues are fixable, but they require different approaches.
Check the consistency of the jelly. If it's still solid but the pot is broken, you're in luck – the product is likely fine. If it's melted or separated, you'll need to gently heat and re-emulsify it. Always inspect for any foreign particles or contamination before proceeding.
- Cracked pot, solid jelly: Transfer to a new container.
- Melted jelly: Restore texture with gentle heat.
- Separated or grainy: Re-mix and allow to set.
Step-by-Step: How to Repair a Cracked Bisou Jelly Pot
If the pot is cracked but the jelly is still in good shape, the safest option is to transfer the product to a clean, airtight container. Start by sterilizing a small jar or pot with rubbing alcohol and letting it dry completely. Then, use a clean spatula or butter knife to scoop the jelly out of the broken pot and into the new container. Press it down firmly to remove air pockets and smooth the top.
If you don't have a spare container, you can temporarily seal the crack with clear tape, but this is only a short-term fix. For a more durable solution, consider using a small glass jar with a tight-fitting lid – many beauty products come in reusable pots that work perfectly. Once transferred, label the container with the product name and date to avoid confusion.
- Sterilize the new container before transferring.
- Use a clean spatula to avoid introducing bacteria.
- Press the jelly down to remove air bubbles.
How to Restore Melted Bisou Jelly Texture
Heat is the enemy of lip jelly – a hot car or a sunny windowsill can turn your Bisou Jelly into a liquid mess. But don't toss it! To restore the texture, place the pot (or the transferred product) in a warm water bath. Fill a bowl with warm – not boiling – water and set the pot inside for a few minutes until the jelly softens. Then, stir it thoroughly with a clean toothpick or mini spatula to recombine any separated oils.
Once mixed, let it cool at room temperature, then pop it in the fridge for 15-20 minutes to set. The result should be a smooth, creamy jelly again. If the texture still seems off, you can repeat the process, but avoid overheating as it can degrade the formula. For best results, store your restored jelly in a cool, dry place.
- Use warm water, not boiling, to avoid damaging the formula.
- Stir well to re-emulsify separated ingredients.
- Chill in the fridge to help it set quickly.
Creative Ways to Reuse a Broken Bisou Jelly Pot
If the pot is shattered beyond repair, don't throw away the remaining product. Scoop it into a small travel jar or even a clean lip balm tin. You can also mix it with a clear lip gloss to create a custom tinted gloss. Another clever hack is to use the jelly as a cuticle treatment – its nourishing ingredients work wonders on dry cuticles.
For the empty pot itself, consider repurposing it as a pill organizer, a place to store small jewelry, or a travel container for your favorite balm. The sturdy lid makes it perfect for keeping tiny items safe. Remember, every bit of product is precious, so get creative and make the most of it.
- Transfer to a travel jar for on-the-go use.
- Mix with clear gloss for a custom tint.
- Use as a cuticle treatment or hand salve.
Prevention: Bisou Jelly Storage Tips to Avoid Future Breakage
The best way to deal with a broken Bisou Jelly pot is to prevent it from happening in the first place. Always store your jellies in a cool, dry place away from direct sunlight and heat sources. Avoid leaving them in your car or near radiators, especially during summer months. If you carry them in your bag, use a protective pouch or dedicated cosmetics case.
When traveling, consider decanting a small amount into a travel-sized container to reduce the risk of damage. And always close the lid tightly after each use – this not only prevents spills but also keeps the formula fresh. By following these simple tips, you can enjoy your Bisou Jelly for months without any mishaps.
- Store in a cool, dry place away from heat.
- Use a protective pouch when carrying in your bag.
- Decant small amounts for travel to avoid breakage.
With these repair and prevention tips, you can save your broken Bisou Jelly pot and continue enjoying its luscious, hydrating formula. Whether you restore the texture, transfer the product, or get creative with reuse, there's no need to waste a single drop. For a fresh start, explore the full range of Bisou Jelly shades, like the delightful Bisou Jelly - Bonbon à la Rose, and treat your lips to a little luxury.
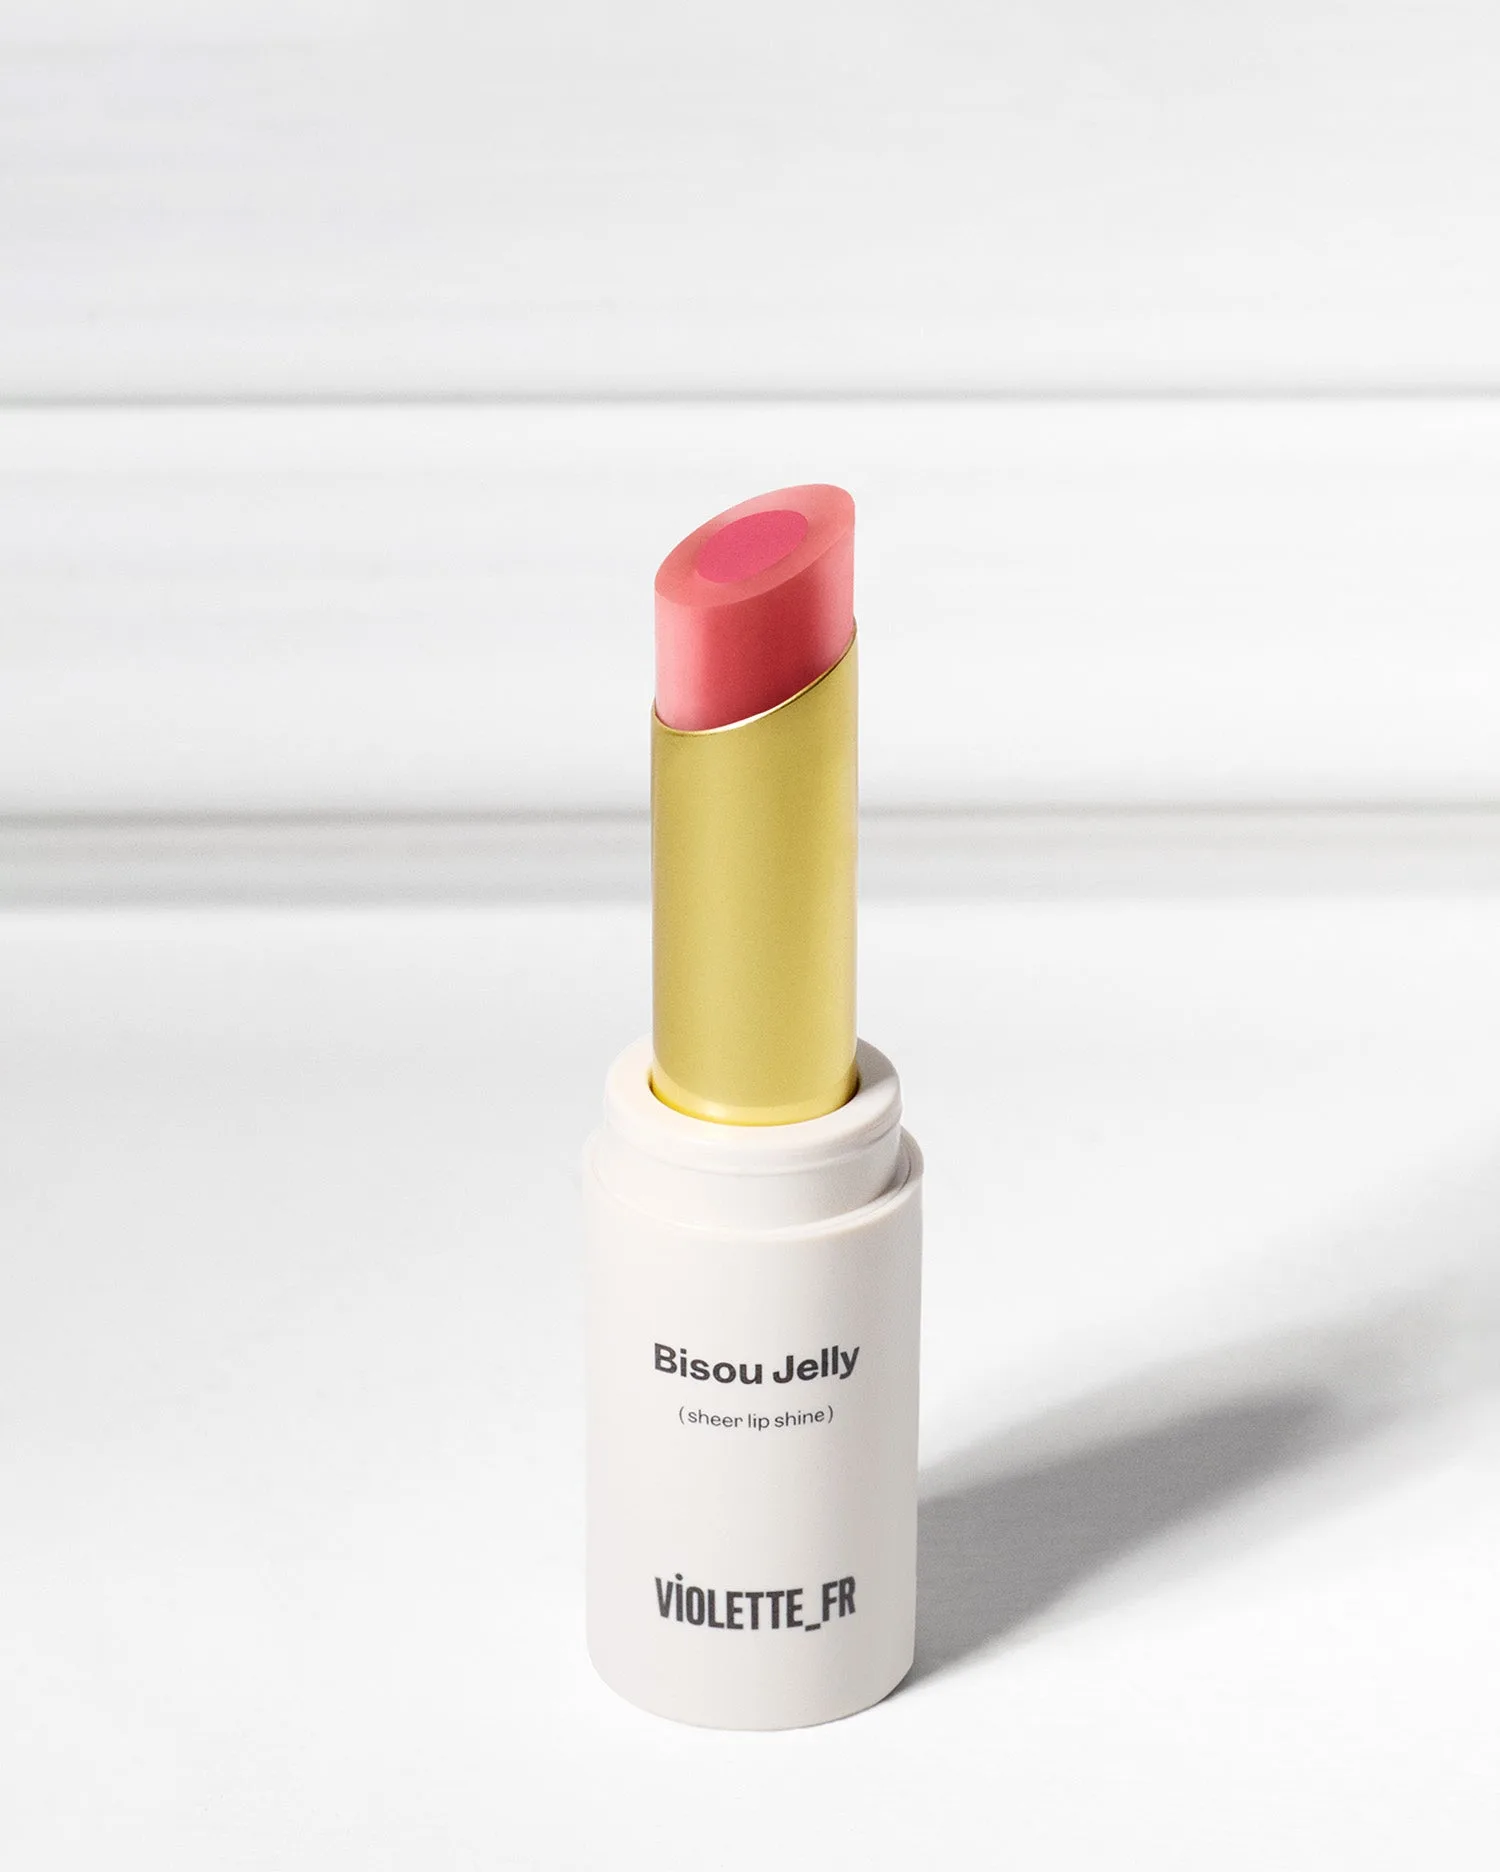
Bisou Jelly - Bonbon à la Rose