Quick Answer
To frame art prints without a mat for a modern look, choose a frame that fits your print size exactly, use acid-free mounting tape or a removable adhesive, and add a spacer or float mount to keep the print from touching the glass.
Why Skip the Mat?
Matting adds a traditional, gallery-like border that can feel formal and dated. Without a mat, the print sits closer to the glass and frame edge, creating a clean, contemporary look that lets the artwork speak for itself. This style works especially well with bold, graphic designs or nature-inspired art where you want the image to feel immediate and immersive.
The trade-off is that matless framing offers less physical protection. The print is closer to the glass, so you need to ensure proper spacing to prevent the artwork from sticking to the glass over time. Humidity and temperature changes can cause the print to ripple or touch the glass, so using a spacer or float mount is important.
Choosing the Right Frame
When framing without a mat, the frame size should match the print size exactly. For example, an 8x10" print needs an 8x10" frame. This avoids the need for a mat to fill extra space and keeps the look clean. If you prefer a border, choose a frame with a wider molding rather than adding a mat.
Consider the frame color and material. Thin, minimalist frames in black, white, or natural wood complement a modern aesthetic. A deeper frame profile can provide more space between the print and glass, which is helpful when framing without a mat.
Step-by-Step: Framing Without a Mat
- Measure your print and choose a frame: Measure the exact dimensions of your art print. Select a frame that matches those dimensions precisely. If the print has a white border, you can trim it off or leave it as part of the design. Double-check that the frame's inside dimensions match your print size; a mismatch will require a mat or custom frame.
- Prepare the print and frame: Clean the glass or acrylic with a microfiber cloth. Handle the print with clean, dry hands or wear cotton gloves to avoid fingerprints and oils. Use a lint-free cloth to avoid leaving fibers on the glass.
- Mount the print securely: Use acid-free mounting tape or a removable adhesive (like artist tape or a low-tack spray) to attach the print to the backing board. Position it evenly, ensuring it is straight and centered. Avoid using regular tape or glue, which can damage the print or cause discoloration over time.
- Add a spacer or float mount: To prevent the print from touching the glass, add a thin spacer (like a foam core or a frame spacer) between the print and the glass. Alternatively, use a float mount, which lifts the print slightly off the backing. A spacer is essential in humid climates to prevent the print from sticking to the glass.
- Assemble the frame: Place the mounted print into the frame, add the backing board, and secure the frame's clips or tabs. Ensure the print is taut and free of wrinkles or bubbles. Check that the print lies flat and doesn't bulge; if it does, re-mount it with more adhesive.
- Hang and display: Use a level to hang the frame at the desired height. Consider the wall color and lighting to enhance the modern look. Avoid direct sunlight to prevent fading over time.
Product Spotlight
-
Spotted Eagle Ray Art Print: This spotted eagle ray art print is printed on high-quality, acid-free matte paper and includes a narrow white border for framing. The acid-free paper prevents yellowing over time, and the white border gives you a built-in margin if you choose to frame without a mat.
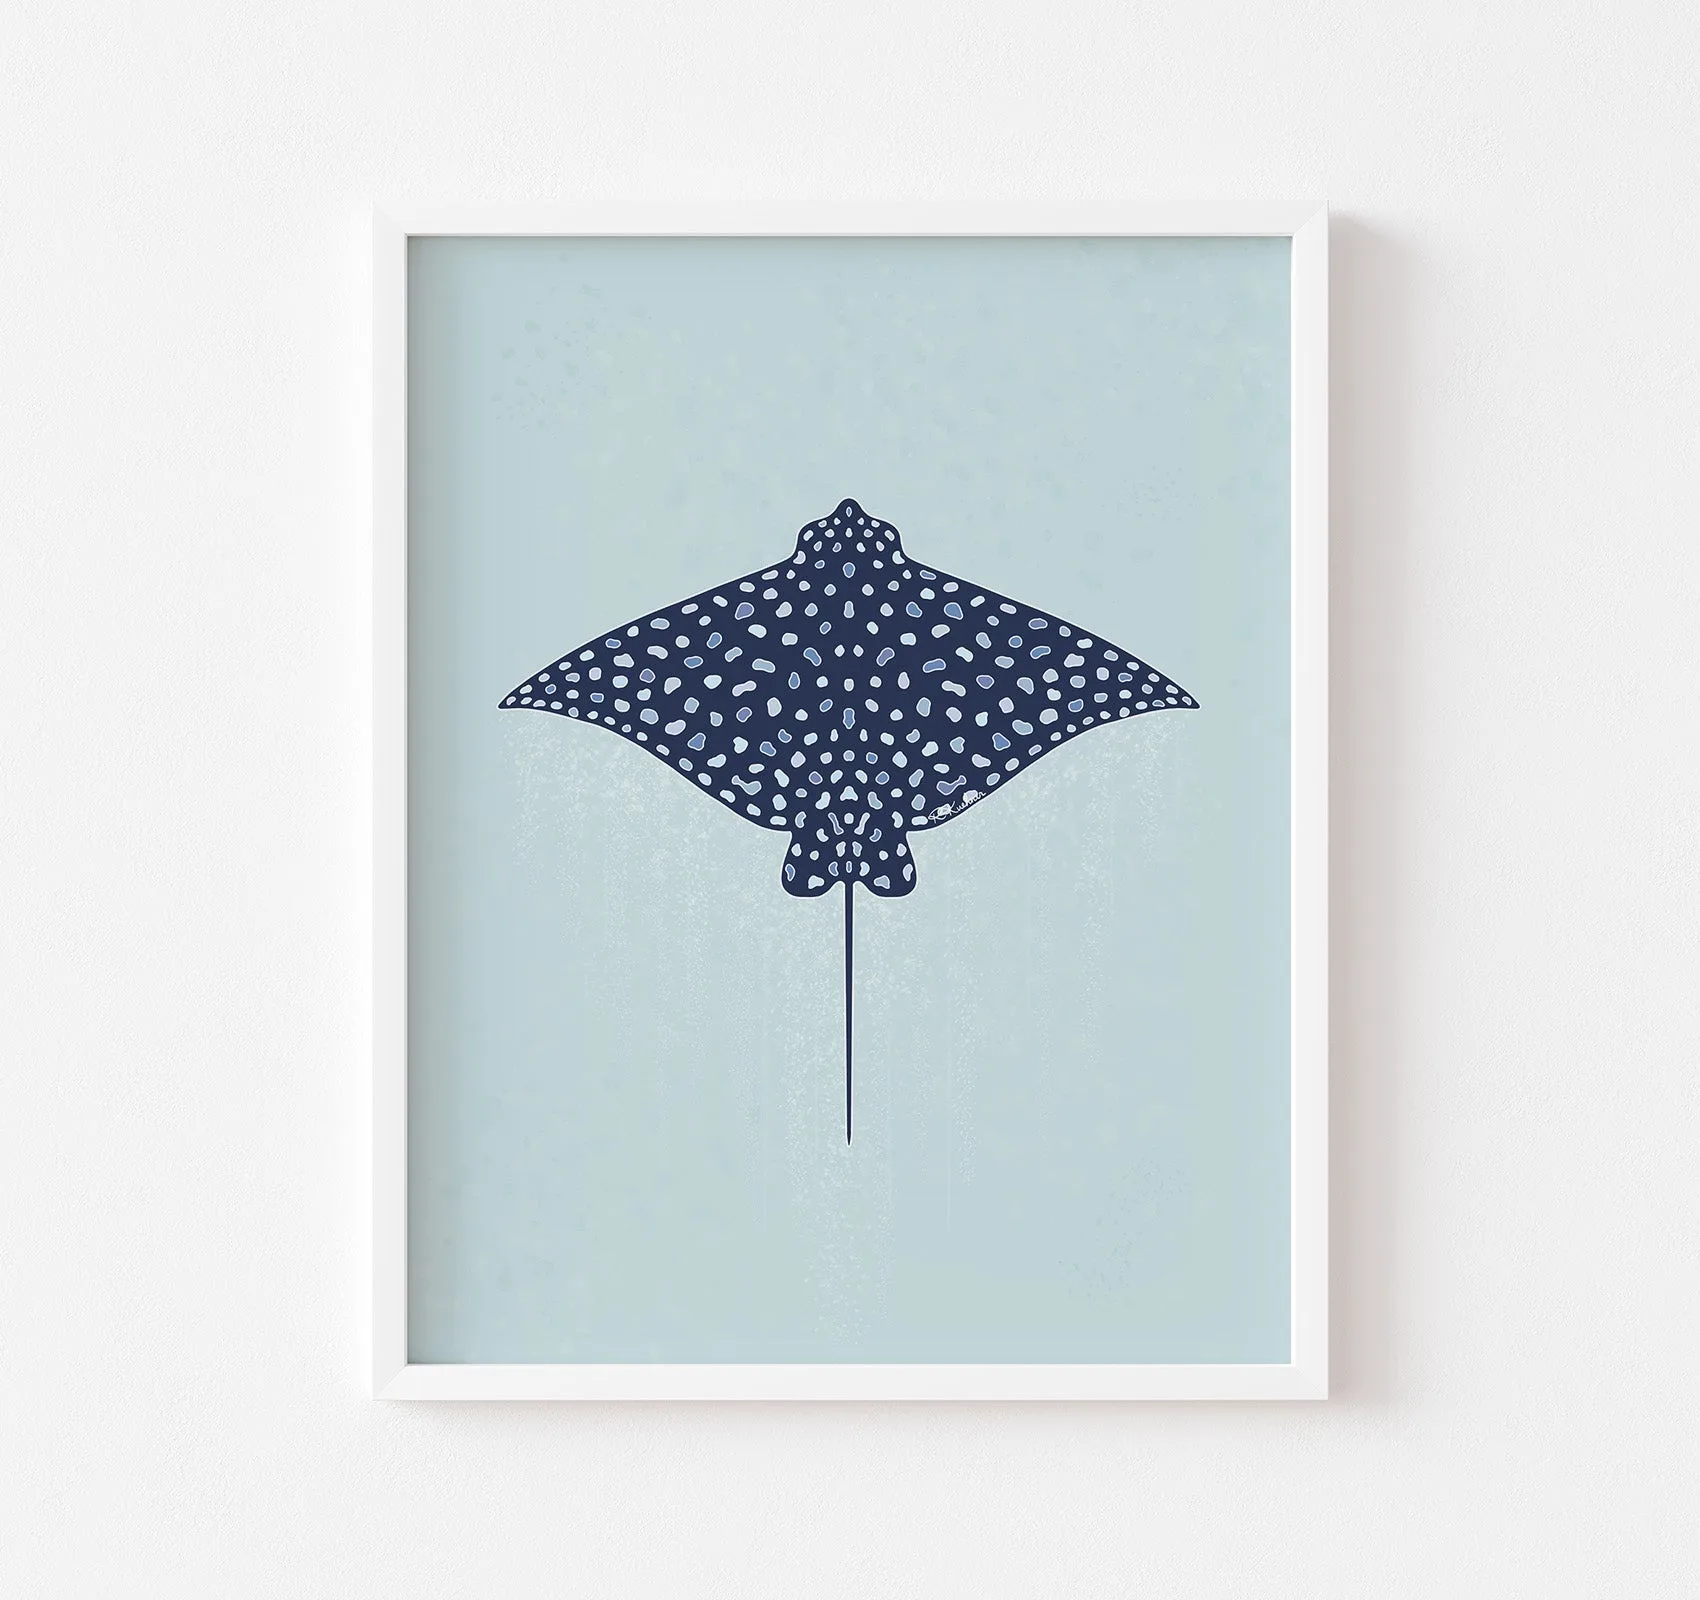
Spotted Eagle Ray Art Print